How to Bake Bread Over a Campfire Using a Dutch Oven
To bake bread over a campfire, use a Dutch oven and manage your coal heat correctly to get a dense, golden loaf with a crackly crust. This guide covers the full process from mixing dough at camp to pulling a finished loaf, including what gear you need, how to control heat, common mistakes, and fixes when things go wrong. I’ve baked campfire bread on trips in the Chittagong Hill Tracts and the method below works consistently on wood fires.
Place your Dutch oven over a bed of medium-hot coals. Set your prepared dough inside the preheated, lightly oiled pot. Place 10–12 coals on the lid. Bake for 30–40 minutes without lifting the lid. The bread finishes when it sounds hollow on a tap and reaches an internal temperature of 93–96°C (200–205°F).
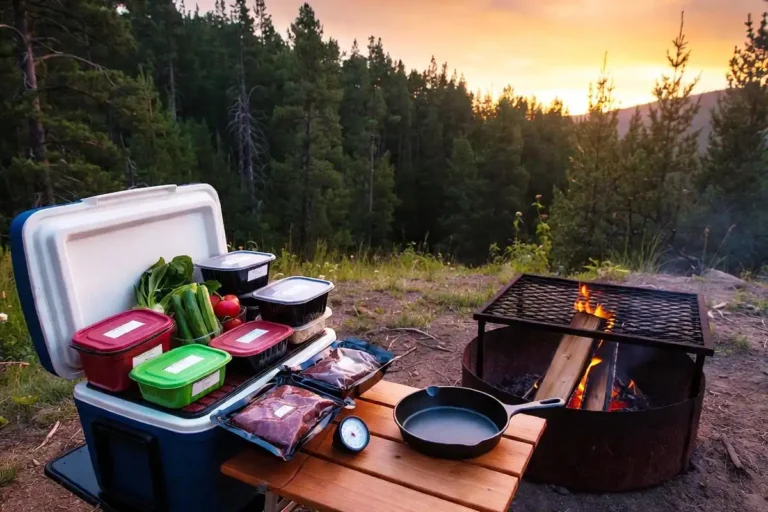
What You Need Before You Start
Gear
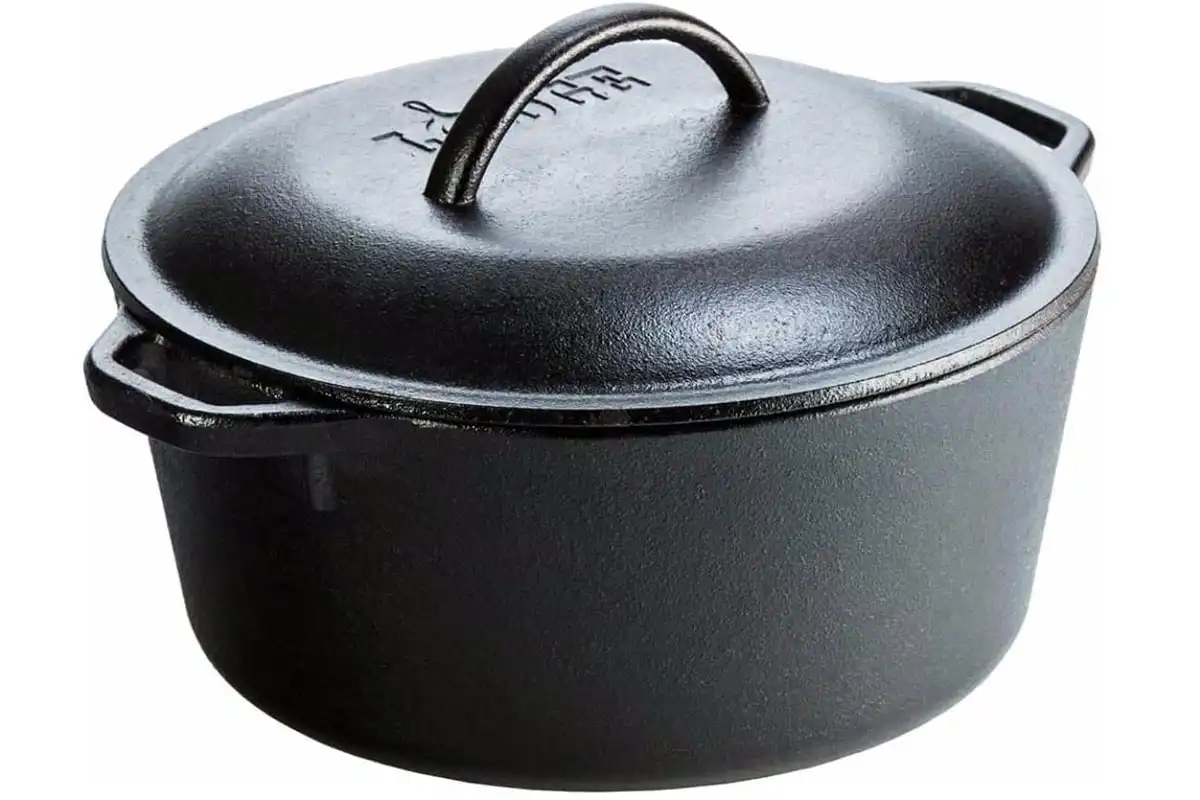
You need a 10-inch (4–5 quart) cast iron Dutch oven with a flat or lipped lid. A lipped lid holds coals without them sliding off.
You also need a lid lifter or long tongs, heat-resistant gloves, a coal shovel or stick, a cooling rack or flat stone, and a probe thermometer for checking doneness.
I covered the full list of campfire cooking tools in my campfire cooking gear, which includes Dutch oven-compatible accessories worth picking up.
Basic Bread Ingredients (for one loaf)
- 3 cups (360g) all-purpose flour
- 1 teaspoon instant yeast (or 2.25 teaspoons active dry yeast)
- 1 teaspoon salt
- 1 tablespoon olive oil or vegetable oil
- 1 cup (240ml) warm water
Pre-measure flour, yeast, and salt at home and store them in a sealed zip-lock bag. This reduces prep time and mess at camp.
When to Bake: Best Time and Fire Conditions
Bake bread when your fire has burned down to a steady coal bed, not open flames. This takes 45–60 minutes from when you first light the fire.
Early morning or late afternoon works best. Wind increases during midday in many camping areas and disrupts heat distribution around the pot.
Avoid baking in rain unless you have overhead shelter. Wet coals drop temperature fast and stall the bake.
Where to Set Up
Set up on flat, stable ground away from dry grass. Use a fire ring if the campsite provides one.
Keep the Dutch oven within easy reach so you can rotate it every 10 minutes without disturbing the camp layout.
How to Bake Bread Over a Campfire in a Dutch Oven: Step-by-Step
Step 1 – Mix and Rest the Dough
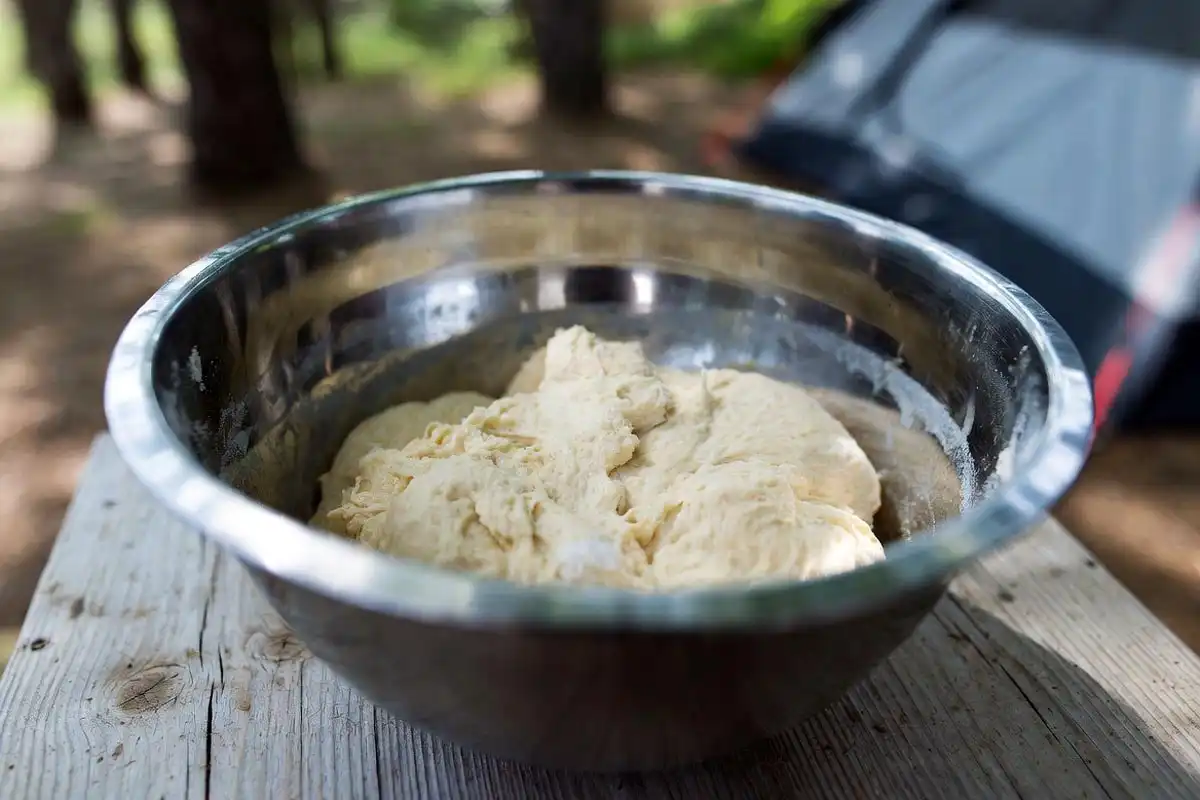
Combine flour, salt, and yeast in a bowl or zip-lock bag. Add warm water and oil. Mix until a shaggy dough forms, then knead for 5–7 minutes until smooth.
Cover the dough with a cloth or seal the bag loosely. Let it rest for 60–90 minutes until it doubles in size. If temperatures are below 15°C, rest time increases to 2 hours.
If you use active dry yeast, proof it first: dissolve in warm water for 10 minutes before mixing.
Step 2 – Build and Prepare the Coal Bed
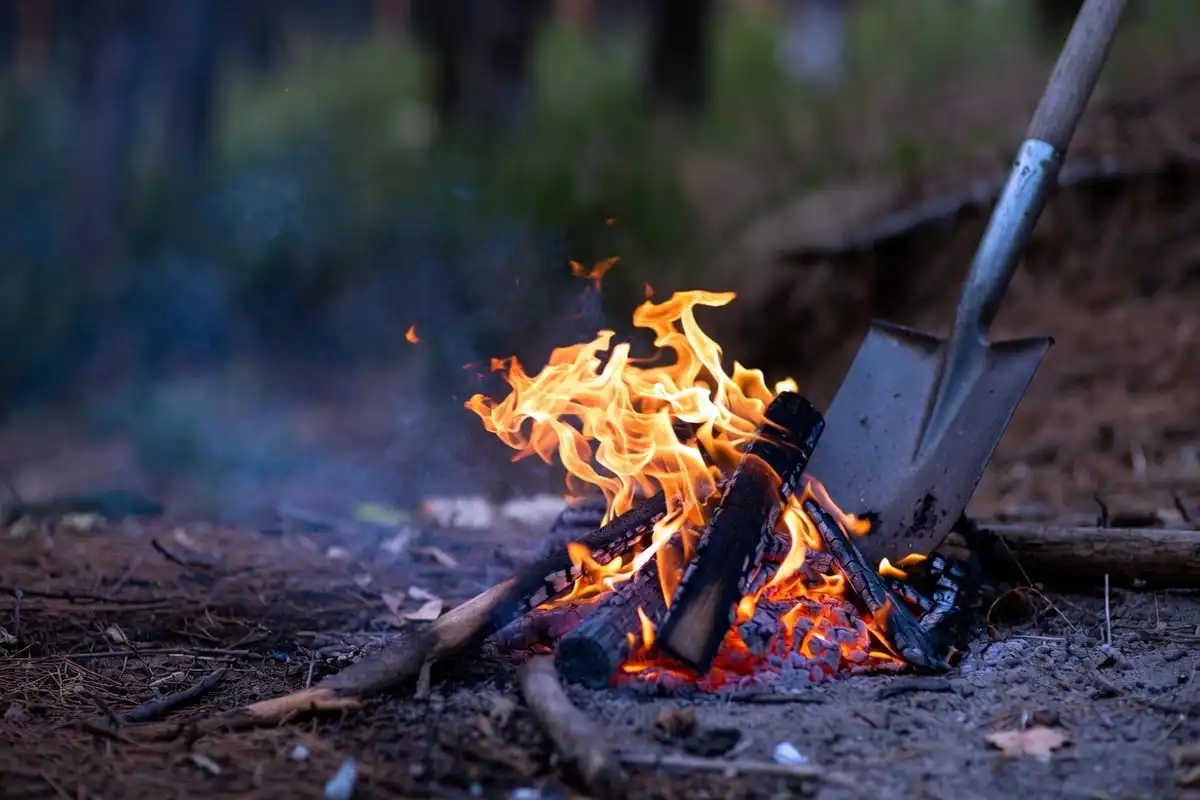
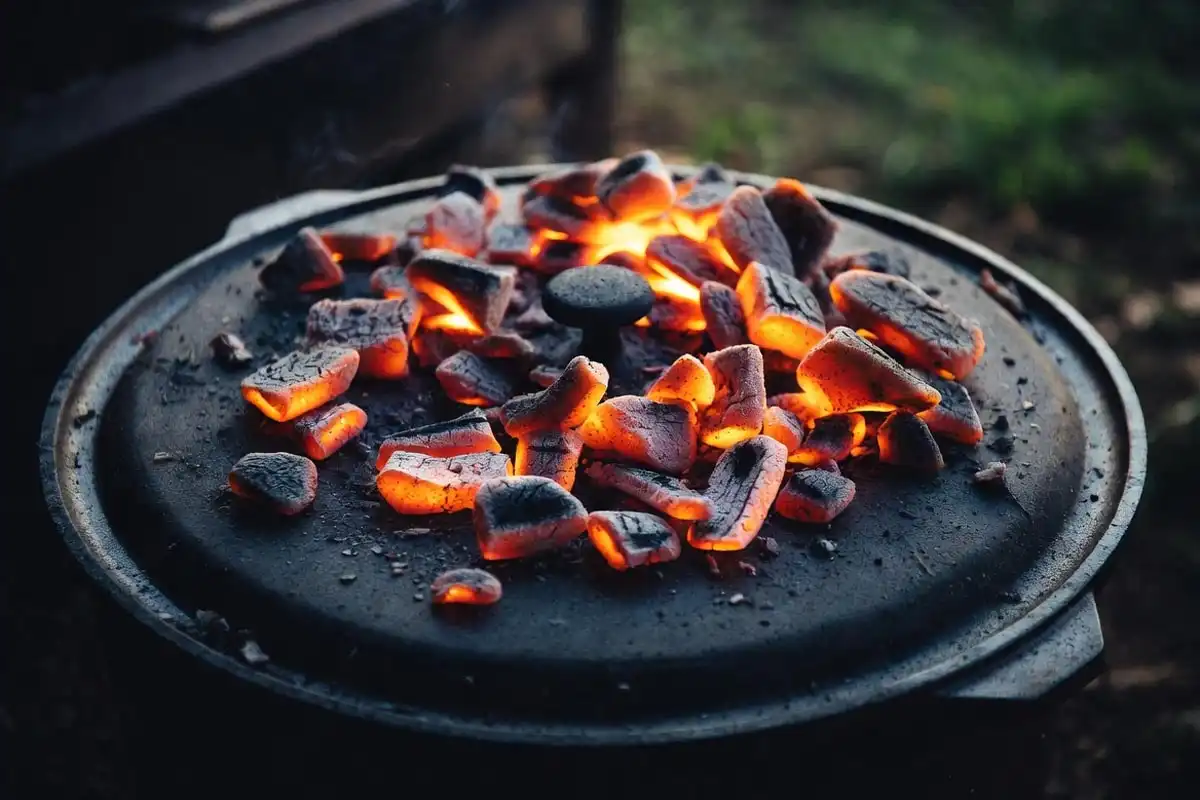
Burn hardwood (oak, hickory, or any dense local wood) down to a solid coal bed. You need 20–25 coals of similar size for a 10-inch Dutch oven.
Separate 10–12 coals for the lid and keep 10–15 for the base. Spread the base coals into an even circle slightly wider than the pot bottom.
I go into more detail on reading and managing campfire heat in my guide on controlling heat on a campfire for cooking, which applies directly to this method.
Step 3 – Preheat the Dutch Oven
Place the Dutch oven (lid on) over the base coals for 5 minutes. Preheating prevents the dough from sticking and helps the crust set quickly.
Open carefully and lightly coat the inside bottom and sides with oil or a small piece of butter paper.
Step 4 – Load the Dough
Punch down the risen dough gently. Shape it into a round and lower it into the preheated, oiled Dutch oven.
Place the lid on immediately to retain heat. Do not press the dough flat. It will spread and rise further during baking.
Step 5 – Bake With Top and Bottom Heat
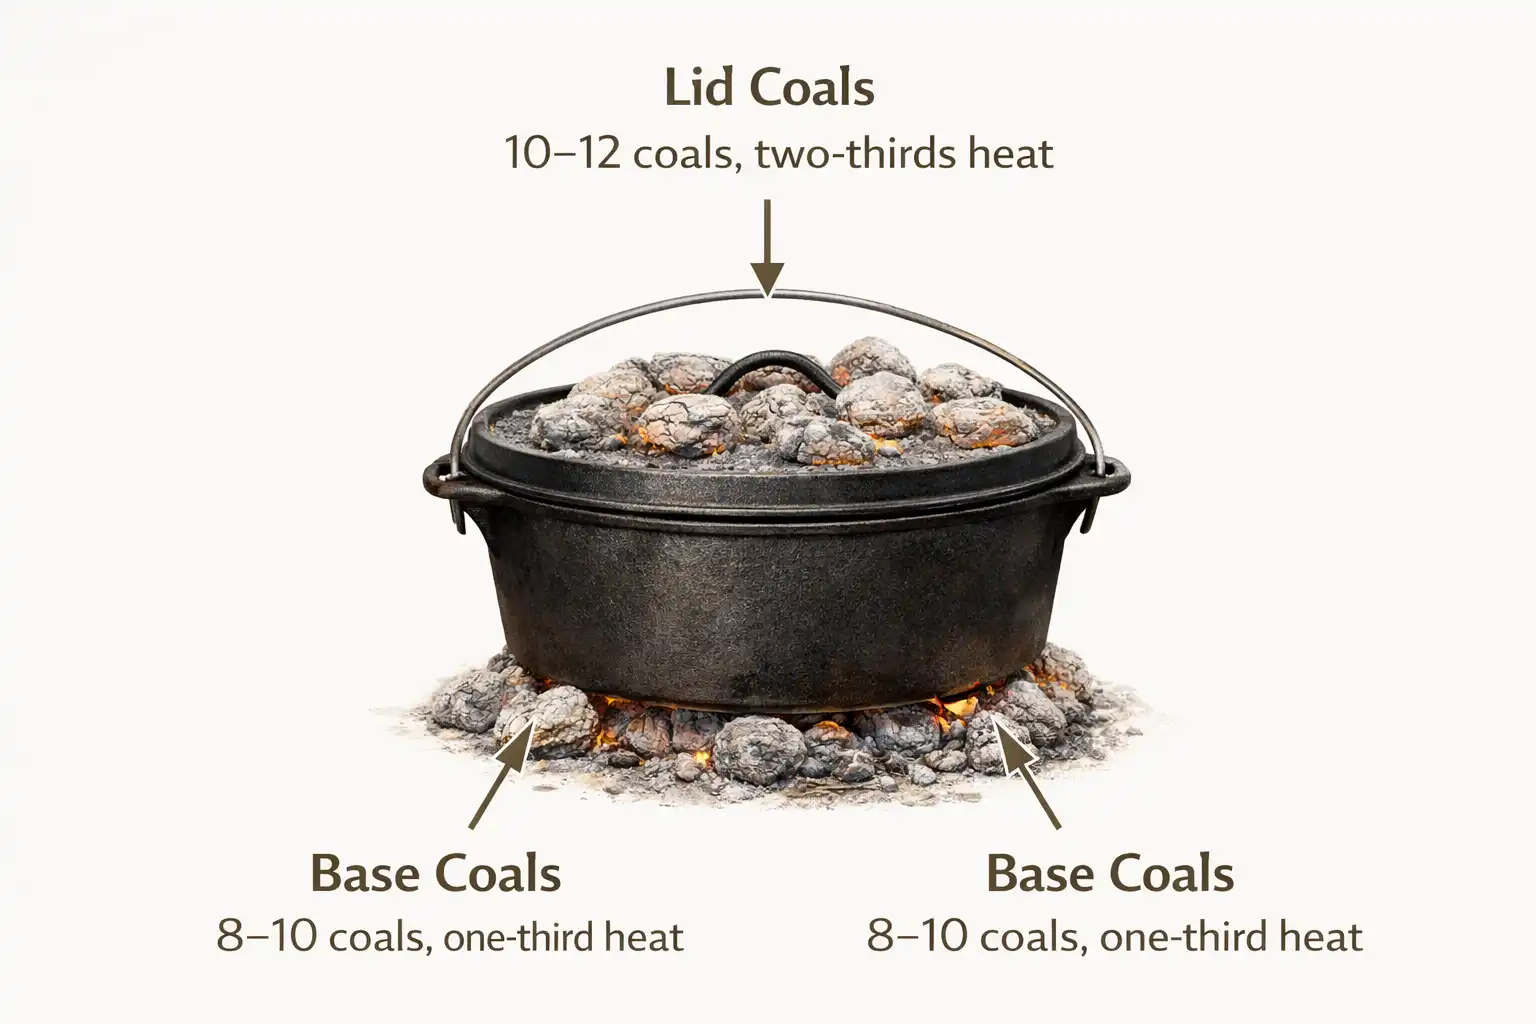
Set the Dutch oven on the base coals. Place 10–12 coals on the lid using tongs.
Heat distribution rule: Two-thirds of your coals go on the lid, one-third underneath. This prevents the bottom from burning before the top sets.
Bake for 30–40 minutes total. Rotate the entire pot 90 degrees every 10 minutes to prevent hot spots. Rotate the lid in the opposite direction at the same time.
Do not lift the lid during the first 20 minutes. Lifting releases steam and collapses the rise.
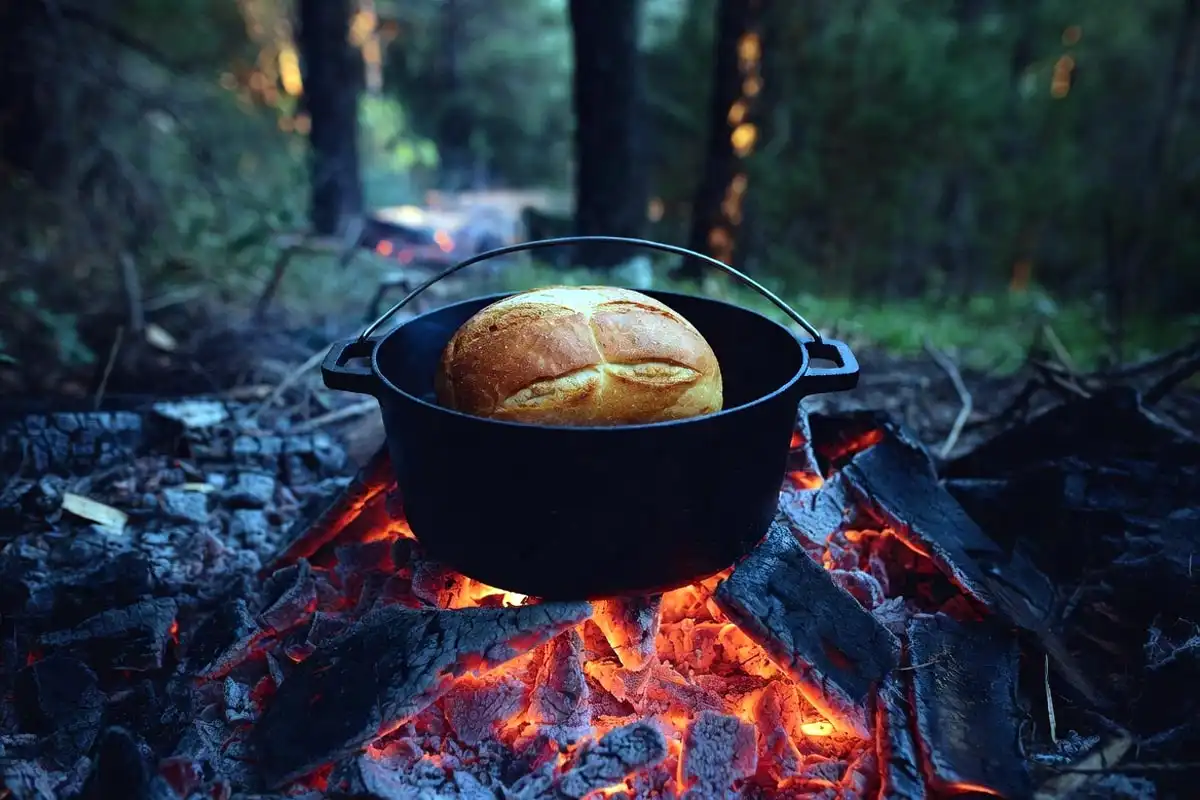
Step 6 – Check for Doneness
At 30 minutes, lift the lid using a lid lifter. The top should appear deep golden brown.
Tap the loaf with your knuckle. A hollow sound indicates the loaf has baked through. If it sounds dense, close the lid and add fresh coals. Bake for another 5–10 minutes.
A probe thermometer inserted into the center reads 93–96°C (200–205°F) when the loaf finishes.
Step 7 – Cool Before Cutting
Remove the loaf using tongs or a folded cloth. Place it on a cooling rack or flat stone.
Wait at least 15 minutes before cutting. Cutting too early releases steam and makes the crumb gummy.
Common Mistakes to Avoid
Using open flames instead of coals: Flames create uneven, intense heat that burns the base while leaving the inside raw. Wait for coals.
Skipping the preheat: A cold Dutch oven allows the dough to stick and slows the initial crust formation.
Lifting the lid too early: Steam drives the rise. Every premature lift drops internal temperature and stalls the bake.
Uneven coal placement: Coals bunched to one side produce hot spots. Spread them evenly in a circle.
Cutting the loaf immediately: The interior continues cooking via residual heat for 10–15 minutes after removal. Cutting stops this process and produces a wet crumb.
Troubleshooting
Bottom burns, top stays pale: Too many coals underneath. Remove 3–4 base coals and add them to the lid.
Top browns fast but center stays raw: The fire ran too hot. Let coals cool 5 minutes before continuing. Add a small folded cloth between the pot and coals to reduce base heat.
Dough didn’t rise: Yeast was killed by water that was too hot (above 46°C/115°F) or too cold (below 35°C/95°F). Use warm-to-touch water next time. Instant yeast performs more reliably at camp than active dry yeast.
Bread sticks to the pot: The pot wasn’t oiled thoroughly or wasn’t preheated. Season the Dutch oven regularly at home to build a non-stick surface.
Loaf tastes dense: Under-fermented dough produces a dense crumb. Extend the first rest by 30 minutes in cold conditions.
Safety Notes
Cast iron retains heat for 30–45 minutes after removal from coals. Keep children away from the pot during and after baking.
Always use heat-resistant gloves when handling the lid or pot. Bare hands on the lid handle after 30 minutes over coals cause burns.
Dispose of coals fully before leaving the campsite. Bury or douse them with water and check with your hand 6 inches above the ash to confirm no residual heat remains.
If you cook other foods alongside bread, I covered safe practices in my article on cooking meat over a campfire without getting sick, which applies when you share the coal bed with other pots.
FAQs: Bake Bread Over a Campfire Using a Dutch Oven
How long does it take to bake bread in a Dutch oven over a campfire?
Campfire bread takes 30–40 minutes in a Dutch oven over medium-hot coals. Thicker loaves or cold ambient temperatures extend baking time to 45 minutes. Check at 30 minutes by tapping the top. A hollow sound confirms the loaf is done.
What size Dutch oven works best for campfire bread?
A 10-inch (4–5 quart) cast iron Dutch oven works best for a standard one-loaf recipe. Smaller 8-inch ovens work for half-batch dough. Larger 12-inch ovens require more coals and produce a flatter, wider loaf.
Do I need to preheat the Dutch oven before adding dough?
Yes. Preheating for 5 minutes creates an even heat surface and prevents sticking. A cold Dutch oven slows crust formation and causes the dough to spread unevenly before it sets.
Can I use store-bought dough for campfire bread?
Yes. Pre-made pizza dough, refrigerated biscuit dough, or bakery dough all work in a Dutch oven over coals. Let refrigerated dough reach room temperature for 20 minutes before baking. Reduce bake time by 5–10 minutes since commercial doughs tend to be thinner.
How do I know when campfire bread is fully baked?
Tap the top of the loaf. A hollow sound indicates the center has cooked through. A probe thermometer reading 93–96°C (200–205°F) at the center confirms doneness. A dense thud on tapping means the loaf needs 5–10 more minutes.
Conclusion
Baking bread over a campfire starts with a proper coal bed, a preheated Dutch oven, and dough that has rested long enough to rise. The two-thirds lid heat rule, regular rotation, and resisting the urge to lift the lid early produce a consistent result.
After a few attempts, the process becomes straightforward and adds a satisfying element to any camping trip. I carry a pre-mixed dry ingredient bag on every overnight trip now, specifically because fresh bread at camp is worth the extra 15 minutes of prep.