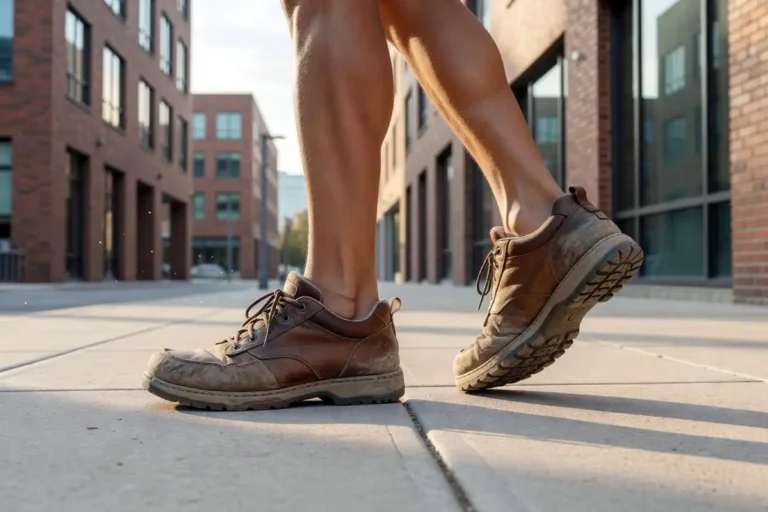
How to Break In New Hiking Boots Before a Long Trail
New hiking boots need time to break in because stiff materials, tight seams, and unformed footbeds can cause blisters and foot pain on a long trail. This guide covers the complete process from first wear at home to your first full-day hike, including the right socks, mileage progression, and what to do when hot spots appear before they become blisters.
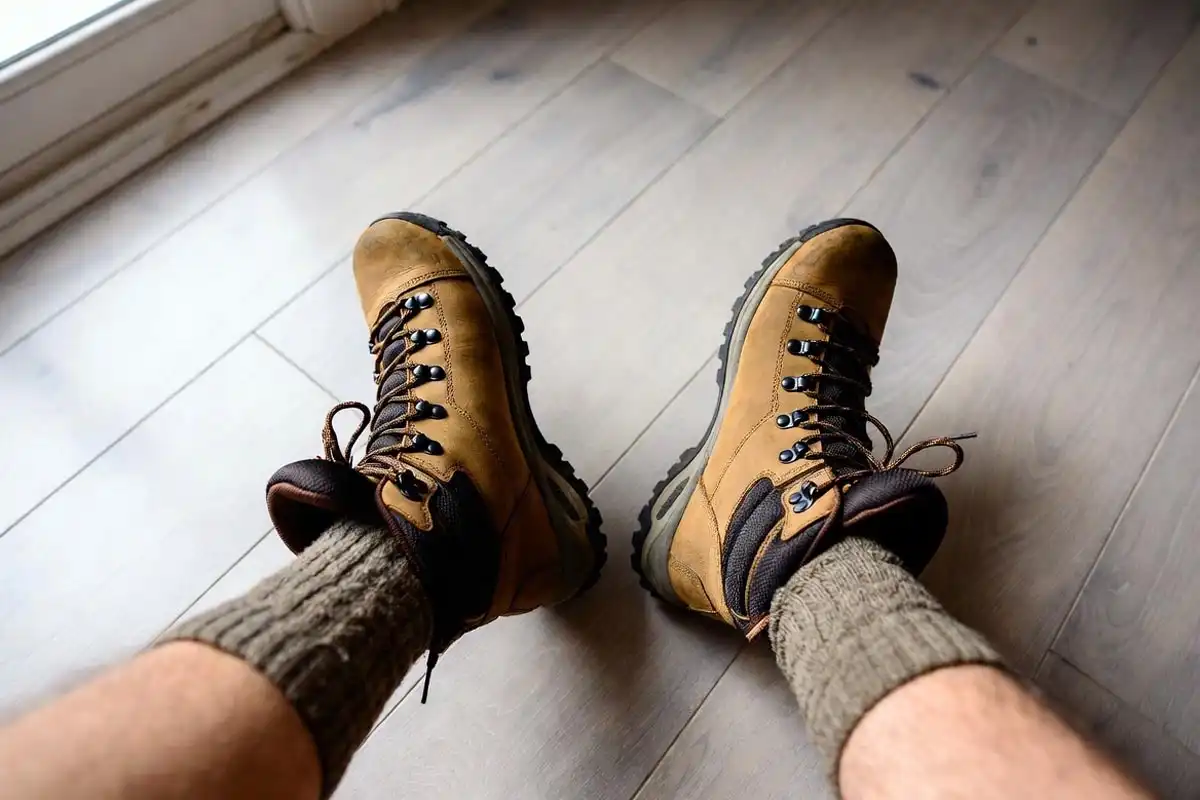
Start wearing new boots at home for 30–60 minutes daily. Progress to short walks, then half-day hikes over 2–4 weeks before attempting a long trail. Leather boots take 3–6 weeks. Synthetic and trail runners take 1–2 weeks. Always pair them with moisture-wicking hiking socks from the first wear.
Why Do New Hiking Boots Need Breaking In?
New boots hold their shape from the factory. The midsole is firm, the upper is stiff, and the heel counter has not yet molded to your foot.
Walking on a trail before the boot softens causes the material to press against pressure points. That friction produces hot spots and, eventually, blisters. The break-in process lets the boot flex at the same points your foot flexes naturally.
Leather boots use dense fibers that need repeated bending to soften. Synthetic fabrics and mesh trail runners are more flexible from the start and need less time.
What Type of Boots Take the Longest to Break In?
Full-grain leather boots take the longest, often 3–6 weeks of regular use. They provide strong ankle support and durability on rocky terrain, but the stiffness requires patience.
Mid-cut synthetic boots typically need 1–3 weeks. Low-cut trail runners often feel comfortable within a few short hikes.
Heavy mountaineering or backpacking boots with a rigid shank can take 6–8 weeks.
When Should You Start Breaking In New Boots?
Start at least 4 weeks before your planned long trail. For leather or stiff backpacking boots, allow 6–8 weeks. Do not buy boots one week before a big hike and expect them to perform without pain.
What You Need Before You Start
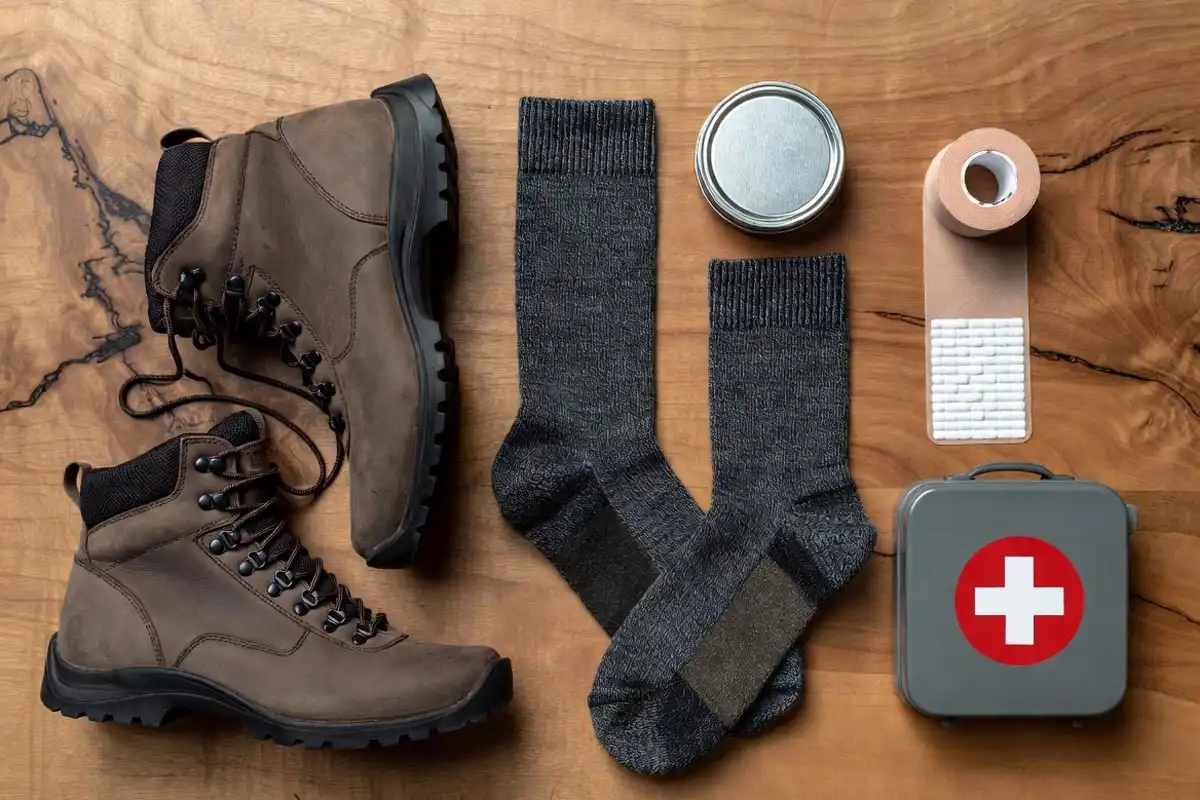
- Moisture-wicking hiking socks (wool or synthetic blend, not cotton)
- Moleskin or blister tape for hot spot prevention
- A boot conditioner or leather balm if your boots are full-grain leather
- A route that includes some varied terrain close to home
How to Break In Hiking Boots: Step-by-Step
Step 1: Wear Them at Home First
Put the boots on with your hiking socks. Walk around the house for 30–60 minutes.
Pay attention to where the boot presses. Note any tight spots, heel slip, or toe box friction. If the boot pinches the top of your toes immediately, this is a fit problem, not a break-in problem.
Do this for 2–3 days before taking the boots outside.
Step 2: Add Short Walks on Pavement
Move to a 20–30 minute walk on flat pavement or a park path. Keep pace moderate and walk on both flat and slightly inclined surfaces.
Flat pavement helps the sole flex through its natural range. This is not the time for steep terrain.
Do this 3–5 times before moving to trails.
Step 3: Walk on Easy Trail Surfaces
Take the boots on a short trail, 2–3 miles, with light elevation change. Carry your normal daypack to simulate load.
Weight on your back increases pressure on the heel and ball of your foot. The boot needs to flex under that load before you commit to 10+ miles.
If you plan to carry a heavy pack on your long trail, I covered weight distribution in detail in my planning guide for managing knee pain on downhill hikes, which applies directly to boot load performance too.
Step 4: Increase Distance Gradually
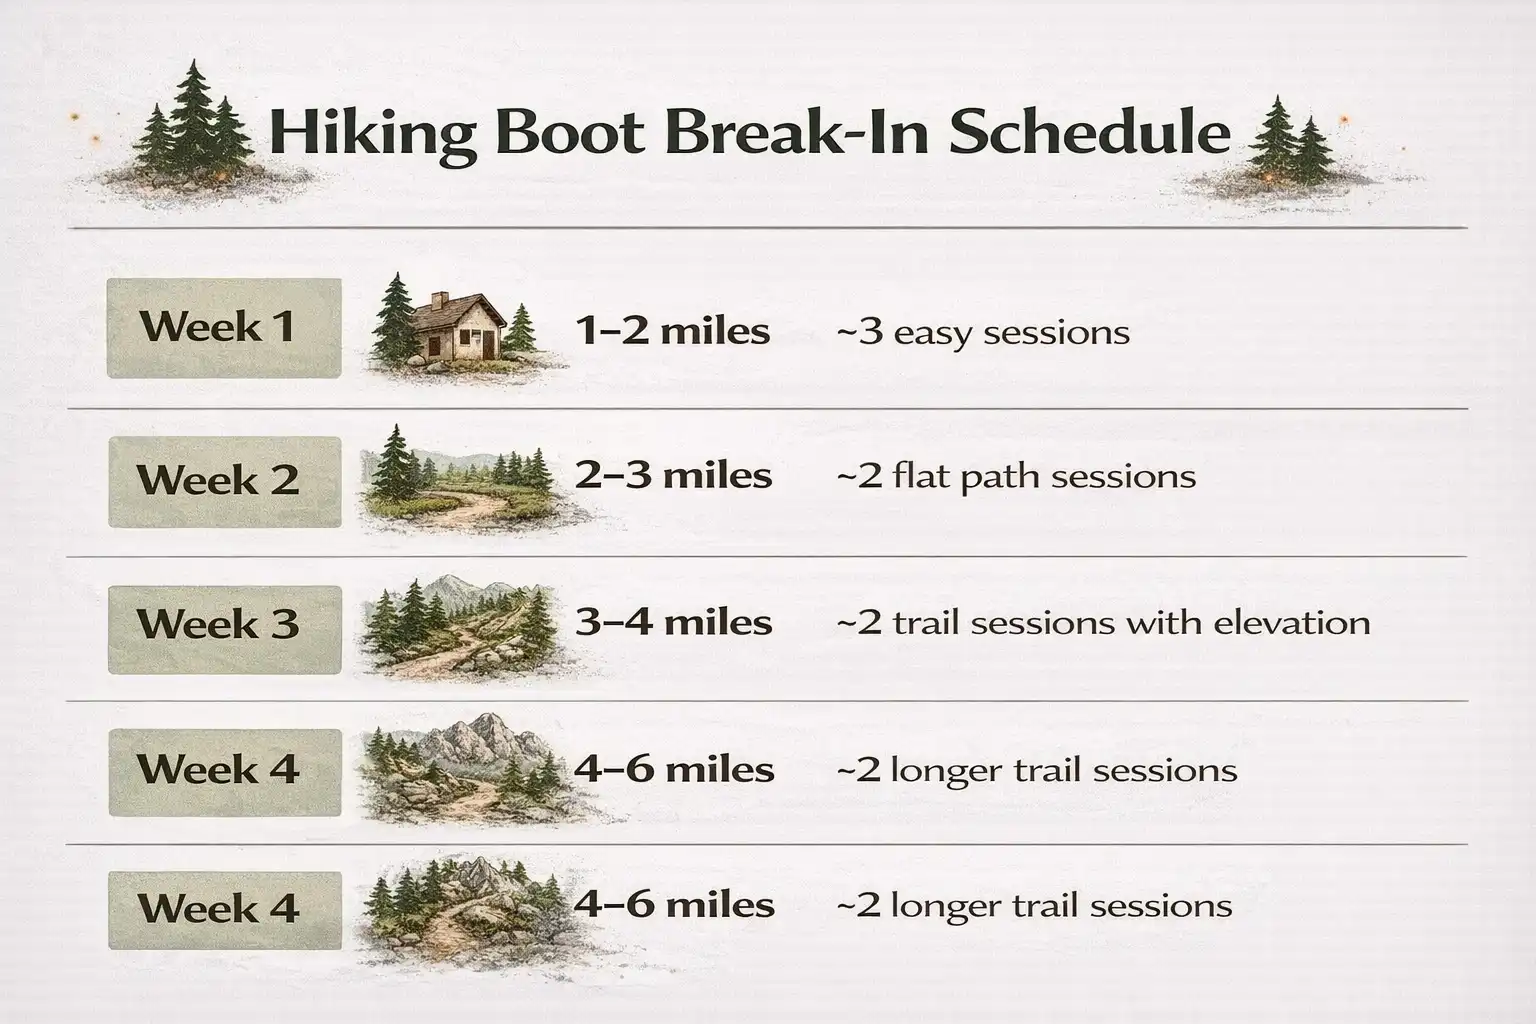
Progress using this weekly schedule:
- Week 1: Home wear + flat walks (30–45 min each session)
- Week 2: Easy trail walks, 2–4 miles per session, 3 sessions
- Week 3: 5–7 mile hikes with 500–800 ft elevation gain
- Week 4: 8–10 mile hike as a test run
If the boots still produce significant friction at Week 4, add another week before the main trail.
Step 5: Test on the Exact Terrain Type
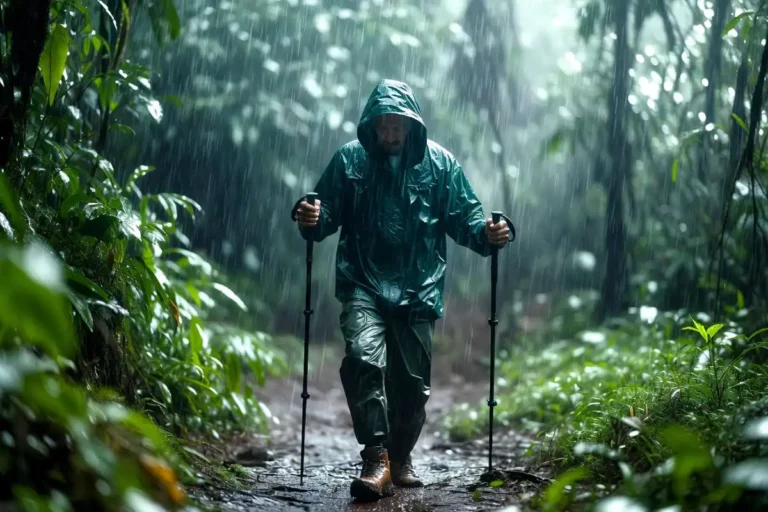
Before your long trail, do at least one hike that matches its terrain type. Rocky trail, loose gravel, and rooted forest paths each stress different parts of the boot.
Rocky terrain pushes against the rand and toe box. Rooted trails stress lateral ankle flex. Wet conditions reveal how the waterproof lining performs.
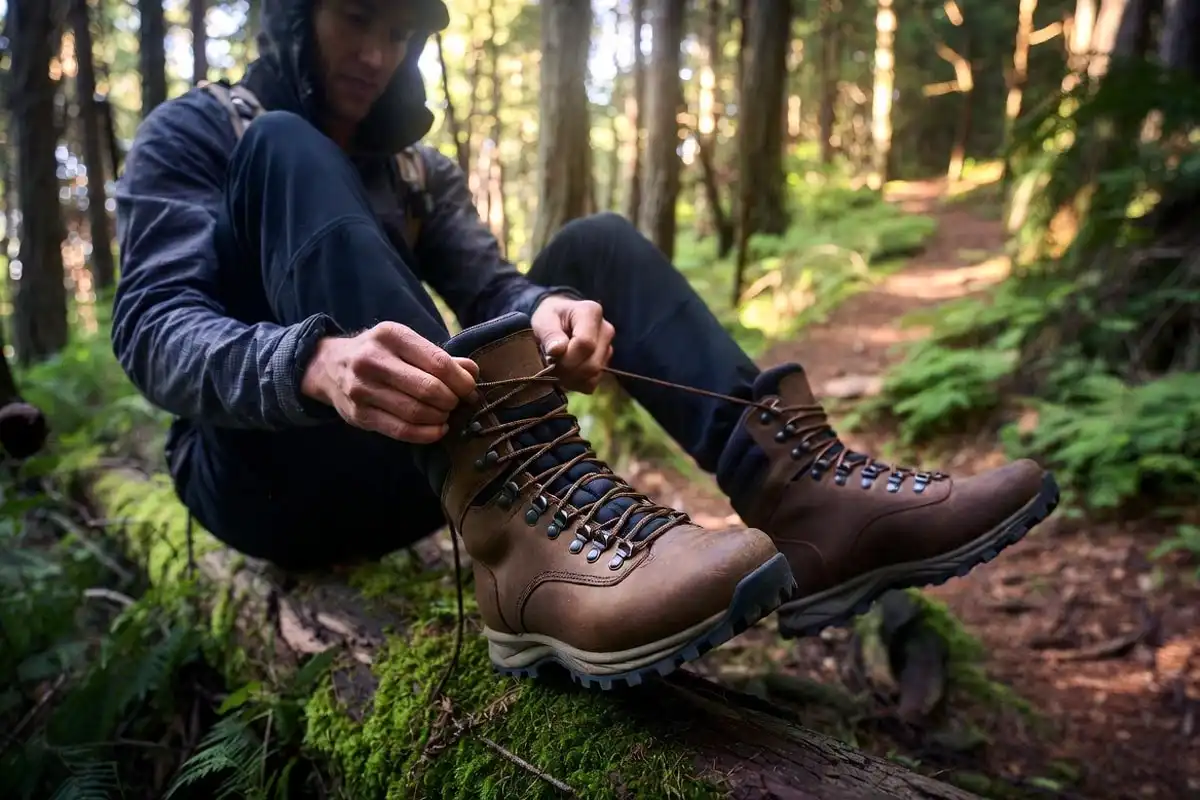
Step 6: Check and Condition the Boot
After each session, check the outer material. Leather boots benefit from a light application of leather conditioner every 1–2 weeks during break-in. This keeps the fiber supple and reduces cracking.
Do not over-condition. One thin coat is enough. Excess conditioner softens the boot beyond what it needs.
How to Lace Hiking Boots Correctly During Break-In
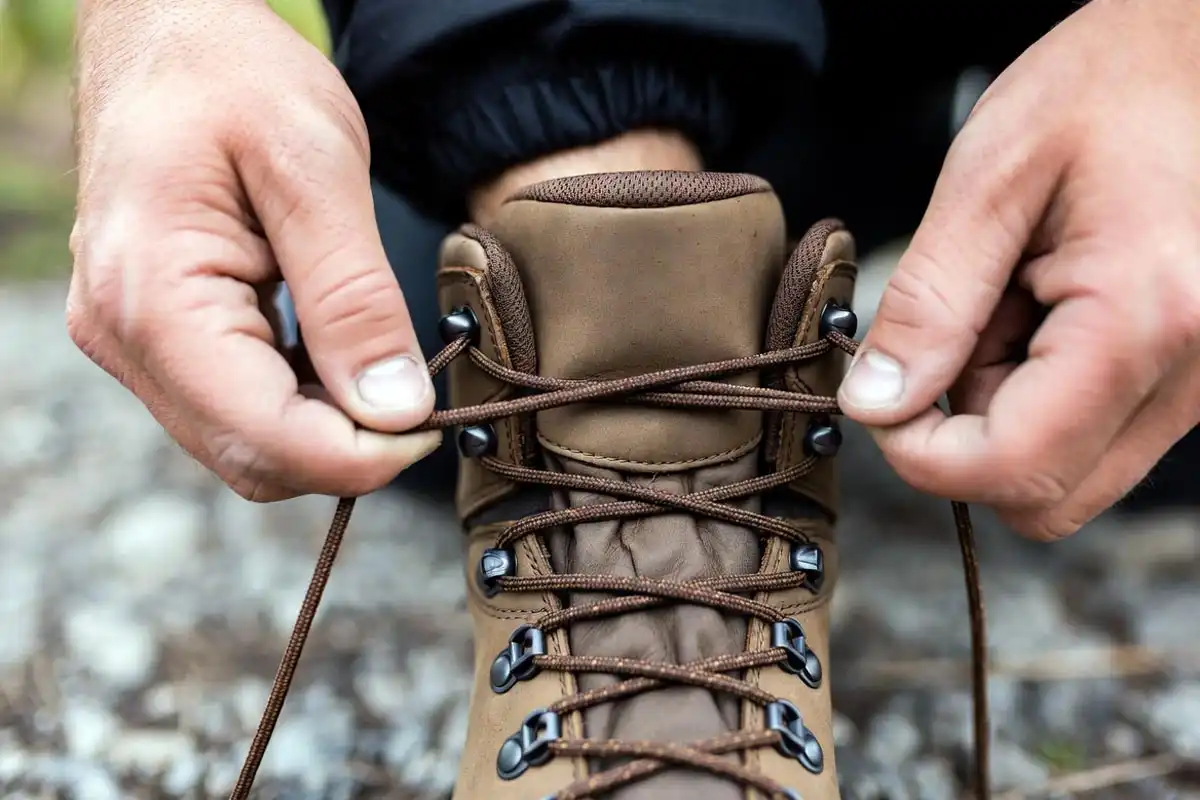
Lacing technique changes how pressure distributes across the foot. A loose lace at the ankle lets the heel lift and causes friction at the back.
Use heel-lock lacing (also called surgeon’s knot lacing) for any hike involving descents. Loop back through the last two hooks before the top to lock the heel in place.
Toe box lacing should stay slightly loose. Your toes swell during long hikes and need room to spread.
How to Spot and Handle Hot Spots Before They Become Blisters
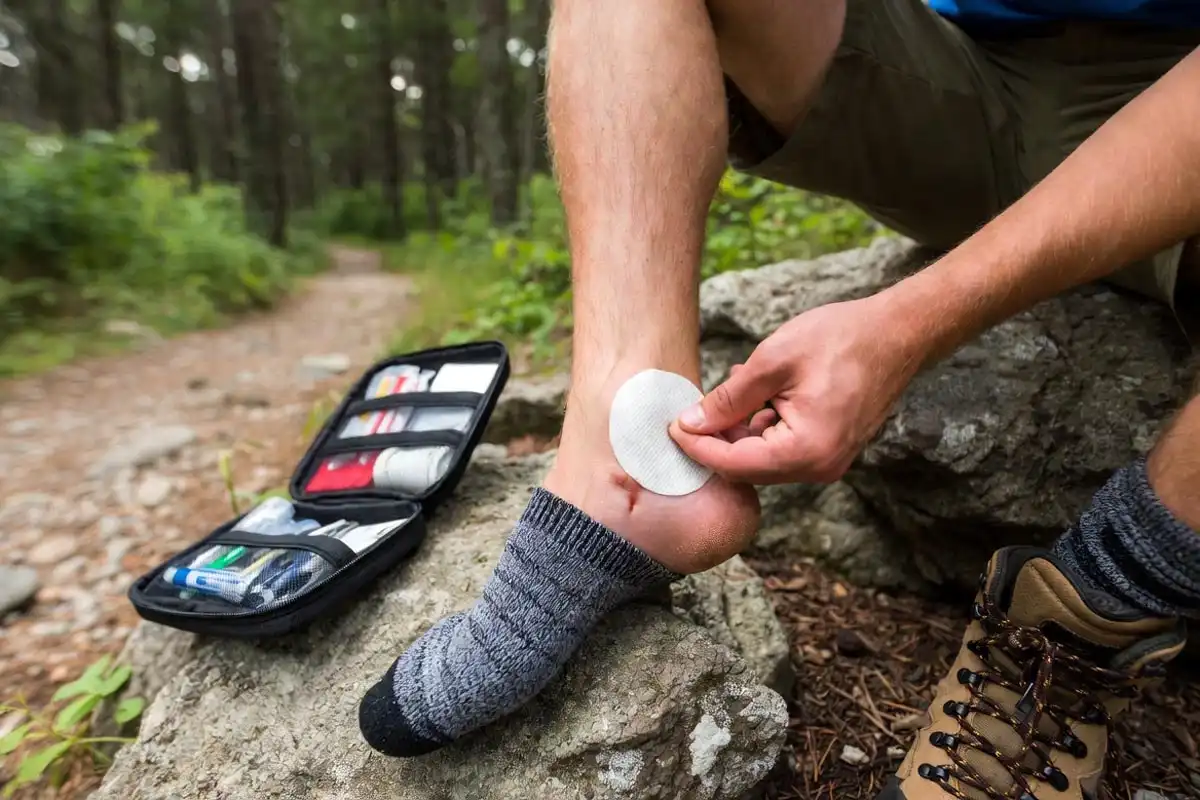
A hot spot feels warm and slightly tender on the skin. It appears before a blister forms.
At the first sign of a hot spot, stop and apply moleskin or blister tape. Do not wait until the end of the hike to treat it. Taking 2 minutes to tape a hot spot prevents a blister that takes days to heal.
If blisters do form, I have a full treatment guide on treat minor cuts and blisters at camp that covers cleaning, draining, and protecting the site safely.
Common Mistakes to Avoid
Skipping the gradual mileage progression. Taking brand-new boots straight on a 15-mile trail is the most common cause of severe blisters and ankle strain.
Using cotton socks. Cotton holds moisture against the skin. Moisture increases friction. Wool or synthetic socks wick sweat away and reduce hot spot formation.
Wearing the boots only once before the hike. One walk does not break in a boot. Repeated flexing in multiple sessions softens the material consistently.
Breaking in with a light shoe insert instead of your trail insole. Break the boot in with the exact insole you plan to hike with. Different insoles change how your foot sits inside the boot.
Applying too much heat to speed up the process. Some sources suggest wearing wet socks or using a heat gun. Heat damages adhesives and waterproof membranes. Skip these methods.
Does the Sock Thickness Matter?
Yes. Thicker socks fill more volume inside the boot and reduce internal movement. They also add cushioning at pressure points.
Break the boots in with the same sock thickness you plan to wear on the trail. If you train with thin socks and hike with thick ones, the fit changes and hot spots appear in new locations.
Merino wool socks in a medium weight are the most reliable option for multi-day hiking. They regulate temperature, resist odor, and wick moisture effectively.
Should You Use Boot Stretchers or Conditioning Products?
Boot stretchers help with width issues, particularly for wide feet pressing against a narrow toe box. Use a wooden boot stretcher overnight on tight spots.
Leather conditioners like Nikwax Leather Conditioner or Sno-Seal soften full-grain leather and restore flexibility. Apply one thin coat, work it in by hand, then let the boot dry at room temperature. Never use a hair dryer or direct sunlight.
Waterproof spray (DWR treatment) restores water repellency on the outer fabric after the break-in period. Apply it after the break-in is complete, not during.
Safety Notes for the Break-In Period
Keep break-in hikes close to your car or a known exit point. Blisters during a break-in hike can deteriorate quickly and affect your gait. Being close to an exit reduces the risk of pushing through pain into injury.
Carry a small first aid kit with moleskin, blister tape, and antiseptic wipes on every break-in hike. I also keep an eye on the weather, since wet conditions change how boots perform and can accelerate skin breakdown. See my notes on how to hike safely in extreme heat for additional foot care in high-temperature conditions.
FAQs: Break In New Hiking Boots Before a Long Trail
How long does it take to break in hiking boots?
Most synthetic boots take 1–3 weeks of regular use. Full-grain leather boots take 3–6 weeks. Heavy backpacking boots can take 6–8 weeks depending on stiffness and how frequently you wear them.
Can I break in hiking boots on a treadmill?
Yes. A treadmill with incline simulates uphill walking and helps flex the toe box and midsole. It does not replicate uneven terrain, so add outdoor trail walks before any serious hike.
Do waterproof hiking boots take longer to break in?
Waterproof boots with a membrane like Gore-Tex feel slightly stiffer than non-waterproof versions. They follow the same break-in schedule but may need an extra week for full flex at the ankle.
What if my boots still hurt after 4 weeks?
Persistent pain after 4 weeks of consistent use indicates a fit problem, not a break-in problem. Visit a specialty outdoor retailer for a professional foot measurement and fitting. Half sizes, wide widths, and volume-specific lasts make a significant difference.
Should I break in boots differently for backpacking vs. day hiking?
For backpacking, load the boot earlier in the process. Do your Week 2 and Week 3 walks with a loaded pack matching your trail weight. Backpack loads shift pressure distribution and the boot needs to flex under that specific weight before the trail.
Conclusion
Breaking in hiking boots takes time, but the process is straightforward. Wear them at home first, then progress through short walks, easy trails, and longer test hikes over 3–4 weeks. Use the right socks, address hot spots immediately, and condition leather uppers during the process.
A properly broken-in boot performs better on the trail and reduces injury risk significantly. Start early, stay consistent, and your boots will feel like a natural extension of your foot by the time you reach the trailhead.