How to Choose Trail Running Poles That Won’t Fail Mid-Race
Picking the right trail running poles depends on length, weight, locking system, grip material, and how often you run technical terrain. This guide walks through every spec that matters, lists what to test before you buy, and points out the small details that decide whether a pole supports your stride or breaks at the wrong moment on the trail.
To choose trail running poles, match pole length to your height (about 65 to 70 percent of total height), pick a folding Z-style design under 200 grams per pole, choose cork or EVA foam grips, and confirm the locking system stays tight under load on uneven ground.
What Are Trail Running Poles?
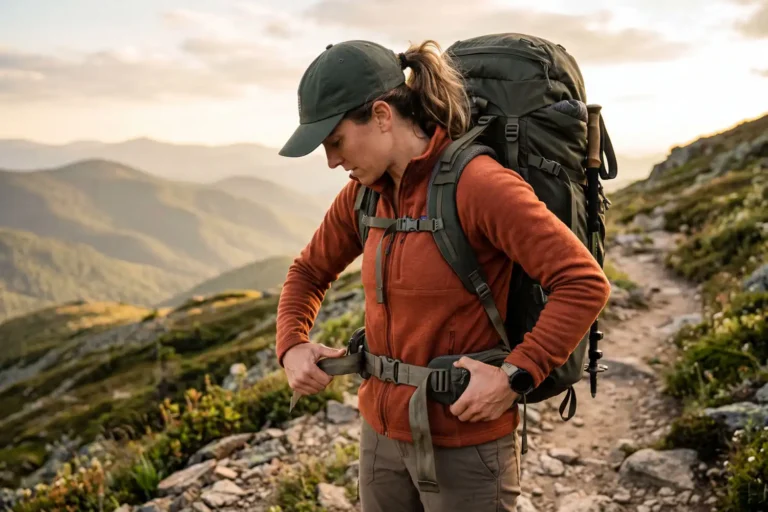
Trail running poles are lightweight, collapsible walking sticks built for steep climbs, technical descents, and long ultra-distance routes. They differ from standard trekking poles in three ways: lower weight (often under 200 grams per pole), a folding Z-pole structure, and shorter strap systems for fast hand release.

Runners use them to push uphill, brake on descents, and reduce load on the knees. The National Park Service’s hiking safety guidance reinforces how proper gear and technique cut injury risk on uneven trails.
When Should You Use Trail Running Poles?
Use trail running poles when the route includes long climbs, sustained descents, slippery surfaces, or distances over 20 kilometers. They help most on mountain ultras and routes with 1,000+ meters of elevation gain.
Skip the poles on flat, smooth singletrack where they slow your cadence. They also create clutter on technical sections that need both hands, like rock scrambles or steep root ladders. I covered the energy side of long climbs in my guide on hiking uphill without burning out, and the same logic applies to running.
Key Features to Check Before Buying
Each spec changes how the pole performs on different terrain. Here is what matters.
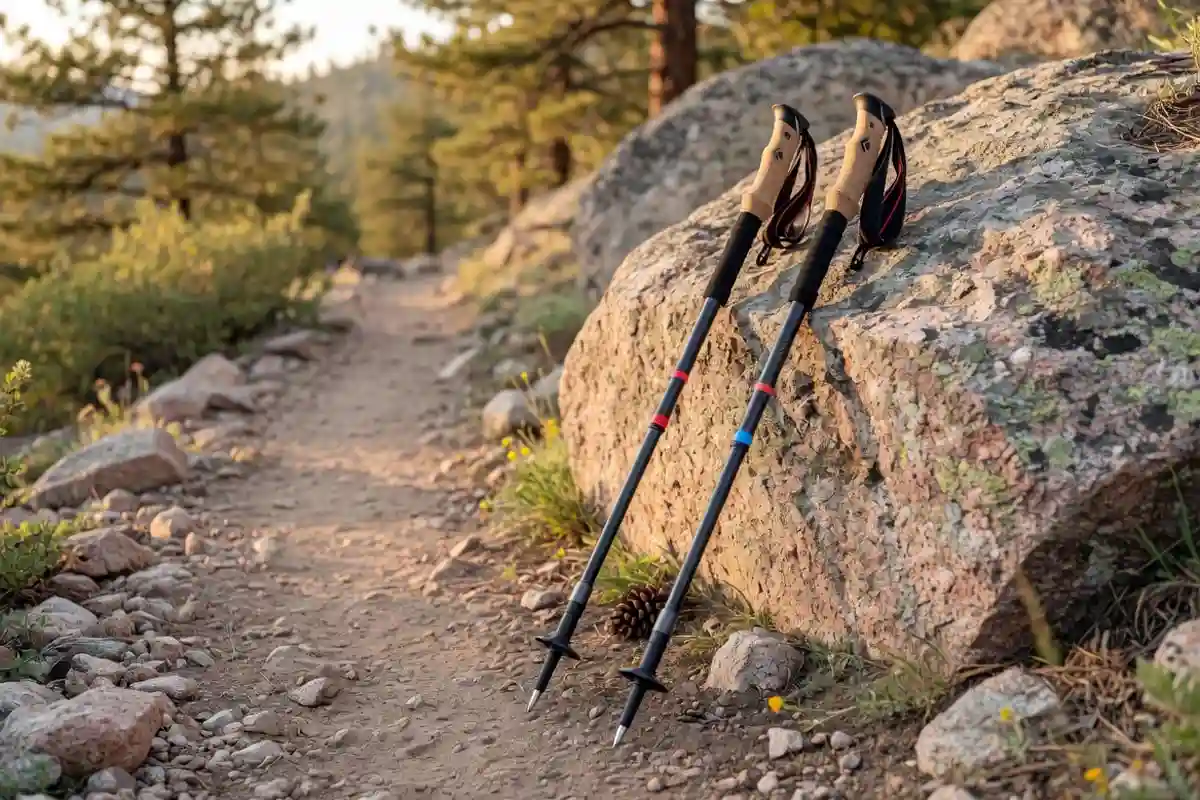
Length and Sizing
Pole length should sit at about 65 to 70 percent of your standing height. Stand straight, hold the pole, and check that your elbow forms a 90-degree angle.

A simple sizing reference:
- 5’2″ (157 cm) → 100 cm pole
- 5’6″ (168 cm) → 110 cm pole
- 5’10” (178 cm) → 120 cm pole
- 6’2″ (188 cm) → 130 cm pole
For steep climbs, shorten by 5 cm. For long descents, lengthen by 5 to 10 cm. Adjustable poles handle both; fixed-length poles save weight but lock you into one setting.
Weight per Pole
Aim for under 200 grams per pole. Top racing models drop to 130 to 160 grams. Heavier aluminum poles run 220 to 280 grams.
Weight matters because you swing each pole thousands of times per hour. Two extra ounces per pole add real fatigue across a six-hour effort.
Material: Carbon vs Aluminum
Carbon fiber poles weigh 30 to 40 percent less than aluminum and absorb vibration better. They cost more and can shatter on a sharp side load, like a fall onto rocks.
Aluminum poles bend instead of break, repair easier, and cost less. Pick aluminum for rocky scrambles and rugged ultras. Pick carbon for fast, smooth courses where weight wins.
Grip Material
Three grip options dominate:
- Cork: molds to your hand, absorbs sweat, lasts years
- EVA foam: light, soft, dries fast, wears out sooner
- Rubber: durable but slippery when wet, avoid for hot conditions
Cork and EVA foam handle long efforts best. Skip rubber grips for summer running.
Locking System
The lock holds your length under load. Three types exist:
- External lever (FlickLock-style): strongest, fastest, easiest to adjust mid-run
- Twist lock: older design, slips under load, avoid for serious use
- Folding Z-pole with internal cord: strong, fastest deploy, no length adjustment unless the upper section is also adjustable
Most trail runners pick folding Z-poles with one short adjustable section.
Tip and Basket
Carbide tips bite into rock, ice, and packed dirt. Rubber tip covers protect floors and pavement. Small powder baskets prevent the pole from sinking into mud or snow without adding swing weight.
How to Choose Trail Running Poles Step by Step

Follow these seven steps to land on the right pair.
- Measure your height in centimeters. Multiply by 0.68 for a starting pole length.
- Pick fixed or adjustable. Choose fixed for racing weight, adjustable for varied terrain.
- Set a weight target. Under 180 grams per pole for racing, under 220 for general trail use.
- Choose the material. Carbon for smooth fast routes, aluminum for rocky or remote ones.
- Test the lock. Press the pole hard against the floor at full extension. It should not slip.
- Check the grip. Squeeze with a sweaty hand. Cork or EVA should still feel secure.
- Confirm pack-down length. Folded poles should fit in your running vest without poking out past your shoulders.
I wrote about gear weight balance in my guide on packing a hiking backpack so your shoulders don’t hurt, and the same logic applies to pole storage.
Common Mistakes to Avoid
- Buying poles too long. Long poles tire your shoulders on flats.
- Skipping the lock test. A pole that slips on a descent can drop you forward.
- Using tight straps on technical descents. Quick-release or loose straps save your wrists in a fall.
- Picking carbon for rocky alpine routes. One side strike can crack a carbon shaft.
- Forgetting the basket. Mud and snow swallow tip-only poles fast.
I touched on the related joint side in my piece on managing knee pain on downhill hikes, since poles directly reduce that load.
Safety Tips for Using Poles on Technical Trails
Plant the pole tip behind your lead foot on descents to brake without overstriding. Keep the strap loose enough to drop the pole instantly if you start falling. Never lock your wrist into tight straps on rocky ground.
For river crossings, plant the pole upstream and lean into it. The CDC’s outdoor worker safety resources cover broader trail and weather hazards worth scanning before remote runs.
FAQs on Trail Running Poles
Do I need poles for trail running?
Are carbon poles worth the extra cost?
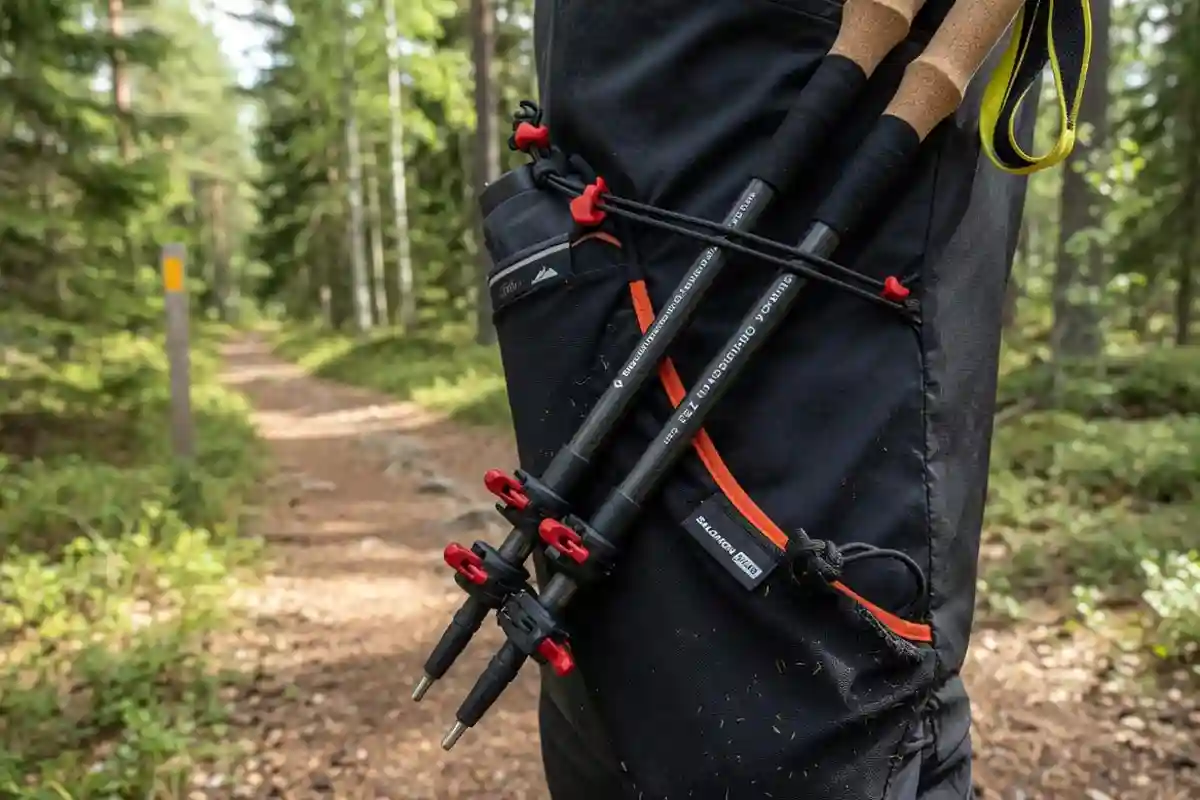
How do I carry trail running poles when not in use?
What length poles fit a runner who is 5 feet 8 inches tall?
How long do trail running poles last?
Final Thoughts
The right trail running poles match your terrain, body size, and run distance. Length sits near 68 percent of your height. Weight stays under 200 grams per pole. Locks hold under load. Grips suit sweaty hands. Get those four right and the rest is small detail.
Test the pair on a short steep climb before committing to a long race. Comfort over twenty minutes tells you what spec sheets cannot.