How to Cook Oatmeal Over a Campfire Without It Turning to Mush
Cooking oatmeal over a campfire can turn to mush when you cook it too fast over direct flame. This guide covers the right oat type, fire stage, water ratio, and stirring method so you get a firm, creamy texture every time. I’ve cooked oatmeal on dozens of camping mornings in the hills near Kaptai, and these steps work whether you’re solo or feeding a group. Follow the process here and you won’t end up with a grey paste in your bowl.
Cook campfire oatmeal over glowing embers, not open flames. Use rolled oats with a 2:1 water-to-oats ratio. Bring the water to a full boil first, add oats, stir every 30 seconds, and remove the pot before it looks fully done. Residual heat finishes the cooking. Total time runs 5 to 7 minutes.
Which Type of Oatmeal Works Best Over a Campfire?
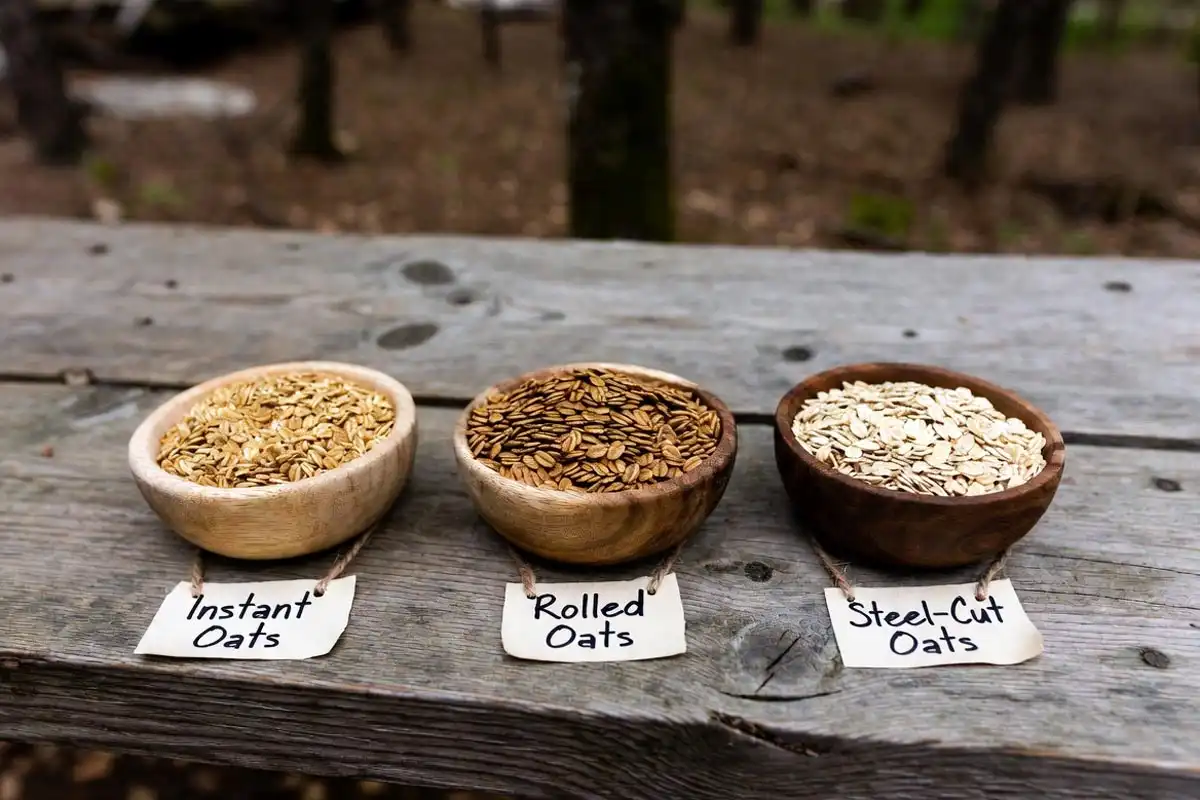
Three oat types are available for camp use: instant, rolled (old-fashioned), and steel-cut.
Instant oats absorb water in under 2 minutes. They turn paste-like over a campfire because the heat continues cooking them even after you remove the pot.
Rolled oats hold their structure better. They take 5 to 7 minutes over embers and produce a creamy but firm texture. Rolled oats give you the most control at camp.
Steel-cut oats stay firm but need 20 to 30 minutes of simmering. The long cook time drains fuel and demands constant fire management, which makes them impractical for most camp breakfasts.
Rolled oats deliver the best balance of texture, cook time, and simplicity over a campfire.
What Water Ratio Prevents Mushy Oatmeal?
The correct ratio is 2 cups of water per 1 cup of rolled oats.
Using more water produces thin, watery oatmeal that never firms up. Using less water leads to dry patches and uneven cooking.
At higher elevations, water boils at a lower temperature. Oats need slightly more time to cook at altitude, not more water.
What Fire Stage Produces the Best Results?
Open flames push uneven, aggressive heat into the pot. The bottom scorches while the top stays undercooked.
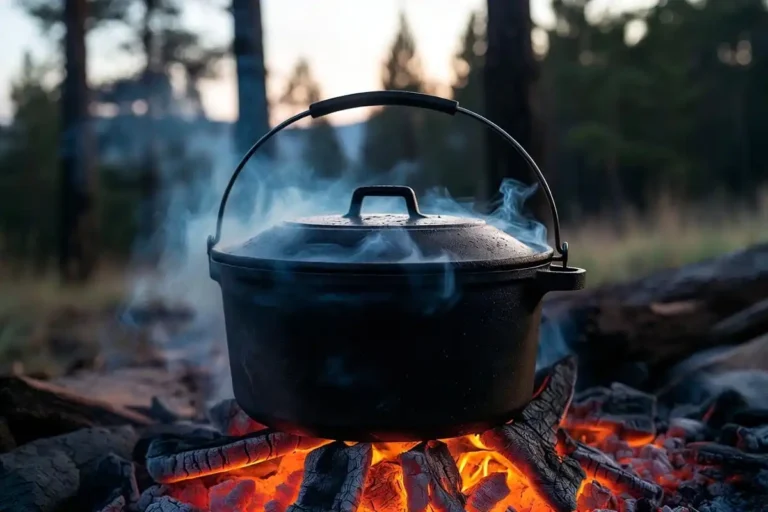
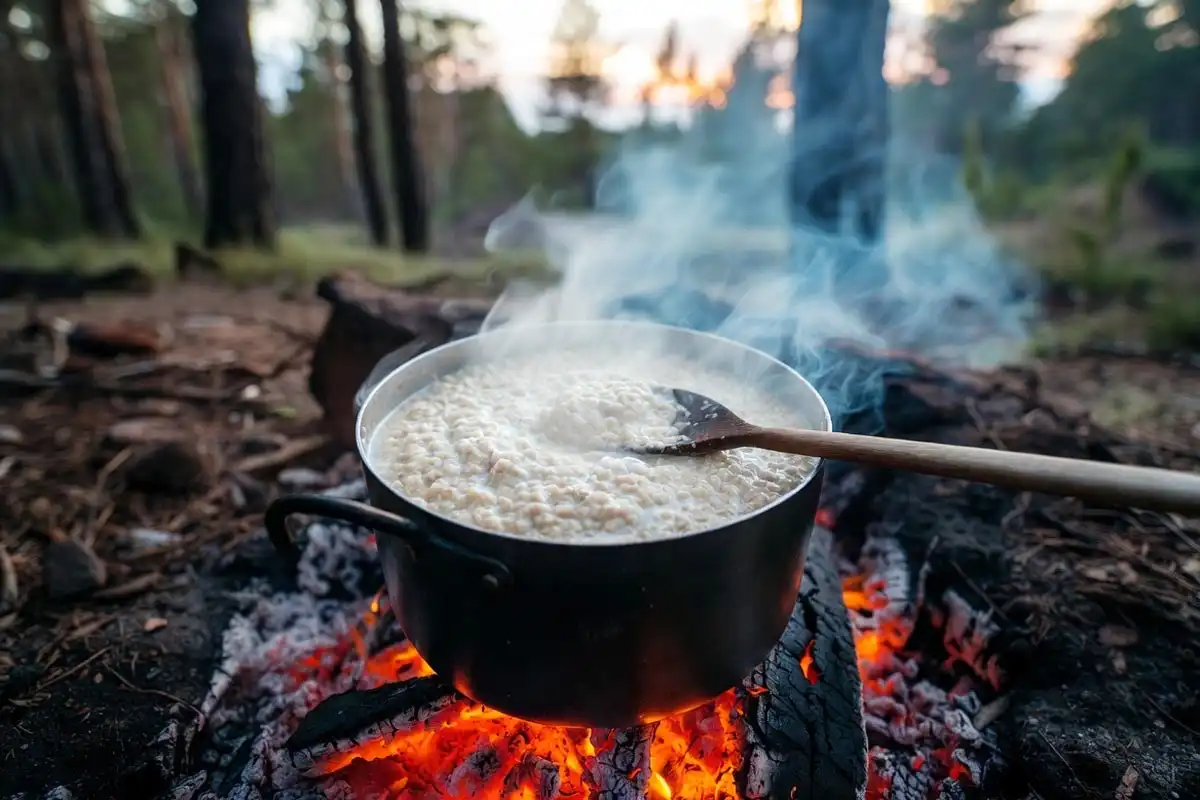
Cook oatmeal over glowing orange embers with low or no visible flame. Embers generate consistent, moderate heat, which rolled oats need to absorb liquid without breaking down.
Let the fire burn down for 20 to 30 minutes after you light it before placing the pot. I covered the full process of reading ember stages and managing campfire heat in my article on regulating campfire heat for cooking, which applies directly to this technique.
If your wood or conditions are damp, getting the fire to the right stage takes longer. I’ve gone through the full process of starting a campfire for cooking in wet conditions in a separate guide that covers wet-weather fire prep from scratch.
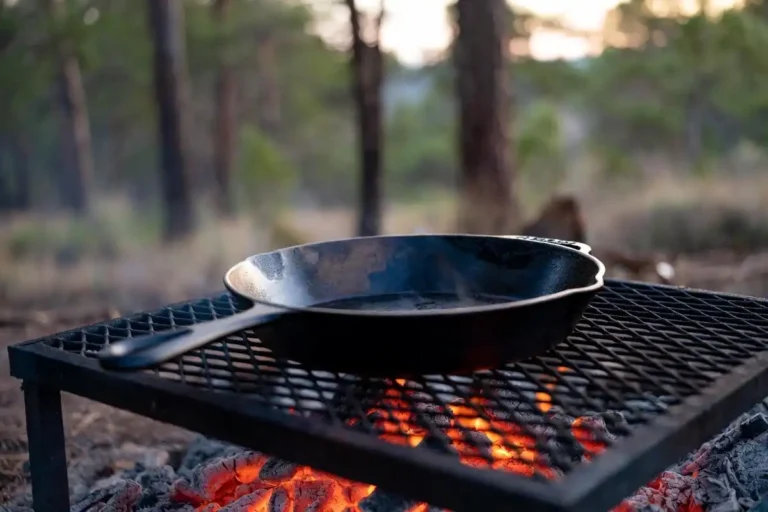
What Equipment Do You Need?
- A small pot with a lid (1 to 1.5 litre capacity for 1 to 2 servings)
- A long-handled spoon or wooden spatula
- A pot gripper or heat-resistant gloves
- A campfire grate or flat rock to set the pot on
A lid matters. It traps steam and cooks the oats evenly from the top while preventing excess water loss.
A flat, stable cooking surface keeps the pot level. A tilted pot concentrates heat on one side and causes uneven cooking. I’ve listed the key items worth carrying in a full breakdown of a lightweight campfire cooking kit if you want to review what else fits into a lightweight cook setup.
How to Cook Campfire Oatmeal Step by Step
Step 1: Build and prep your fire
Light the campfire 25 to 30 minutes before you plan to cook. Let it burn to orange embers with minimal visible flame. Position the grate approximately 15 cm above the coal bed.
Step 2: Boil the water first
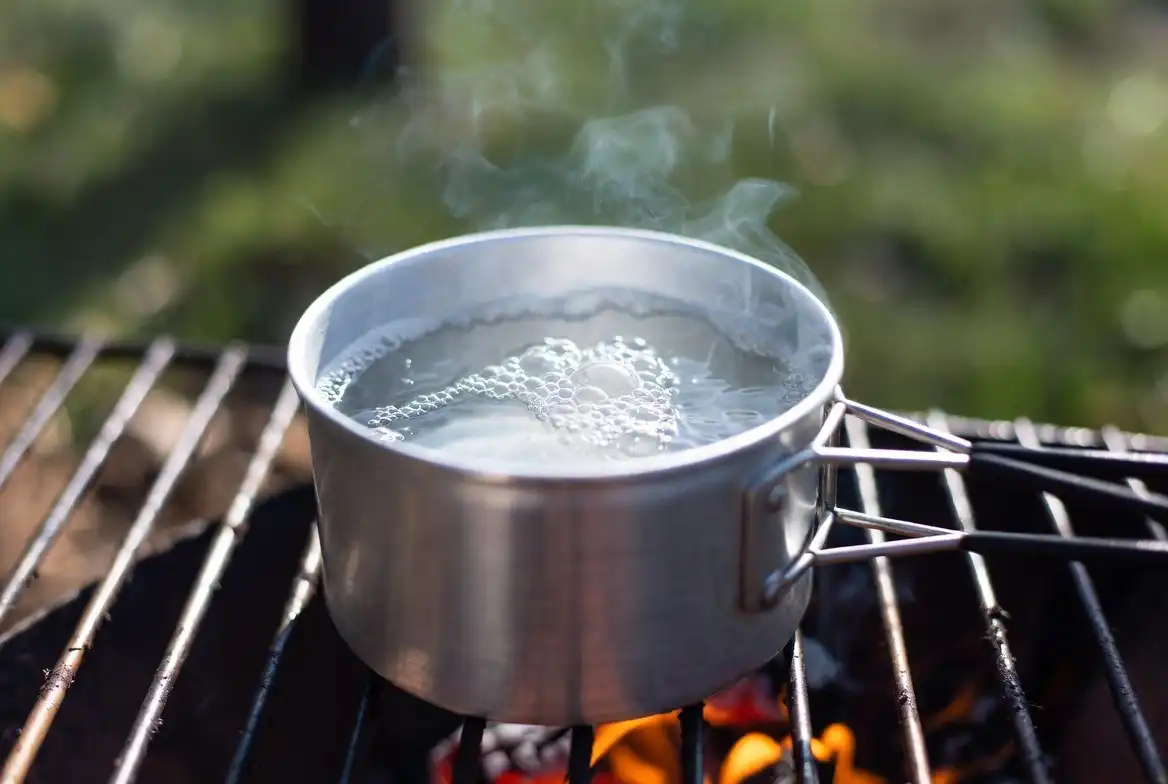
Pour 2 cups of water into the pot. Place it on the grate. Bring the water to a rolling boil before adding any oats. This step controls cook time and prevents raw spots.
Step 3: Add the rolled oats
Pour 1 cup of rolled oats into the boiling water. Stir immediately to coat all oats with water. Shift the pot to a cooler section of the embers or raise the grate slightly to reduce heat intensity.
Step 4: Stir every 30 seconds
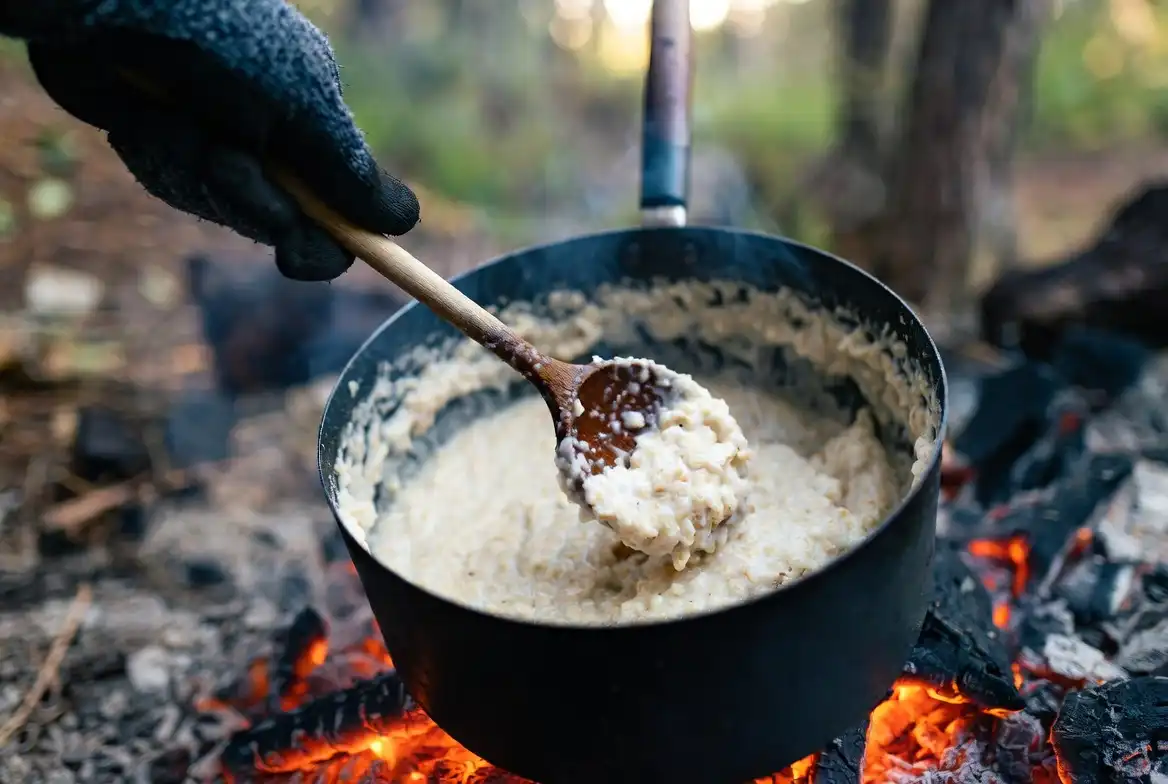
Use a long-handled spoon and stir steadily every 30 seconds. Scrape the bottom of the pot with each stir. This prevents scorching and keeps the oats cooking evenly from bottom to top.
Step 5: Remove the pot before it looks done
Pull the pot off the heat when the oatmeal looks 80% cooked, slightly loose and not fully set. Place the lid on immediately and let residual heat finish the job over 2 minutes. This step is what separates firm oatmeal from mush.
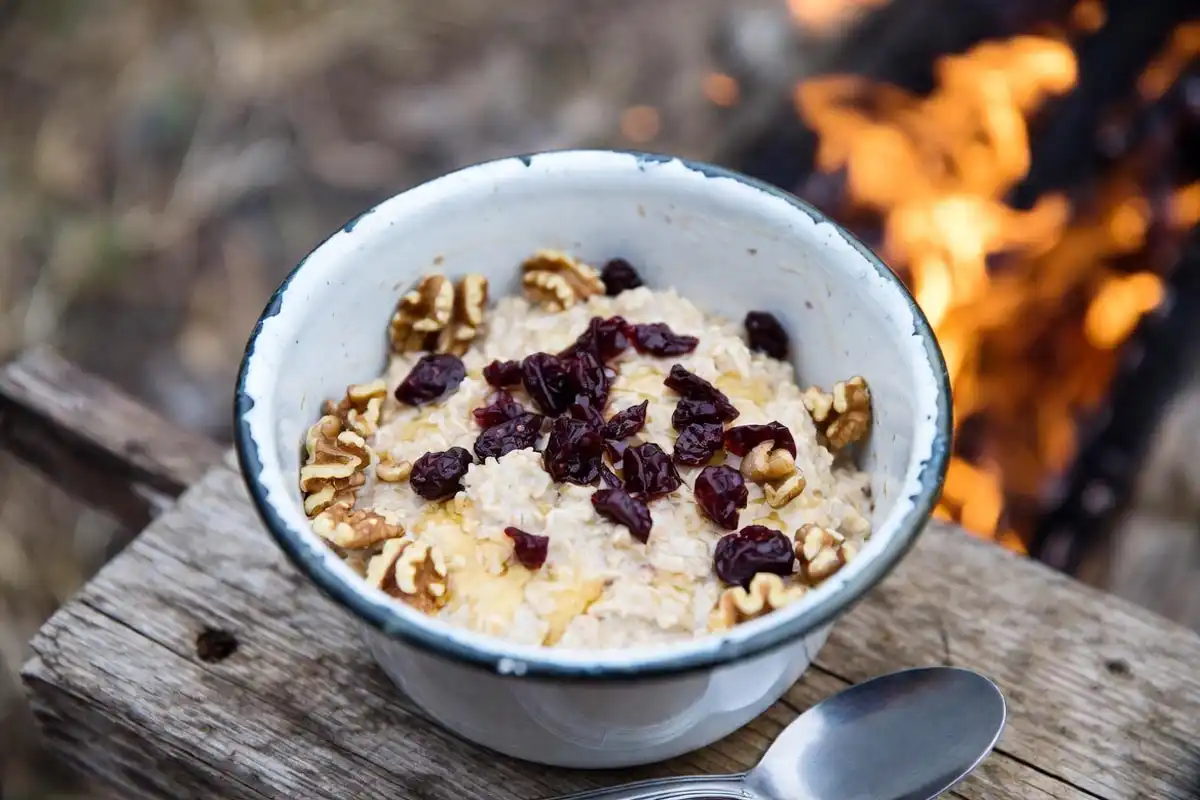
Step 6: Add toppings and serve immediately
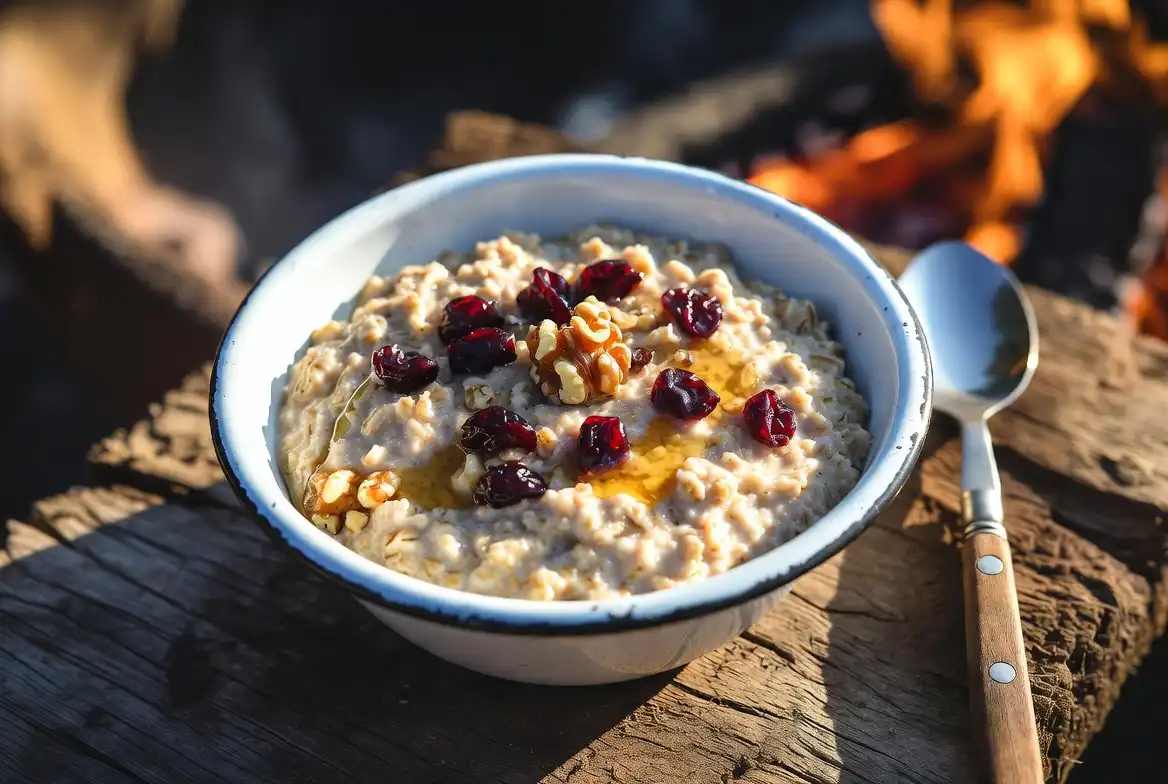
Stir in salt, honey, dried fruit, or nuts. Serve right away. Oatmeal thickens further as it cools, so eat it while still warm.
Common Mistakes That Cause Mushy Oatmeal at Camp
Cooking over open flame. Direct flame applies intense, uneven heat. It boils the oatmeal too aggressively and breaks down the oat structure within minutes.
Adding oats to cold water. Cold-start cooking draws starch out of the oats slowly and unevenly. Always boil the water before adding oats.
Using instant oats. Instant oats pre-cook faster than a campfire can be controlled. They turn to paste reliably over any open heat source.
Leaving the pot on too long. Oatmeal continues cooking in the pot even after it leaves the flame. Pulling the pot early is the single most effective way to preserve texture.
Stirring too little. Unstirred oats settle and scorch on the bottom. The burnt layer produces steam that overcooks the oats sitting above it.
Troubleshooting: When Things Go Wrong
Too thick and pasty: Add 2 to 3 tablespoons of hot water and stir while still warm. Cold water creates lumps.
Burnt on the bottom: Lift the unburnt top layers into a clean bowl. Do not scrape the burnt layer into the rest.
Still watery after 7 minutes: Return the pot to the embers briefly. Stir and check every 60 seconds until oats absorb the remaining liquid.
Lumpy throughout: Lumps form when oats hit water that is not fully boiling, or when stirring stops in the first minute. Stir continuously for the first 60 seconds after adding oats.
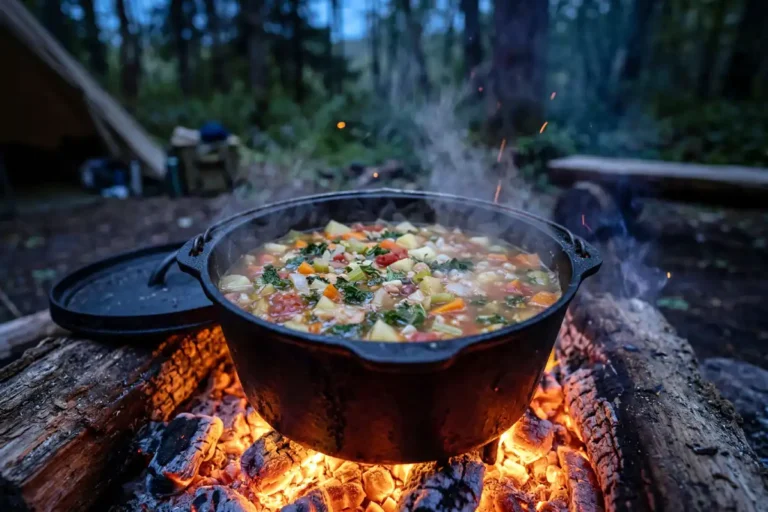
Oatmeal belongs to the same category of one-pot camp meals that benefit from controlled heat and simple technique. I went through the broader approach in my article on building a one-pot camping meal for four people if you want to apply these same principles across your full camp menu.
FAQs about Cook Oatmeal Over a Campfire
Can you use a regular camping pot to cook oatmeal over a campfire?
Yes. A 1 to 1.5 litre pot with a lid works well. Use rolled oats and a 2:1 water-to-oats ratio. Cook over embers, stir every 30 seconds, and remove before it fully sets.
How long does oatmeal take to cook over a campfire?
Rolled oats take 5 to 7 minutes over campfire embers. Instant oats take 2 to 3 minutes but tend to go mushy. Steel-cut oats need 20 to 30 minutes and require consistent, controllable heat.
What is the best oatmeal for camping?
Rolled oats (old-fashioned oats) perform best. They hold texture better than instant oats, cook faster than steel-cut oats, pack light, and store well in a sealed bag.
Do you need a lid to cook oatmeal over a campfire?
A lid helps significantly. It traps steam, which cooks oats evenly from the top and reduces water loss. Without a lid, the surface dries out while the bottom scorches.
How do you stop oatmeal from sticking to the camping pot?
Stir every 30 seconds and boil the water fully before adding oats. A heavier-base pot also reduces hot spots. Some campers add a small amount of oil or butter to the water before adding oats, which reduces sticking.
Conclusion
Mushy campfire oatmeal comes down to three things: wrong oat type, too much direct heat, and leaving the pot on too long. Switch to rolled oats, cook over embers, stir consistently, and pull the pot early.
That’s the method I use every camp morning, and it produces solid results without extra effort or gear.