How to Layer Clothing for Cold Wind on Trail: 3 Layers That Work

Layering clothing for cold wind on trail requires three distinct garments: a moisture-wicking base layer, an insulating mid layer, and a windproof outer shell. This guide covers how to choose each layer, how to combine them correctly, and when to add or remove them as trail conditions change. I also cover common layering mistakes and safety risks so you leave the trailhead prepared for dropping temperatures and unpredictable gusts.
To layer clothing for cold wind on trail, wear a synthetic or merino wool base layer against your skin, add a fleece or insulated mid layer for warmth, and put a windproof shell on top. Adjust layers based on your body heat as you hike. Wind strips heat faster than still cold air, so the shell layer is not optional in exposed conditions.
What Is the Layering System for Cold-Wind Hiking?
The layering system uses three separate garments that work together to manage heat and moisture. Each layer serves a different function. The base layer moves sweat away from your skin. The mid layer traps warm air close to your body. The outer shell blocks wind and stops that trapped heat from escaping.
Cold wind increases heat loss faster than still cold air. A 20 mph wind at 30°F produces a wind chill equivalent to roughly 17°F. That gap is why a windproof shell layer changes your whole experience on exposed ridges.
The 3 Layers You Need on a Windy Trail

Base Layer: Moisture Management
The base layer sits directly against your skin. It pulls sweat away from your body to keep you dry. Merino wool and synthetic polyester both work well for cold-wind conditions. Merino wool regulates temperature and resists odor. Synthetic polyester dries faster and costs less.

Avoid cotton base layers in cold wind. Cotton holds moisture against your skin, which increases heat loss when wind hits. This is the single most common mistake I see on cold-weather trails.
Mid Layer: Insulation
The mid layer traps body heat. Fleece and insulated jackets are the two main options. Fleece performs well in damp or high-output conditions because it retains warmth even when partially wet. Down provides more warmth per gram but loses insulating power when wet.
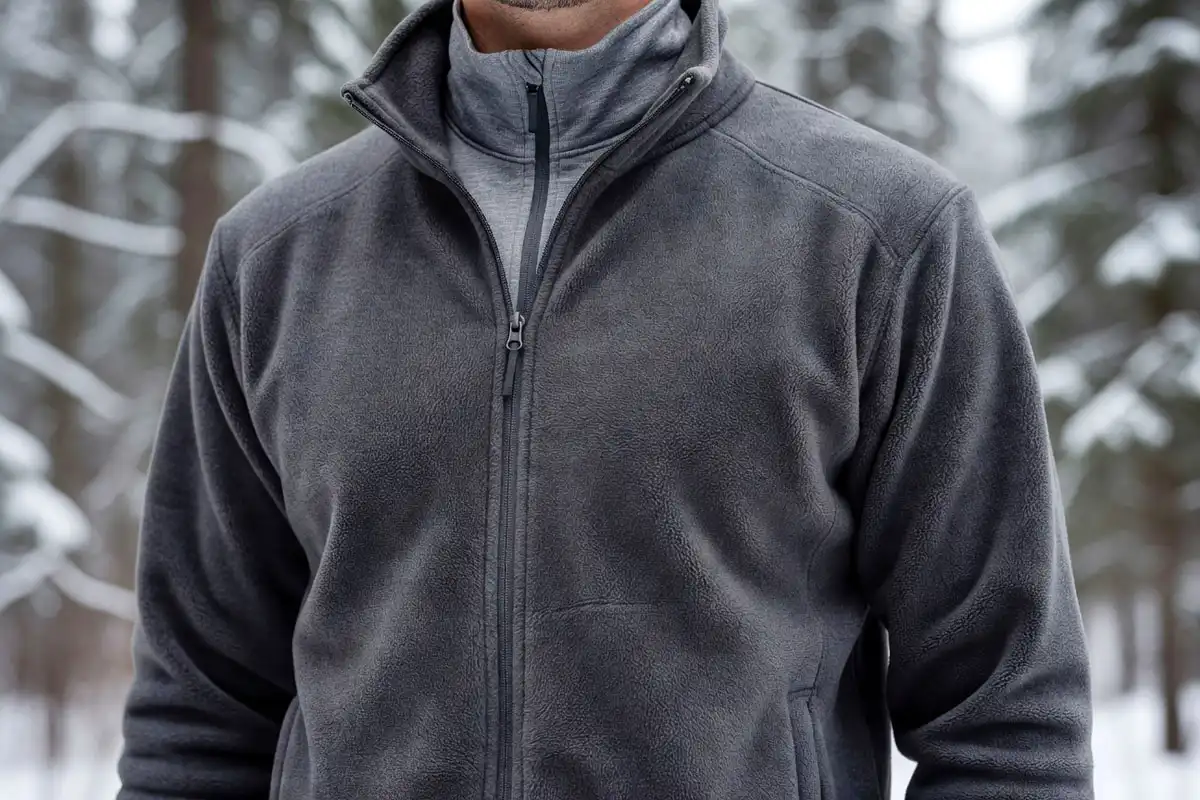
A 100-weight fleece jacket suits moderate cold and high activity. A 200-weight fleece or synthetic insulated jacket suits colder exposed ridgelines and windy summits.
Outer Shell: Wind and Weather Barrier
The outer shell blocks wind and stops your mid layer from losing heat to moving cold air. A windproof softshell or hardshell jacket works here. Full-zip construction lets you ventilate without fully removing the layer.
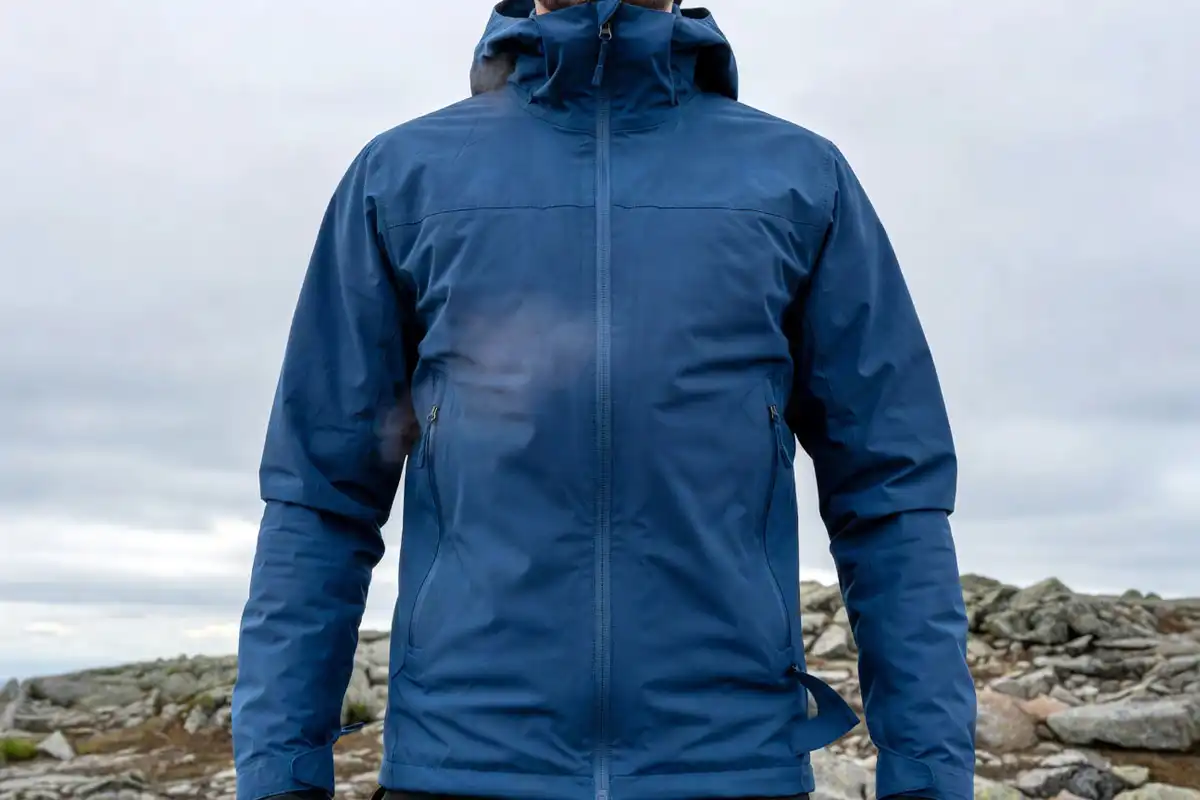
A shell with underarm vents helps manage body heat during steep climbs. This prevents soaking your mid layer with sweat from the inside.
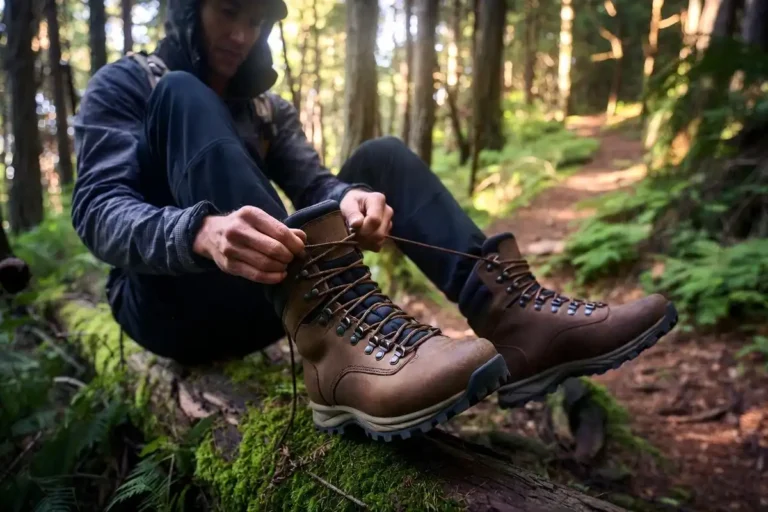
How to Layer Clothing for Cold Wind on Trail: Step-by-Step

Here is the process about hiking clothing layering system for cold, windy conditions I follow from pack to trail.
Step 1: Check wind speed and temperature before you start. Wind chill determines your effective temperature. If the forecast shows 15 mph or higher winds, plan for a full three-layer system from the trailhead.
Step 2: Put on your base layer first. Pull the moisture-wicking base layer on snugly. It sits close to your skin without restricting movement. Tuck it into your waistband to seal the gap at your hip.
Step 3: Add your mid layer. Put on your fleece or insulated jacket over the base. Leave it unzipped when you start hiking. Zip it up as needed when you slow down or stop.
Step 4: Put your shell on top. Zip the windproof shell over both layers before leaving the trailhead. If you heat up on an uphill stretch, remove the mid layer and run just the base layer under the shell. This two-layer combination works well during high-output sections.
Step 5: Adjust layers at rest stops. Your body temperature drops quickly when you stop moving. Add the mid layer back during breaks, especially on exposed sections. Put the shell back on before wind hits, not after you are already cold.
I wrote the core pacing principles in an earlier article on pace yourself on a long hike, and that pacing directly influences how much heat you generate between stops.
Step 6: Seal all gaps. Pull the base layer down into your waistband. Pull the mid layer over it. Cinch the shell hem cord at your hip. These three points prevent cold air from funneling up inside your layers.
Step 7: Cover your extremities. Hands, neck, and ears lose heat rapidly. Add a wind-resistant hat, gloves, and a neck gaiter as a fourth functional layer for these areas.
What to Wear on Your Head, Hands, and Neck
Your head and neck lose a significant share of body heat in cold conditions. A merino wool or fleece-lined beanie that covers your ears reduces heat loss from your scalp noticeably.
A neck gaiter provides flexible coverage. Pull it up over your face in strong wind. Drop it down when you heat up on a climb.
For hands, thin liner gloves worn under wind-resistant shell gloves give you two warmth levels. Remove the shell gloves during climbs and add them back when you descend into exposed areas.
Warm feet also contribute to overall warmth. Choosing the right hiking socks to reduce friction and moisture matters more than most hikers expect on cold-wind trails.
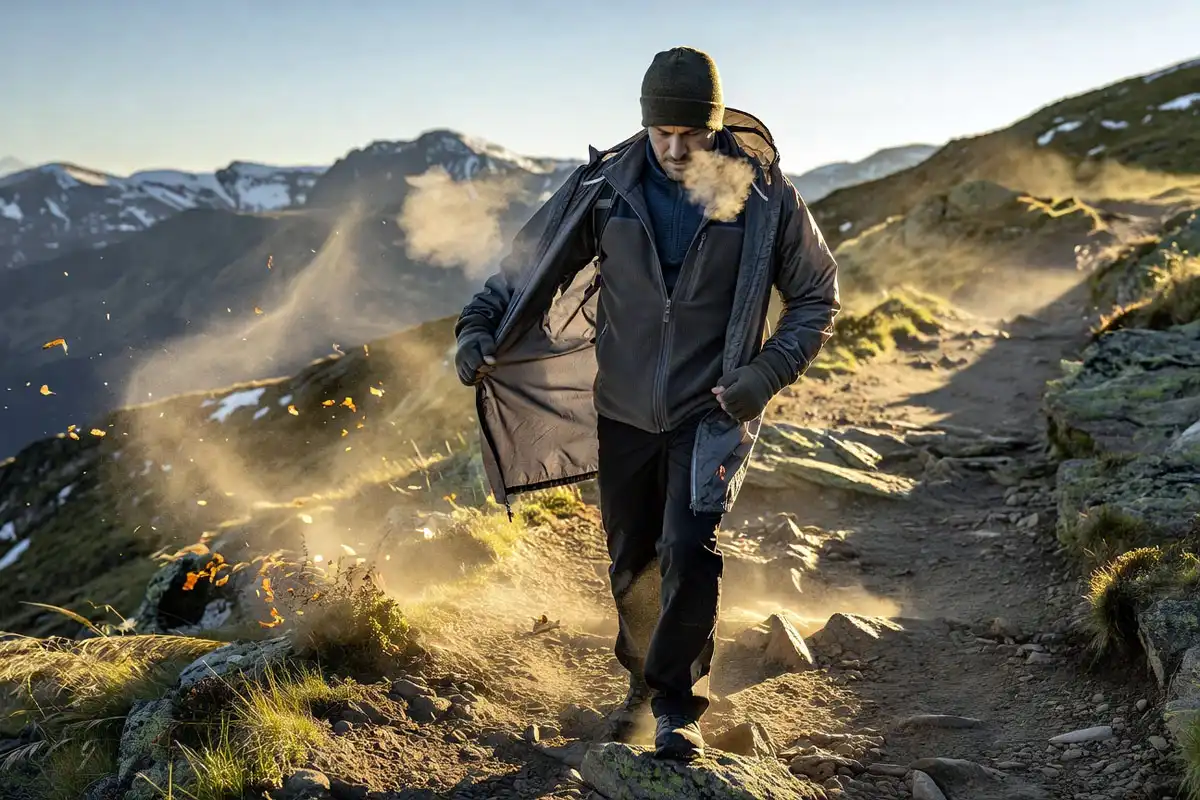
How to Adjust Layers While Hiking in Wind
Hiking generates heat. Wind removes it. The balance shifts constantly on exposed trails.
Use this pattern: open zippers first, then remove layers if needed. This prevents soaking your insulation with sweat before you strip down.
On uphill sections, vent the shell by unzipping the front or using pit zips. On flat exposed sections, zip back up. And on descents, wind hits harder and your body cools faster. Add the mid layer back before you begin a descent, not after you are already shivering.
The same ventilation logic I covered in an earlier article on staying dry while hiking in the rain without overheating applies equally to cold-wind conditions.
Layering for Different Wind Conditions
Light wind (5-15 mph) above 35°F (2°C): Base layer plus a lightweight windproof shell. The mid layer stays in your pack for rest stops.
Moderate wind (15-25 mph) at 25-35°F (minus 4 to 2°C): Full three-layer system. Use a 200-weight fleece or light insulated jacket as your mid layer.
Strong wind (25+ mph) below 25°F (minus 4°C): Full three layers plus a high-loft mid layer or insulated vest under the shell. Add windproof gloves and a balaclava.
Common Layering Mistakes to Avoid
Using cotton in any layer. Cotton traps moisture and loses all insulation when wet. Replace it with merino wool or synthetic fabric throughout.
Waiting until you feel cold to add a layer. By that point your core temperature has already dropped. Add insulation proactively before exposed sections.
Wearing thick down during high-output hiking. Down traps heat efficiently. During heavy uphill sections, it causes excessive sweating that soaks the insulation from the inside. Switch to fleece or synthetic insulation for high-activity stretches.
Ignoring the bottom half. Wind layers apply to legs too. Softshell or wind-resistant hiking trousers reduce chill on exposed ridges. Thermal base layer leggings go underneath for colder conditions.
Keeping layers buried in your pack. Store your mid layer and spare gloves in your pack’s top pocket. Digging through a full pack on a windy summit wastes time and body heat.
Safety: Wind Chill and Hypothermia Risk
Hypothermia develops faster in wet wind than in still cold air. Early signs include uncontrolled shivering, confusion, and difficulty operating zippers or buckles.
If you notice these signs in yourself or a companion, stop, add all available layers, get into wind shelter immediately, and consume warm food or liquid if available. I covered the full response process in an earlier article on suspect hypothermia while camping.
The practical rule is this: layer before you are cold, not after.
FAQs on Hiking Clothing Layering System for Cold, Windy Conditions
Does the layering system actually work in cold wind specifically?
Yes. Each layer targets a different problem: moisture, insulation, and wind exposure. Without a windproof shell, even thick fleece loses heat rapidly to moving cold air. The three layers work together; removing one significantly reduces performance.
What fabric works best for a base layer in cold, windy conditions?
Merino wool and synthetic polyester both perform well. Merino regulates temperature and resists odor over multiple days. Synthetic dries faster and costs less. Cotton performs poorly in cold wind and should be avoided entirely.
Can I use a rain jacket as my wind shell?
Yes. A waterproof hardshell also blocks wind effectively. It is slightly less breathable than a softshell, so use pit zips or front ventilation during high-output sections to prevent overheating inside the layers.
How do I stop wind from entering through the bottom of my jacket?
Choose a shell with a hem draw cord. Tuck your base layer into your waistband. Cinch the hem cord at hip level. This seals the entry point most hikers leave open without realizing it.
Do I need wind layers on my legs too?
Yes, on exposed ridges and in strong wind above 20 mph. Softshell trousers or wind-resistant hiking pants reduce heat loss from your legs significantly. Add thermal base layer leggings underneath for temperatures below 25°F (minus 4°C).
Final Thoughts
Layering for cold wind on trail is a system built from three functional garments: a moisture-wicking base, an insulating mid layer, and a windproof shell. Add coverage for your head, hands, and neck as a fourth layer for extremities.
The habit that keeps you warm is proactive adjustment: seal gaps, zip before a descent, vent before overheating on a climb. That one habit prevents most of the comfort and safety problems that cold-wind hiking produces.