How to Plan Your First Solo Overnight Trip from Start to Finish
Planning your first solo overnight trip from start to finish requires the right destination, a solid gear list, and a clear safety plan before you leave home. This guide covers every stage from choosing where to go, to packing, to what you do when you arrive at camp, so you can head out with confidence.
Choose a short, well-marked trail under 8 miles round trip. Pack the ten essentials, bring at least 2 liters of water per day, share a written trip plan with someone at home, and set a turnaround time. Most first-time solo overnights run 1 night and stay within established campgrounds or designated backcountry sites.
What Is a Solo Overnight Trip?
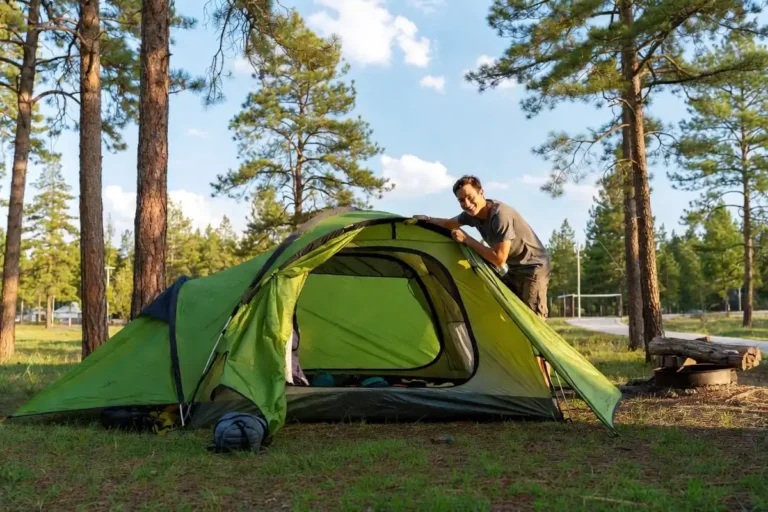
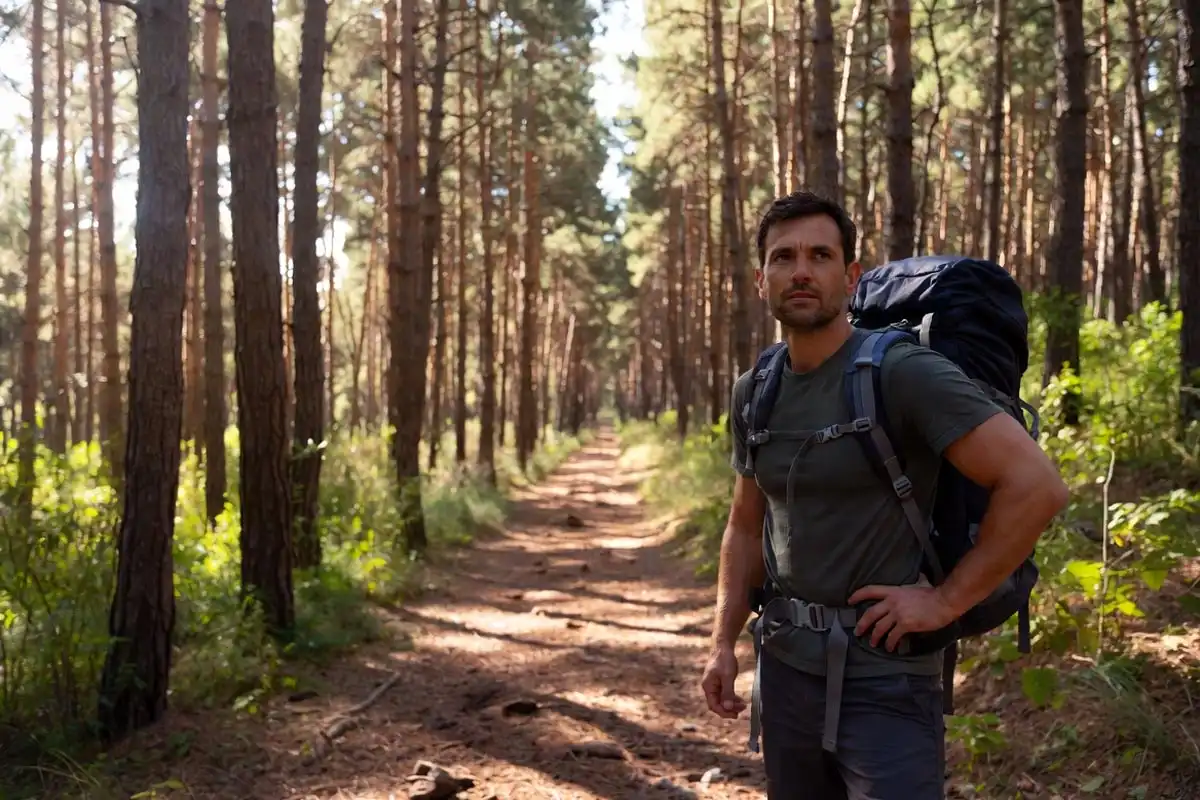
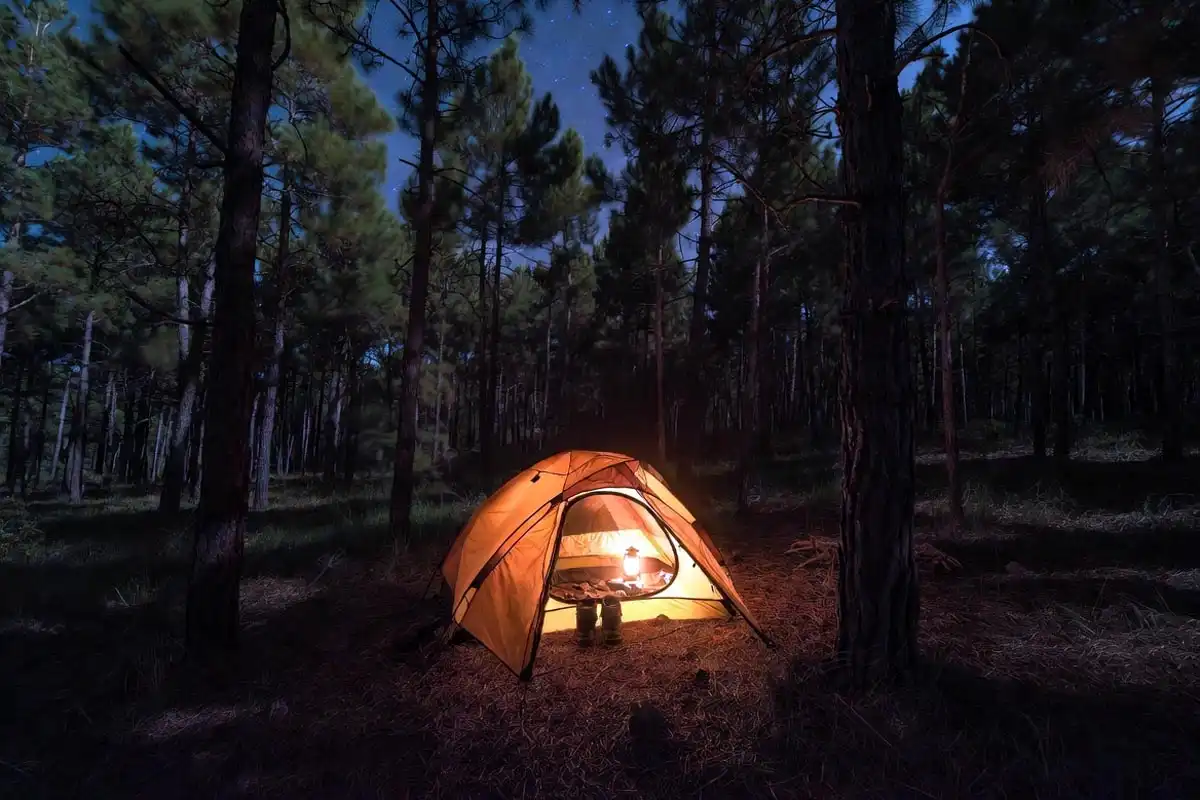
A solo overnight trip is a single-night camping journey where one person handles every task alone, including navigation, shelter setup, cooking, and safety decisions.
It differs from day hiking because you carry sleep gear and spend a full night outdoors. It differs from group camping because no one else manages the logistics or covers your mistakes.
That responsibility gap is what makes preparation so important.
Know more: Campground vs Backcountry Campsite
When Should You Plan Your First Solo Overnight Trip?
Spring and early fall deliver the best conditions for beginners. Temperatures stay moderate, daylight hours give you time to set up camp before dark, and trails see enough traffic that help is accessible if needed.
Avoid high summer in desert regions where heat causes dehydration risk before 10 a.m. Avoid late fall or winter until you have cold-weather camping experience.
Check local sunrise and sunset times. You need at least 2 hours of daylight after you expect to reach your campsite.
Where Should You Go for Your First Solo Overnight?
Pick a destination that meets these four criteria.
Short distance. Keep the total hiking distance under 8 miles round trip. Fatigue affects decision-making, and a short route leaves margin for slow pace or wrong turns.
Marked trail. Choose a trail with clear signage and a mapped route. National forest campgrounds and state park backcountry zones with designated sites work well.
Cell or emergency signal nearby. A site within 30 minutes of a trailhead or road increases your safety margin considerably.
Known water source or carry-in option. Verify whether the site provides water or whether you carry everything in.
If you have never camped without others before, I covered the full process in my earlier guide on planning a camping trip for the first time, which pairs well with this article.
How to Plan Your First Solo Overnight Trip
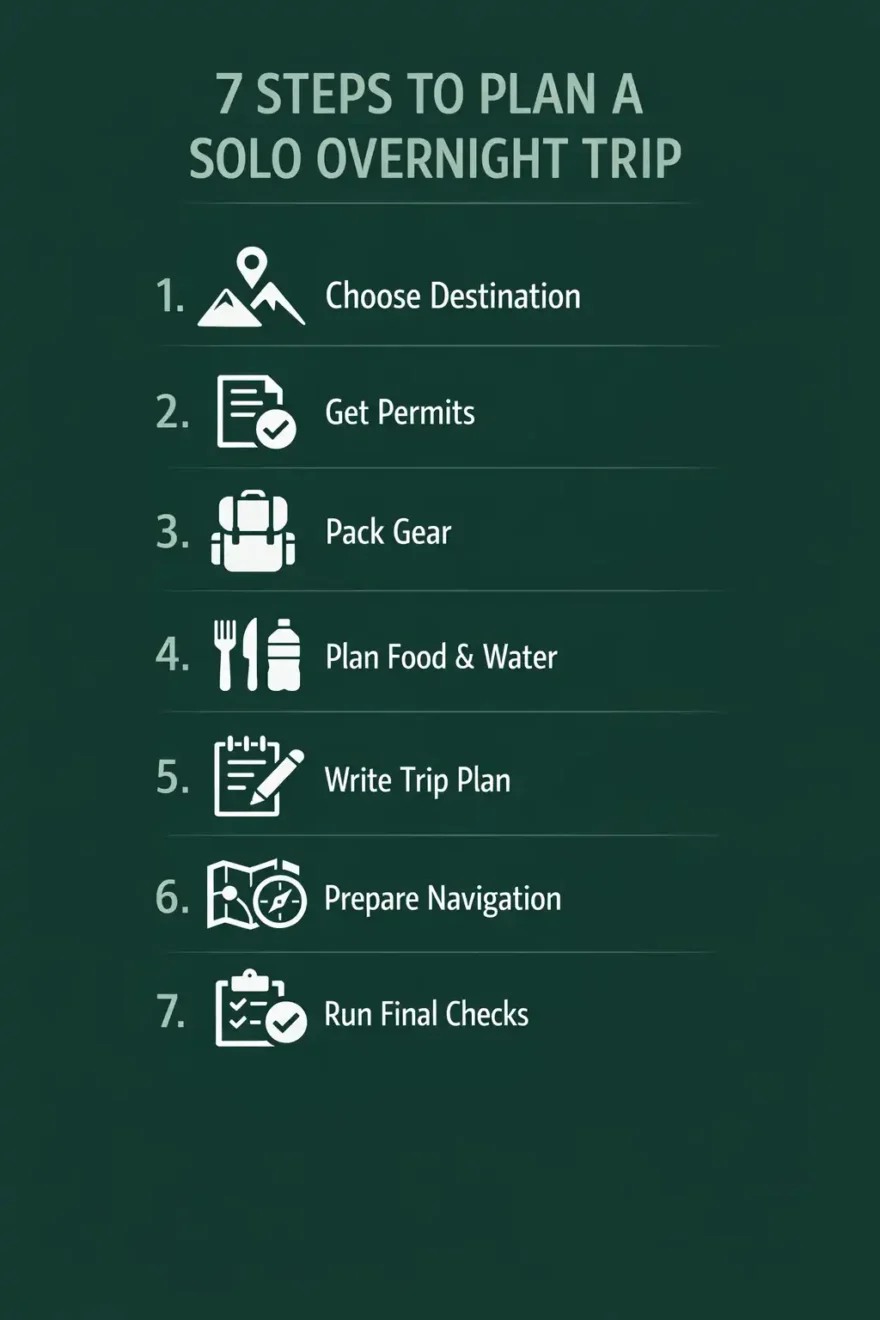
Step 1: Choose Your Destination and Research It Fully
Search the trail on AllTrails, Gaia GPS, or the managing agency’s official website. Confirm trail conditions, any seasonal closures, and whether the site requires a permit.
Read at least 5 recent trip reports from other hikers. Recent reports reveal real-time conditions that official pages miss.
Download the offline map before you go.
Step 2: Secure Permits and Check Regulations
Some backcountry sites require advance permits, especially in national parks. Apply through the land agency’s reservation system, often Recreation.gov.
Check fire regulations. Many sites operate under seasonal fire bans. Bring a camp stove as your backup cooking method regardless.
Confirm whether dogs are allowed if you plan to bring one.
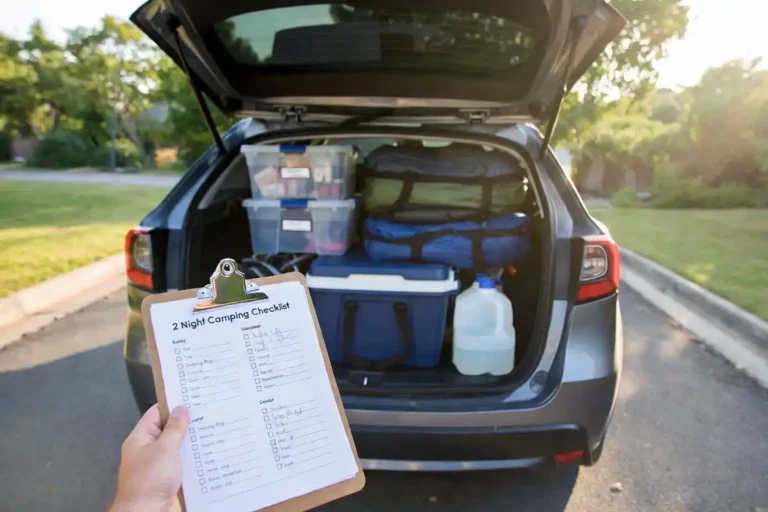
Step 3: Build Your Gear List Around the Ten Essentials
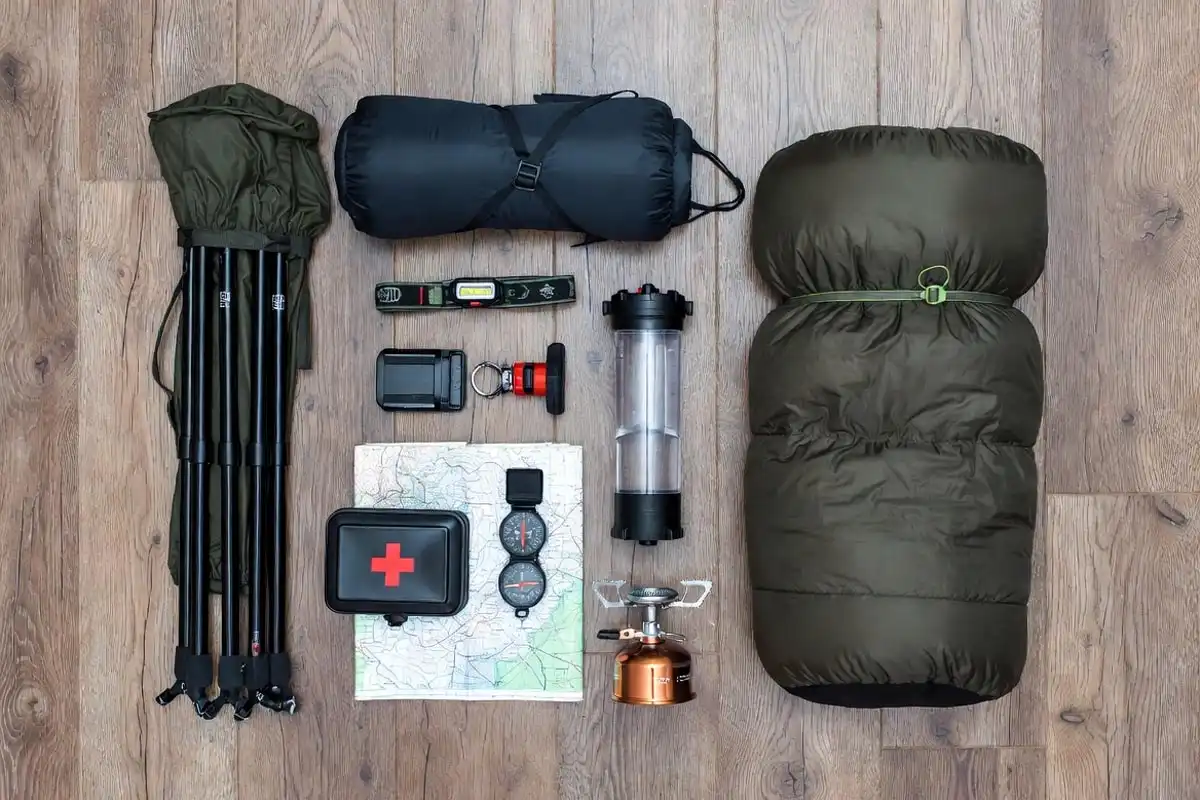
The ten essentials cover navigation, sun protection, insulation, illumination, first aid, fire, repair tools, nutrition, hydration, and emergency shelter.
For a solo overnight, your list expands to include a tent or bivy, sleeping bag rated to the low overnight temperature, and a sleeping pad.
Keep your base pack weight under 30 lbs. Heavy packs cause fatigue that slows pace and strains knees on downhill sections.
I keep a full pre-trip checklist in my article on preventing forgotten gear on a 2-night camping trip, and most of those items apply directly to a solo one-nighter.
Step 4: Plan Food and Water
Carry at least 2 liters of water per person per day of active hiking. Add an extra liter as reserve. I covered the exact calculation in detail in my guide on water need for per person in the campsite.
If the site has a stream or lake, bring a water filter or purification tablets as a secondary source.
For food, pack high-calorie, low-weight meals. Freeze-dried backpacker meals, nut butter packets, jerky, and oats cover most of your energy needs without adding bulk.
Plan 3 meals plus 2 snacks per day. Calorie target for active hiking days runs around 2,500 to 3,000 calories.
Step 5: Write a Trip Plan and Leave It with Someone
A trip plan is a written document that lists your trailhead location, planned route, campsite name or GPS coordinates, expected return time, and your vehicle description.
Give this plan to a trusted person at home. Tell them what to do and whom to call if you have not checked in by your stated return time.
This single step produces the largest increase in solo camping safety. It costs five minutes and requires no gear.
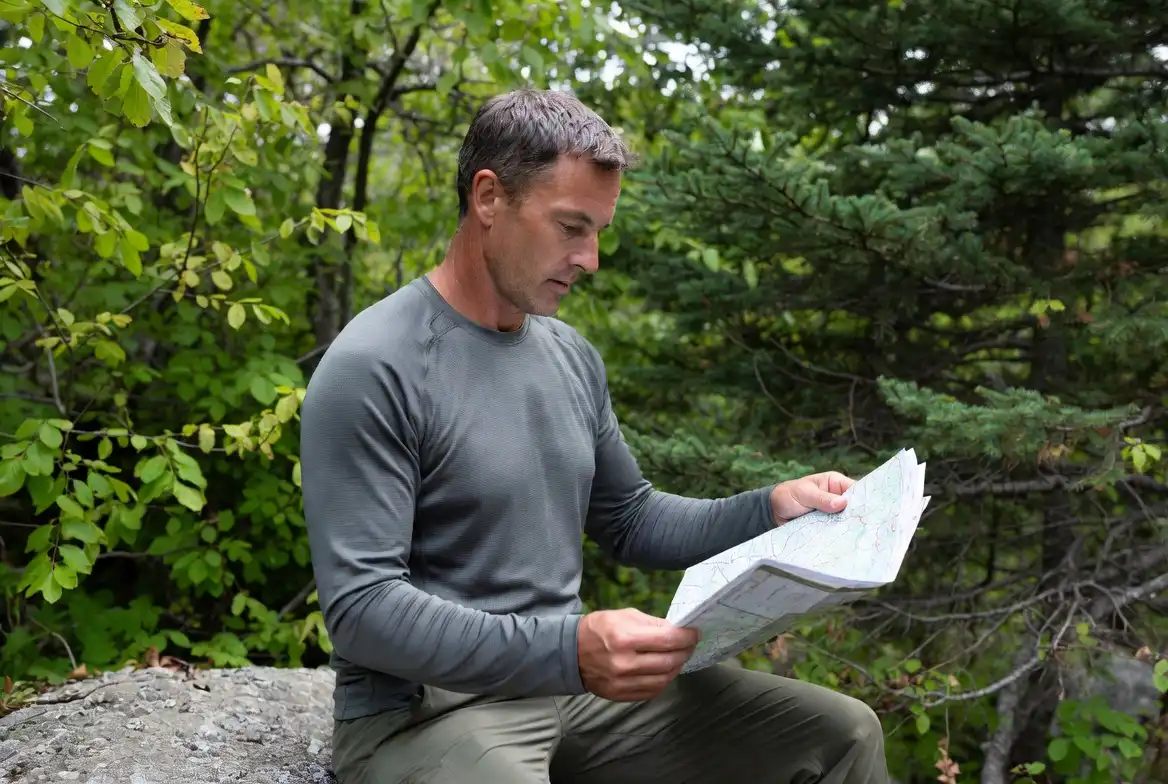
Step 6: Prepare Your Navigation Tools
Carry a paper map of the area. Download an offline map to your phone as a second layer.
Bring a compass and know how to take a basic bearing. A GPS device adds a third layer, but it does not replace map-and-compass skills.
Study the route the night before. Identify key landmarks, trail junctions, and the campsite coordinates so you recognize them on the ground.
I put together a practical breakdown on navigating without GPS in forested terrain, which I recommend reading before your first solo trip.
Step 7: Pack and Run Your Final Checks
Pack the night before departure. Lay every item on the floor, check it against your list, and then load the pack.
Put heavier items close to your back and centered between your shoulders and hips. Place frequently accessed items like snacks, a rain jacket, and a headlamp in the top lid or hip belt pockets.
Weigh the pack. If it exceeds 30 lbs for a one-night trip, remove non-essential items first.
Check the weather forecast one final time the morning you leave.
What Are Common Mistakes First-Time Solo Campers Make?
Overestimating pace. Most hikers cover 2 miles per hour on trail with a loaded pack. Plan your timeline on that number, not on your unloaded day-hike pace.
Skipping the trip plan. Many solo campers feel it is unnecessary for a short trip. Search-and-rescue statistics show that short trips produce incidents too.
Under-insulating for night temperatures. Overnight lows frequently drop 20 to 30 degrees below daytime highs. A sleeping bag rated too warm for your intended low temperature creates a serious safety risk.
Overpacking food, underpacking water. First-timers often bring excess food to feel secure while underestimating water consumption from hiking. Prioritize water weight.
Choosing a trail based on scenery photos alone. Scenic trails often carry high difficulty ratings. Match the trail difficulty to your current fitness level, not your aspirational one.
For budget planning on any outdoor trip, my guide on planning an outdoor trip budget covers gear costs and permit fees in a format you can work through before you book.
Safety Tips for Solo Overnight Trips
Carry a personal locator beacon (PLB) or a satellite communicator like a Garmin inReach. These devices transmit your GPS location to rescue services when cell service is unavailable.
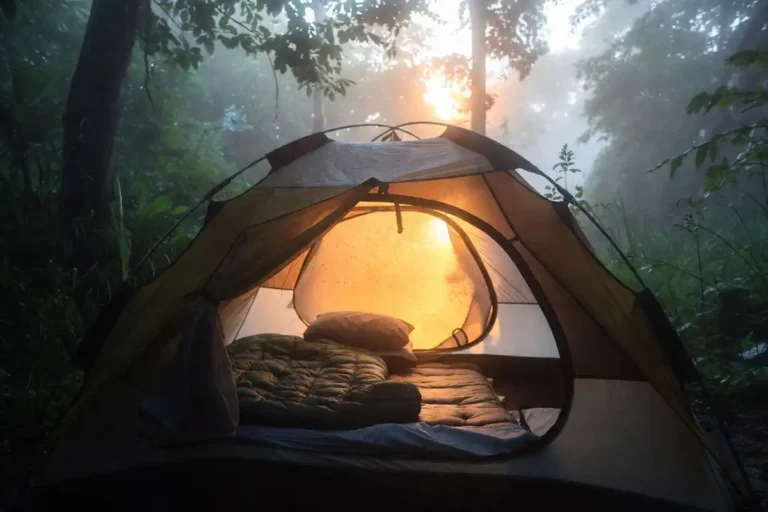
Start hiking early. Arriving at camp by 3 p.m. gives you time to set up shelter, collect water, and cook before dark.
Make noise on the trail to alert wildlife. Bears and other large animals avoid humans when they hear them coming.
Store food in a bear canister or hang it at least 200 feet from your sleep area and 10 feet off the ground.
Know the symptoms of dehydration and heat exhaustion. Both develop faster when hiking alone because no one else monitors your condition.
I covered solo camping safety in full detail in my article on stay safe while camping solo, including what to carry and how to handle a medical situation alone on trail.
FAQs about Plan Your First Solo Overnight Trip from Start to Finish
How long should a first solo overnight trip be?
One night at a site no more than 4 miles from the trailhead works well for a first trip. This distance keeps you close enough to exit quickly if conditions change, while still giving you a full solo overnight experience.
Do I need a permit for a solo overnight camping trip?
Permit requirements depend on the specific land. National park backcountry sites and some wilderness areas require advance permits. National forest and BLM land often allows free dispersed camping without a permit. Check the managing agency’s website for the site you plan to use.
Is solo overnight camping safe for beginners?
Solo overnight camping is safe for beginners when they choose appropriate terrain, share a trip plan, carry the right gear, and know basic navigation. Risk increases when any of those four elements is missing.
What is the most important piece of gear for a solo overnight trip?
A personal locator beacon or satellite communicator provides the highest safety value for a solo camper. In a wilderness emergency where cell service is unavailable, it is the only reliable way to call for help.
How do I handle fear or anxiety on my first solo trip?
Choose a site with other campers nearby for your first trip. Familiarity with your gear reduces anxiety significantly, so practice pitching your tent and cooking on your stove at home before you go. Most anxiety reduces once the first night passes uneventfully.
Conclusion
A successful first solo overnight trip starts with a short, well-researched route, a complete gear list, a written trip plan left with someone at home, and an early start on the trail. Each of those pieces works together. Skip one, and the others carry more risk. Get all four right, and the overnight becomes one of the most rewarding experiences you can have outdoors.
Start small, build confidence on familiar terrain, and add difficulty gradually with each subsequent trip.