How to Prevent Blisters on Your Feet While Hiking: 7 Proven Steps
To prevent blisters on your feet while hiking, reduce the repeated friction and moisture that break down skin faster than it can recover, and use the right preparation to stop that process before it starts. This guide covers every prevention layer, from boot selection and sock choice to on-trail habits and early hotspot treatment, so you finish hikes with your feet intact. I’ve had blisters shut down full trail days in the Keokradong hills, and I’ve also completed week-long treks without a single one. The difference came down to habits I now follow on every outing.
Prevent hiking blisters by wearing moisture-wicking socks, fitting boots with a firm heel and half-inch toe clearance, applying anti-friction balm to high-risk areas before you start, and stopping at the first hotspot sign on trail. Most blisters trace back to three causes: wrong socks, loose footwear, or ignoring early skin irritation.
What Causes Blisters on Hiking Feet?
Blisters form when friction separates the outer skin layer from the tissue beneath. Fluid fills that gap as the body’s protective response.
Three factors drive hiking blisters: friction, heat, and moisture. Friction comes from footwear rubbing the same skin spot repeatedly. Heat softens skin, which raises friction damage. Moisture from sweat or stream crossings softens skin further, cutting its resistance faster.
Even a 2mm heel gap inside a boot generates enough repetitive movement to blister within 3 miles on flat ground.
Learn more: Break In New Hiking Boots Before a Long Trail
Where Blisters Form Most Often
The heel, ball of the foot, and little toe receive the most repetitive contact during a stride. These three areas develop hotspots earliest.
On flat trails, the heel and ball take the most load. On downhill sections, toes compress forward against the boot with each step. On climbs, the heel lifts slightly and rubs against the boot collar.
Between-toe blisters develop where adjacent toes press skin against skin, especially when feet swell on longer hikes.
Step-by-Step: How to Prevent Hiking Blisters

Step 1: Fit Your Boots Correctly
Boots fit correctly when the heel holds firm with no lift and the toe box leaves half an inch of space in front of the longest toe. Test this by pressing your foot forward: one finger should fit behind the heel.
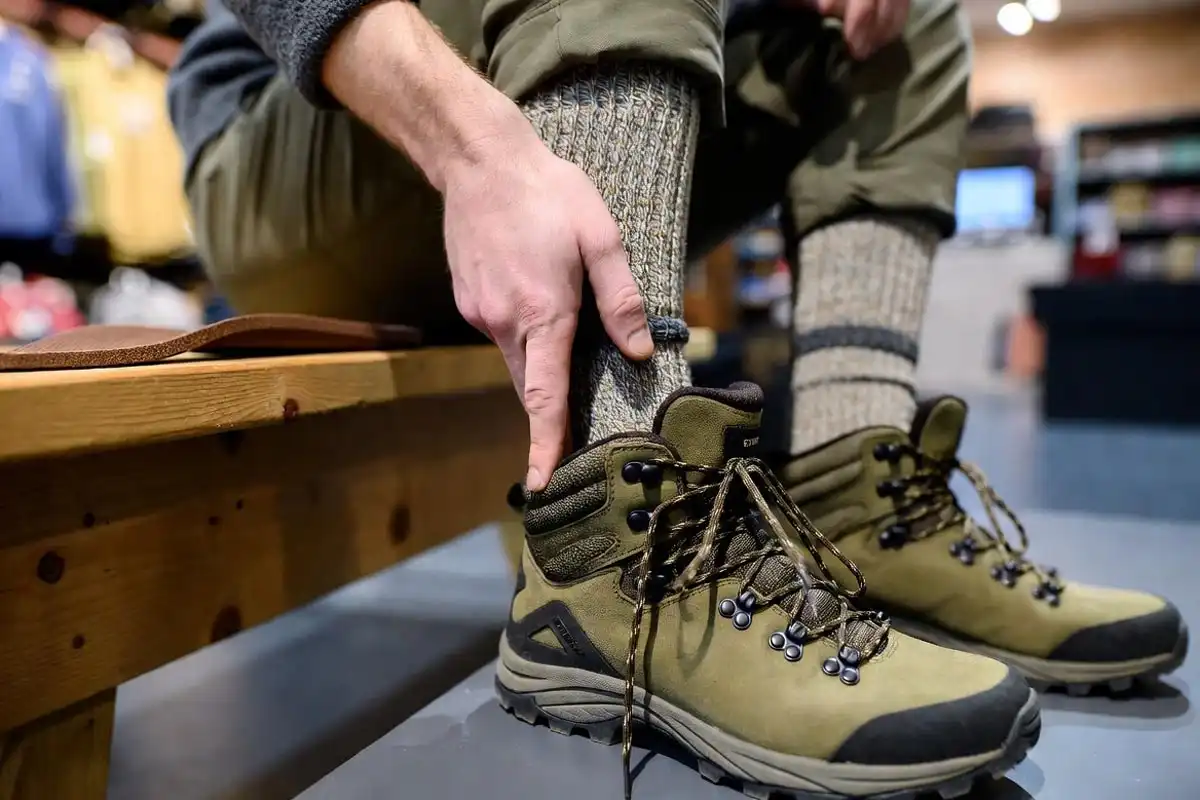
Try boots on in the afternoon, when feet sit at their largest size. Buy with the hiking socks you plan to use, not barefoot or in dress socks.
Break in new boots on 3 to 5 short walks before any full-day trail. Stiff panels and unbroken heel cups create hard pressure points on the first few outings.
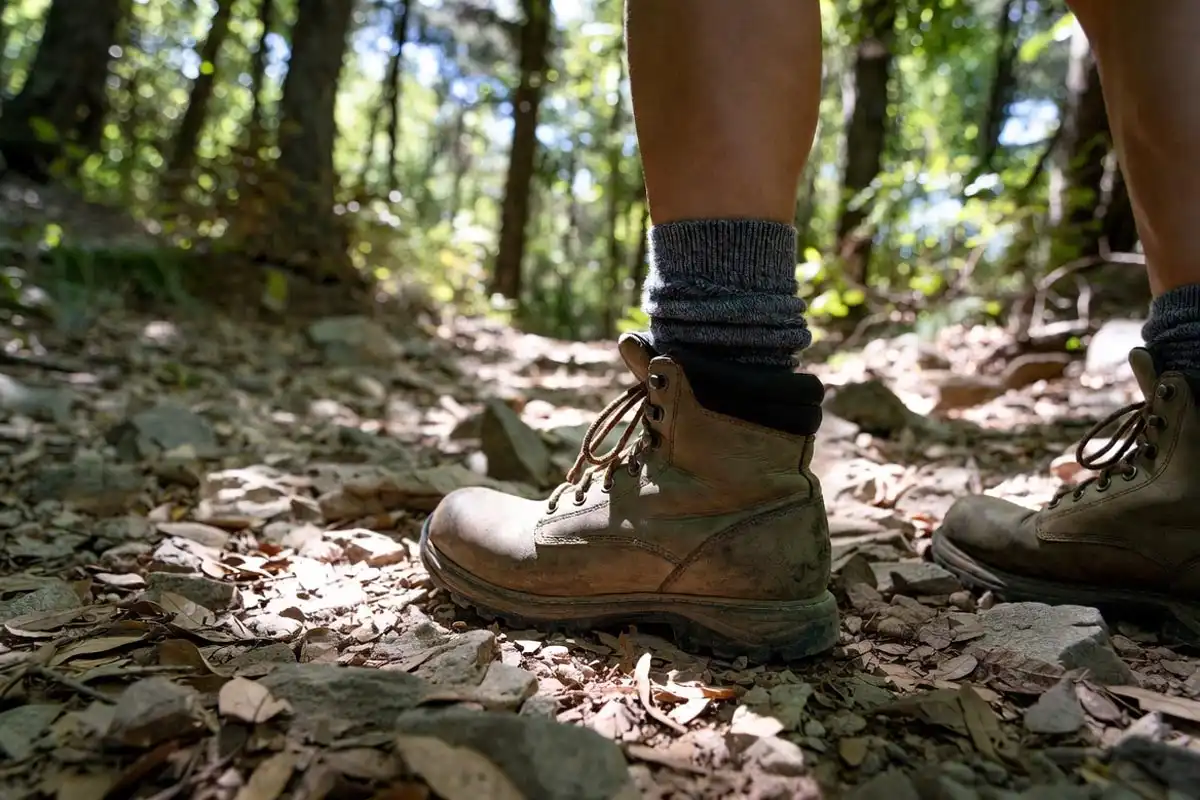
Step 2: Choose the Right Socks
Merino wool and synthetic blend socks pull moisture away from skin and reduce friction. Cotton socks absorb sweat and hold it against skin, which increases blister risk within the first hour.
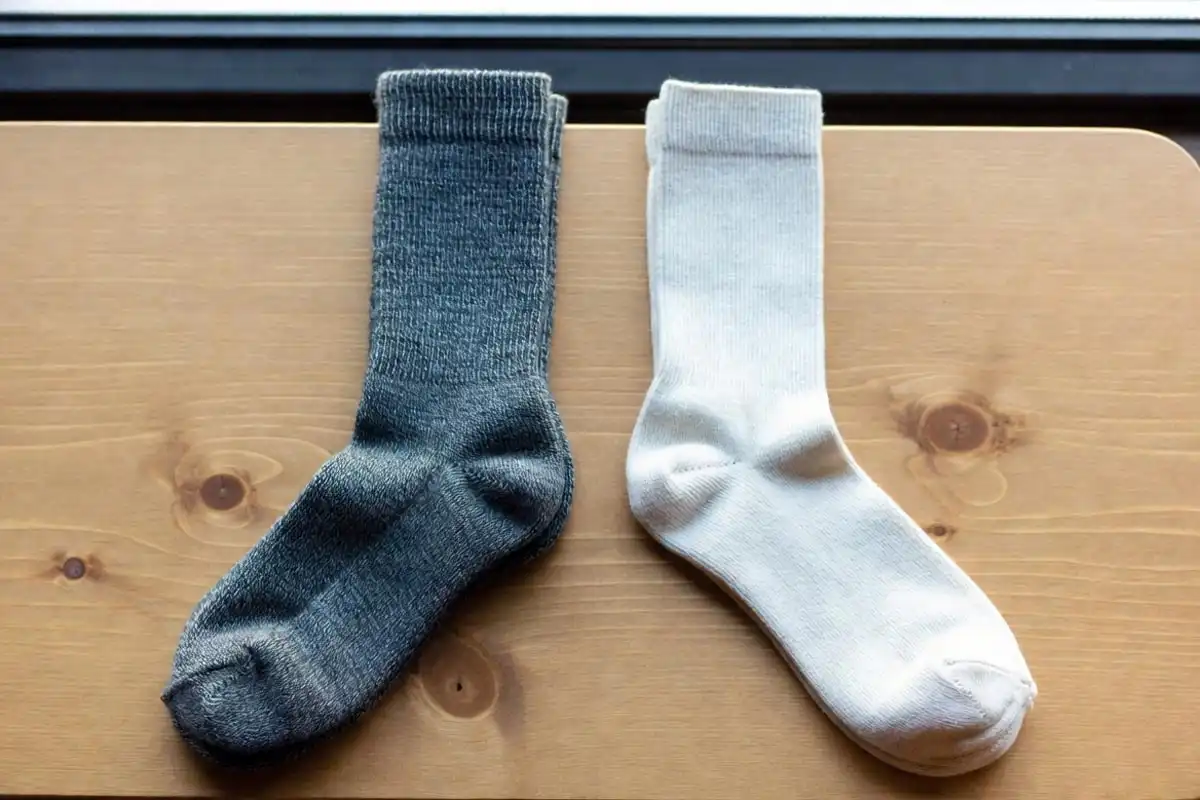
Sock thickness changes boot fit. If you own boots sized for thick socks, thin socks create looseness; looseness generates movement; movement generates friction.
Double-layer socks add a second friction surface between foot and outer sock. The two layers slide against each other rather than against skin.
Step 3: Apply Anti-Friction Products Before Starting
Petroleum jelly, Body Glide, or anti-chafe balm reduces friction on known hotspot areas. Apply it to the heel, ball of foot, little toe, and any area that has blistered on past hikes.
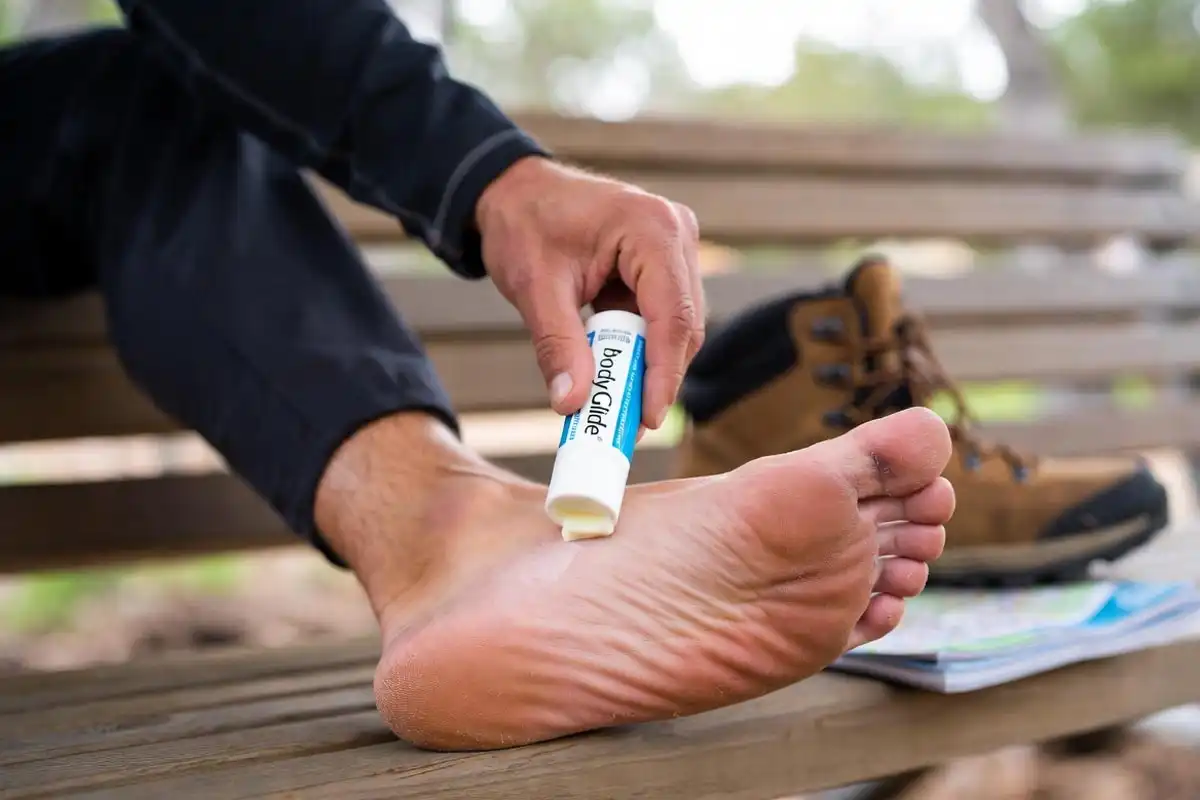
Apply directly to skin before putting on socks. Applying over socks provides no benefit since skin needs direct contact with the lubricant.
Step 4: Tape High-Risk Areas
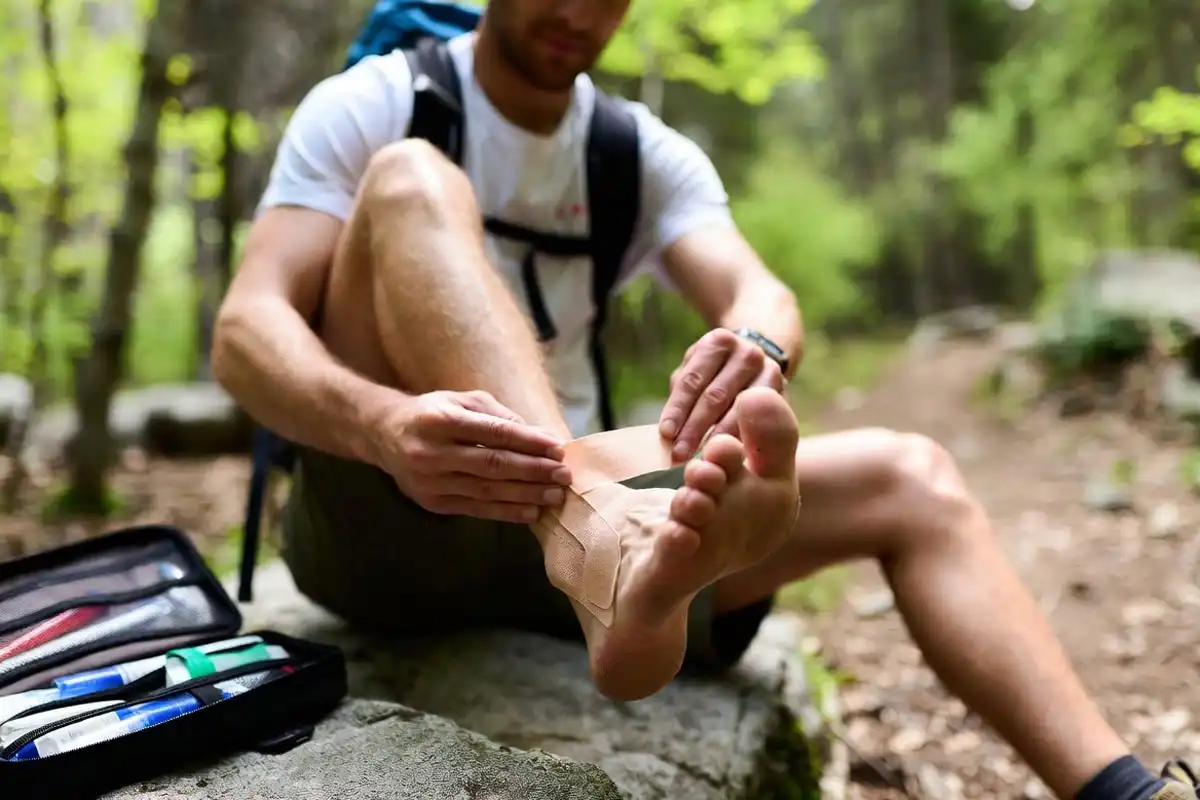
Sports tape or moleskin pads cover vulnerable skin with a protective layer before friction builds. Apply tape to dry, clean skin before lacing up.
Kinesiology tape holds well through multi-day hikes and wet conditions. Pre-cut blister prevention patches, such as Compeed or Band-Aid Blister pads, stick directly to hotspot areas and last a full trail day.
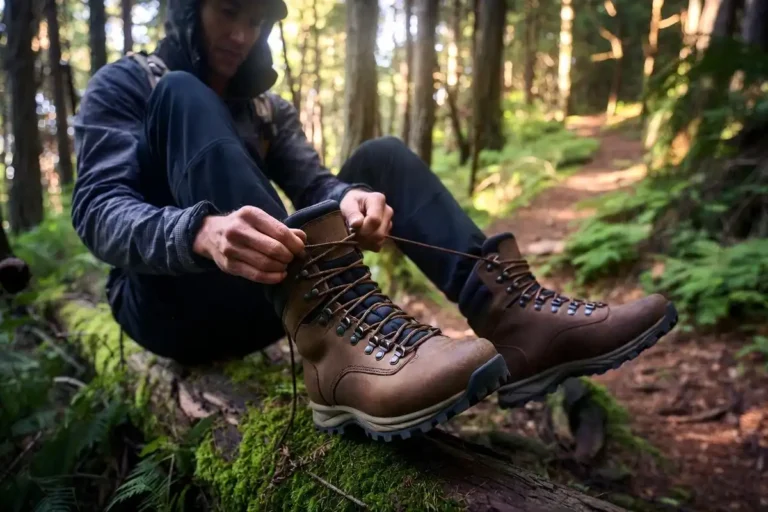
Step 5: Lace Boots to Match the Terrain
Lacing affects friction at different foot zones. Snug heel lacing stops heel lift, which is the single biggest source of collar blisters.
On downhill sections, tighten laces across the toe box to stop the foot from sliding forward. Forward slide presses toenails against boot material and compresses the little toe against the sidewall. I covered the stress downhill movement puts on feet and knees in my article on managing knee pain during downhill hikes.
On uphill sections, loosen forefoot lacing slightly to allow toe splay and improve circulation.
Step 6: Monitor Feet On Trail and Act Early
Stop at the first sign of a hotspot. A hotspot is a warm, irritated, or tender patch of skin, the stage before a blister forms.
Apply a blister prevention patch or tape directly over the hotspot before continuing. That 3-minute stop prevents a 3-day recovery.
Check feet at every significant rest stop on hikes over 6 miles. Remove boots, inspect heel collars, toe areas, and the ball of each foot.
Step 7: Keep Feet Dry During the Hike
Moisture roughly doubles skin vulnerability to friction damage. Change into dry socks at lunch on full-day hikes. Air feet for 10 minutes at rest stops.
On hot-weather hikes, sweat builds faster than most hikers expect. I wrote about the full effects of heat on trail performance in my article on hiking safely in extreme heat.
Gaiters prevent trail debris from entering the boot collar. Small grit inside the boot creates localized abrasion that bypasses all sock and lubricant protection.
Common Blister Mistakes to Avoid
Starting a long hike in new boots. New footwear needs at least 3 to 5 short outings before a full trail day. Stiff materials produce pressure points until they conform to foot shape.
Wearing cotton socks. Cotton absorbs moisture and increases skin friction within the first hour of hiking.
Ignoring hotspots. Hikers who push through early skin irritation almost always develop full blisters within 1 to 2 more miles.
Loose ankle lacing. A heel that lifts even slightly generates high friction at the boot collar on every step.
Over-tightening at the forefoot. Tight lacing across the metatarsals restricts toe movement and pushes the little toe against the boot wall.
Skipping sock changes on multi-day hikes. Wet socks lose their friction-reducing properties and begin to act as sandpaper against softened skin.
What to Do When a Blister Forms On Trail
An intact blister provides natural protection over damaged skin and heals faster than one that ruptures. Cover it with a donut-shaped moleskin pad to relieve direct pressure without breaking the skin surface.
If a blister tears open, clean the area with an antiseptic wipe, allow it to drain naturally, and cover with a sterile non-stick dressing. I covered blister treatment and wound care in detail in my article on treating minor cuts and blisters at camp.
Avoid applying tape directly over an open blister without a non-stick barrier underneath.
Foot Care After the Hike
Remove boots immediately after finishing. Allow feet to air dry before applying any cream or balm.
Wash feet with soap and water, then inspect all contact areas. Redness, tenderness, or skin breakdown at any point marks an area needing protection on the next hike.
Trim toenails straight across, not rounded. Rounded edges press into adjacent toes on downhill sections, producing between-toe blisters that are difficult to prevent with tape or balm alone.
FAQs about Prevent Blisters on Your Feet While Hiking
Do toe socks prevent hiking blisters?
Toe socks separate each toe individually, which reduces skin-on-skin friction between toes. Hikers prone to between-toe blisters report fewer hotspots with toe socks compared to standard hiking socks. They work best when sized to fit the boot correctly.
How long does it take to break in hiking boots?
Most hiking boots require 3 to 8 short walks before the materials conform to foot shape. Modern mesh and synthetic boots break in faster than full-grain leather. Plan at least two weeks of short outings before any long hike in new footwear.
Does petroleum jelly actually prevent blisters?
Petroleum jelly reduces friction on skin it contacts directly. Apply it to heel, ball, and little toe before socks go on. It works well for single-day hikes but needs reapplication on multi-day trips when changing socks.
Should I pop a blister while hiking?
An intact blister protects damaged skin underneath and reduces infection risk. Leave it intact when possible. If it ruptures on its own, clean the area, let it drain, and cover with a sterile dressing before continuing.
Conclusion
Blister prevention comes down to three things: well-fitted boots, the right socks, and attention on trail. Most hikers who get blisters regularly are dealing with one of those three factors.
Fit the boot correctly, choose moisture-wicking socks with liner socks for long days, apply anti-friction balm before you start, and stop at the first hotspot. That sequence handles the majority of blister situations across any terrain.