How to Signal for Help in the Backcountry: 7 Fast Ways Rescuers Notice
Signaling for help in the backcountry works when you send a clear distress message and make your location easy to spot. The fastest method is an electronic SOS if you have one, followed by repeatable sound and visual signals that carry through wind, trees, and distance. This guide shows you when to call for rescue, where to signal from, and how to use a phone, satellite device, whistle, mirror, light, and ground markings without creating new hazards.
Send your strongest SOS first (911 call or text if you have service, or satellite SOS if you carry it). Then repeat a simple distress pattern: three whistle blasts, three light flashes, or SOS (…—…). Signal from a safe open spot, increase contrast with bright gear, and repeat on a schedule while you protect warmth and hydration.
What does “signal for help” mean in the backcountry?
Signaling for help means you send a clear distress message and you guide searchers to your exact location. A good signal uses contrast, movement, and repetition. A good plan also keeps you safe while you wait.
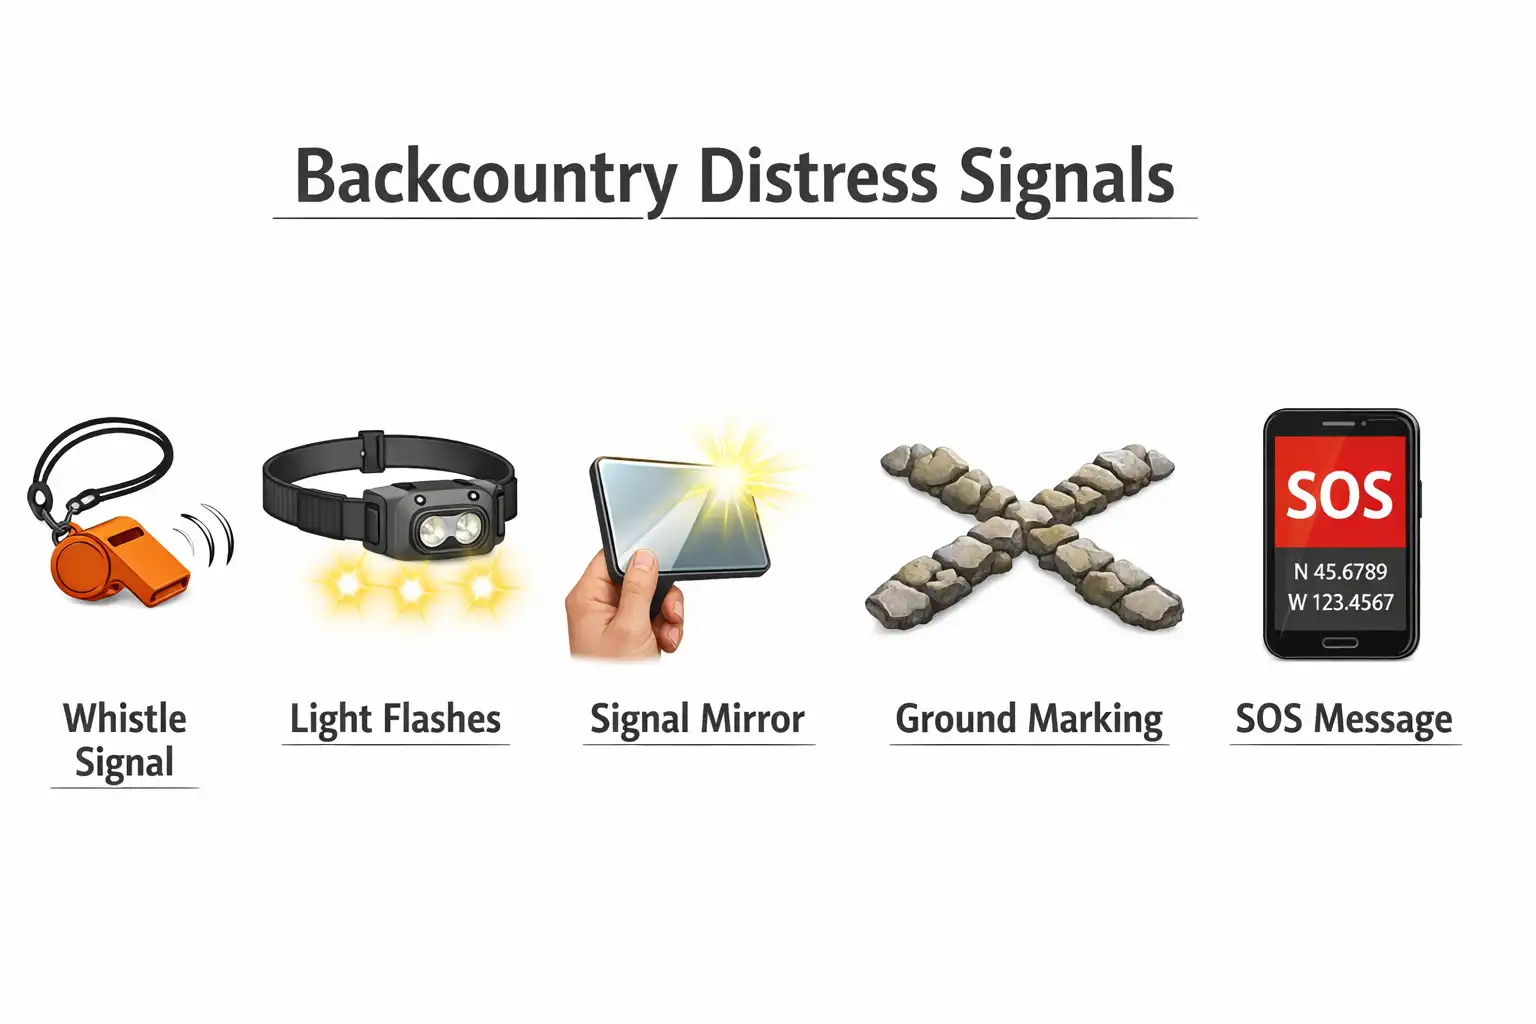
A backcountry signal falls into 3 groups:
- Electronic: phone, satellite messenger, PLB.
- Sound: whistle, banging metal, voice as a last choice.
- Visual: light, mirror, bright fabric, smoke, ground symbols.
Also learn: What to Do When You Get Lost on a Hike: 9 Smart Moves to Stay Safe
When do you signal for help instead of walking out?
Signal for help when moving increases risk, or when self-rescue fails.
Use a rescue signal early if any of these are true:
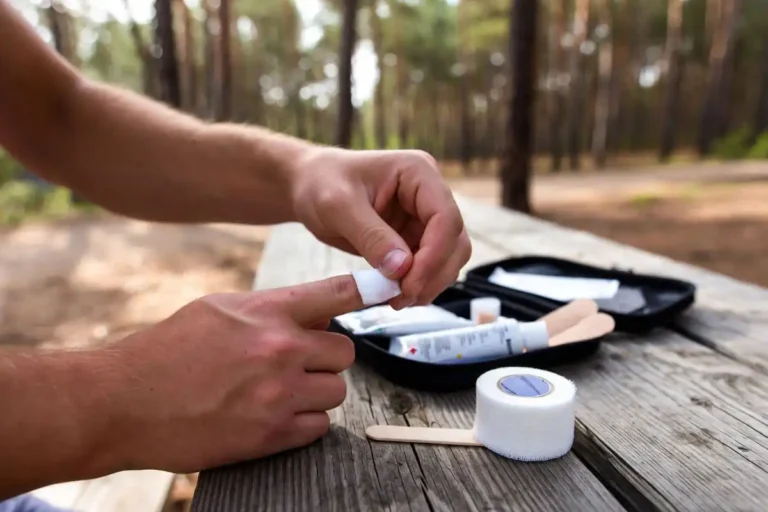
- A person has serious injury, uncontrolled bleeding, or altered awareness.
- A person shows hypothermia signs (shivering that worsens, confusion, clumsy hands).
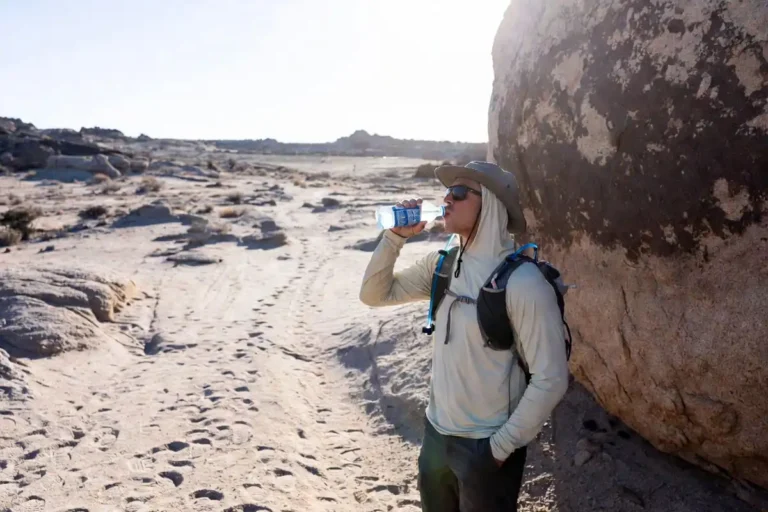
- A person has heat illness signs (confusion, collapse, hot skin, no sweating).
- Your group cannot move safely because of terrain, weather, or nightfall.
- You are lost and backtracking fails, and your location confidence drops.
- You face a hazard you cannot bypass (flooded crossing, wildfire smoke, rockfall zone).
If you hike alone, act earlier. Solo mistakes compound fast when daylight and body heat drop. A simple safety framework helps before the trip too, like this guide on staying safe while solo camping.
Where do you signal from so rescuers can find you?
You signal from a location that is safe, visible, and easy to describe. You also reduce search area when you stay close to your last known point.
Pick your signal spot using this order:
- Get out of immediate danger. Move away from avalanche paths, dead trees, rockfall runouts, river edges, and lightning-exposed ridges.
- Choose an opening with sky view. A meadow, gravel bar, lakeshore, ridge saddle, or wide trail junction improves visibility.
- Stay near a known line of travel. Trails, drainages, and ridgelines attract both hikers and search teams.
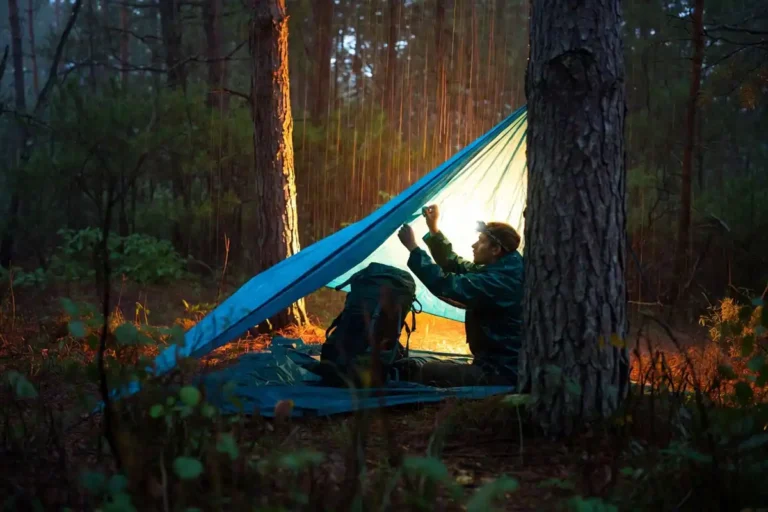
- Mark the spot. Hang bright fabric, lay out a reflective blanket, and place gear where it creates contrast.
- Avoid “hidden comfort.” A cozy hollow under thick canopy blocks aircraft and also blocks satellites.
If you need to move to reach a safe opening, keep it short and logical. Leave a clear clue at the first spot: an arrow made from rocks or sticks pointing to your new location.
How do you signal for help in the backcountry?
Use a calm workflow. You signal better when you control the situation first.
Step 1: Stop, stabilize, and prevent a second emergency
Treat the immediate risk before you spend energy signaling.
Put on insulation and rain protection. Sit on your pack to insulate from the ground. Eat a small amount of food if you can swallow safely. Then scan for hazards above and below you.
Step 2: Send the strongest electronic SOS first
Electronic SOS reaches farther than sound and light.
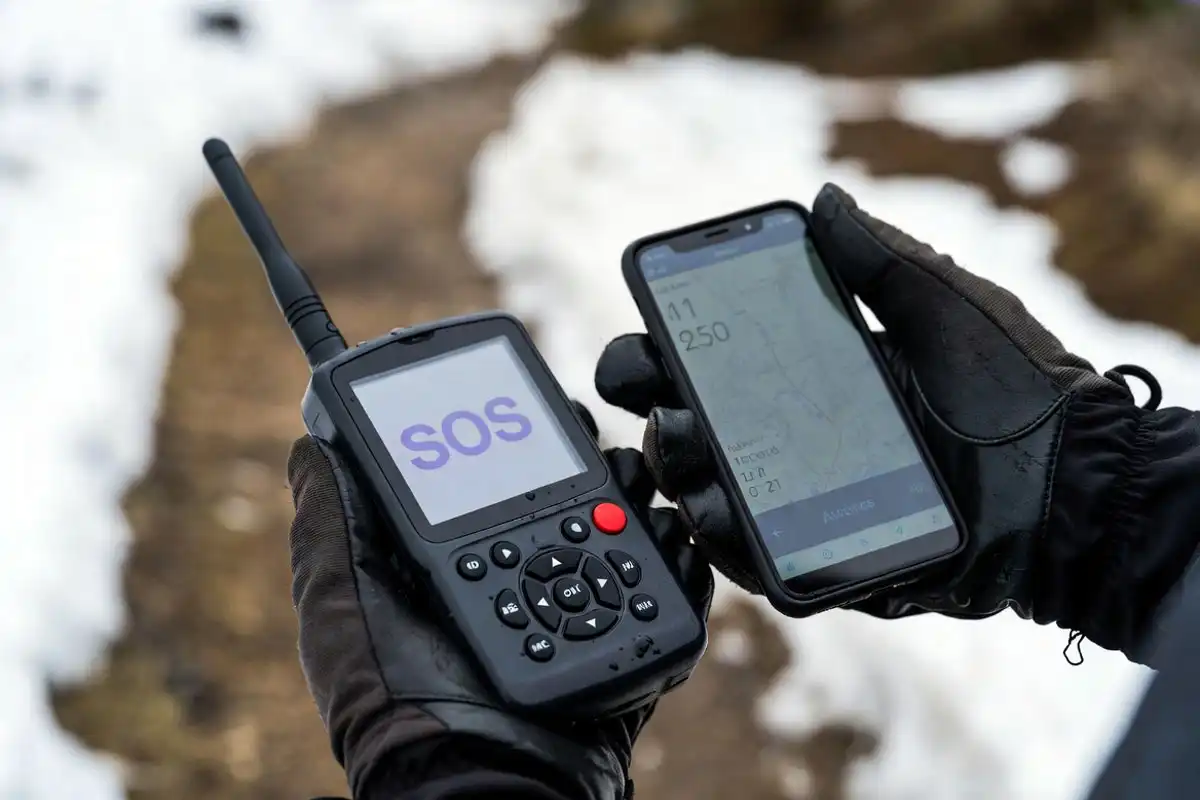
If you have cell service: call emergency services. If the call fails, send a text. Text often goes through when voice does not.
If you carry a satellite messenger or PLB: trigger SOS, then keep the device with a clear view of the sky. Place it at the shelter entrance or in an open spot nearby, not under dense branches.
Send simple details:
- What happened
- How many people
- Your best location description (GPS coordinates if available)
- Your plan (staying put, or moving to a safer open area)
Step 3: Run a repeatable signal pattern on a schedule
Random signaling blends into background noise. Repetition gives rescuers a pattern to lock onto.
Use one clear distress pattern and repeat it:
- 3 whistle blasts
- 3 light flashes
- SOS (…—…) using light or mirror
A practical schedule looks like this: signal for about a minute, then stop and listen. Silence helps you hear a reply.
Solutions: the best signals and how to use each one
How do you use a whistle for help?
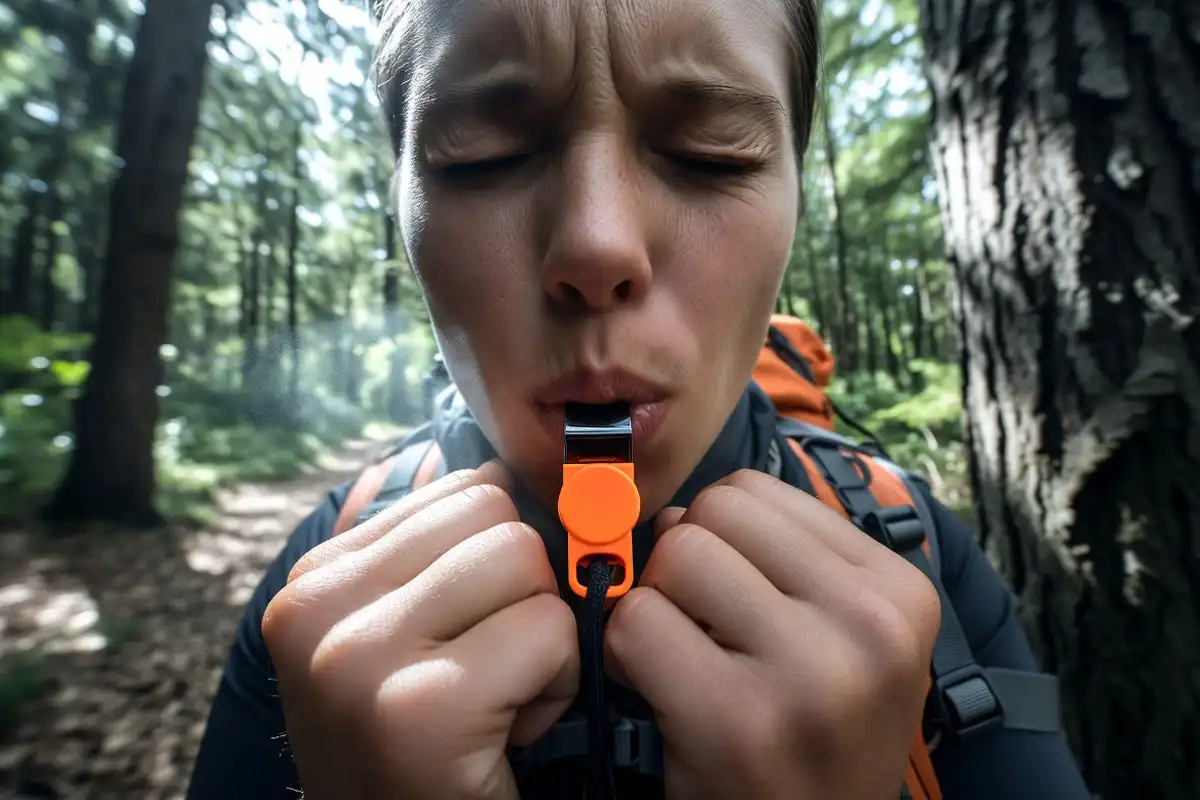
A whistle preserves your voice and carries farther than shouting.
Blow three long blasts, pause, then repeat. Clip the whistle to your jacket zipper or shoulder strap so you can reach it after a fall.
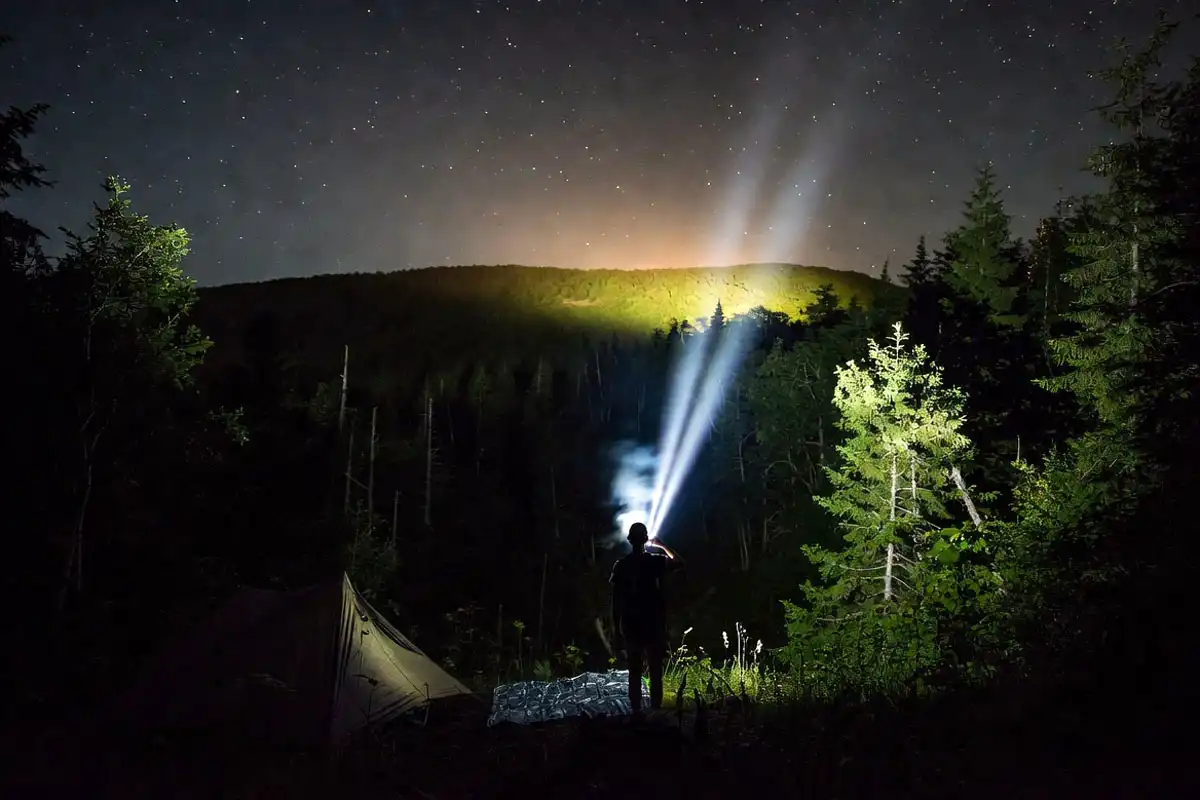
How do you signal with a headlamp or flashlight?
Light works best at night and in low visibility.
Use strobe mode if your light has it. If it does not, flash a clear pattern:
- Flash three times, pause, then repeat.
- Or flash SOS: three short, three long, three short.
Sweep the beam slowly across open areas and across distant slopes. Movement catches eyes faster than a fixed point.
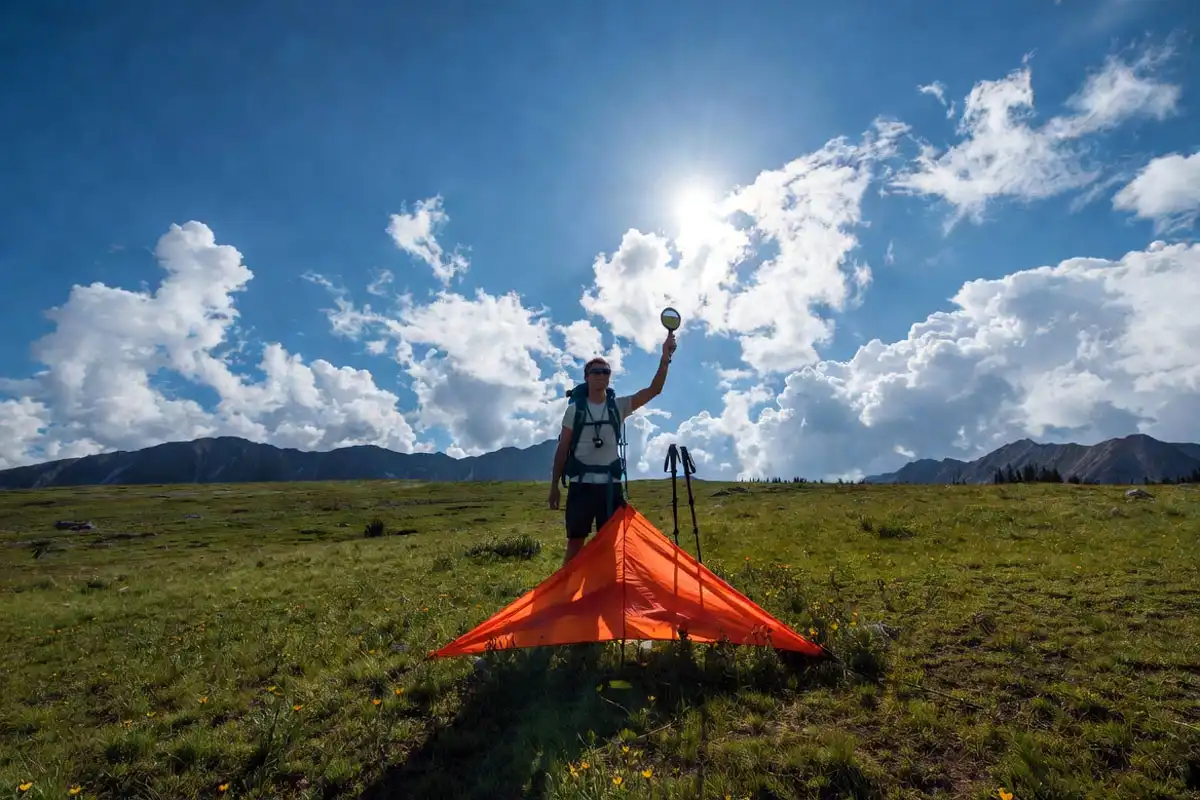
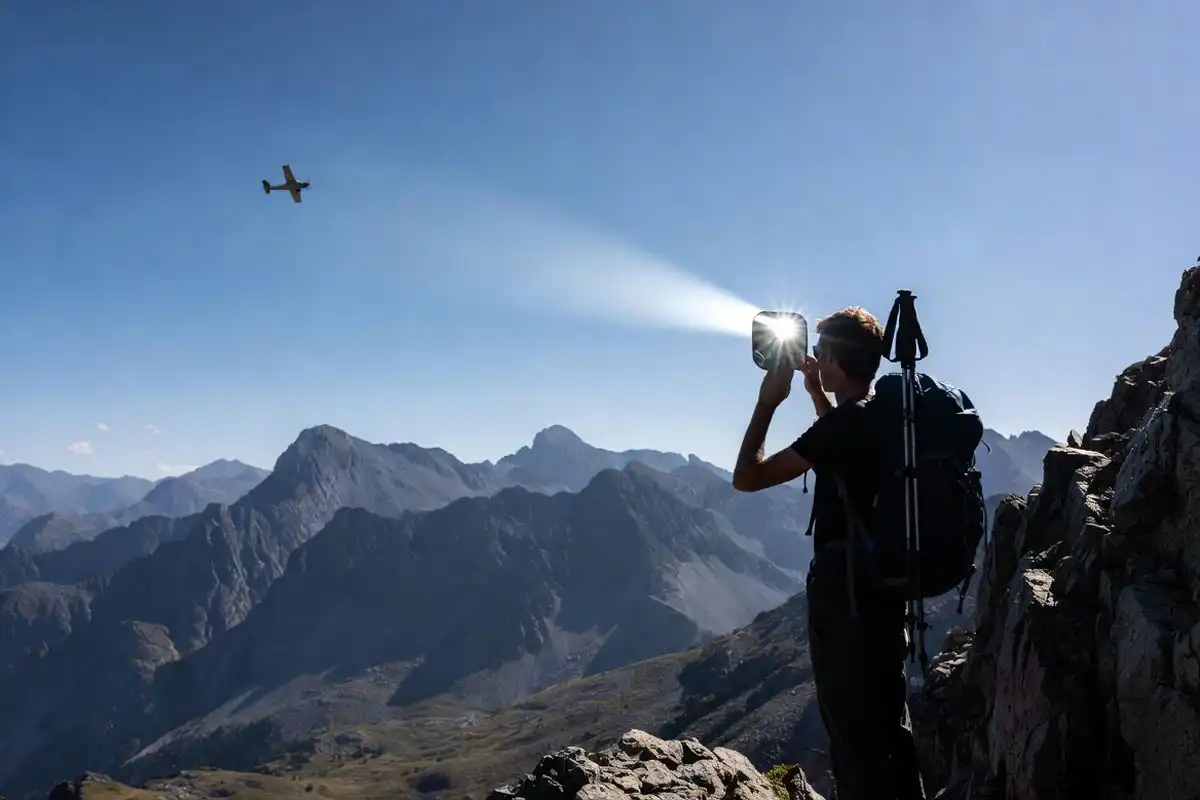
How do you use a signal mirror in daylight?
A mirror creates a bright flash that stands out in sun.
Stand in direct sunlight. Hold the mirror near your eye. Aim the reflected spot toward open terrain, ridgelines, or aircraft. Sweep the flash in a slow arc.
If you don’t carry a mirror, a phone screen, metal bottle, or glossy map cover can still reflect light. The flash is weaker, but it still helps.
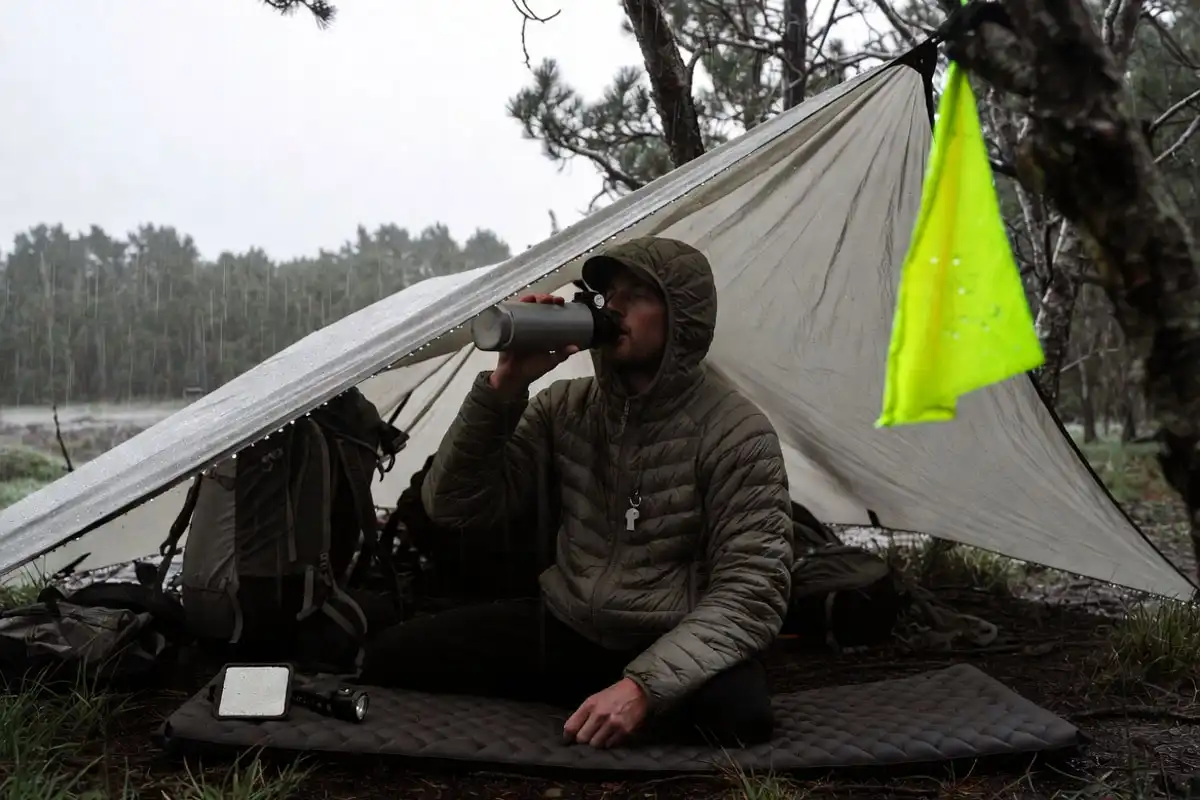
How do you use bright fabric and contrast?
Bright fabric works when you make it visible from far away.
Spread a rainfly, jacket, or emergency blanket in an open area. Hang cloth high where it moves in wind. Motion and contrast draw attention.
A packing system reduces forgotten essentials. This checklist structure helps even for short backcountry trips: a 2-night camping checklist that prevents forgetting essentials.
When does fire or smoke help?
Fire signals work at night. Smoke works in daytime. Fire also creates real risk.
Use fire only when conditions stay controlled and local rules allow it. Clear down to mineral soil if possible. Build a small hot fire first, then add green vegetation for smoke when you hear aircraft or voices.
Skip fire in high wind, drought conditions, or heavy duff. In those conditions, light, mirror, and ground markings do the job without the wildfire risk.
How do you make ground-to-air signals?
Ground signals help aircraft and high vantage searchers when they are large and simple.
Make one of these in an open area:
- SOS
- A large X
- A large arrow pointing to your location
Use rocks, logs, or bright gear. Straight lines read better than messy piles.
Troubleshooting: why signals fail and how to fix them
“No one responds to my whistle.”
Wind and water noise block sound.
Move a short distance to a safer, slightly higher opening. Then repeat the same three-blast pattern. Add a visual signal at the same time.
“My mirror does not flash.”
You need direct sun and line of sight.
Step out of shade. Aim toward open sky first, then sweep toward ridges and valleys.
“My phone battery drops fast.”
Cold drains batteries quickly.
Keep the phone inside an inner pocket. Use low power mode. Use airplane mode between check-ins when you do not have active messaging.
“I have no open area.”
Canopy blocks visibility and satellite connection.
Move to the nearest safe opening, even if it is small. Leave an arrow marker at the first spot if you relocate.
Avoid these mistakes that reduce rescue chances
A few common errors waste time and energy.
- Walking deeper into unknown terrain after you decide you are lost.
- Signaling once, then going silent for hours.
- Using random patterns instead of 3 blasts or SOS.
- Hiding under canopy because it feels protected.
- Draining your phone on photos, maps, and social posts after you lose your route.
- Lighting an unsafe fire in wind or dry duff.
How do you stay safe while waiting for rescue?
Waiting becomes safer when you protect heat, hydration, and morale.
- Build shelter first. A tarp or rainfly blocks wind and rain fast. This guide helps you choose a tarp size for shelter.
- Insulate from the ground. Sit on a pack, foam pad, or piled branches.
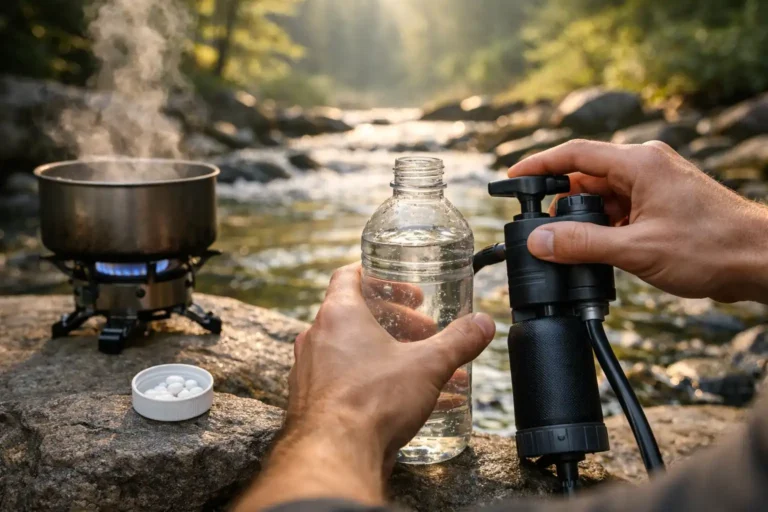
- Manage water. Sip on a schedule, not in one big chug. Use this water planning math to estimate needs.
- Keep your signal tools reachable. Put whistle on your body. Keep headlamp around your neck.
- Stay visible without exposure. Signal from an opening, then rest in shelter nearby.
- Prepare for contact. Keep a jacket on, shoes on, and your essentials packed.
If you have a tent and the ground is rocky or sandy, use fast anchoring tricks so you can focus on signaling. This guide on how to pitch a tent on rocky ground helps.
Last Words
Backcountry signaling works best as a system. Send an electronic SOS first when available. Then repeat a simple distress pattern with sound and light, from a safe open area with strong contrast.
While you signal, protect warmth, shelter, and hydration. A clear pattern and a stable camp give rescuers both a message and a target.