How to Start a Campfire for Cooking in Wet Conditions
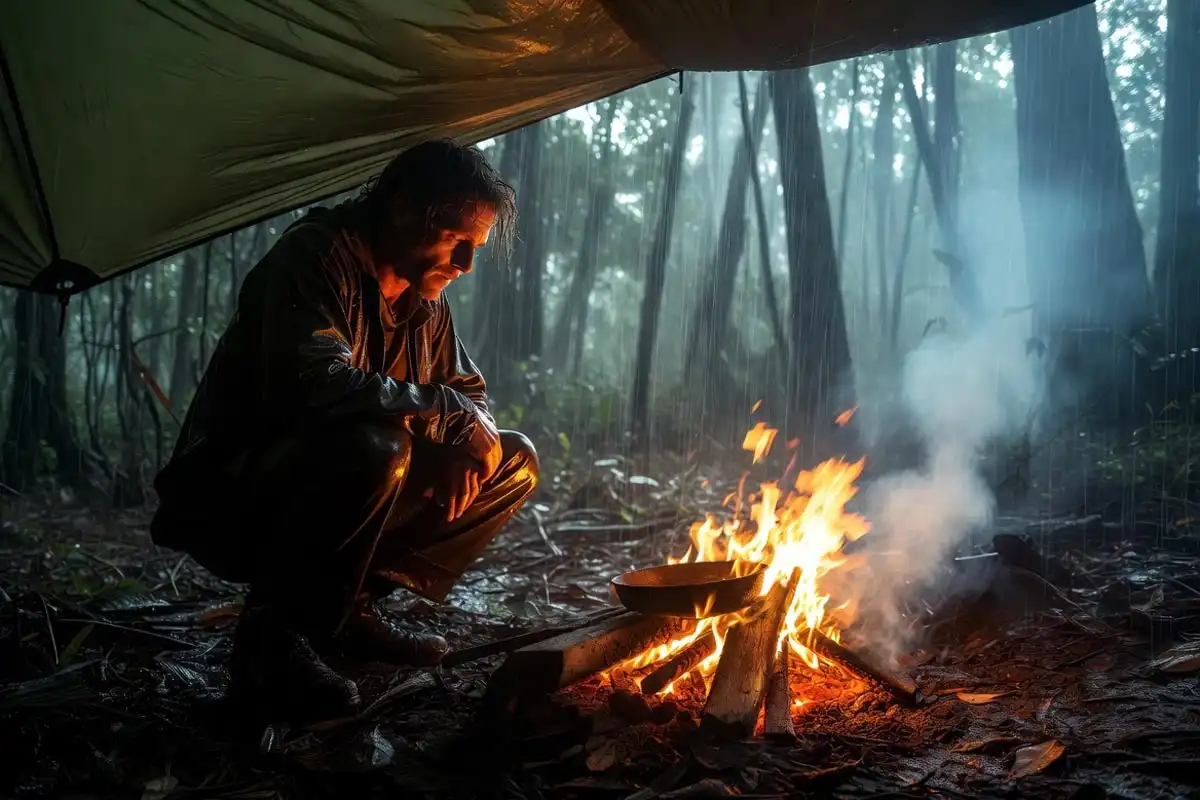
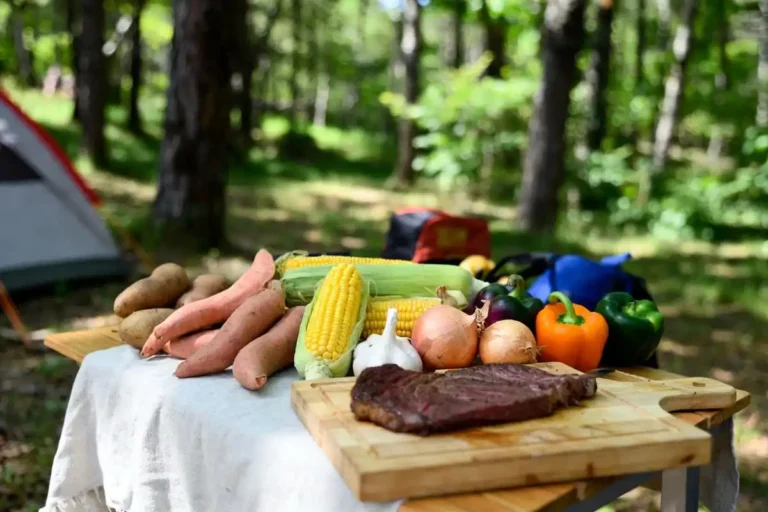
To start a campfire for cooking in wet conditions, you need dry tinder sourced from inside standing dead wood, a raised platform that lifts fuel off wet ground, and wind cover before the first spark. This guide covers every step: where to find dry fuel, how to build a fire structure that holds in rain, how to transition to cooking coals, and what kills a wet-weather fire before it starts. I’ve camped in the rain-soaked hills of Kaptai, Rangamati for years, where humidity rarely drops and downpours arrive without warning.
To start a campfire for cooking in wet conditions: collect dry tinder from the inner core of standing dead wood, build a raised stick platform to lift fuel off wet ground, form a teepee structure around a fist-sized tinder bundle, shield the setup from rain and wind using a tarp, light from the base, and feed gradually with increasingly larger dry fuel over 20 to 30 minutes before cooking.
What Makes Wet Conditions Hard for Starting a Cooking Fire?
Wet wood holds moisture in its cellulose fibers, requiring more heat to ignite than dry wood. Surface moisture on kindling smothers small flames before heat transfers to larger fuel. Wet ground pulls heat away from the fire base during ignition. Wind-driven rain lowers the temperature of the ignition zone faster than small flames can recover.
These four factors work together. Solving each one separately is what makes a wet-weather fire reliable.
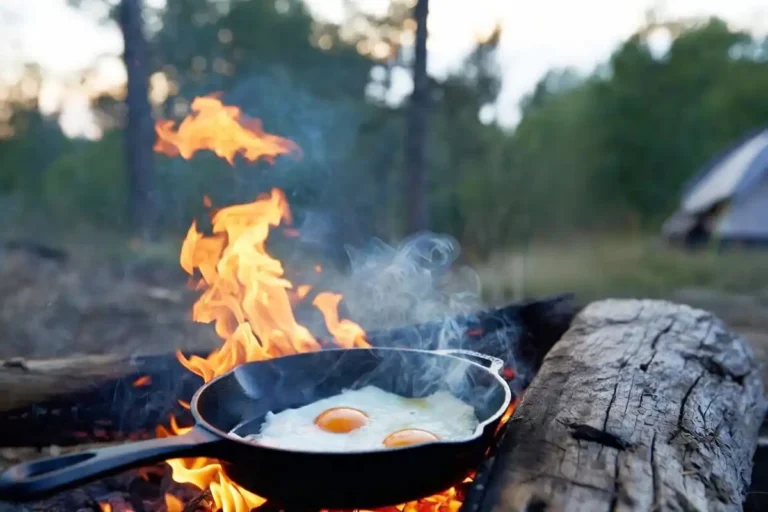
Know more: Cook Eggs at Camp Without a Pan Using Simple Tools
What Gear Do You Need Before You Start?
The right gear reduces the time spent managing a struggling fire. These items collectively address every wet-weather ignition problem:
- Windproof lighter or waterproof matches for reliable ignition in wind and light rain
- Wax-based or fatwood fire starters that do not absorb water
- Folding saw or fixed-blade knife to split wet branches and expose dry inner wood
- Waterproof tarp (polyester, not nylon) to create overhead shelter above the fire
- Sealed dry bag or ziplock to store pre-collected tinder before use
I cover the broader gear setup in detail in my campfire cooking kit bundle, which includes fire tools alongside cookware choices.
Where Should You Position a Fire in Wet Weather?
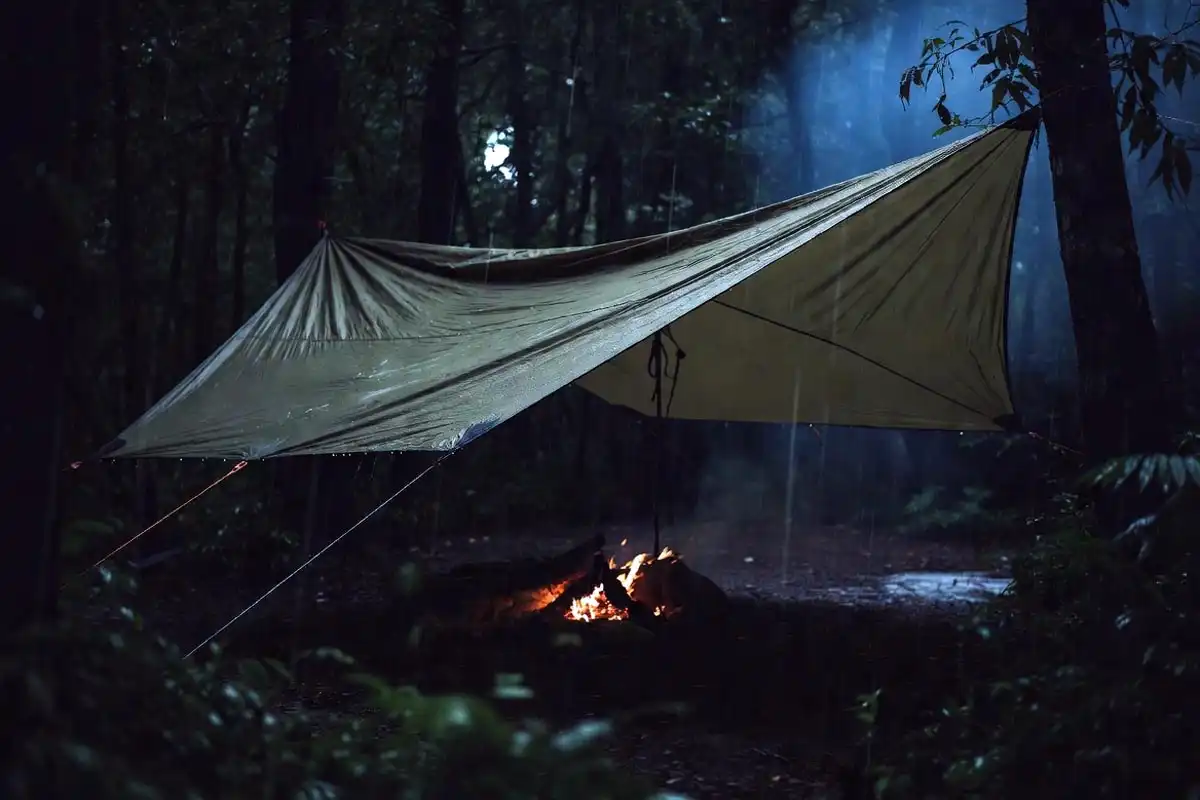
Place the fire under natural cover or a tarp suspended at least 3 feet above the flame. A tree canopy with no overhanging dead branches provides overhead protection without fire risk. Rocky outcroppings in hill terrain provide natural windbreaks.
Avoid low ground where rainwater collects. Standing water beneath the fire base extinguishes it within minutes. A raised, sheltered spot on mineral soil or rock is the preferred position.
Position the fire downwind of your tent and cooking area. Wet-weather fires produce more smoke than dry fires.
How to Start a Campfire for Cooking in Wet Conditions
Follow these steps in order. Skipping the platform or tinder preparation stages is the most common reason wet-weather fires fail.
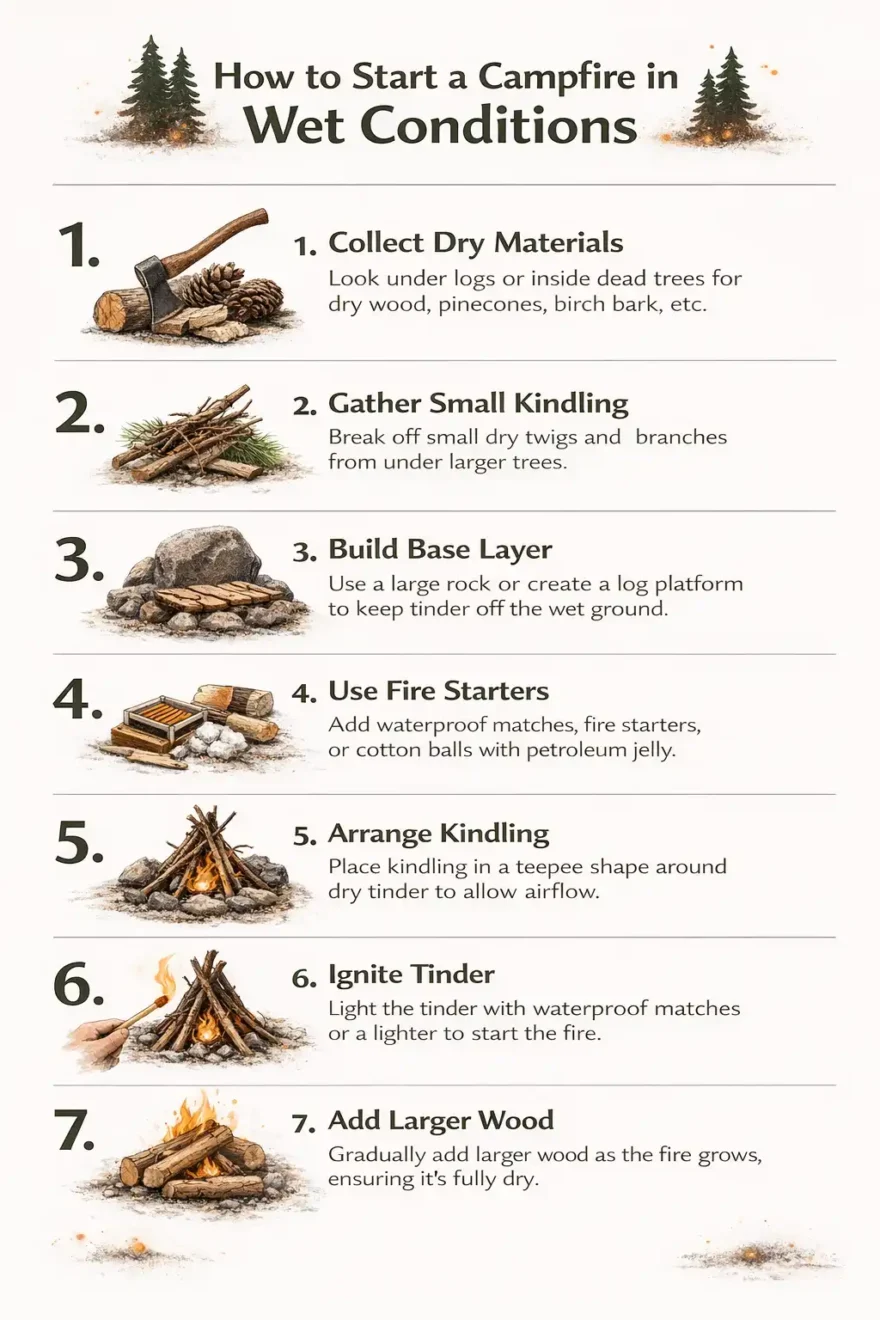
Step 1: Source Dry Fuel First
Collect tinder before building anything. The best dry tinder in wet conditions comes from:
- Inner bark of standing dead trees (not fallen logs, which absorb ground moisture)
- Dead branches still attached to trees at shoulder height or higher
- Fatwood (resin-saturated pine heartwood), which resists moisture absorption
- Birch bark, which contains natural oils that sustain a flame even when slightly damp
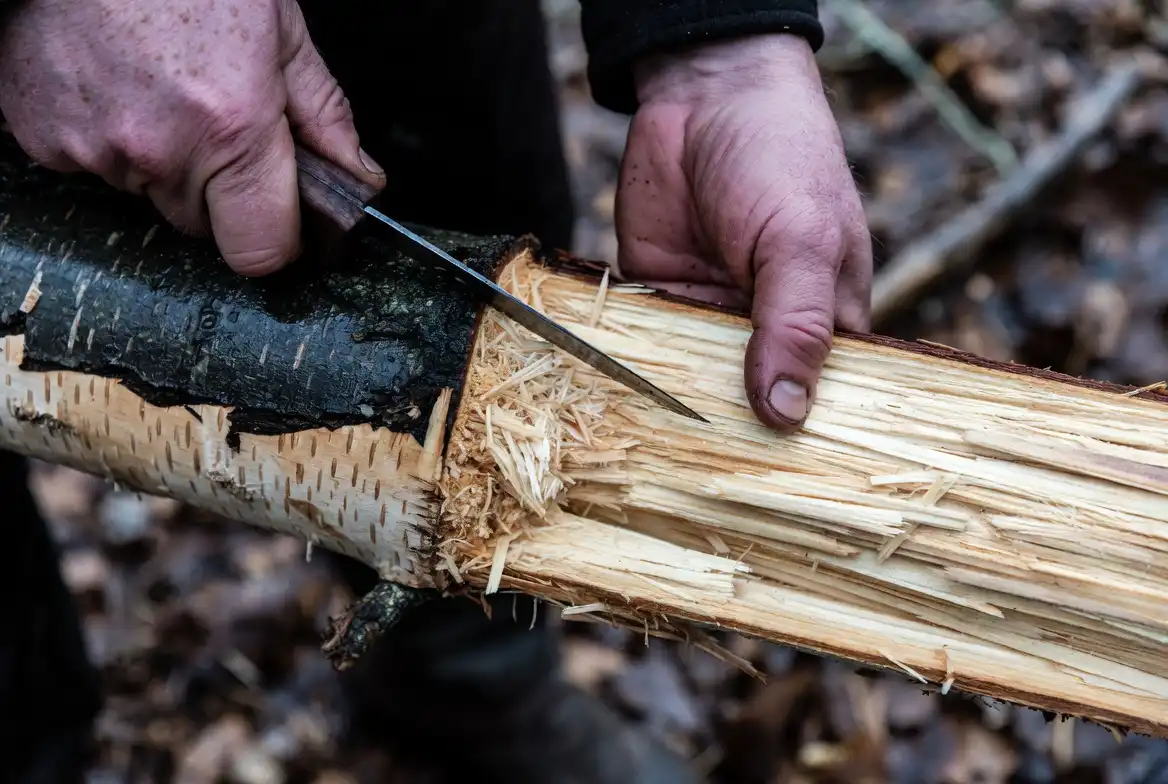
Split a branch with a knife or saw. The outer surface may be wet. The interior wood 1 to 2 inches in is dry. That interior wood is your kindling.
Store collected tinder inside a dry bag or jacket pocket until you’re ready to build.
Step 2: Build a Raised Platform
Lay 3 to 4 dry sticks side by side flat on the ground to form a small raft. This lifts your tinder bundle and early kindling off the wet surface. Without this platform, ground moisture and cold soil absorb heat faster than the tinder generates it.
A flat piece of dry bark or a split log face-down works equally well as a platform.
Step 3: Prepare the Tinder Bundle
Form dry tinder into a loose, fist-sized bundle. Loose structure matters because airflow feeds a flame at this stage. A compressed bundle restricts oxygen and slows ignition.
Place the bundle at the center of your platform.
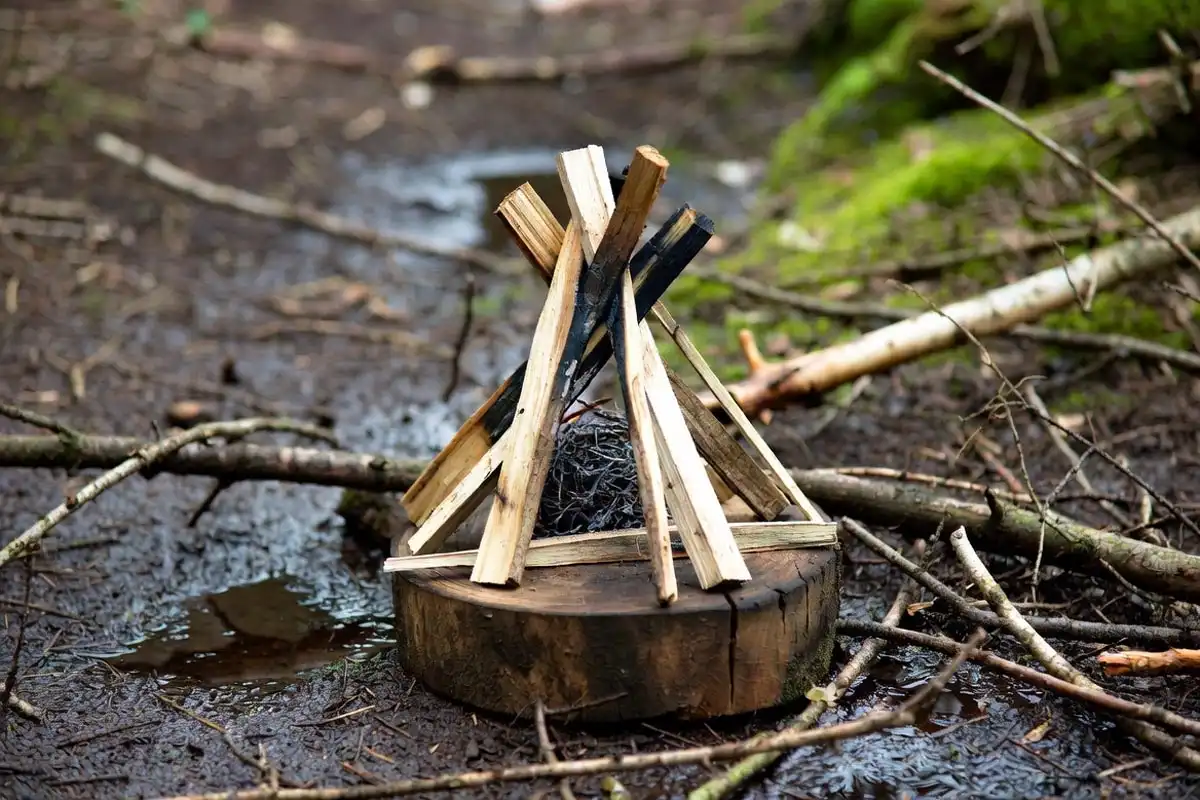
Step 4: Build a Teepee Structure
Lean 6 to 8 dry kindling sticks over the tinder bundle in a teepee formation. Each stick needs to contact the bundle at the base. Leave a gap facing you (the windward side) for lighting access.
Add a second outer layer of finger-width sticks over the first teepee. This second layer catches fire as the inner bundle burns and feeds the next stage without adding weight that smothers the flame.
Step 5: Shield and Light from the Base
Hold a piece of bark, a tarp edge, or a jacket panel on the windward side to block direct rain and wind from the tinder. Keep the windward gap open for your lighter.
Hold the windproof lighter or lit match at the base of the tinder bundle, not the top. Heat rises. Lighting from the base lets the flame travel upward through the bundle naturally.
Hold the flame in place for 3 to 5 seconds to transfer enough heat to start combustion.
Step 6: Feed Gradually
Add sticks in increasing size as the fire builds. Kindling first, then wrist-width pieces, then forearm-width logs. Wait for stable, sustained flames before moving to each next size. A fire fed too fast with large wood smothers before it reaches a coal bed.
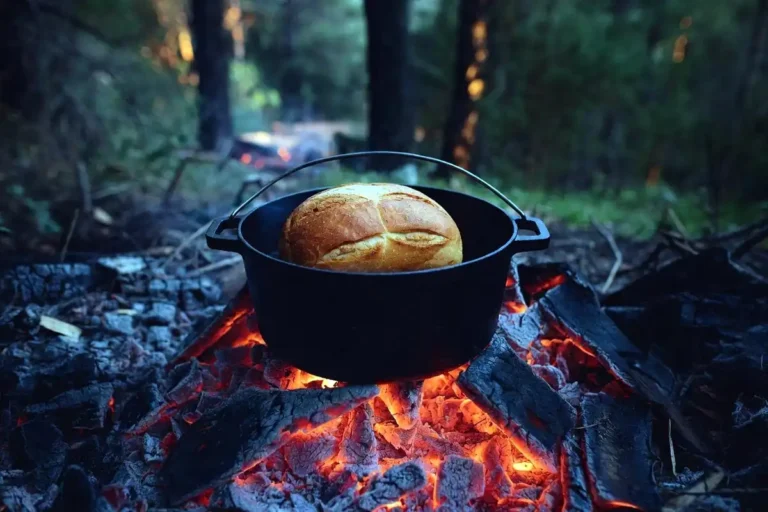
Step 7: Transition to a Cooking Coal Bed
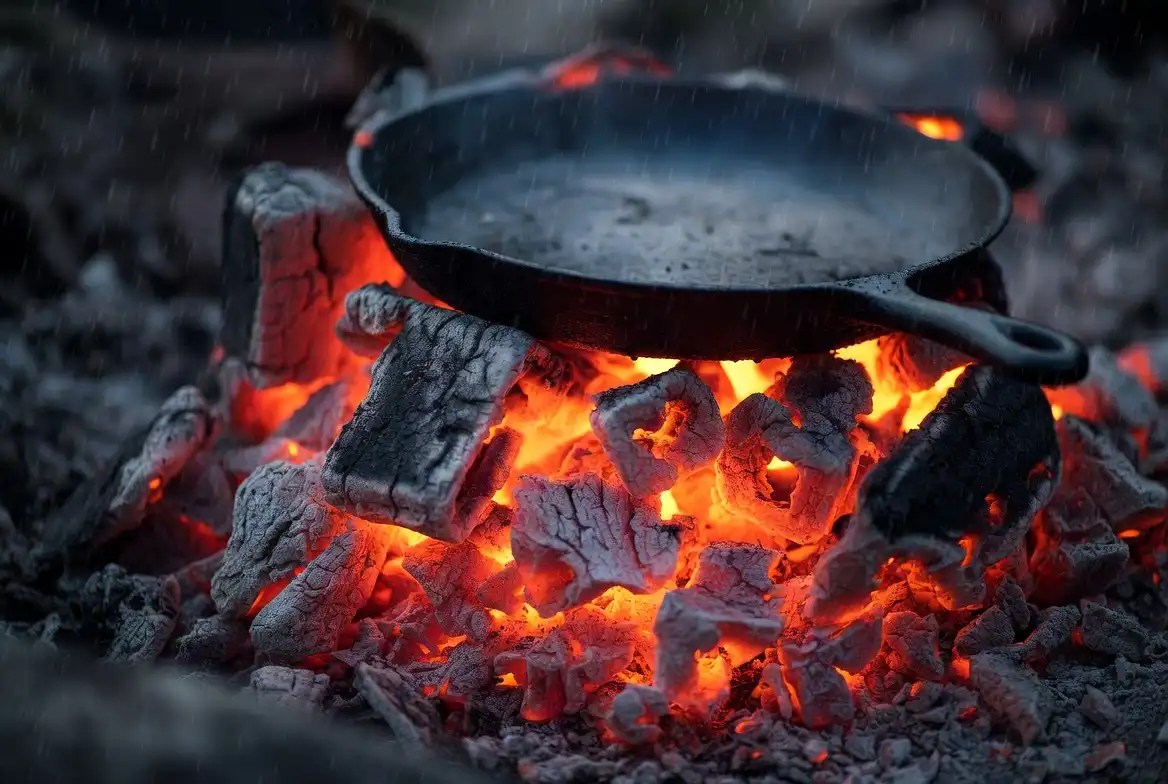
Cooking over open flame produces uneven heat and flare-ups. A coal bed generates steady, manageable heat suited for campfire cooking.
Feed the fire for 20 to 30 minutes before cooking. Push burning logs together to concentrate heat and accelerate coal formation. Gray-edged coals with a red center indicate a cooking-ready bed.
I go deeper on managing fire temperature in this guide on regulating heat on a campfire for cooking, which covers coal depth and flame control for different foods.
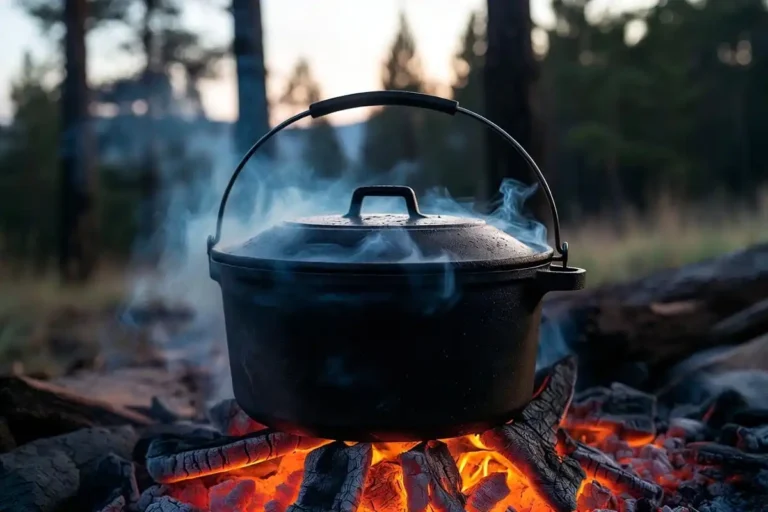
How to Keep the Fire Going in Rain While You Cook
Feed wet logs alongside already-burning dry wood. The dry wood transfers heat to the wet log and dries it before combustion. Feeding one or two pieces at a time maintains temperature without flooding the coal bed with moisture.
A log cabin structure (two logs parallel, two logs perpendicular on top) retains heat longer than a teepee once the fire is established, making it the better cooking configuration in sustained rain.
Split wet logs before adding them. The exposed interior dries faster than the intact exterior.
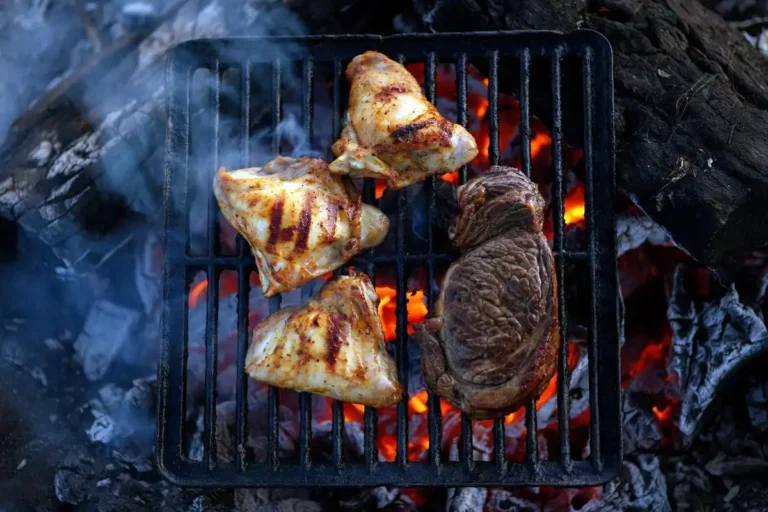
If you’re cooking meat directly over the fire, the guide on cooking meat over a campfire safely covers heat zones and safe internal temperatures alongside fire management.
Common Mistakes That Kill a Wet-Weather Fire
Placing tinder on wet ground: The platform step exists for this reason. Ground moisture extinguishes a tinder bundle within seconds of ignition.
Using outer bark from fallen logs: Fallen logs absorb moisture from the ground upward. The outer bark holds the most water of any part of the log.
Adding large wood too fast: It lowers fire temperature and smothers airflow before the coal bed stabilizes.
Lighting from the top: Flame rises. A top-lit fire leaves the tinder bundle cold until it burns down to it, by which point the flame often dies.
Building in an exposed position: Wind and direct rain cool the ignition zone. Shelter is not optional in wet conditions.
Safety Considerations for Wet-Weather Fires
Keep the tarp at least 3 feet above the flame. A lower position risks melting or igniting the tarp material. Use polyester tarps; nylon melts at low temperatures and drips burning material.
Never use gasoline, lighter fluid, or alcohol under a tarp shelter. Vapor accumulates faster in enclosed overhead spaces.
Check overhead branches before lighting. Dry deadwood in the canopy above a fire catches embers and creates a fire spread risk even in wet conditions.
Wet conditions do not extinguish a fire on their own. Douse the fire completely with water and stir the ash before leaving. Confirm no heat remains before walking away.
For situations where rain escalates into a full shelter emergency, I covered the quick-build tarp approach in this guide on building a simple shelter in sudden rain, which applies directly to the overhead cover setup described above.
FAQs: Start a Campfire for Cooking in Wet Conditions
Can you start a fire with wet wood?
Wet wood does not ignite from a small flame on its own. Split it to expose the dry core, then place it alongside burning dry wood. The dry wood transfers heat to dry out the wet piece before it combusts.
What is the best fire starter for wet camping conditions?
Wax-based commercial fire starters and fatwood (resin-saturated pine heartwood) perform consistently in wet conditions. Neither material absorbs water readily, so both ignite from a lighter even after rain exposure.
Teepee or log cabin: which fire structure works better in rain?
A teepee structure ignites faster and suits initial lighting. A log cabin retains heat longer once established. Start with a teepee to build the fire, then transition to a log cabin layout for sustained cooking.
How do I keep tinder dry while camping?
Store tinder inside a sealed ziplock bag or dry bag inside your pack. Collect backup tinder on-site by splitting standing dead branches with a knife to reach the dry interior.
Is it safe to use a tarp over a campfire?
A polyester tarp positioned at least 3 feet above the flame reduces rain exposure without creating a fire hazard. Nylon tarps melt at low temperatures and are not suitable for fire proximity.
Conclusion
A cooking fire in wet conditions starts with preparation, not persistence. Dry tinder from inside standing dead wood, a raised platform, a structured teepee build, and overhead cover solve every ignition problem wet weather creates.
Feed the fire gradually, transition to a coal bed before cooking, and keep safety checks consistent regardless of conditions. These steps work across drizzle, moderate rain, and high humidity and improve with every wet-weather trip.