How to Stay Safe While Solo Camping: 9 Critical Checks Before Dark
Solo camping stays safe when you control risk before you leave, choose a low-hazard campsite, and follow a repeatable routine for navigation, weather, wildlife, and emergencies. This guide walks you from trip planning at home to setting camp, storing food, handling night anxiety, and making clear exit decisions. Use it as a simple system you repeat on every solo trip, not a one-time checklist you forget.
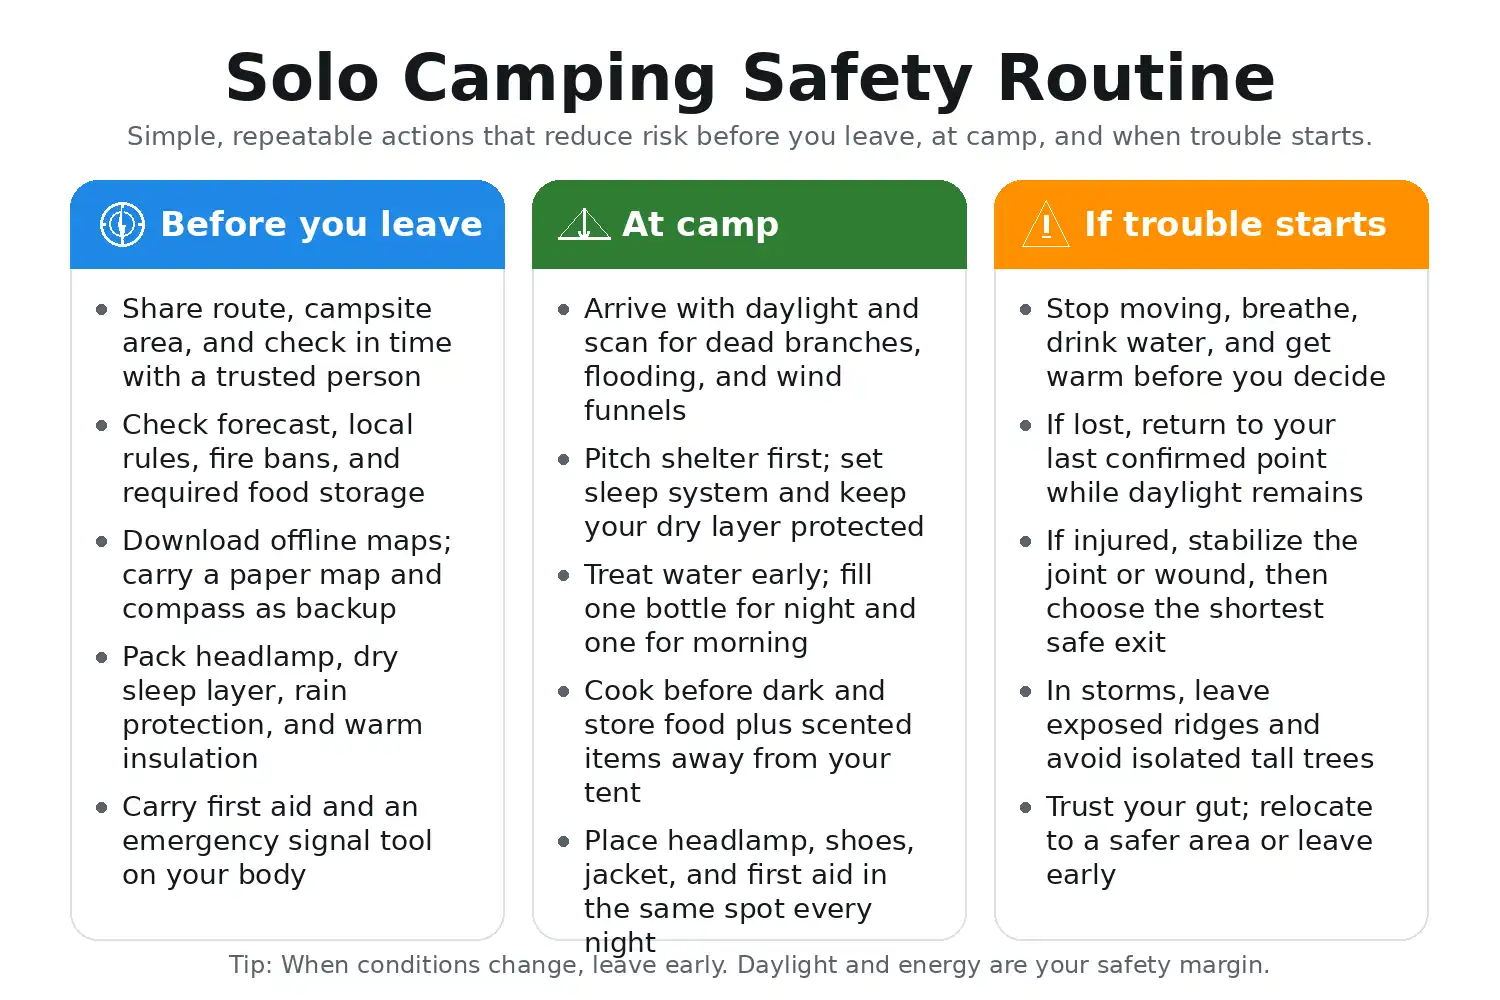
Tell a trusted person your route and check-in time. Camp where you have an easy exit. Arrive with daylight. Keep warmth and light ready before dark. Store food and scented items away from where you sleep. If you feel lost, cold, or unsafe, stop early and leave while you still have energy and visibility.
What solo camping safety really means
Solo camping safety means you reduce the number of problems that can happen, and you keep each problem small.
When you camp alone, one mistake stacks fast. A wrong turn leads to late arrival. Late arrival leads to rushed setup. Rushed setup leads to wet gear, poor food storage, or a twisted ankle in the dark.
A safe solo trip feels “boring” in the best way. You move steady. You stop early. You keep wide margins.
Learn more: Choose a Campsite When You Arrive Late
When solo camping is a good idea
- Pick your first solo nights when the land feels predictable.
- Stable conditions help you learn your routine:
- Warm-to-cool nights instead of extreme cold.
- Low wind days instead of gusty ridge weather.
- Long daylight hours instead of short winter afternoons.
- Familiar trails instead of complex junctions.
Postpone the trip when the forecast brings strong storms, lightning risk, heavy rain, or heat that forces long midday rests. A solo trip gets safer when you choose a day that lets you think clearly.
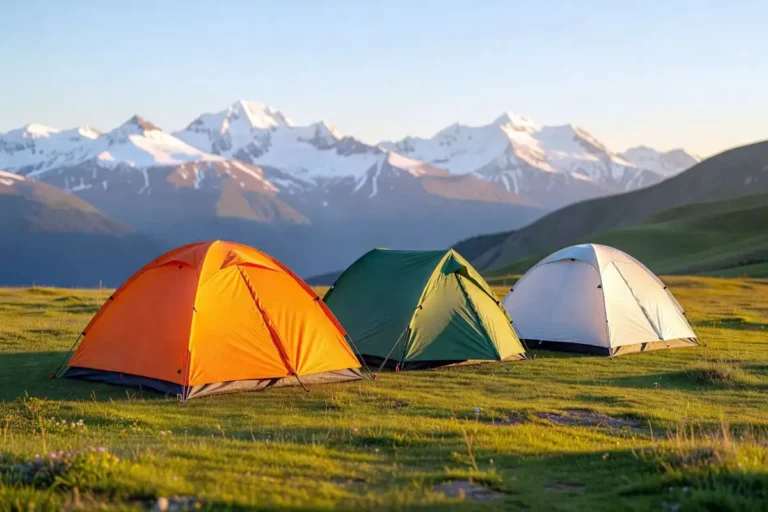
Where to solo camp (and how to pick a safe site)
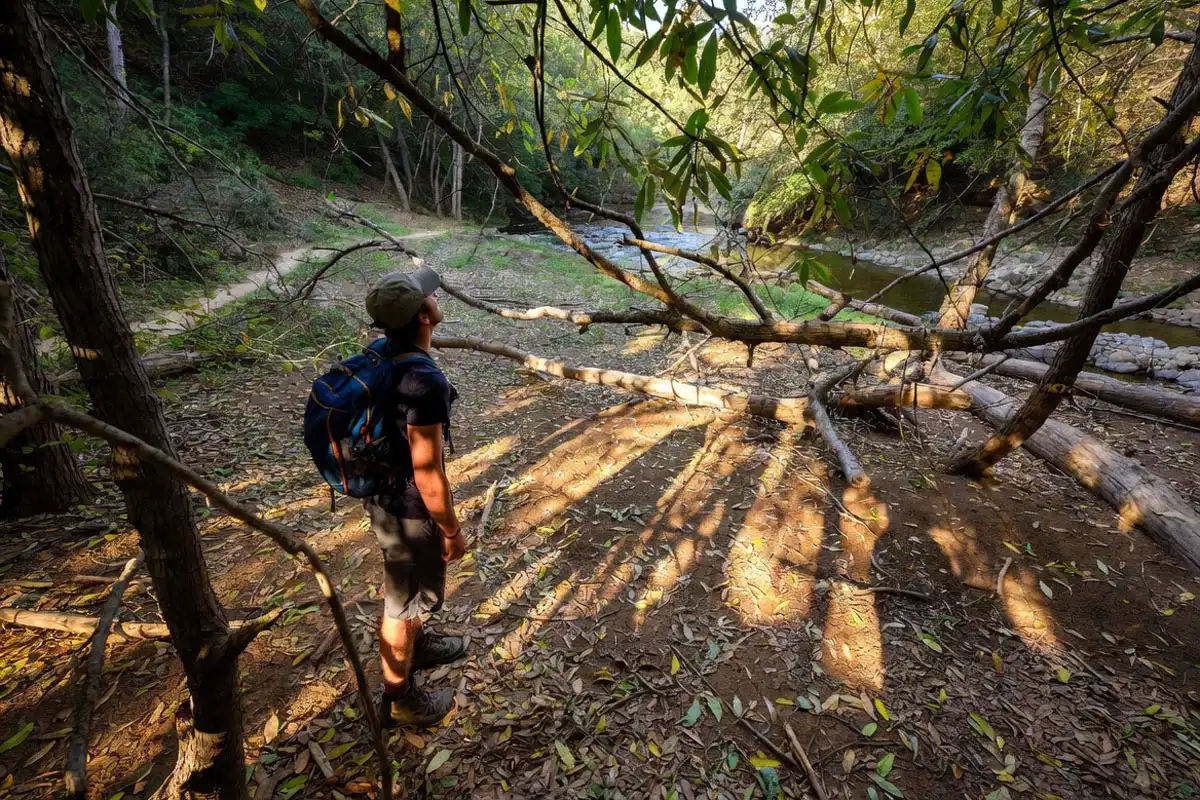
For early solo trips, choose places where leaving stays easy.
A developed campground works well because help is nearby and the terrain is simple. A backcountry site close to a trailhead also works if the route stays obvious.
Once you reach your campsite area, scan the site like a camper who expects weather and night movement.
- Overhead: avoid dead branches and leaning trees.
- Water: camp above flood lines and away from dry streambeds.
- Wind: avoid ridge crests and open gaps that funnel gusts.
- Ground: choose flat, well-drained soil, not a bowl.
- Exit: keep a clear path back to the trail.
If a place feels wrong, move. Ten minutes of walking beats a long night of worry.
To know more for safety: Keep Bedding Dry in Humid Weather: 10 Fast Solutions
How to prepare for solo camping
This is the planning workflow I follow when I camp alone.
Step 1: Choose a route with a clear bailout
Pick a route that stays easy to follow. Identify one “bailout point” where you can turn back without debate. Write that point down before you leave home.
Solo safety improves when you decide your exit plan while you still feel calm.
Step 2: Check weather and local rules
Check the forecast for wind, rainfall, and overnight temperature. Then check the land rules for camping zones, permits, and fire restrictions.
If the area has required food storage rules, build your whole camp plan around them. Food storage is not a small detail on solo trips.
Step 3: Send a trip plan that someone can act on
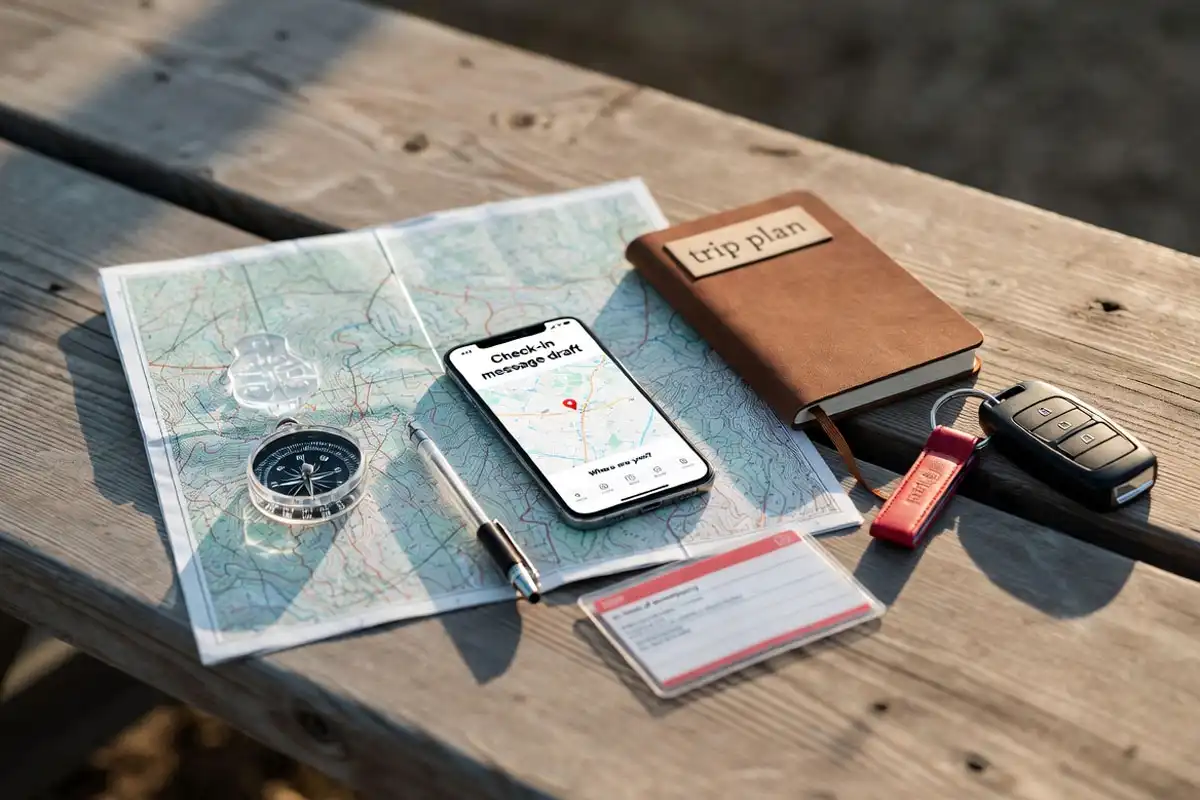
Send one message to a trusted person with your trailhead, route, campsite area, and return time.
Add one clear check-in schedule, such as “text when I start, text when I reach camp, text when I return.” Include what they do if you miss a check-in.
A simple plan turns silence into action.
Step 4: Build your water and food plan around the route
Know where your reliable water sources sit on the map. Carry enough to cover a delay. Treat water early, not when you feel thirsty.
If you want a clean way to estimate what to carry, use my guide on water planning per person for camping trips and match it to your refill points.
For food, choose meals that cook fast and do not require complicated prep after dark. A calm dinner keeps your head clear.
Step 5: Practice the routine once at home

Set up your shelter at home or in a nearby field. Pack it back the same way. Turn your headlamp on in the dark and confirm you know every button.
Practice lowers night stress because your hands already know the work.
The safety gear that matters most when you are alone
Solo camping gear stays simple. The goal is fewer failures and easier fixes.
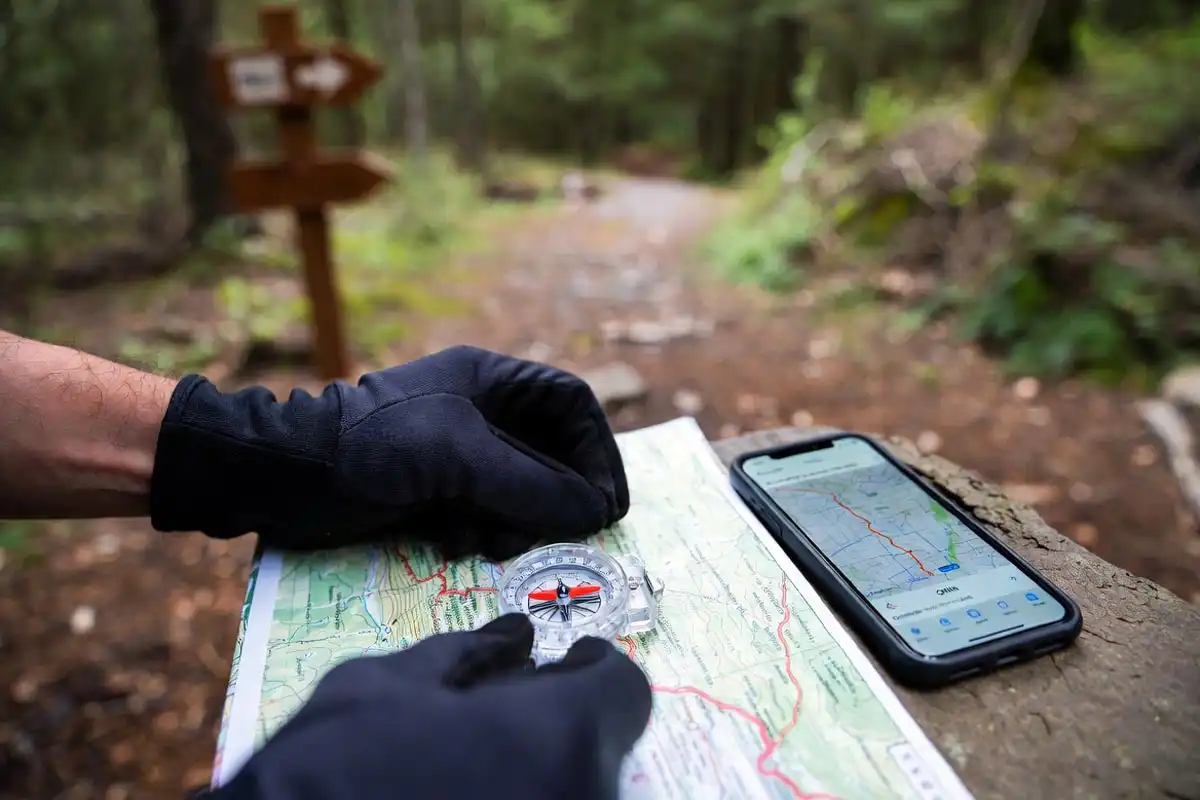
Navigation you trust
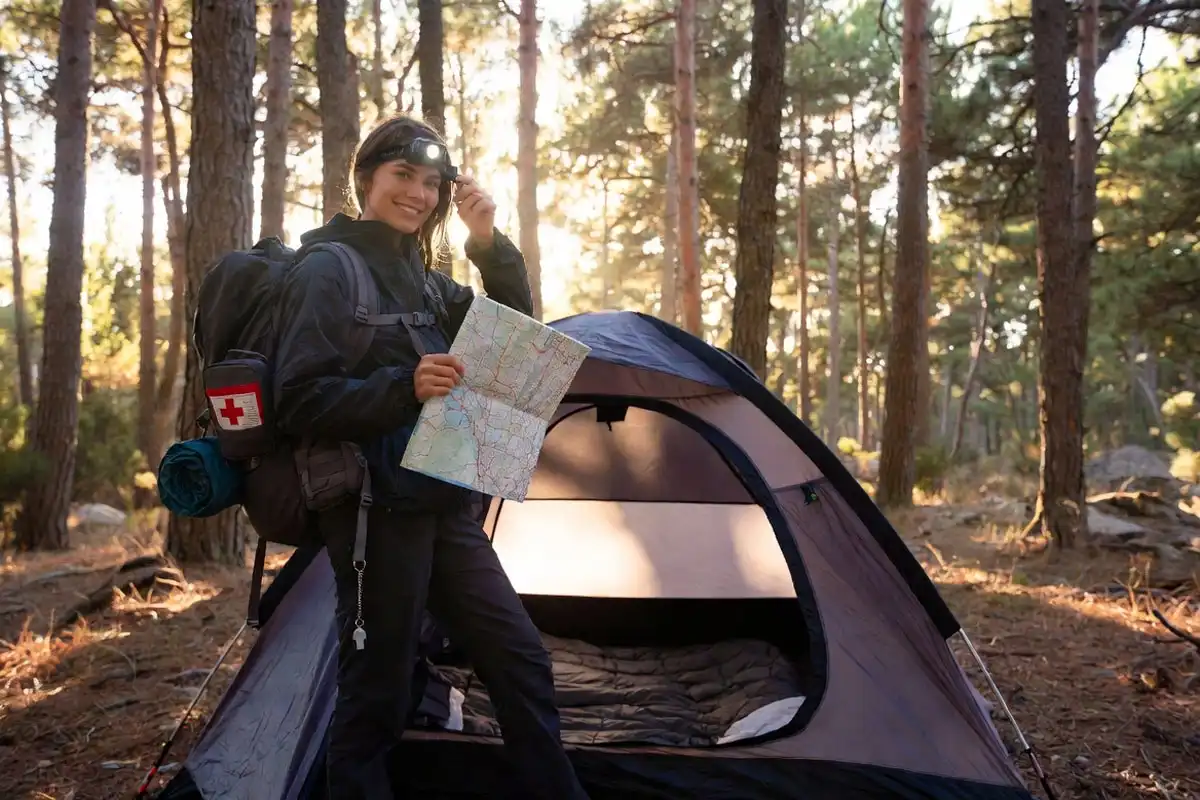
Carry two navigation methods. A downloaded offline map helps, and a paper map plus compass keeps working when your phone fails.
Stop at junctions. Confirm the next landmark before you walk. Small checks prevent big errors.
Communication when there is no signal
Carry a way to call for help when cell service disappears. A satellite messenger or a PLB fits many remote areas.
Keep your signal tool on your body, not buried in your pack. If you get separated from your pack, you still have a way out.
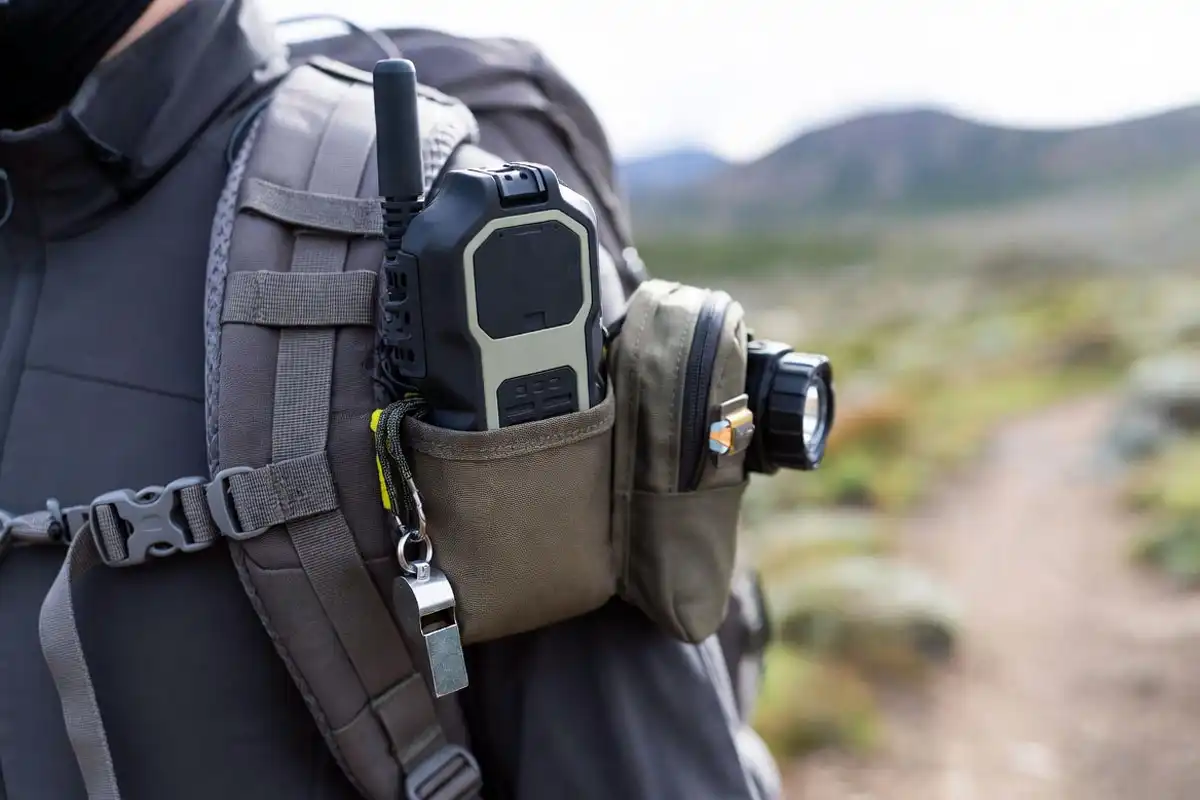
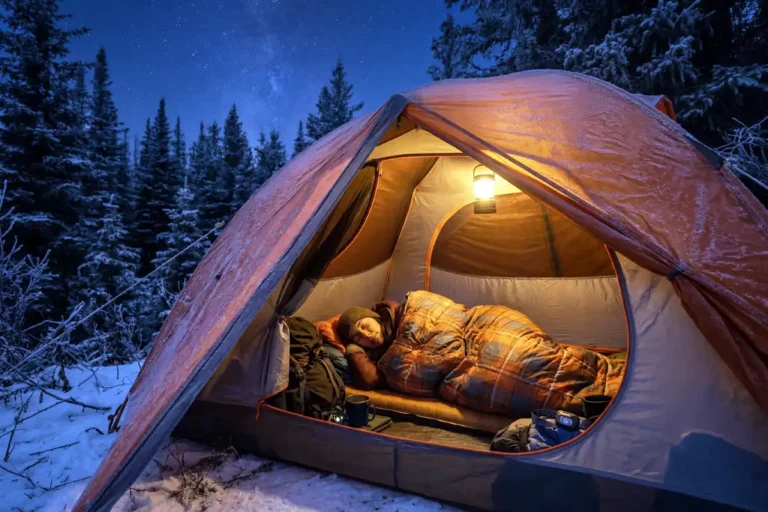
Light, warmth, and rain control
Bring a headlamp with fresh batteries. Keep it in the same pocket every trip.
Pack one dry layer reserved for sleeping. Keep it dry at all costs. Dry warmth prevents bad decisions at night.
Food storage that keeps wildlife away
Store food and scented items away from where you sleep. That includes toothpaste, wipes, sunscreen, and trash.
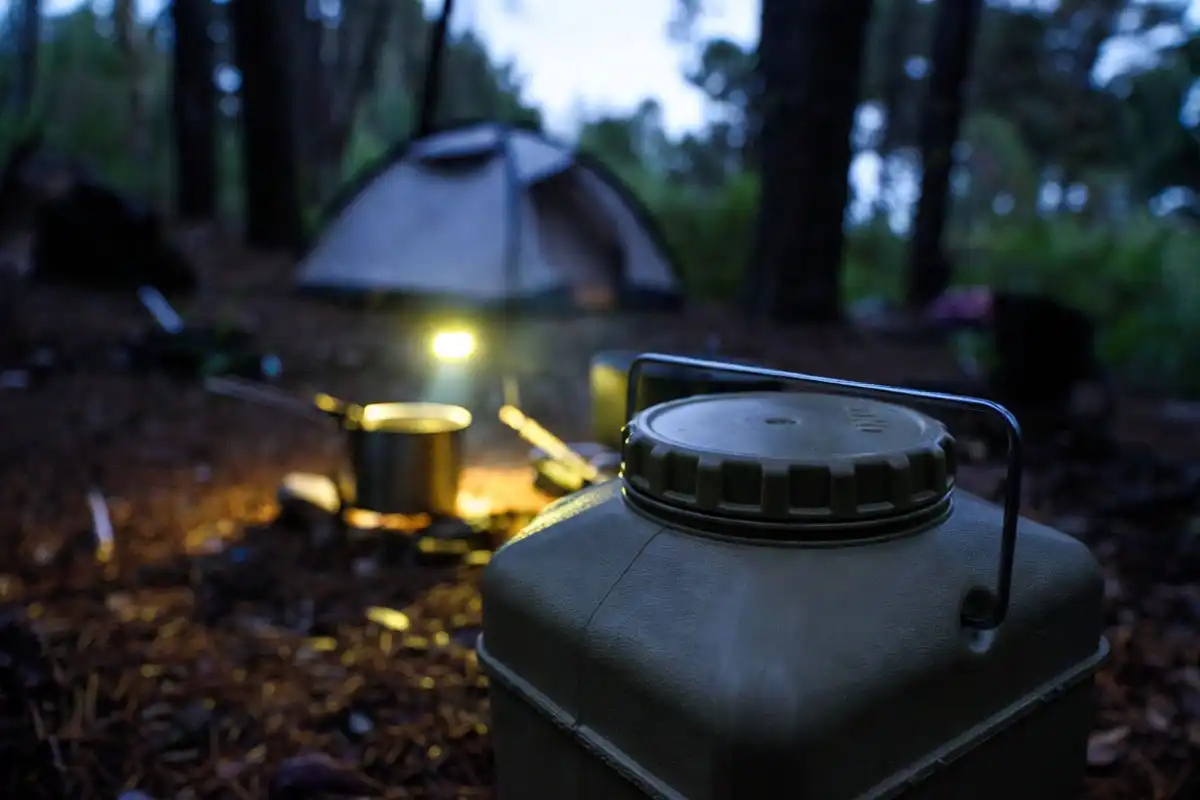
Use the method required in your area, such as a bear canister, locker, or approved hang. Cook and eat away from your sleeping area.
If your cooking setup feels messy or unstable, simplify it. A tidy kitchen reduces burns and spills. My roundup of campfire cooking kit options helps you build a safer, more organized system.
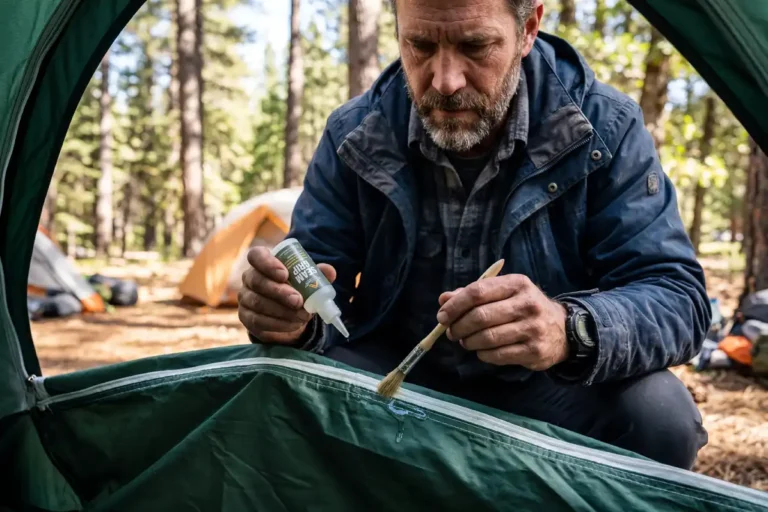
A small first-aid and repair kit
Solo first-aid focuses on the injuries that stop walking: blisters, sprains, and cuts.
Carry blister care, a wrap for ankles or wrists, and basic wound cleaning. Add tape or patches for your pad and shelter.
If you carry a saw, use it only in daylight with stable footing. A safe tool helps, but technique matters more.
How to run a safe solo camp routine
This is the part that turns solo camping into a repeatable system.
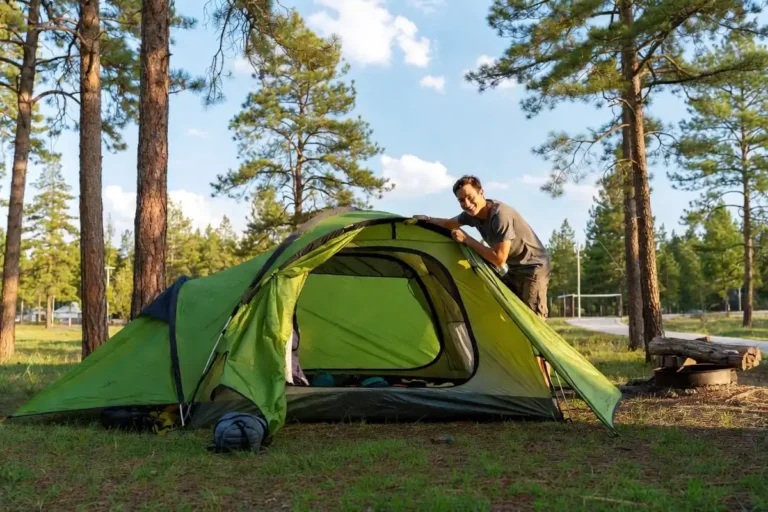
Step 1: Arrive early on purpose
Plan to reach camp with daylight to spare. Daylight gives you time to choose a safe site, set shelter, and organize your space.
Darkness turns simple tasks into risks.
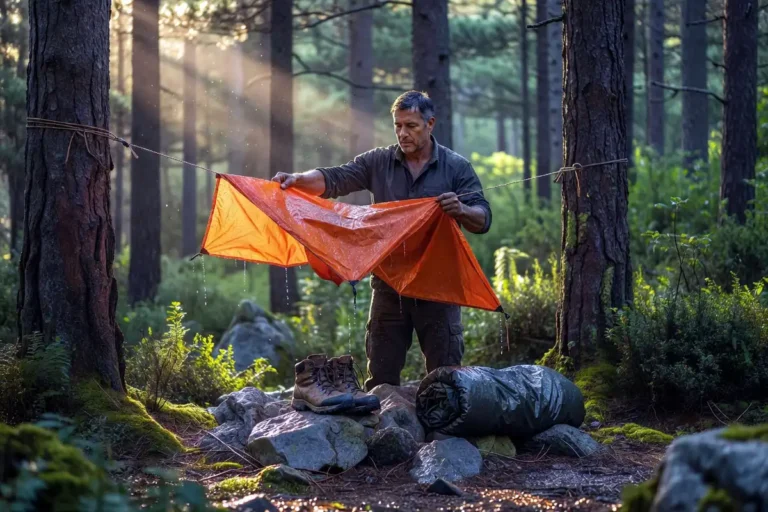
Step 2: Set shelter first
Pitch your tent or tarp before you cook. Then set your sleep system. Then place your dry sleep layer where it stays protected.
If rain hits, you already have cover and warmth.
Step 3: Treat water right after setup
Filter, boil, or treat your water as soon as you settle. Fill one bottle for the night and one for morning.
A hydrated body stays warmer and thinks clearer.
Step 4: Cook early and store food away from your tent
Cook before full darkness. Keep your cooking spot separate from your sleeping spot.
After eating, secure all scented items using your area’s required method. This single habit reduces wildlife trouble more than any other.
Step 5: Build a “night layout” you repeat
Put your headlamp, shoes, rain jacket, and first-aid kit in the same place every time.
Consistency matters at 2 a.m. Your brain feels calm when your hands know where everything sits.
Step 6: Check in, then settle your mind
Send your planned check-in message. Then slow down your body.
A short walk, warm drink, and quiet breathing settle nerves better than scrolling a phone in the dark.
Solutions for common solo camping situations
These situations happen on real trips. Clear actions keep them under control.
What do you do if you feel lost?
Stop moving.
Drink water. Sit down. Look at your map and confirm your last known point.
Backtrack to the last confirmed landmark while you still have daylight. If you keep doubting your location, stay put in a safe spot and use your signal plan instead of wandering.
What do you do if you get injured?
Treat the injury first, then decide movement.
Clean and cover wounds. Wrap and stabilize joints. Add warmth if you need to sit.
If pain increases with each step, choose the shortest safe exit route. Slow walking in daylight beats forced walking at night.
What do you do in lightning, heavy rain, or high wind?
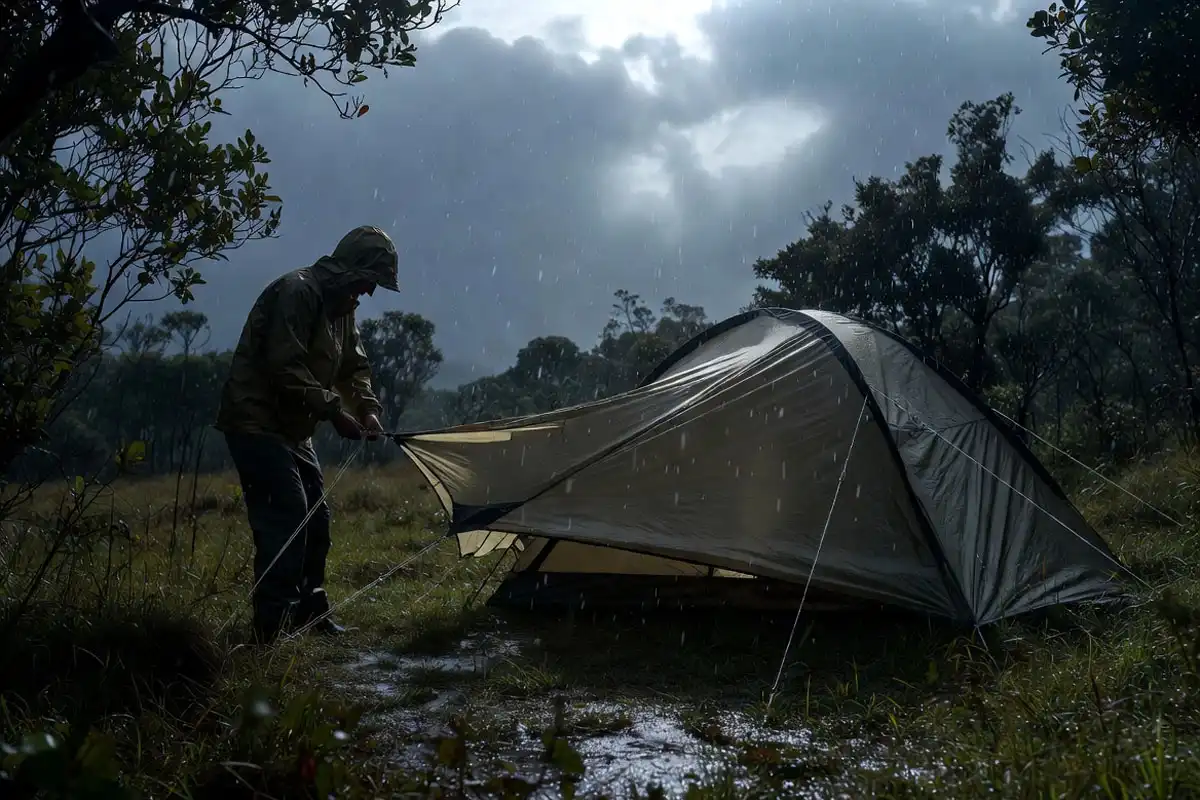
Get off exposed ridges and away from lone tall trees.
Protect your insulation from getting wet. Put on rain gear early, before you soak through.
If wind rises and trees start shedding branches, move away from hazard trees and consider leaving. A damaged tent in high wind creates a long, cold night.
What do you do if another person makes you uncomfortable?
Trust your instincts and act early.
Keep your conversation short. Do not share that you are alone. Pack essentials first, then move to a more public area or leave.
Solo camping safety includes social awareness, not only wilderness skills.
Troubleshooting small problems before they grow
Night problems often start with simple failures.
If your sleep system gets damp, change into your dry layer and increase ventilation to reduce condensation. Eat something warm if your body feels cold.
If your stove fails, switch to no-cook food you already packed. Focus on staying dry and hydrated. Skip risky fires during bans or wind.
If your phone battery drops fast, stop using it for entertainment. Use it only for navigation checks and messages. Keep it warm inside your clothing.
If night noises spike your anxiety, sit up, turn on your light, and listen for patterns. Wind and small animals create most sounds. If your gut stays loud, relocate or leave.
Mistakes that create solo camping emergencies
These are the repeat offenders I see in the field.
- Arriving late and rushing setup creates more injuries than distance hiking.
- Skipping food storage invites wildlife and damages gear.
- Pushing past a planned turnaround time leads to night navigation.
- Testing new gear on a new route creates stacked failures.
- Walking “a bit more” while lost increases the problem.
- Ignoring early cold or wet conditions leads to hypothermia risk.
Extra safety notes that keep you alive
Fire safety matters more when you camp alone. Keep flames small and controlled. Keep water nearby. Follow local restrictions without bending the rules.
Cold safety starts with dryness. Protect your insulation and your sleep layer from rain and ground moisture.
Navigation safety is a habit, not a talent. Check your location at junctions and major terrain changes.
Skill grows with practice. If you want a skill path you can build trip by trip, explore my outdoor safety skills guides and train one skill at a time.
Conclusion
Solo camping feels peaceful when your system stays solid. Plan your route and exit, share a check-in schedule, arrive early, and run the same camp routine every trip. Store food away from where you sleep, protect warmth from getting wet, and keep navigation and signaling ready. When conditions shift, leave early while you still have daylight and strength. That habit keeps solo trips safe for the long run.