How to Treat Minor Cuts and Blisters at Camp: 8 First Aid Moves
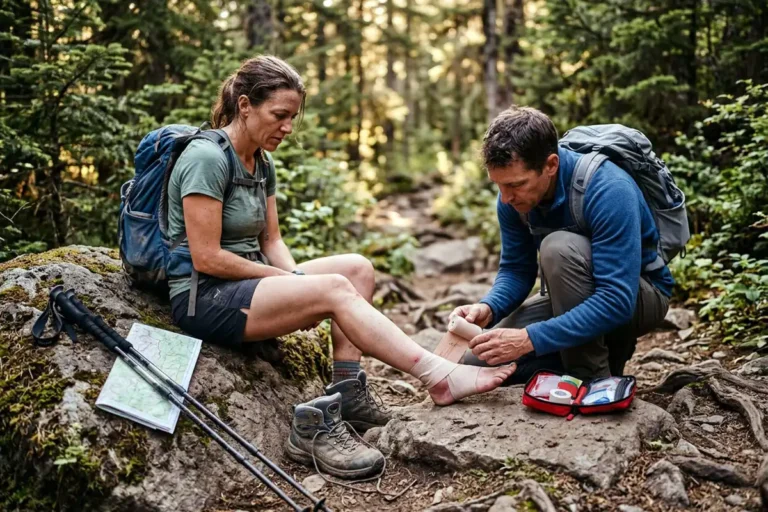
Minor cuts and blisters heal well at camp when you clean them early, protect the skin, and stop the rubbing that caused the problem. This guide walks you through a simple camp workflow you can repeat every time: set up a clean spot, use a basic first aid kit correctly, treat minor cuts step by step, manage blisters without making them worse, and know the warning signs that mean it is time to leave camp or get medical care.
- Minor cuts: Wash hands, stop bleeding with pressure, rinse with clean water, remove grit with clean tweezers, apply a thin layer of ointment or petroleum jelly, cover, and change the dressing daily or when wet.
- Blisters: Stop friction first, keep the blister clean, cover with padded or hydrocolloid dressing, and avoid bursting it. Treat a burst blister like a small wound and keep the skin flap in place.
- Get help: Go for care if the wound is deep, dirty, gaping, keeps bleeding, has an embedded object, shows infection signs, or you need a tetanus booster.
What Counts as “Minor” at Camp?
A minor cut or scrape affects the surface skin and stops bleeding with steady pressure. It looks clean after rinsing, and you can close it with a simple bandage.
A minor blister is a small, fluid-filled bubble from friction. It hurts, but you can still walk once you reduce rubbing and pad the spot.
If you see deep tissue, a gaping edge, heavy contamination, numbness, or spreading redness, treat it as more than minor and move to the “When to get medical help” section.
When to Stop Camp Care and Get Medical Help
Seek medical care as soon as you reasonably can if any of these happen:
- Bleeding does not stop after firm, continuous pressure.
- The cut is deep, wide, or gaping, or the edges will not stay together.
- You cannot remove grit, wood, glass, or metal from the wound.
- The wound comes from an animal bite or a dirty puncture.
- Infection signs appear: increasing pain, warmth, swelling, drainage, or expanding color change. Fever is a red flag.
- Your tetanus vaccine may be out of date. Mayo Clinic notes a booster is needed if you have not had one in the past five years and the wound is deep or dirty.
- You have diabetes, poor circulation, or immune suppression. Small foot wounds can escalate fast.
If you are hours from help and a wound is getting worse, the safest plan is often to stop hiking, protect the area, and start an exit.
Where to Treat Injuries at Camp
Pick a spot that helps you stay clean and steady:
- A flat rock, picnic table, or sleeping pad in the tent vestibule.
- Good light (headlamp with a wide beam helps).
- A clean water source you control (bottle, pot, or hydration bladder).
Before you touch skin:
- Wash hands with soap and clean water when possible.
- Use disposable gloves if you carry them.
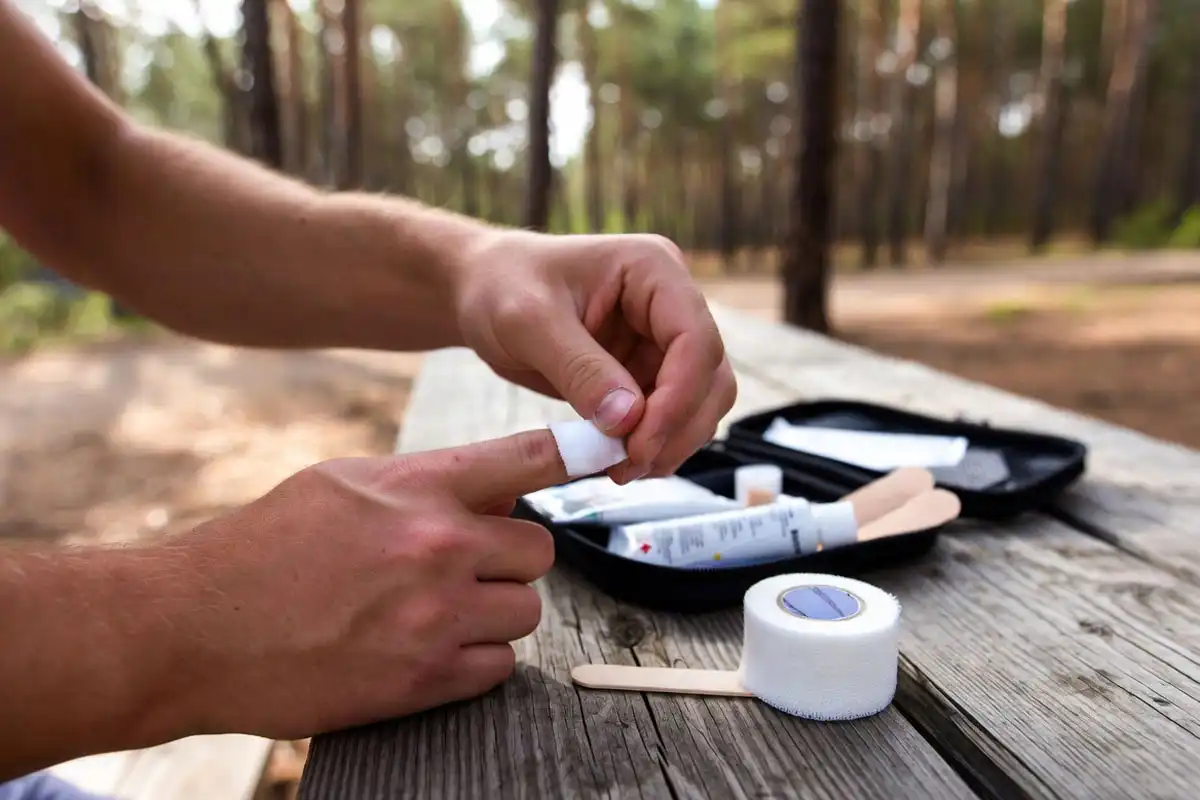
Basic First Aid Kit Use for Cuts and Blisters
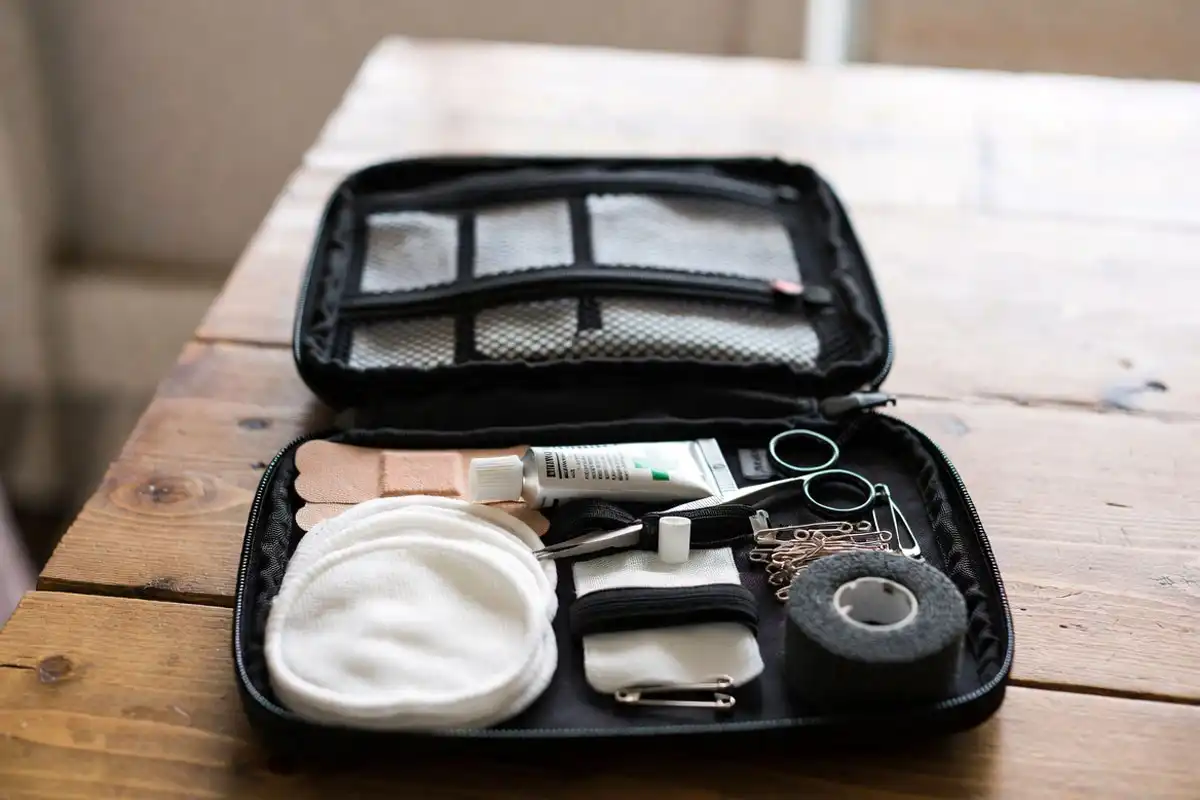
A “cuts and feet” kit stays small, but it needs the right items.
For minor cuts and scrapes
- Nitrile gloves
- Sterile gauze pads (various sizes)
- Adhesive bandages
- Medical tape (paper or cloth)
- Antibiotic ointment or petroleum jelly (small tube)
- Saline pods or a small bottle of clean water for rinsing
- Tweezers and small scissors
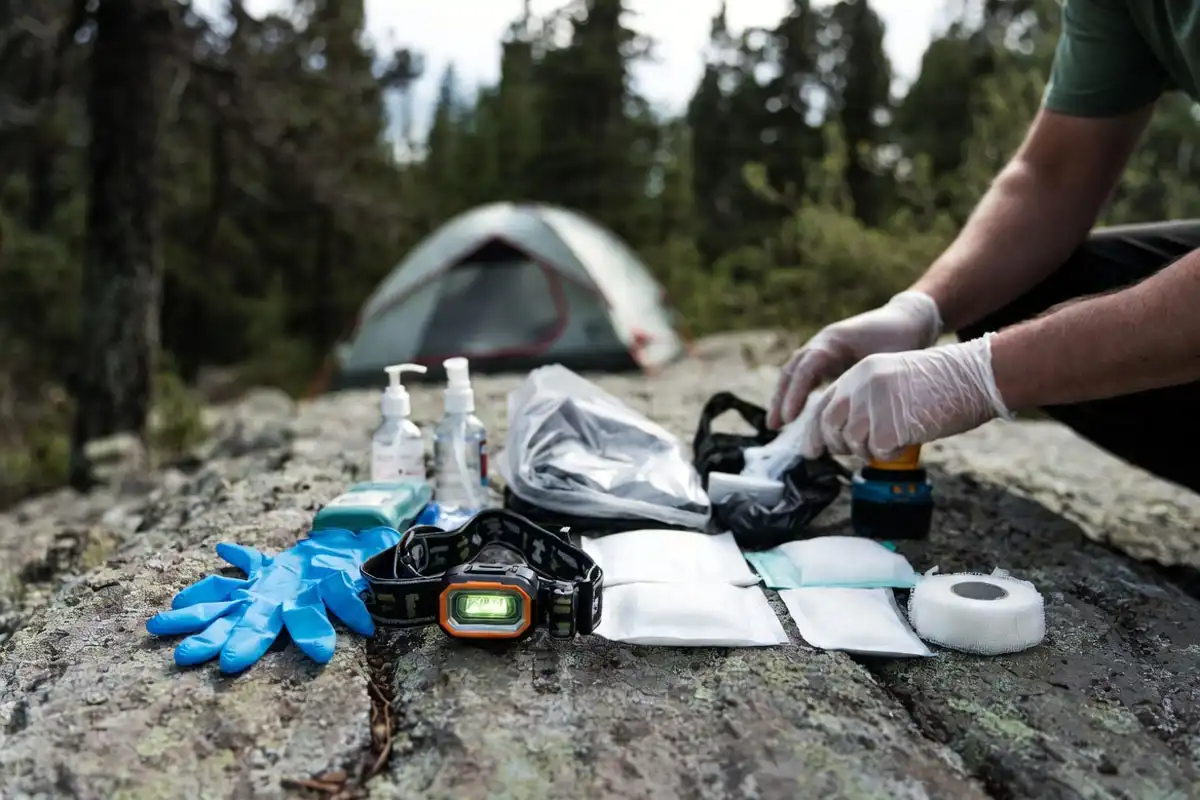
For blisters and hotspots
- Hydrocolloid blister dressings (great for heel blisters)
- Moleskin or blister padding
- Athletic tape or leukotape-style tape
- A spare pair of socks (dry socks are treatment)
If you want a packing routine that prevents forgotten essentials, use a checklist system like the one in my guide on a forget-nothing 2-night camping checklist. Keep your first aid kit in the “always-accessible” zone, not buried in the trunk.
How to Treat Minor Cuts and Scrapes at Camp
1) Wash hands and control bleeding
Wash your hands. Put on gloves if you have them.
Press a clean gauze pad or cloth directly on the cut. Keep steady pressure. Raise the injured area if it is practical.
2) Rinse with clean water
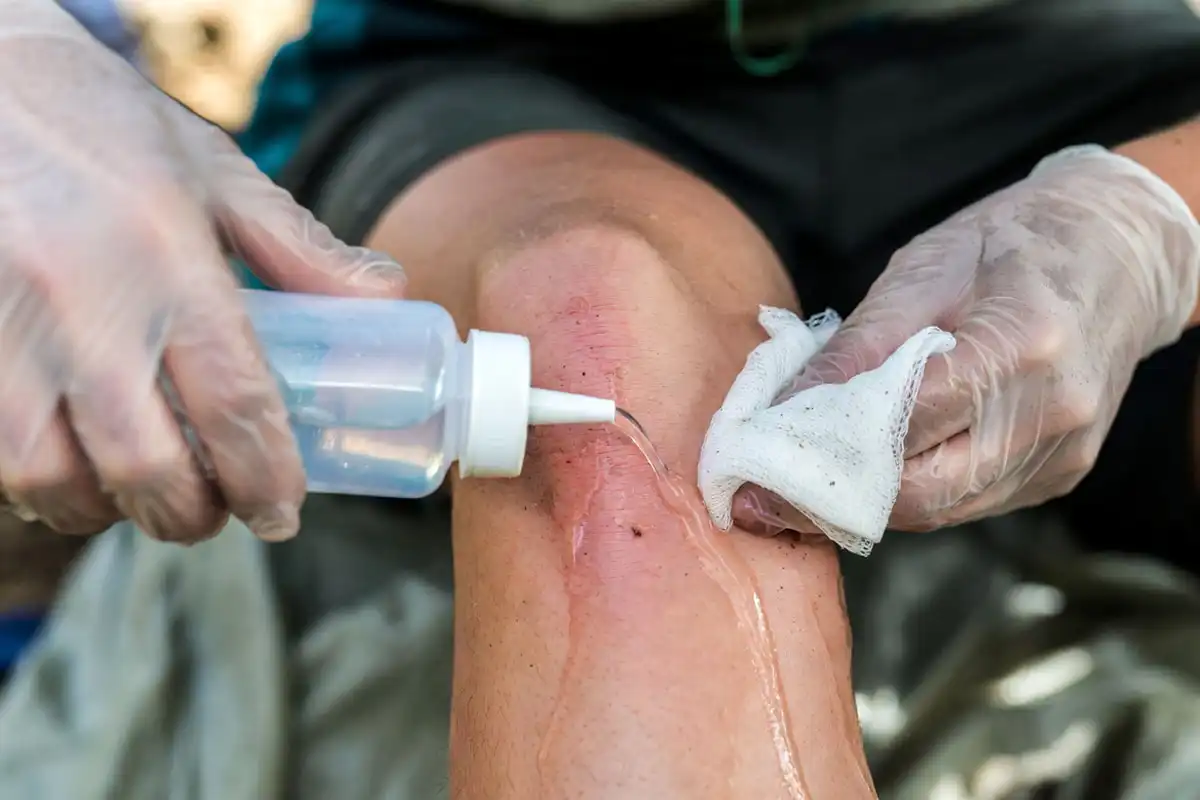
Rinse the wound with water. Running water lowers infection risk.
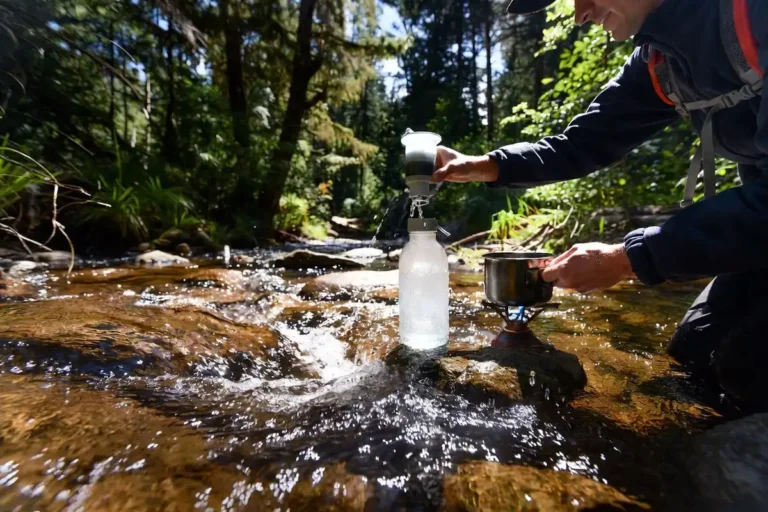
At camp, “running” can mean a steady pour from a bottle. If you rely on stream water, treat it first. If you are planning water carefully, my guide on how much water to bring per person helps you budget enough for cooking and basic hygiene.
3) Wash around the wound, not inside it
Use soap on the skin around the cut. Keep soap out of the wound when possible.
Skip hydrogen peroxide and iodine for routine cleaning. Mayo Clinic notes they can irritate wounds.
4) Remove debris with clean tweezers
If you see sand or grit, remove it with tweezers cleaned with alcohol.
If debris stays stuck, stop digging. Protect the wound and seek care.
5) Protect the surface and cover it
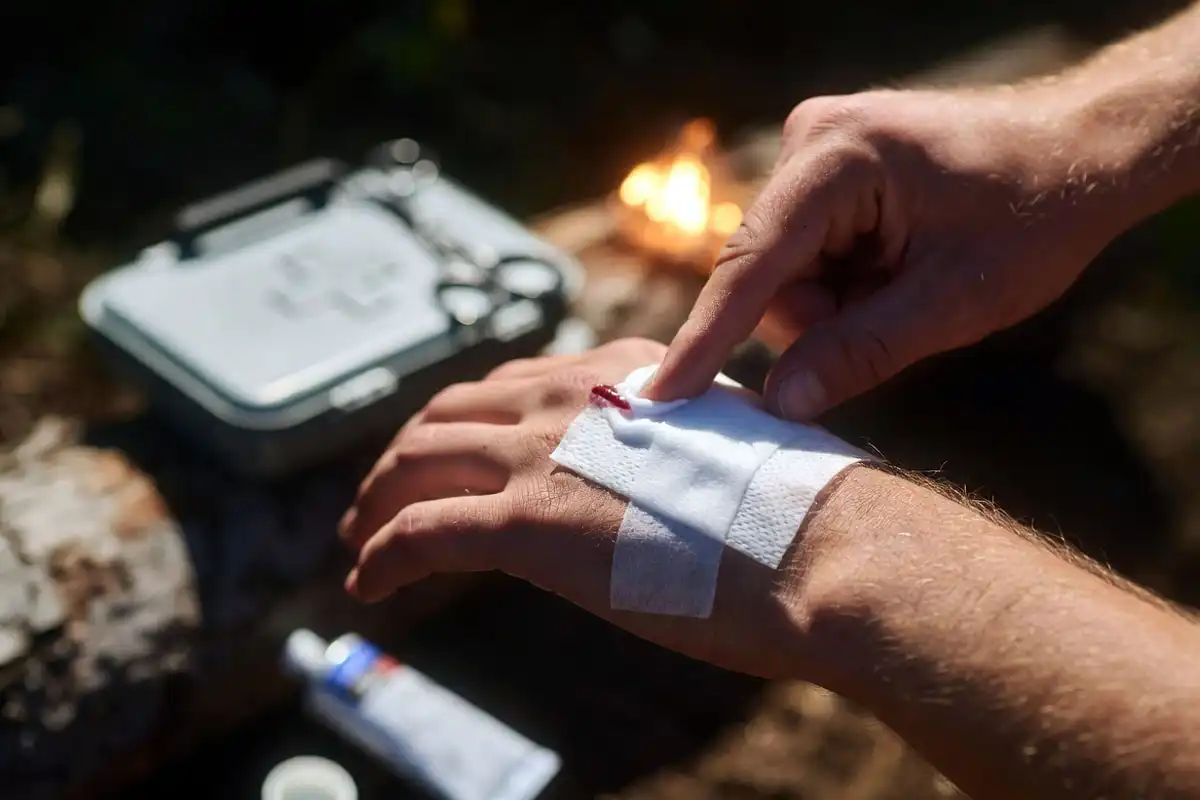
Apply a thin layer of antibiotic ointment or petroleum jelly to help keep the surface moist. Stop using antibiotic ointment if a rash appears.
Cover with a bandage or sterile gauze held with tape. Covering keeps the wound clean.
6) Change, check, and keep it dry
Change the covering at least daily, and any time it gets wet or dirty.
Review the wound every 24 hours for heat, swelling, new pain, or drainage.
How to Treat Blisters at Camp (Hotspots to Healing)
Step 1) Treat the hotspot before it becomes a blister
A hotspot feels warm, tender, or “rubbed raw.” Stop and fix it early.
- Dry the foot and sock.
- Adjust laces to relieve pressure.
- Tape the area or add blister padding.
This one habit prevents most trip-ending heel problems.
Step 2) If the blister is intact, keep it intact
NHS guidance is simple: keep the blister clean and cover it with a soft plaster or padded dressing. Do not burst it.
Hydrocolloid dressings work well for many foot blisters because they protect the area and can reduce pain. NHS notes they can also speed healing.
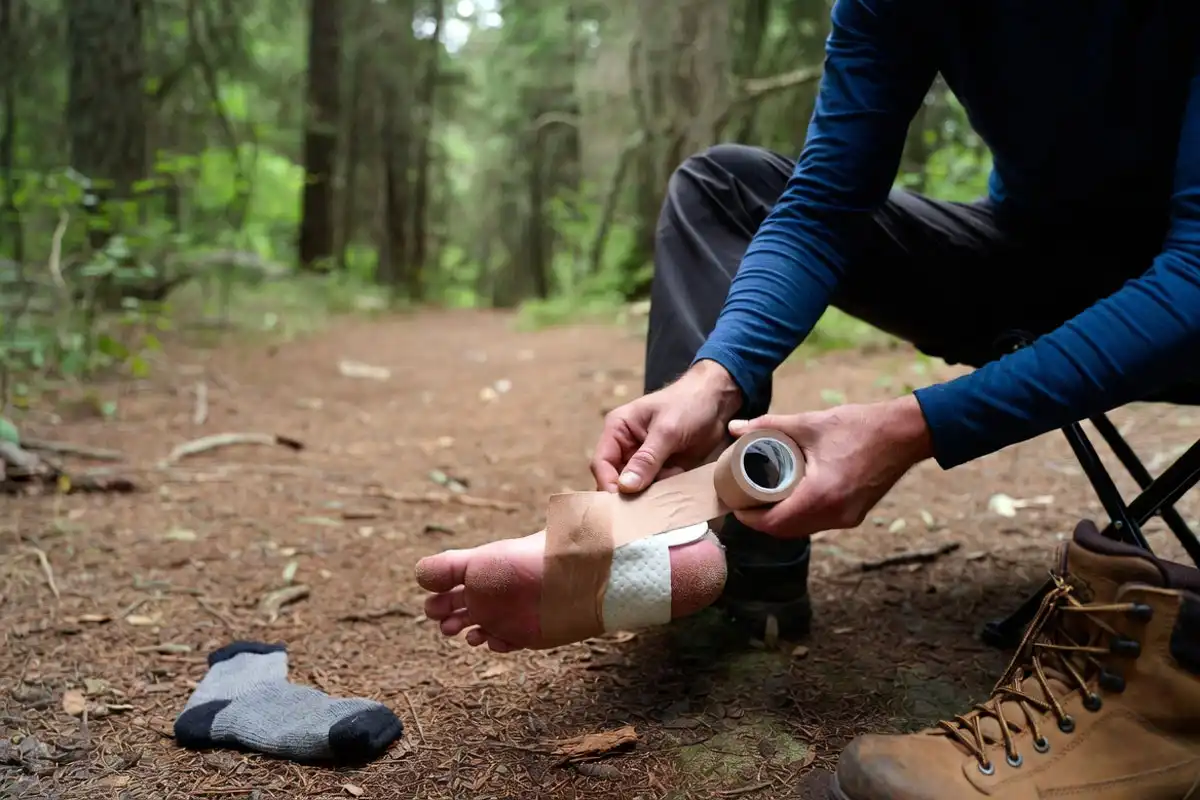
How to pad an intact blister (my camp method)
- Clean and dry the skin.
- Place a hydrocolloid dressing over the blister, or build a “donut” with moleskin so pressure lands on the ring, not the bubble.
- Tape the edges so dirt cannot creep underneath.
- Put on clean socks and loosen the shoe where it rubs.
Step 3) If the blister has burst, treat it like a small wound
NHS advice: wash hands before touching a burst blister, allow fluid to drain, and cover it. Do not peel off the skin flap.
At camp:
- Rinse with clean water.
- Pat dry.
- Lay the skin flap back down.
- Cover with a non-stick pad or hydrocolloid dressing.
- Keep it clean and reduce walking time if you can.
Step 4) Draining a blister: a cautious decision point
Many mainstream medical pages advise leaving blisters alone. REI’s blister guidance, based in part on NOLS Wilderness Medicine, also recommends avoiding draining when possible and dressing it like a wound if it pops.
In the backcountry, a large, painful blister in a high-friction spot can tear during walking. If you cannot hike out without it tearing, some hikers use controlled drainage as a last resort. This only makes sense if you can keep tools clean and keep the site covered after.
If you do not have clean supplies, do not drain. Pad it and plan an exit.
For more foot-care context on trips, browse the hiking section for planning and comfort guides.
Solutions for Common Camp Scenarios
Your bandage will not stick (sweat, rain, sunscreen)
- Dry the skin fully.
- Use tape on clean skin beyond the wound edges.
- Wrap with gauze roll or an elastic wrap when tape fails.
You have limited clean water
CDC notes that washing with soap and clean water helps keep wounds clean, and bottled water works for flooding a wound when running water is not available. Use treated water. Do not rinse with lake water and call it “clean.”
The cut keeps reopening
- Use a larger dressing that spreads tension.
- Reduce movement across the cut.
- Add a second layer of tape across the bandage to stop edge lift.
The blister dressing bunches up in your shoe
- Trim padding to fit the shoe interior.
- Use a donut ring so pressure shifts off the blister.
- Re-lace to take pressure off the hot spot.
Troubleshooting: Signs Your Plan Is Failing
Switch from “camp care” to “exit and get help” if:
- Pain increases each hour.
- Redness expands around the wound.
- Drainage turns cloudy, yellow, or green.
- You see red streaking up the limb.
- Fever, chills, confusion, or fast heartbeat appear.
Mistakes That Slow Healing
- Cleaning wounds with hydrogen peroxide or iodine. Mayo Clinic warns these can irritate wounds.
- Covering dirty skin. Dirt under tape becomes sandpaper.
- Leaving a wet bandage on all day. Moisture and grit raise infection risk.
- Peeling blister skin off. NHS advises leaving the skin in place.
- Using duct tape directly on an open blister. American Hiking Society warns it can trap germs and promote infection.
- Hiking on a hotspot without stopping. Friction keeps doing damage until you remove it.
Safety Checks Before You Hike Again
Do these checks every morning and before a long push:
- The bandage stays clean and secure.
- The wound edges look calm, not angry or swollen.
- Your footwear does not hit the same pressure point.
- You have a backup plan if pain increases mid-hike.
If you camp alone, treat first aid as part of risk management. My guide on staying safe while solo camping covers practical habits that reduce small problems turning into emergencies.
Conclusion
Minor cuts and blisters are normal camp injuries. Clean them early, keep them covered, and remove the friction that caused them. A small, well-used first aid kit does more than a big kit you never open.
When bleeding will not stop, debris stays embedded, or infection signs appear, protect the area and move toward medical care.