How to Waterproof a Tent That Has Started Leaking at the Seams
A quality seam sealer plus a fresh DWR coat can waterproof a tent whose seams have started leaking, fixing most seam leaks at home in under two hours. This guide covers how to locate the leak source, choose the right product for your fabric, and apply it so the repair holds through heavy rain. I also cover floor coating failure, common application mistakes, and when a tent needs more than a patch.
To stop a tent seam from leaking, clean the seam with isopropyl alcohol, let it dry fully, then apply the correct seam sealer (silicone-based for silnylon, urethane-based for PU-coated nylon or polyester). Re-apply DWR spray to the rain fly exterior. Allow 24 hours to cure before packing. This two-step process stops most seam leaks for one to two seasons.
Why Do Tent Seams Start Leaking?
Every stitched seam contains needle holes. Manufacturers seal these holes at the factory using seam tape or liquid seam sealer.
Both materials degrade over time. UV exposure, heat, moisture cycling, and compression during storage all break down the sealer bond.
The polyurethane (PU) coating on the rain fly and tent floor also degrades separately. When it flakes, water passes through the fabric itself, not just the stitching.
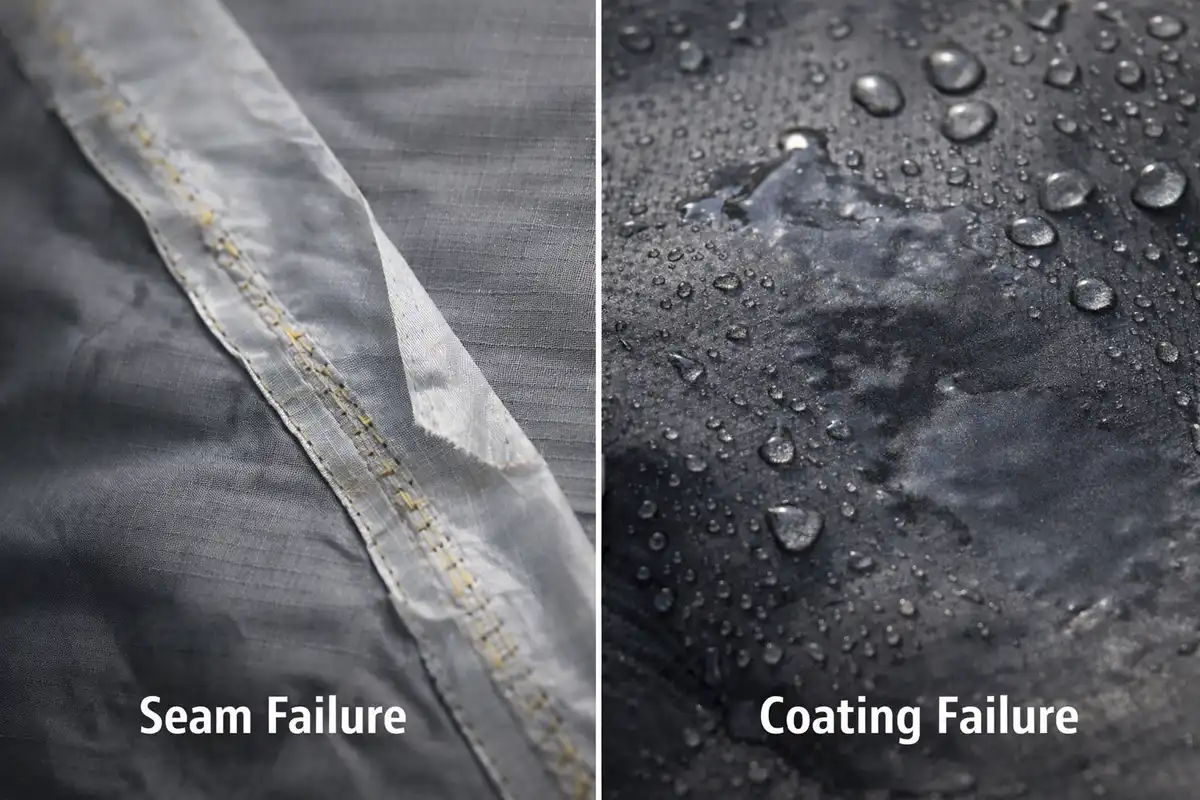
Two failure types cause tent leaks: seam failure and coating failure. Fixing only one leaves the other leak active.
How to Tell Which Type of Leak You Have
Seam failure signs:
- Seam tape lifts or peels when you press it
- Water drips along stitched lines during rain
- The seam line looks dry, cracked, or discolored
Coating failure signs:
- Rain fly fabric “wets out” (water soaks in rather than beading off)
- The inner floor surface feels damp after rain
- Flaking or sticky patches appear on the inner face of the fly
Check the rain fly and tent floor separately. Floor seams take constant ground pressure and often fail before fly seams do.
What You Need Before You Start
- Seam sealer (correct type for your tent fabric)
- Isopropyl alcohol, 70% or higher
- DWR spray or wash-in treatment
- A soft brush or foam applicator
- Clean cloths
Choosing the right seam sealer:
Silicone-coated nylon (silnylon) tents need silicone-based sealer. Standard nylon and polyester tents with a PU coating need urethane-based sealer.
Check your tent label or manufacturer page before buying. Using the wrong sealer causes adhesion failure within weeks.
How to Waterproof a Tent That Has Started Leaking at the Seams
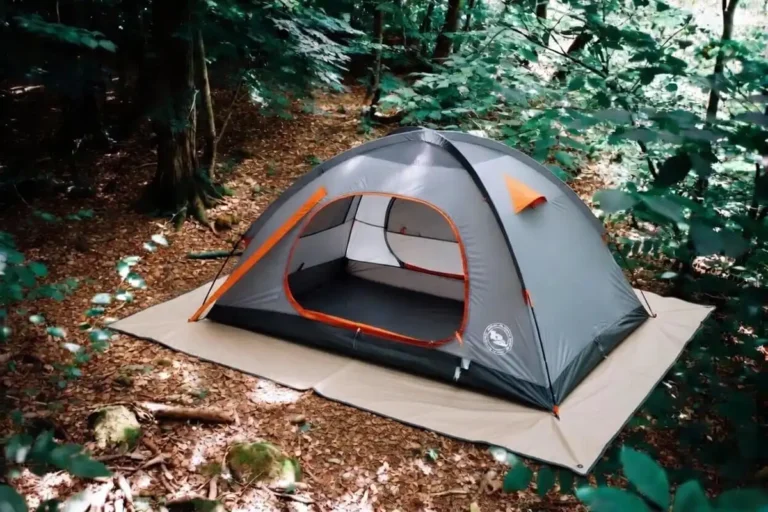
Step 1: Pitch the Tent in Shade
Set up the tent fully on a clean, flat surface. Work in shade. Direct sun dries sealer too fast and reduces bonding strength.
Turn the rain fly inside out. Most factory seam sealing sits on the interior face of the fly, and that is where you re-apply.
Step 2: Locate Every Leaking Seam
Run your fingers along every stitched seam on the rain fly and tent floor. Look for peeling tape, cracked sealer, or visible gaps.
Mark problem areas with small pieces of masking tape on the outside so you find them again after turning the fly back.
On the floor, check the perimeter seam where the wall meets the base. That seam takes the highest ground moisture pressure.
Step 3: Remove Loose Seam Tape
Peel back any tape that is already lifting. Pull it at a low angle to avoid tearing the fabric weave.
Leave intact tape alone. Forcing off bonded tape damages the nylon or polyester underneath and creates a bigger repair job.
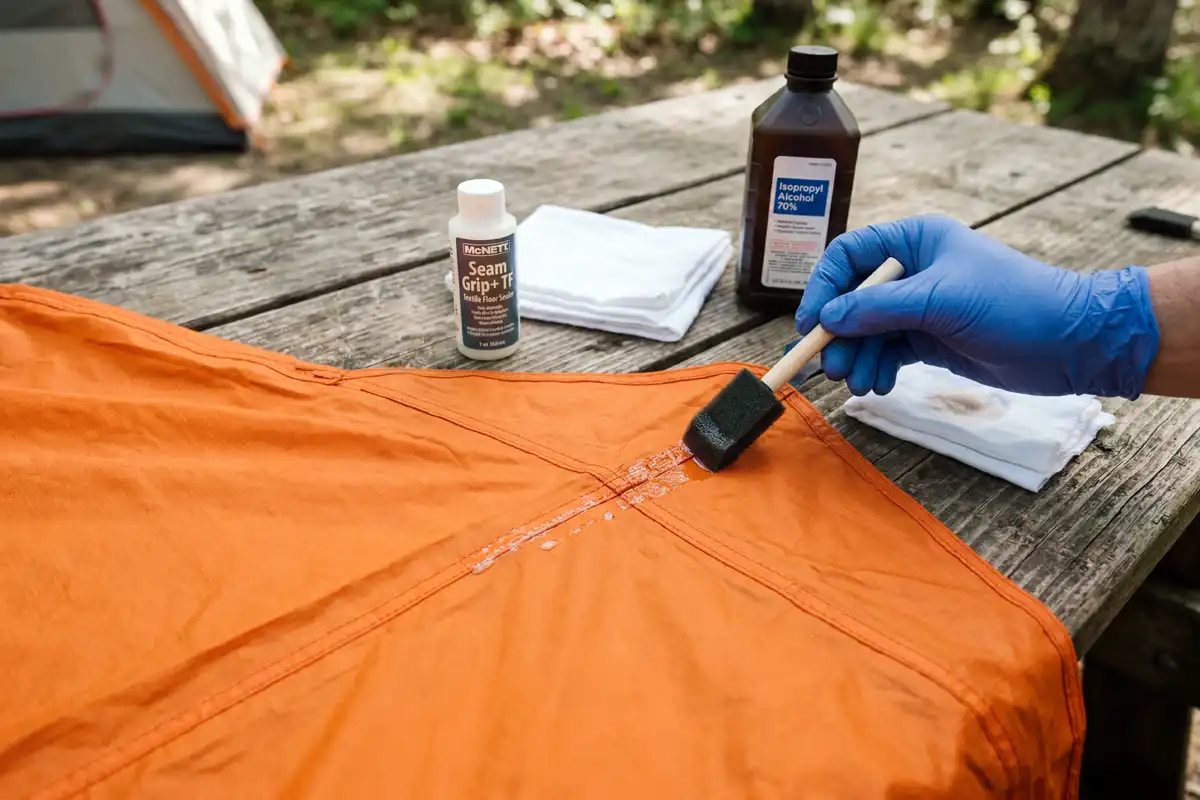
Step 4: Clean the Seams
Wipe each seam with isopropyl alcohol on a clean cloth. This removes old adhesive residue, body oils, and dirt.
Let the seam dry completely before moving on. A damp seam prevents the new sealer from forming a proper bond.
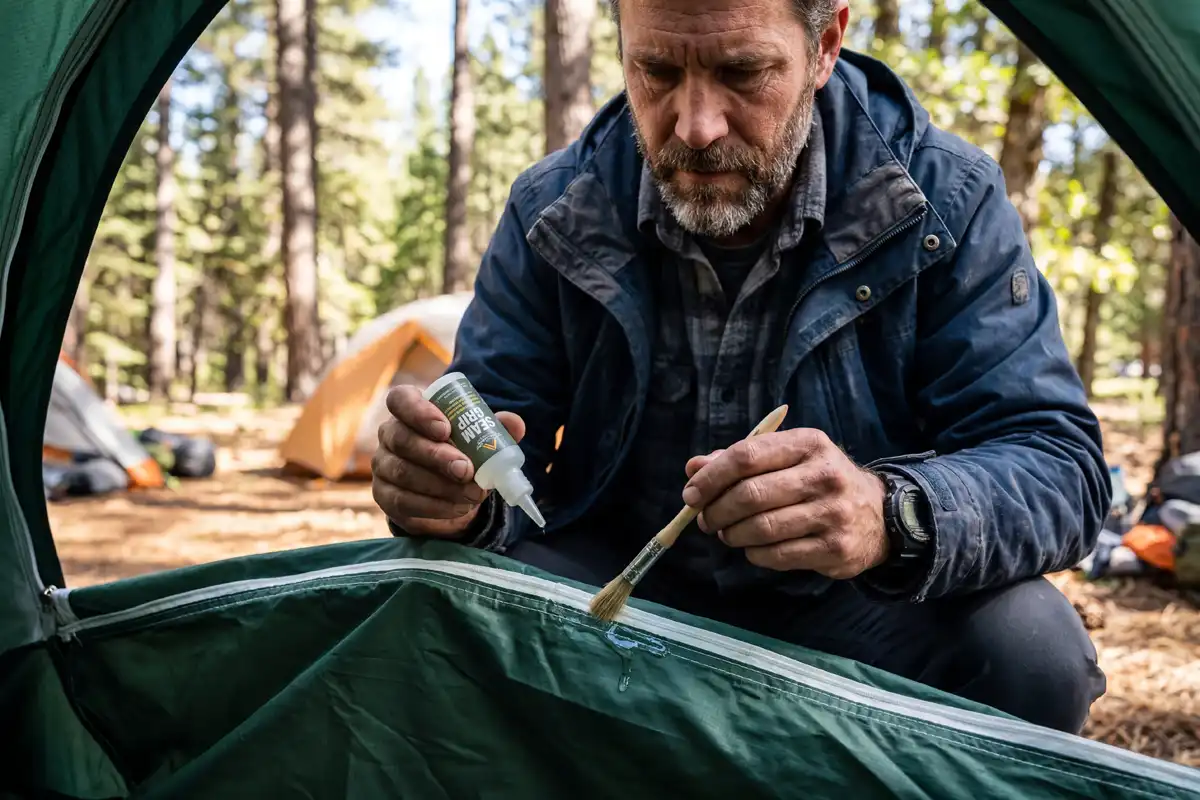
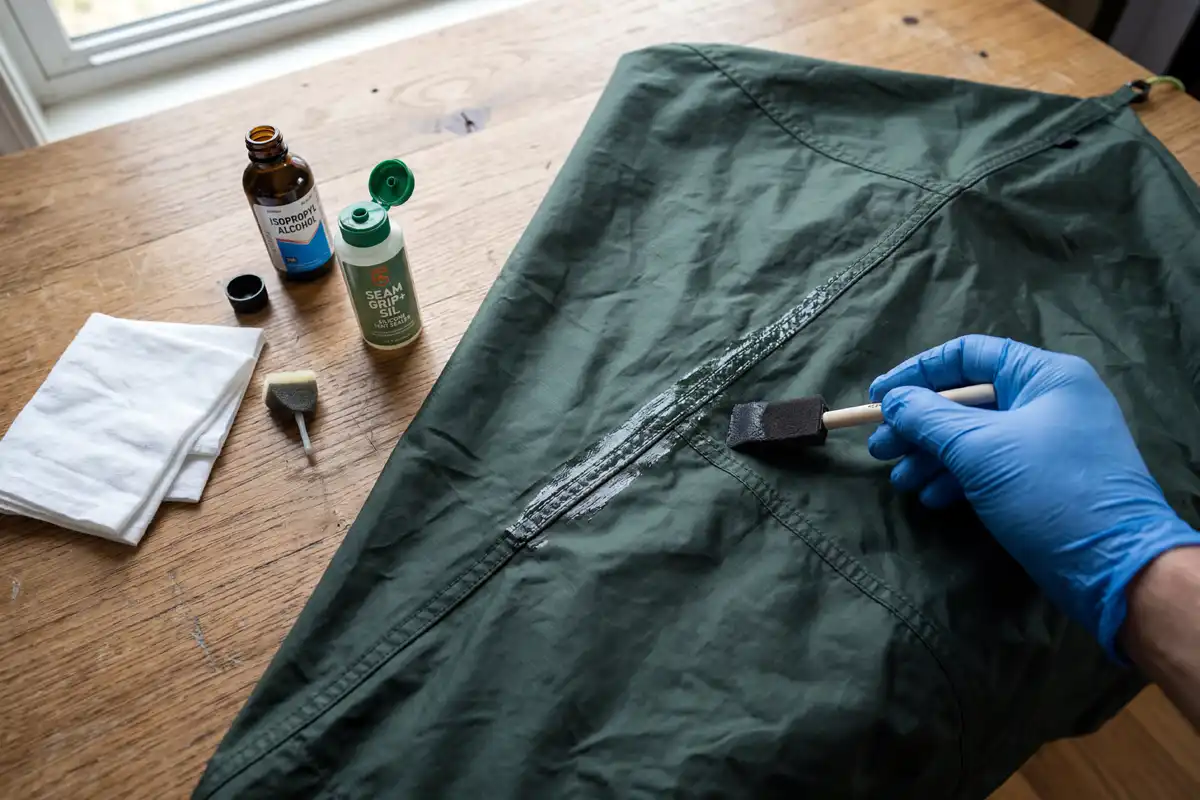
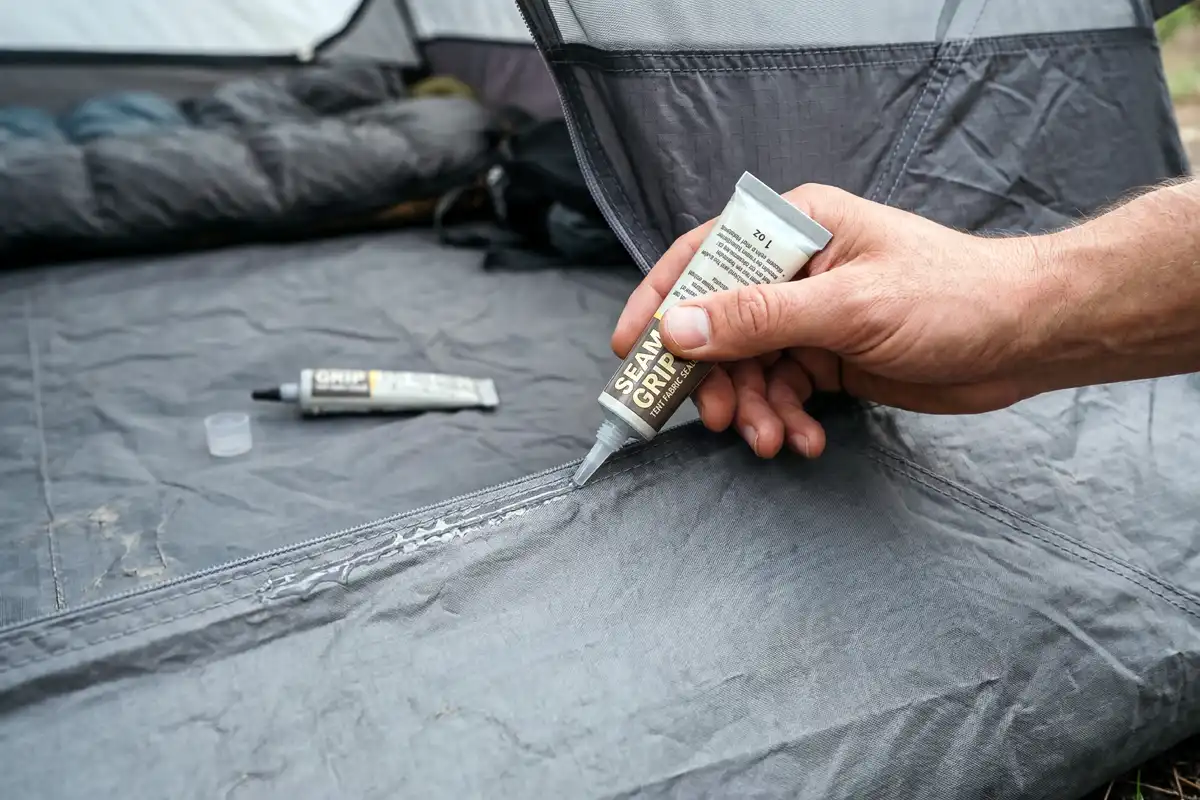
Step 5: Apply Seam Sealer
Squeeze or brush seam sealer directly onto the stitching. Work it into the needle holes with the applicator tip or a small brush.
Cover 2 to 3 mm on each side of the stitch line. A thin, even coat bonds better than a thick application.
Do not skip any section of stitching. One missed spot creates a drip point in the next rainstorm.
Step 6: Cure the Sealer
Leave the tent pitched and open. Allow the sealer to cure for the time listed on the product label. Most require 4 to 12 hours to become tack-dry, and a full 24 hours for a complete bond.
Do not fold or pack the tent before full cure. Folding bonds sticky surfaces together and pulls the fresh sealer off the stitching.
How to Re-Apply DWR to the Rain Fly
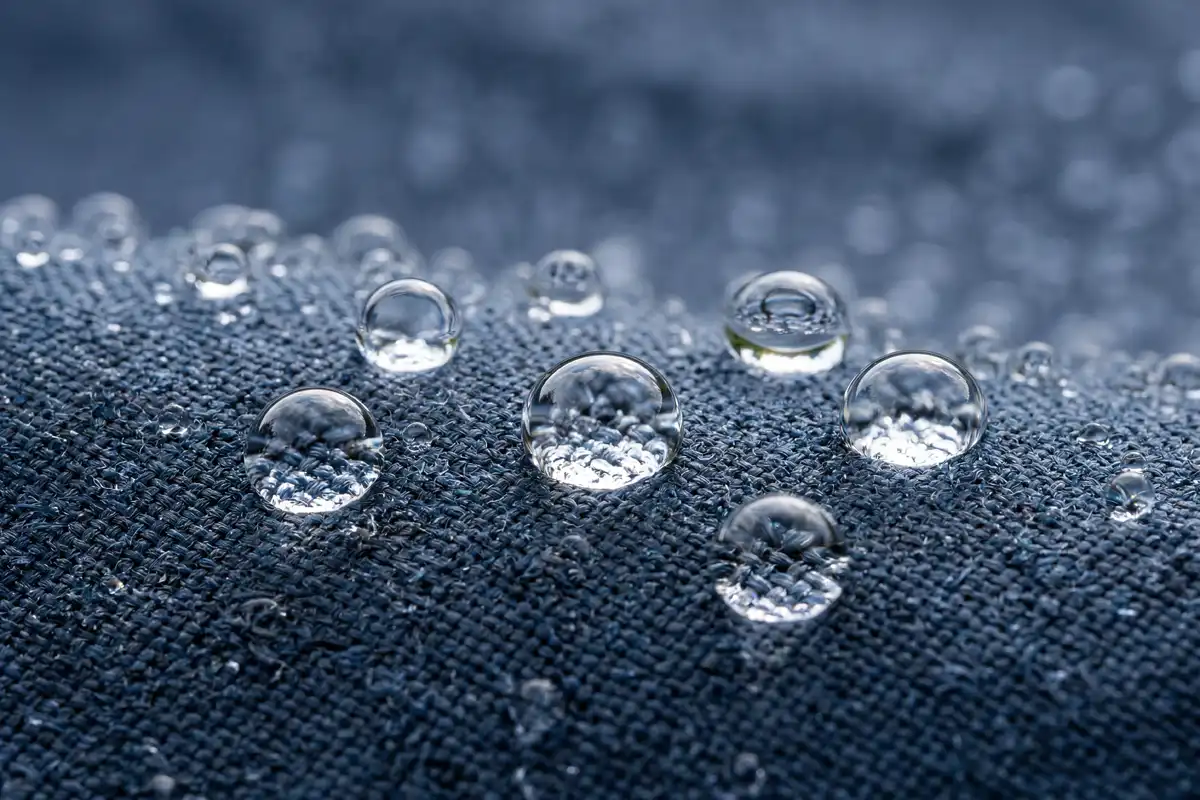
DWR (Durable Water Repellent) causes water to bead and roll off the fly fabric. Without it, the fabric wets out, adds weight, and increases stress on the PU coating underneath.
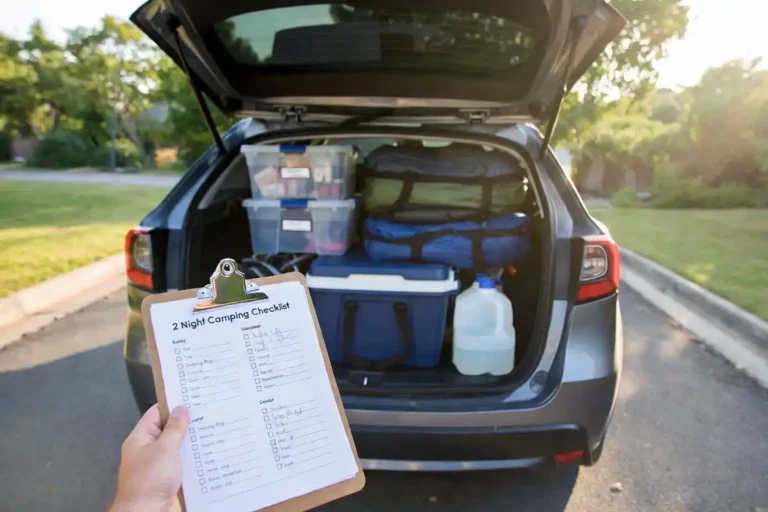
The National Park Service recommends maintaining camping gear in full working condition before every trip. Refreshing DWR is part of that standard maintenance.
Traditional DWR treatments historically used PFAS fluorochemicals. The EPA has documented environmental and health concerns around these compounds, and most outdoor brands now offer fluorine-free DWR alternatives that perform similarly on tent fabrics.
Spray DWR evenly onto the exterior of the rain fly. Focus on the roof panel and vestibule, which receive the most direct rain impact.
Wipe off any excess with a dry cloth. Some products need brief heat activation. A hair dryer on low for 30 seconds per panel activates the coating.
How to Fix a Leaking Tent Floor
Apply seam sealer to the perimeter floor seam from the inside. This seam sits under direct ground pressure and fails more often than fly seams.
If the PU coating on the inner floor surface is flaking, apply a liquid floor sealant over the entire inner floor surface. One thin, even coat covers pinholes the eye cannot detect.
I covered material choices for floor protection in a separate article on using the right ground cloth under your tent on wet soil. A footprint reduces abrasion and extends how long the floor coating lasts between treatments.
Mistakes to Avoid
Applying sealer to a wet or dirty seam. The product will not bond. Alcohol prep is not skippable.
Using the wrong sealer type. Silicone sealer does not adhere to PU-coated fabric. Urethane sealer does not cure correctly on silicone coatings.
Packing before full cure. Four hours of tack-dry is not a full bond. Give it 24 hours minimum.
Skipping the DWR step. Seam sealer stops stitching leaks. DWR stops fabric saturation. You need both.
Over-applying sealer. Thick applications crack under repeated flexing. A thin, worked-in coat lasts longer and stays more flexible.
Troubleshooting
Sealer peeled off within days. You used the wrong type, or the seam was still damp during application. Strip it, clean with alcohol, and reapply the correct product.
Rain fly still wets out after DWR treatment. The PU coating underneath may have delaminated. Check the inner face of the fly for flaking or sticky patches. A delaminated fly needs a full recoat with a dedicated product or a fly replacement.
Floor still leaks after sealing. The inner floor PU coating may be flaking. Apply liquid floor sealant over the entire inner floor rather than spot-treating.
Water on the tent walls with no rain outside. That is condensation, not seam failure. I covered managing this in an article on tent ventilation in cold weather, which addresses airflow and moisture buildup inside the tent.
If the rain fly has delaminated across more than a third of its surface, patching produces diminishing returns. I put together a guide on picking a reliable two-person tent if you reach that point.
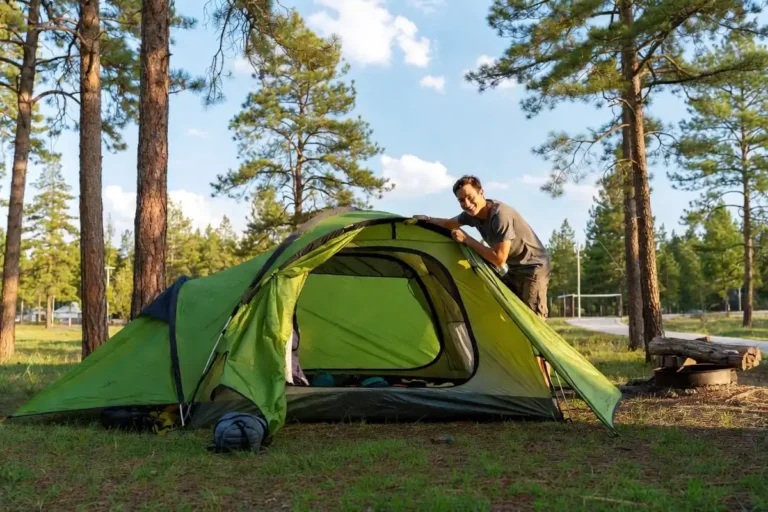
Test Before Your Next Trip
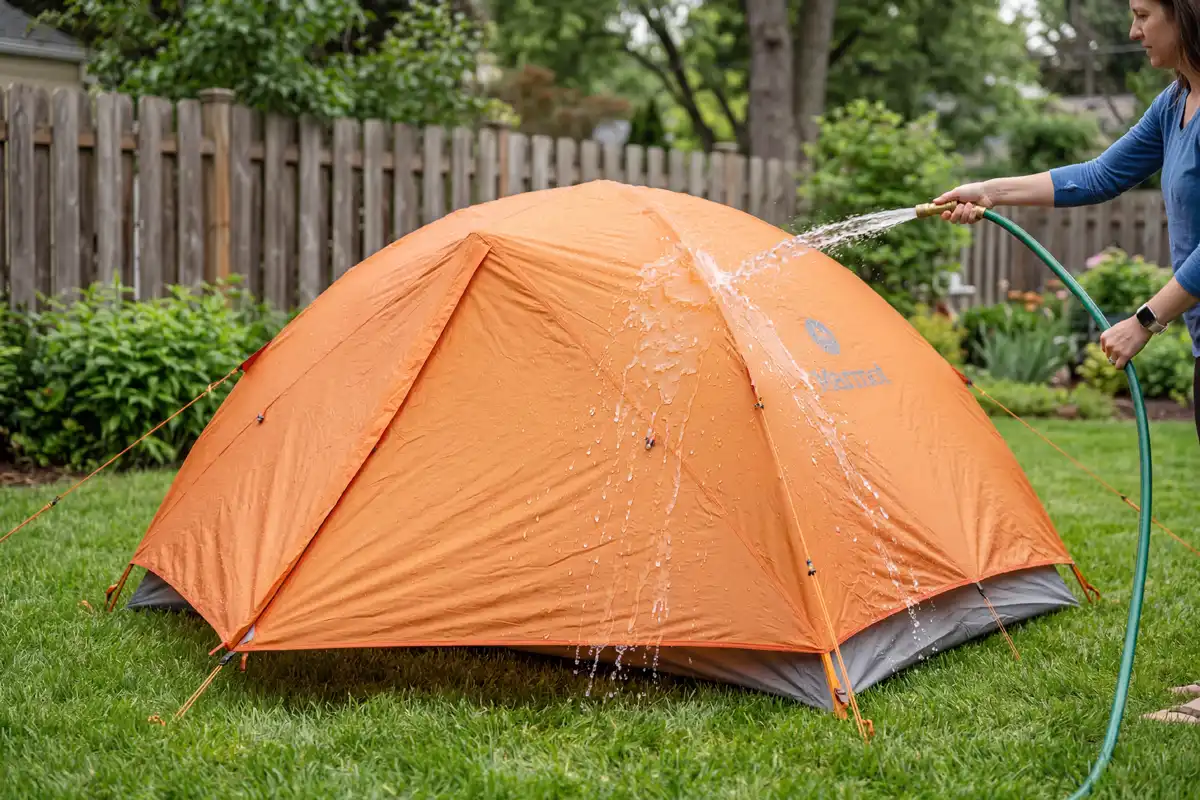
Set up the tent in your yard after the sealer has fully cured. Run a garden hose over the rain fly for two minutes.
Check inside for any drips. If a spot still leaks, apply a second coat of sealer to that section and retest.
I also covered sizing a tarp for rain protection over a tent in rainy conditions. A tarp adds a backup layer that reduces the load on your fly coating between re-sealing cycles.
FAQs about Waterproofing a Tent
Can I use Seam Grip on any tent?
Seam Grip WP is urethane-based and works on PU-coated nylon and polyester. Seam Grip SIL works on silicone-coated fabrics. Check your tent fabric type before purchasing. Using the wrong formula causes the repair to peel off within days.
How long does seam sealer last?
A proper application lasts 1 to 3 seasons depending on UV exposure, storage conditions, and how often you camp. Tents stored wet or in high heat degrade faster than average.
Do new tents need seam sealing?
Some budget tents leave the factory under-sealed. If the seams look uneven or sparse on a new tent, apply a coat before the first trip. A hose test at home confirms whether the factory seal holds.
Can I waterproof a tent with Scotchgard?
Scotchgard provides light surface repellency but does not seal stitched seams. Use proper seam sealer for the stitching and a dedicated outdoor DWR product for the fly fabric.
What is the difference between seam sealing and seam taping?
Seam tape is a factory-applied adhesive strip over the stitching. Seam sealer is a liquid applied by hand. Tape covers a wider area; liquid sealer penetrates needle holes more thoroughly. Both serve the same purpose, and many tents use both.
Last Notes
A leaking seam does not mean the tent is finished. Clean the seams properly, apply the sealer type that matches your tent fabric, refresh the DWR coat on the fly, and test at home before heading out. The repair costs under $20 and takes about two hours. A well-maintained tent holds up through seasons of hard use.