What Tarp Size You Need for Your Tent Setup: Quick Size Charts for Any Pitch Style
Wondering tarp size you need for your tent setup? You need a tarp that covers your tent footprint with enough overhang to block rain, splash, and wind-driven drizzle. A practical target is about 2 feet (60 cm) of coverage past the tent on every side after you pitch the tarp. This guide explains how to measure your tent and choose a tarp shape. It also matches common tarp sizes to pitches like an A-frame rain fly or a gear porch. I also share pitching steps, sizing mistakes, and fixes for sagging and blow-in.
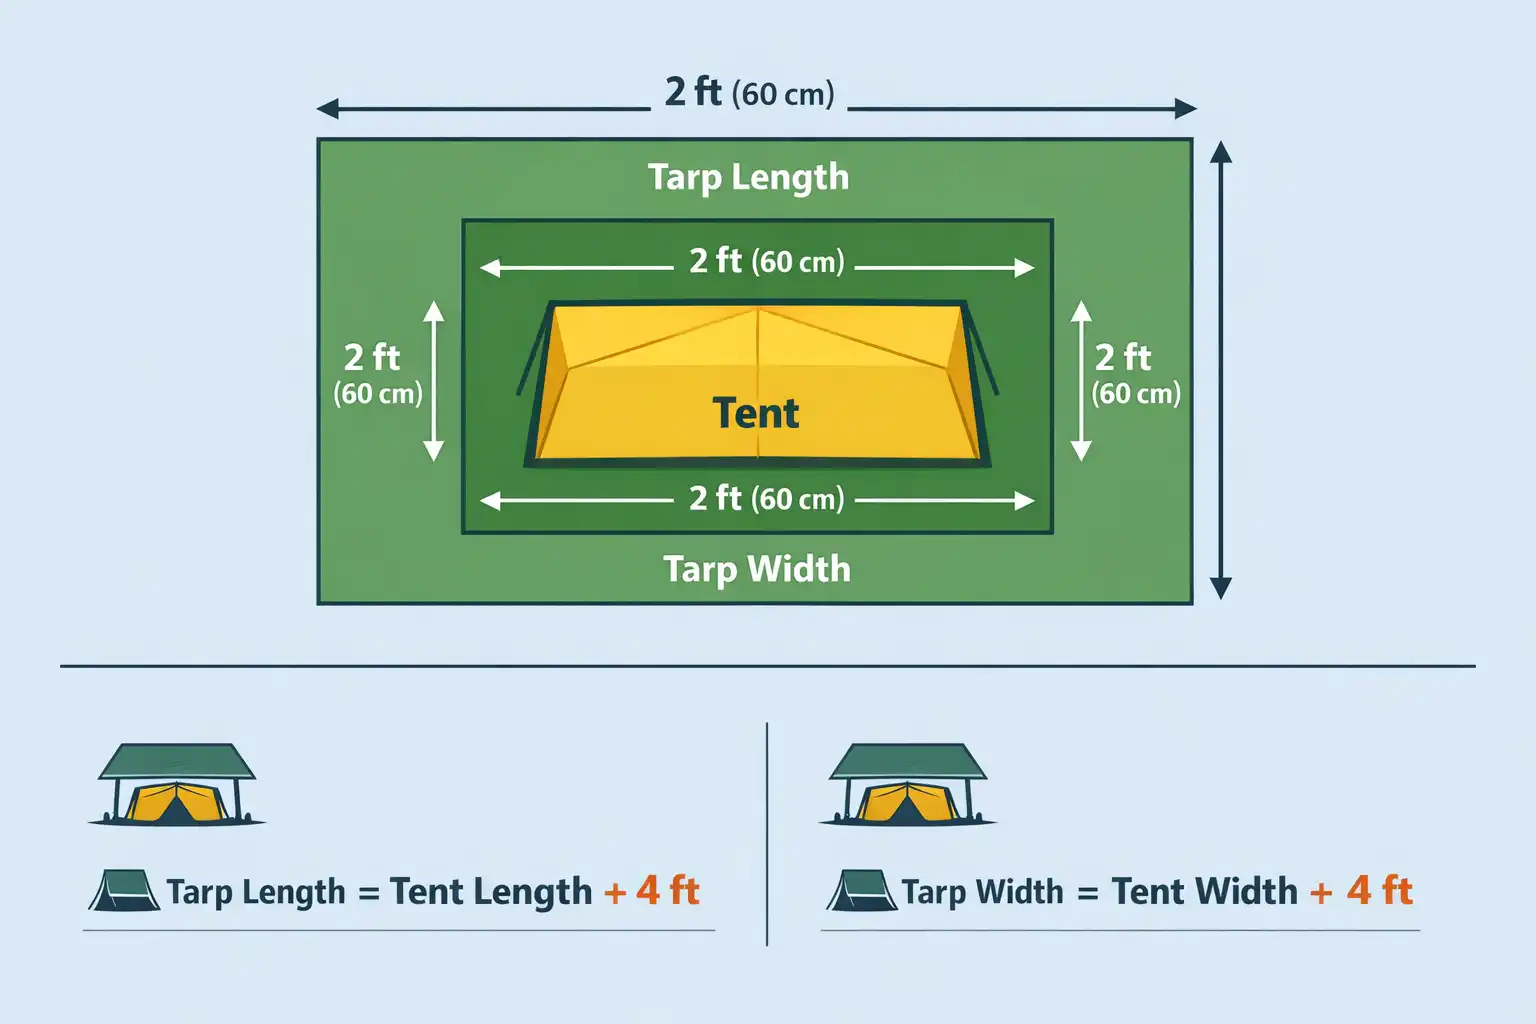
For rain coverage over a tent, use this starting rule: tarp length = tent length + 4 ft (1.2 m) and tarp width = tent width + 4 ft (1.2 m). That leaves about 2 ft (60 cm) of overhang per side with a low pitch. Common picks: 8×10 ft (solo), 10×12 ft (2 to 3 person), 12×16 ft (family).
What does “tarp size” mean for a tent setup?
“Tarp size” is the flat, edge-to-edge measurement of the fabric, like 8×10 ft or 10×12 ft. Once you pitch it, the usable coverage shrinks because the tarp angles down to the ground. Ridge height, stake angle, and wind direction decide how much fabric stays over the tent.
If you want a broader view of camp setups and shelter choices, browse my camping setup articles for related shelter skills.
What setup are you building: overhead cover or ground cover?
An overhead tarp acts like a second rain fly and creates a dry porch for boots and packs. A ground tarp acts like a footprint under the tent. These jobs use different sizes.
A ground tarp usually matches the tent floor size or sits slightly smaller, so rainwater does not funnel under the floor. An overhead tarp needs extra overhang to stop splash and sideways rain.
Learn more for safety: Stay Safe While Solo Camping: 9 Critical Checks Before Dark
When do you need a bigger tarp?
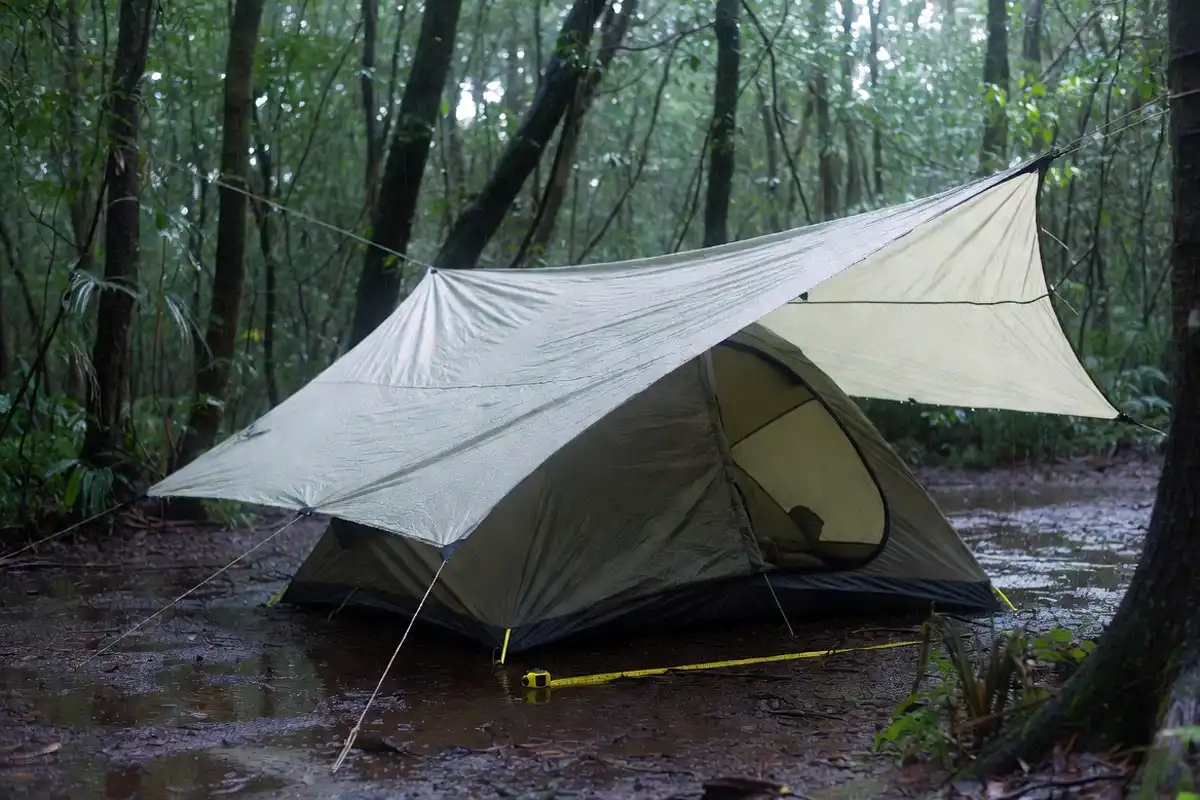
A bigger tarp pays off when rain hits hard, wind pushes water sideways, or you want dry space outside the door. In the hill rain around Rangamati, I plan for wind shifts at night, so I pick extra coverage instead of a tight fit.
A bigger tarp also pulls harder in wind. It needs more stakes, more guy lines, and more open space in camp.
Read more: Keep Bedding Dry in Humid Weather: 10 Fast Solutions
Where does your campsite change tarp size?

Your campsite limits tarp size because trees, rocks, and tent pads lock your tie-out points. A 12×16 ft tarp feels easy in a wide forest clearing and feels cramped in a tight campground site.
Tree spacing also matters. A long ridgeline pitch needs two anchor points that sit far enough apart. In open ground, poles replace trees, so the tarp size depends on how many poles you carry and how many stakes hold in that soil.
How do you calculate the right tarp size for your tent?
You get a reliable tarp size by measuring the tent footprint, choosing the coverage goal, and adding overhang for the pitch. Start with exact numbers on the ground, not the “sleeps two” label on the tent bag.
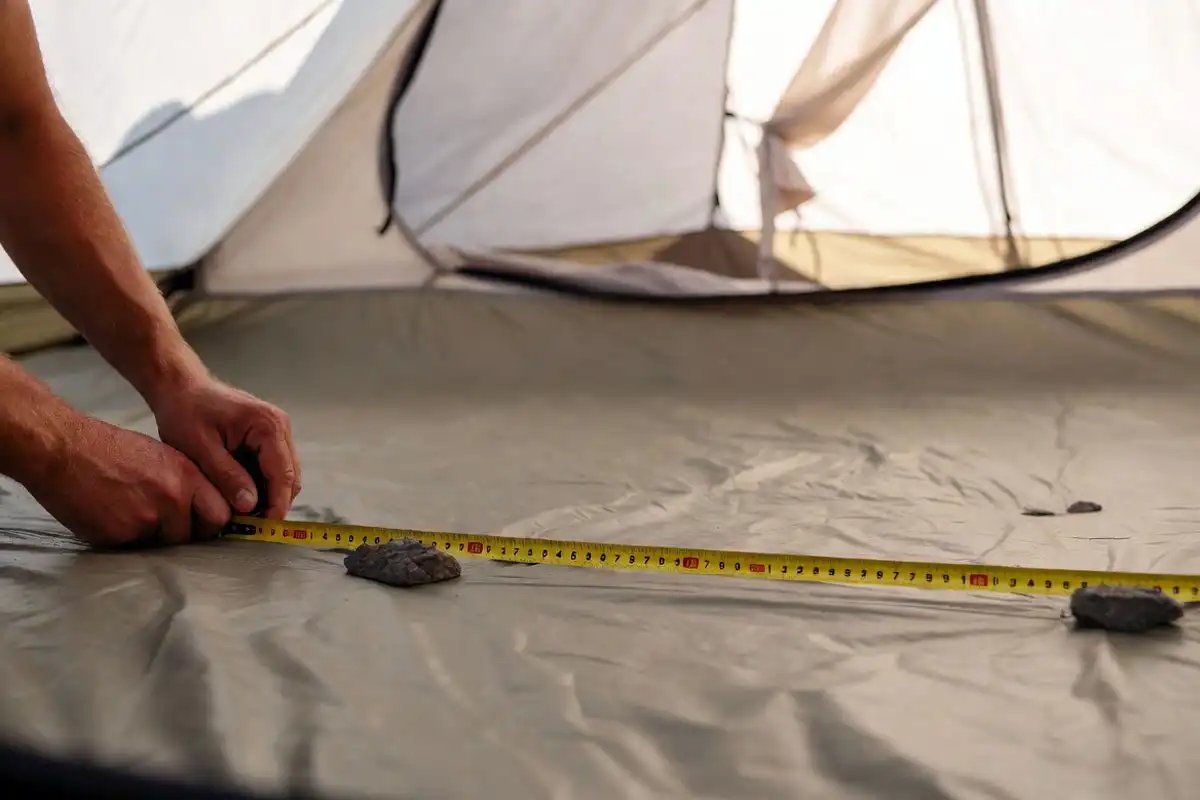
Step 1: Measure the tent footprint you want to protect
Measure the rectangle your tent occupies on the ground.
- Length: include the inner floor plus any vestibule area you want under cover.
- Width: include guylines or wide vestibules if you want that space dry.
If you camp with a dog and keep gear at the door, that extra covered area matters. My roundup of tents that handle dogs well explains which designs keep a dry entry.
Step 2: Pick the coverage goal
Choose one target before you buy.
- Sleep-only rain cover: tarp protects the tent roof and the ground at the edges.
- Door porch: tarp protects the tent plus a small sitting and gear zone.
- Cook shelter: tarp protects a wider area away from the tent.
Step 3: Add overhang for rain and splash
Use this rule for a low, storm-style pitch.
- Add 2 ft (60 cm) per side for steady rain and splash control.
- Add 3 ft (90 cm) on the windward side for wind-driven rain.
That translates to:
Tarp length = tent length + 4 ft and tarp width = tent width + 4 ft as a baseline.
Step 4: Account for ridge height, because pitch eats width
Higher ridgelines feel roomy, but they steal coverage at the edges.
Here is a simple check for an A-frame pitch:
- Half the tarp width covers one side.
- A higher ridge lifts that half-width off the ground.
Example: an 8 ft wide tarp has 4 ft per side. With a 3 ft ridge height, each side covers about 2.6 ft on the ground (sqrt(4² − 3²) = 2.65). Total ground coverage is about 5.3 ft, before you count stake angle. That feels tight for a 5 ft wide tent.
This is the moment where a wider tarp or a lower ridge fixes the problem.
Step 5: Choose the nearest common tarp size
Pick the next size up when you sit between sizes. A little extra fabric is easier to manage than a tarp that leaves the tent edges exposed.
For materials, tie-outs, and stakes, read my gear guides. My gear testing policy explains how I rate equipment.
What tarp size matches common tent footprints?
These size pairs work as starting points for an overhead tarp in an A-frame or porch pitch. They assume you pitch the tarp low in rain.
- Tent footprint up to 7×4 ft: 8×10 ft for rain cover. 6×8 ft works with a low, tight pitch.
- Tent footprint up to 8×6 ft: 10×10 ft for rain cover. 10×12 ft adds a porch.
- Tent footprint up to 9×7 ft: 10×12 ft for rain cover. 12×16 ft adds a porch and better end coverage.
- Tent footprint up to 10×9 ft: 12×16 ft for rain cover. 16×20 ft fits a family tent plus a dry common area.
If you buy in meters, these map roughly to 2.4×3 m, 3×3 m, 3×3.6 m, 3.6×4.8 m, and 4.8×6 m.
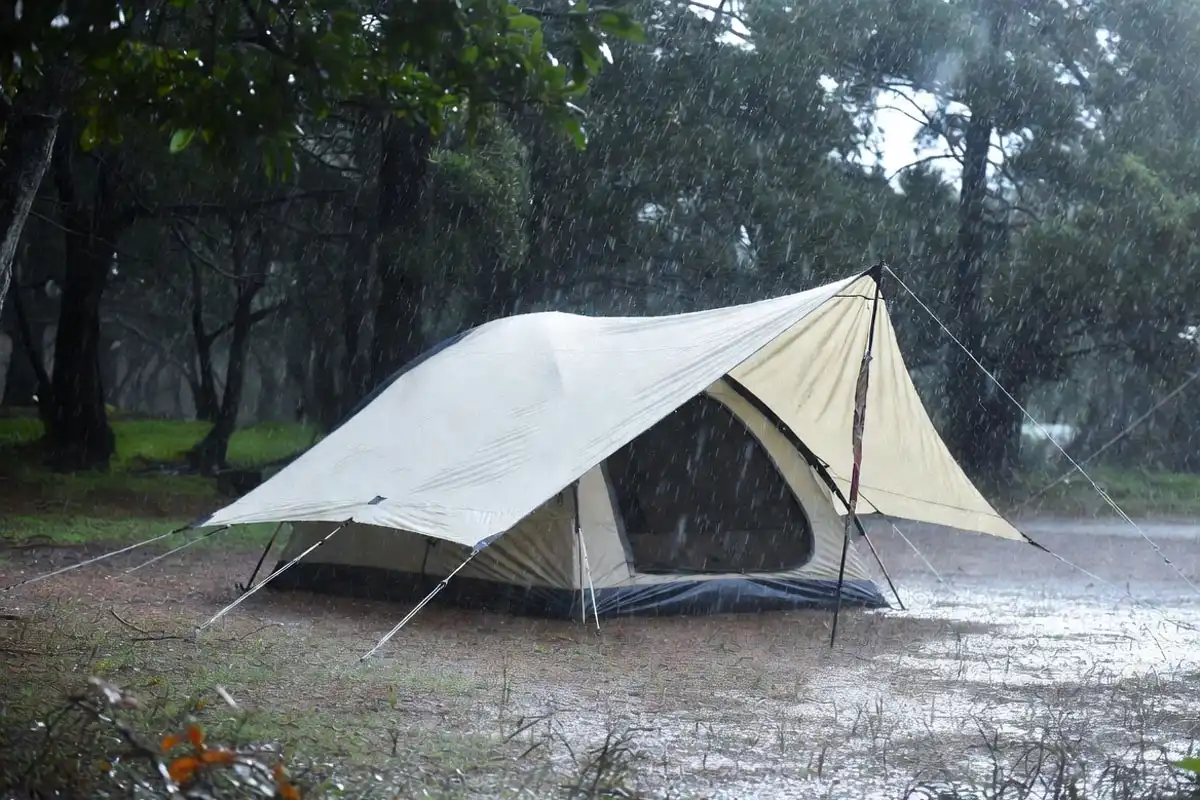
How do you pitch the tarp so the size actually works?
A good pitch makes a smaller tarp cover more, and a sloppy pitch wastes fabric. Use this workflow in camp.
- Set the tent first. Place it on high ground, not in a drain line.
- Face the narrow end into the wind. That reduces the target area.
- Run the ridgeline low for rain. A low ridge blocks splash and side rain.
- Stake the windward edge first. Keep that edge close to the ground.
- Tension the leeward side. Pull it tight enough to shed water.
- Add drip lines. Tie a short cord on the ridgeline under the tarp edge, so water drops before it reaches the tent.
- Re-tension after 15 minutes. Wet nylon stretches and creates sag.

A final check: water runs off the edges, not into the door, and the tarp does not touch the inner tent.
Which tarp shape helps each tent setup?
Shape controls pitching options as much as size.
Rectangular tarp
A rectangular tarp pitches into an A-frame, porch, or lean-to without odd gaps. Sizes like 8×10 ft, 10×12 ft, and 12×16 ft fit most tent setups.
Square tarp
A square tarp, like 10×10 ft, rotates into a diamond pitch. That gives a longer ridgeline and a deeper beak at the ends, which helps solo and two-person tents.
Hex or catenary-cut tarp
A shaped tarp pitches tight and sheds wind well, but it gives fewer porch options. The listed size often refers to ridge length, not edge-to-edge width. Measure the coverage once, then plan around that number.
Troubleshooting tarp coverage problems
Tarp problems usually come from pitch height, wind direction, or tension. Fix the cause first.
Rain hits the tent ends
Lower the ridgeline and move the tarp so the ends cover the tent peak. If the tarp ends still sit short, switch to a longer tarp.
Splashback wets the tent wall
Stake the edges closer to the ground and add more overhang on the windward side. A small groundsheet outside the tent door also reduces mud splash.
The tarp sags and pools water
Re-tension the corners and add a center tie-out if the tarp has one. If the tarp has no center tie-out, change to a steeper angle so water runs off.
The tarp flaps all night
Add guy lines to side tie-outs and stake them at a wide angle. Shorten loose lines. A tight ridgeline reduces noise and reduces wear on tie-outs.
Water runs down a guy line into the tent area
Add a drip line. A 6 to 8 inch (15 to 20 cm) cord tied onto the line forces water to drop before it reaches the low point.
Avoid these tarp sizing mistakes
Small sizing errors create big leaks in rain.
- Buying a tarp that matches the tent floor size, with no overhang
- Pitching high in rain and expecting the same coverage
- Ignoring wind direction and leaving the door side exposed
- Blocking tent vents with the tarp and trapping moisture
- Using heavy poly tarps for backpacking loads without planning the weight
Safety notes for tarps over tents
Tarps add lines, tension, and overhead risk. Treat them like part of your shelter system.
Keep guy lines low and visible, and mark them with reflective cord in shared camps. Avoid pitching under dead branches. In lightning, drop the tarp and move away from tall, isolated trees. Keep tarps far from open flames, because wind pushes fabric toward heat.
For more campsite risk management, read my camp safety skills section.
Conclusion
Measure the tent footprint, add 2 ft (60 cm) of overhang per side, and pick the next common tarp size up when you sit between sizes. Pitch low in rain, stake the windward edge first, and re-tension after the fabric wets out. Those three habits do more for dry sleep than chasing a perfect number on a label.