How to Choose a High-Performance Shell for Mountaineering

Wondering how to choose a high-performance shell for mountaineering without wasting money on the wrong jacket? This guide covers the features that matter on alpine routes, including waterproofing, breathability, hood design, fit over layers, and durability. You’ll get a clear way to compare shells, spot weak specs, and pick one that handles wind, snow, and freezing rain.
To choose a high-performance shell for mountaineering, pick a 3-layer waterproof shell rated 20,000mm or higher, with a helmet-compatible hood, pit zips, articulated sleeves, harness-friendly pockets, and a face fabric of 40D to 80D for abrasion resistance on rock and ice.
What Is a Mountaineering Shell?
A mountaineering shell is a waterproof, windproof outer jacket built for alpine climbing, glacier travel, and exposed ridges. The fabric uses a laminated membrane like GORE-TEX Pro, Pertex Shield, eVent, or Polartec NeoShell to block rain and snow while letting sweat vapor escape. Most serious shells use 3-layer construction, where the face fabric, membrane, and inner liner bond into one piece.

These shells differ from hiking rain jackets in three ways: tougher face fabric, climber-specific cuts, and helmet-ready hoods. They also handle longer exposure to wind, rime ice, and pack abrasion on multi-day routes.
When You Need a True High-Performance Shell
You need a high-performance shell once your trips include high winds, sustained precipitation, glacier routes, or technical alpine climbing. A standard rain jacket fails fast under crampons, ice tools, and 60 mph wind on a ridge. Below-treeline day hikes do not justify the cost.
If your climbs reach above 3,000 meters, cross snowfields, or sit in shoulder-season weather windows, the upgrade pays off. The CDC notes that wet skin and wind drive hypothermia risk sharply, even at temperatures above freezing, which is why a sealed shell matters in alpine terrain.
Key Features of a High-Performance Mountaineering Shell
Waterproof Rating and Membrane
Look for shells rated 20,000mm hydrostatic head or higher. GORE-TEX Pro, GORE-TEX Pro Most Rugged, eVent, Pertex Shield Pro, and Polartec NeoShell all clear this bar. A 10,000mm rating works for a hiking shell, not a mountaineering shell.

The membrane sits between the face fabric and the inner liner. Three-layer (3L) construction laminates all three together, which gives the best durability and breathability. 2.5-layer shells weigh less but wear out faster under a loaded pack.
Breathability and Moisture Transfer
Breathability ratings come in two formats: g/m²/24h (MVTR) or RET (resistance to evaporative heat transfer). Aim for 20,000 g/m²/24h or RET below 13. Lower RET values let more vapor escape, which keeps base layers drier on long climbs.
I wrote about moisture management for trail use in my piece on staying dry while hiking in rain without overheating, and the same logic applies harder above treeline.
Face Fabric and Denier
Denier (D) measures fabric thickness. For mountaineering, 40D to 80D suits most users. Lighter fabrics (20D to 30D) shave weight but tear on rock. Reinforced shoulders and hips at 80D to 200D protect against pack and harness wear.

Look for ripstop weaves and a fresh DWR (durable water repellent) coating. A solid DWR causes water to bead and roll off the face fabric, which keeps the membrane breathing.
Hood Design and Helmet Compatibility
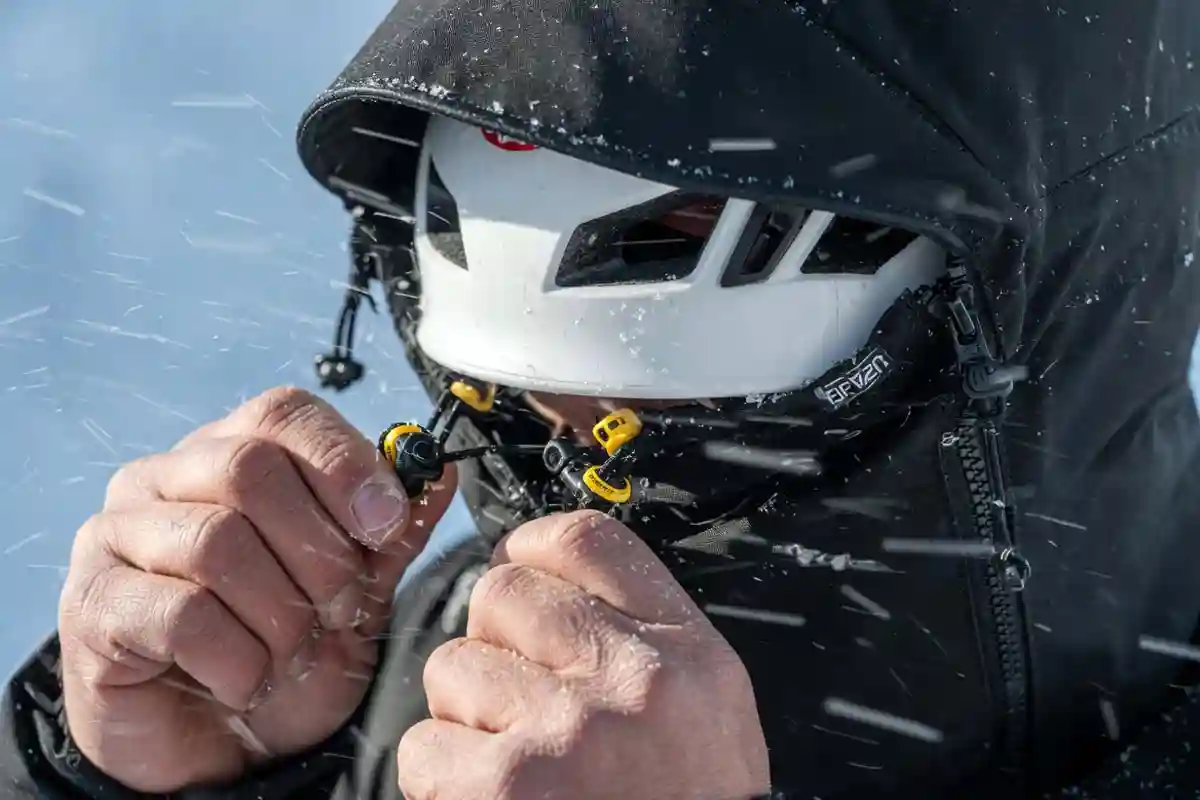
The hood is the single most-tested feature on a mountaineering shell. It needs to fit over a climbing helmet, turn with your head, and seal at the brow.
Check for three adjustment points: a rear volume cinch, two front face draws, and a stiffened brim. The hood should not block peripheral vision when you check footing on mixed terrain.
Fit, Articulation, and Layering Room
A mountaineering shell fits over a base layer, midlayer, and sometimes a light puffy. The cut runs longer in the back, with articulated elbows and underarm gussets so you can swing an ice axe without the hem riding up.
Sleeves end past the wrist with adjustable cuffs. The hem cinches with a one-handed drawcord. I cover layering choices in detail in my guide on layering for cold-wind trail conditions.
Pocket Placement and Hardware
Hand pockets need to sit above a harness and hipbelt. Chest pockets should clear a chest harness and pack straps. Look for water-resistant zippers (often called AquaGuard or YKK Aquaseal) with internal storm flaps.
Two chest pockets and one internal stash pocket handle most needs: map, gloves, snacks, sunglasses. A loaded pack changes how everything sits, which I dig into in my article on how a loaded pack rides on the shoulders.
Ventilation and Pit Zips
Pit zips dump heat fast on uphill stretches when membrane breathability cannot keep up. Two-way zippers let you vent at the chest or armpit. Mesh-backed pit zips block snow but slow airflow; open pit zips ventilate faster.
Weight and Packability
A high-performance mountaineering shell weighs 350g to 600g. Lighter shells (under 350g) cut weight for fast alpine missions but use thinner face fabric. Heavier shells (600g+) suit expedition use, where abrasion and wind chill matter more than grams.
How to Choose the Right Shell (Step-by-Step)

- Define your trip type. Day climbs, weekend alpine, and expedition routes all call for different fabrics. Shoulder-season ridge work needs full GORE-TEX Pro. Summer glacier trips can use lighter membranes.
- Set your weather floor. Pick the worst weather you expect: sustained rain, blowing snow, or freezing rain. The shell needs to handle that floor.
- Check the spec sheet. Confirm 20,000mm waterproof, 20,000 g/m²/24h breathable, 3-layer build, and 40D+ face fabric.
- Try it on with a helmet. Bring your climbing helmet to the shop. Pull the hood up. Turn your head. Look up. The hood should follow your motion.
- Layer test. Wear a base layer and midlayer underneath. Reach overhead, mimic an ice tool swing, and bend at the waist. The hem should stay in place.
- Check pocket access with a harness. Buckle a hip belt or harness. Confirm hand and chest pockets stay reachable.
- Inspect seams and zippers. Every seam should be fully taped. Run a fingernail along the tape to check for lift. Zippers should glide both ways.
Common Mistakes to Avoid
- Buying on price alone. A $200 shell rarely matches the durability of a $500 shell on real alpine routes.
- Sizing too tight. Shells need room for a midlayer. A snug fit limits airflow and rips at the shoulders.
- Ignoring DWR upkeep. Old DWR causes the face fabric to wet out, which kills breathability.
- Picking a hiking jacket for ice routes. 2.5-layer shells with 30D faces shred under crampons strapped to a pack.
- Choosing dark colors only. Bright shells (red, orange, yellow) help rescue teams spot you in storms.
Care and Long-Term Performance
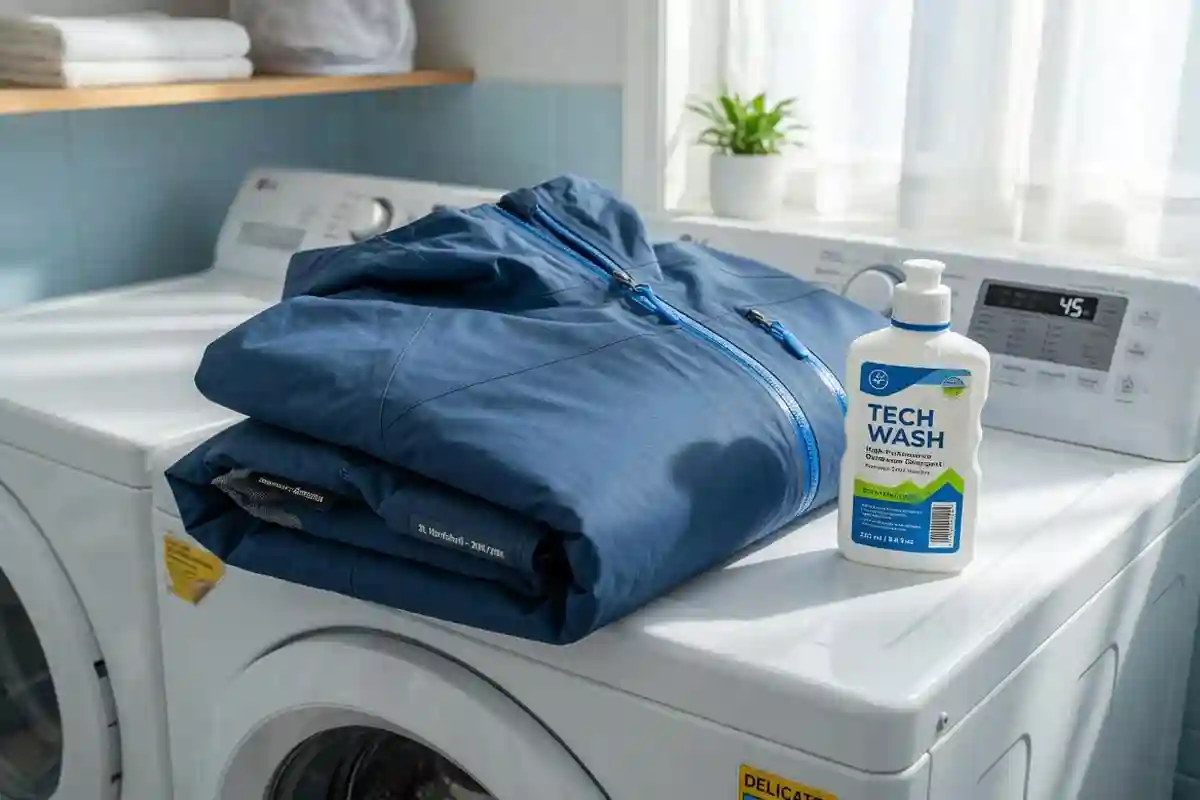
Wash your shell every 10 to 20 uses with a tech wash like Nikwax Tech Wash. Skip regular detergent: the surfactants damage the DWR. Tumble dry on low to reactivate the DWR coating, or reapply with a wash-in or spray-on treatment once water stops beading.
Store the shell on a hanger, not stuffed in a sack, to keep the membrane and DWR healthy.
Safety Notes for Alpine Conditions
A shell is part of your safety kit, not a guarantee. The National Park Service climbing guidance lists weather, hydration, and turn-around discipline as the top risk factors above weather protection itself.
Pair the shell with insulated gloves, a warm midlayer, and a backup wind layer. I wrote about keeping warm overnight when temperatures drop for camp use, and the same midlayer logic carries into alpine starts. Carry a buddy system for storm assessment. Never count on a single piece of clothing to bail you out of a bad weather call.
FAQs on High-Performance Shell for Mountaineering
Is GORE-TEX Pro better than regular GORE-TEX?
Can I use a hardshell for both hiking and mountaineering?
How long does a mountaineering shell last?
Do I need pit zips on a high-end shell?
What waterproof rating is enough for snow?
Conclusion
A high-performance mountaineering shell protects you when conditions turn ugly. Focus on the membrane, hood, fit, and durability before brand or color. Test it with your helmet, your layers, and your pack. Then care for the DWR and seams so the shell stays sealed across many seasons of alpine use.