How to Hike Safely at Night Using Only a Headlamp
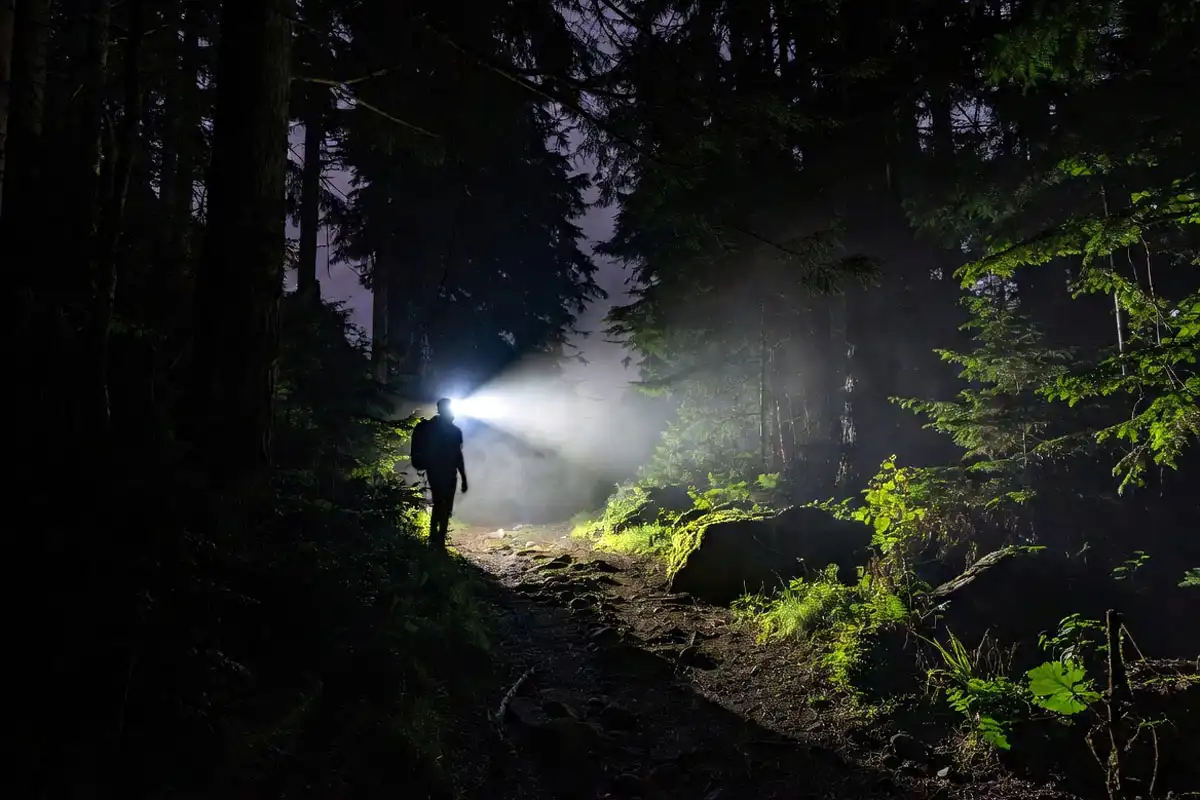
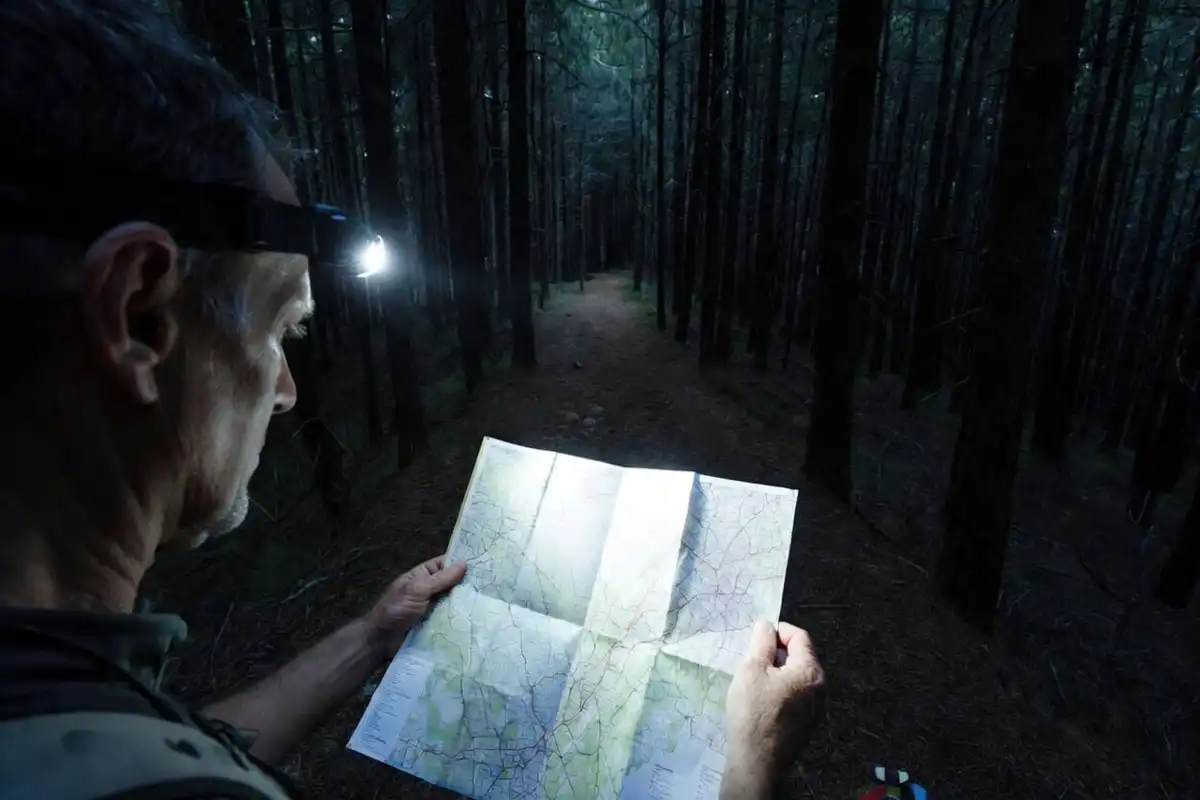
Night hiking with only a headlamp is a way to hike safely when you prepare your gear, route, and body before the trail goes dark. I’ve walked night trails in the hills of Rangamati where thick forest blocks even starlight, and the headlamp becomes your most critical piece of equipment. This guide covers headlamp selection, route planning, trail navigation in the dark, pacing adjustments, and the safety steps that keep you on track after sunset.
Choose a headlamp rated at 200+ lumens with a red-light mode. Start the hike before dark so you know the terrain. Reduce your pace to about 60% of daytime speed. Keep your beam angled at the ground 6 to 10 feet ahead. Carry backup batteries and a physical map. Tell someone your route and return time before you leave.
What Changes When You Hike After Dark
Depth perception decreases in low light. Your brain reads shadows as flat surfaces, which increases the risk of ankle rolls and missed steps.
Trail markers become harder to spot. Colors wash out under artificial light, and blazes or cairns can disappear into the background.
Wildlife moves more actively at night. Some animals become defensive near a direct light source.
Understanding these differences helps you adjust behavior before a problem appears.
Learn more: How to Stay Dry Hiking in Rain
Choosing the Right Headlamp for Night Hiking
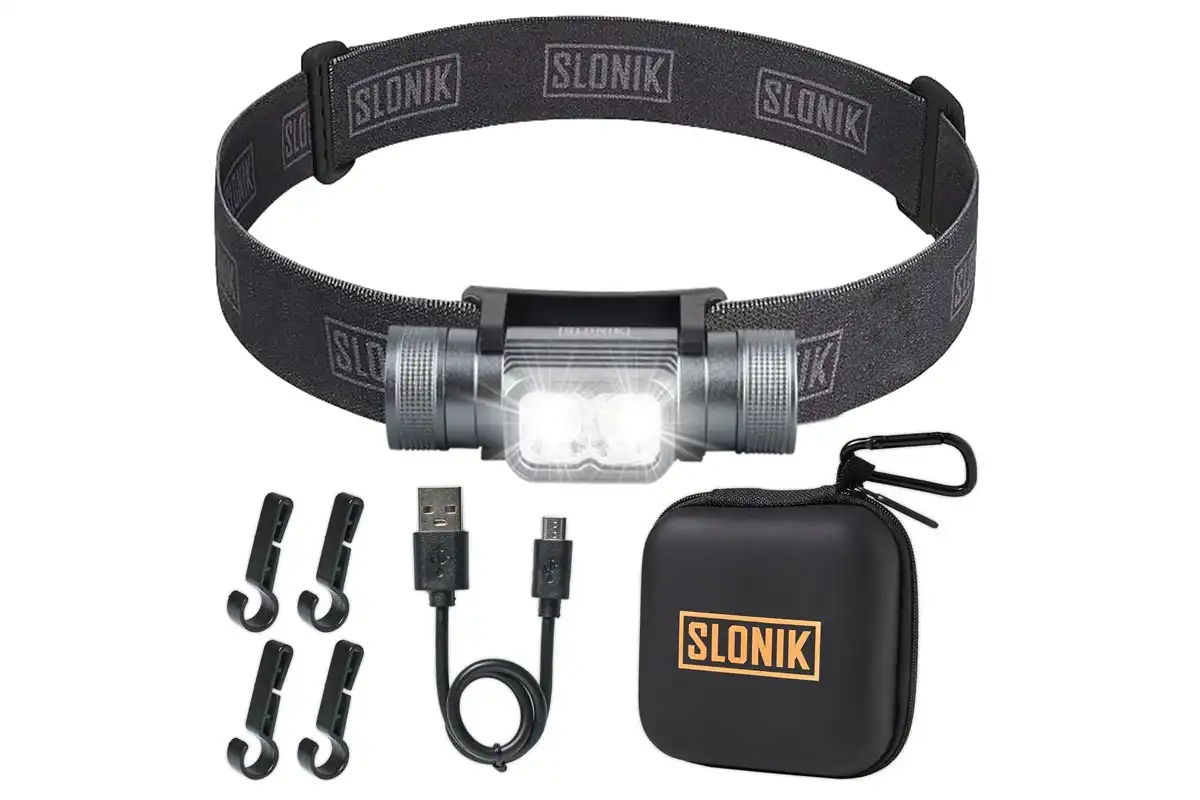
What lumen output do you need?
A headlamp rated at 200 to 400 lumens handles most forested trails. Below 100 lumens, the beam struggles to show obstacles more than 15 feet ahead.
A flood beam covers wider ground. A spot beam reaches farther ahead. A headlamp that combines both modes works best on technical terrain.
Why red-light mode matters
Red light preserves night vision. White light causes your eyes to take 20 to 30 minutes to readjust to darkness. Red mode lets you check a map or adjust gear without losing that adaptation.
Battery life
Choose a headlamp with at least 6 hours of runtime on medium mode. USB-rechargeable models are convenient, but carry backup batteries as a separate failsafe.
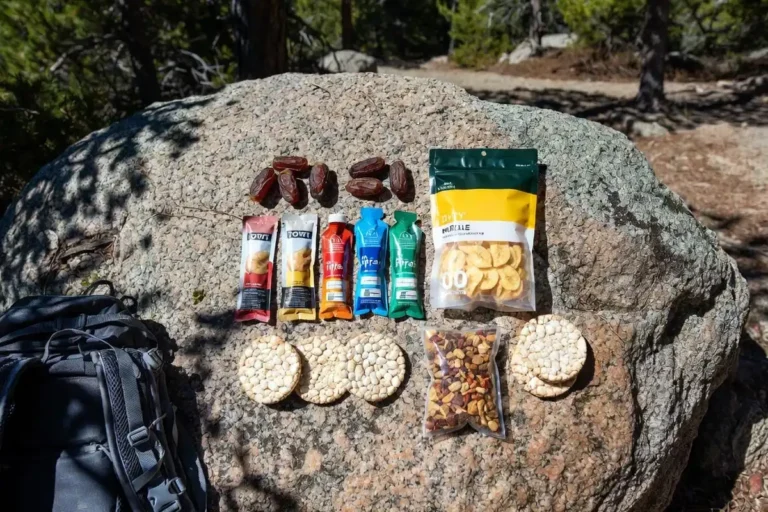
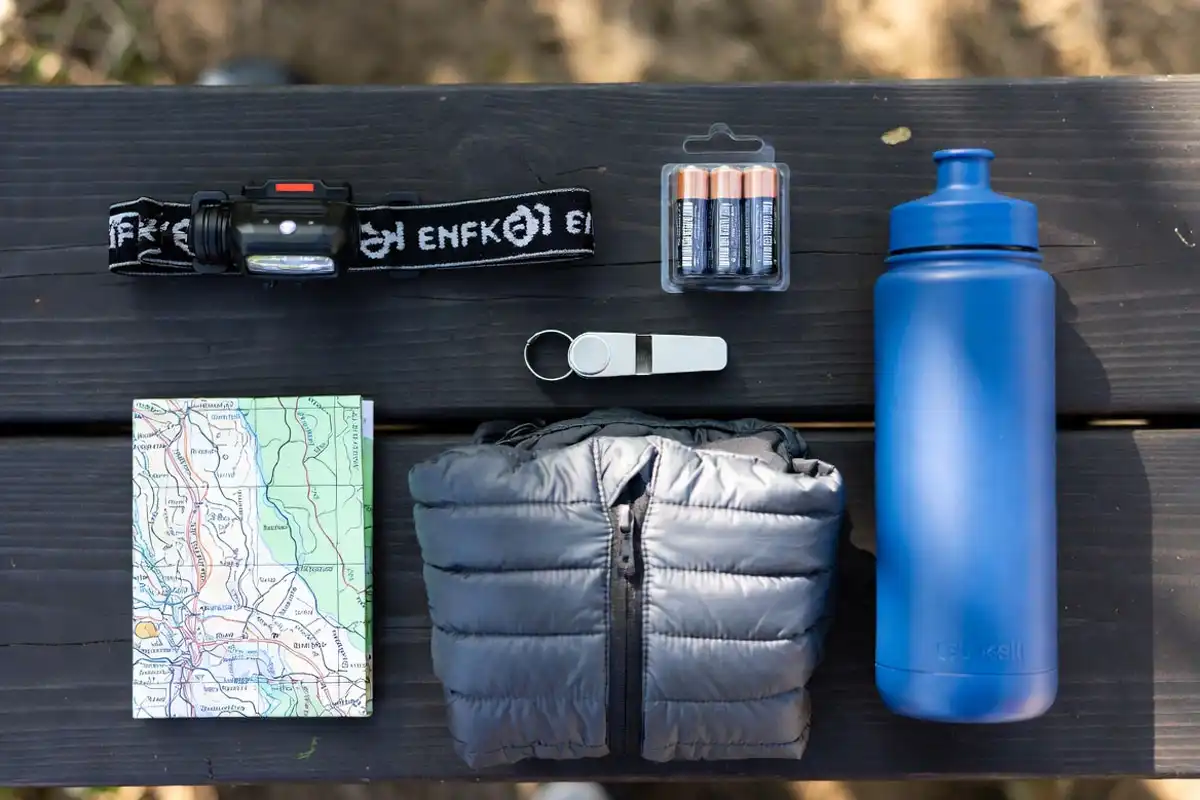
Night Hiking Safety Gear
Follow what gear should I carry beyond a headlamp:
How to Prepare Before a Night Hike
Know the trail in daylight first
Hike an unfamiliar trail in daylight before attempting it at night. Night hiking on a known route reduces navigation errors significantly.
If you haven’t walked the route before, I covered the full planning process in my article on planning a day hike to avoid getting lost. That prep applies directly to night hikes.
Tell someone your plan
Give a contact person your trailhead location, planned route, and expected return time. If you don’t return, they need this to send help to the right place.
Check weather and moon phase
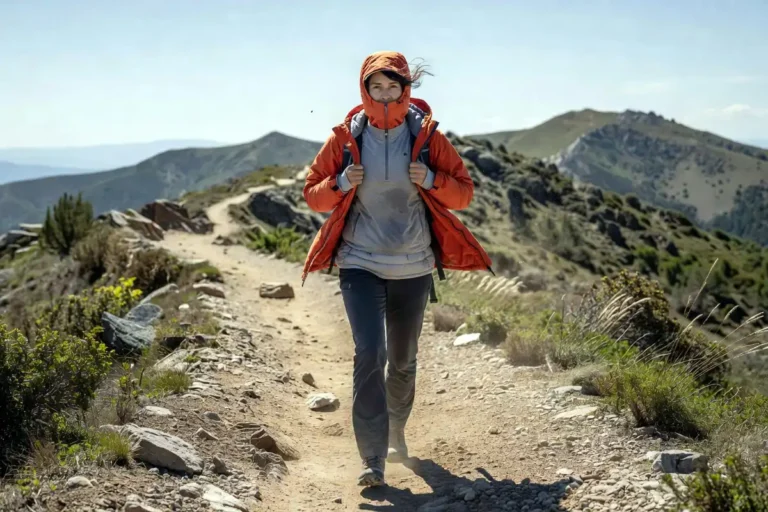
A full moon adds ambient light on open ridgelines. Cloud cover removes that advantage entirely. Check both before you leave.
Temperatures drop faster after sunset. Pack an extra insulating layer even if the afternoon felt warm.
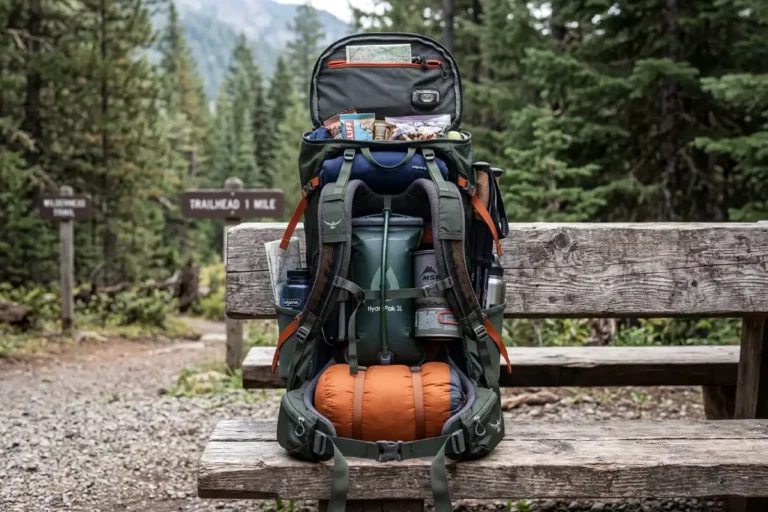
Charge your headlamp fully
A headlamp at 40% battery at the trailhead is a real risk. Charge it fully and pack spare batteries in your bag.
Step-by-Step: How to Hike Safely at Night Using Only a Headlamp
Step 1: Start before sunset
Begin the hike while daylight remains. This gives you time to identify key landmarks, trail junctions, and hazards before the light disappears.
Step 2: Switch on your headlamp at dusk
Turn on your headlamp as dusk begins, not after full dark. Your eyes need time to adjust to the beam. Starting in complete darkness is disorienting.
Step 3: Reduce your pace to about 60% of daytime speed
Night hiking demands a slower, more deliberate step. Obstacles appear with less warning. Rushing leads to missed trail markers and ankle rolls.
Step 4: Angle the beam slightly downward
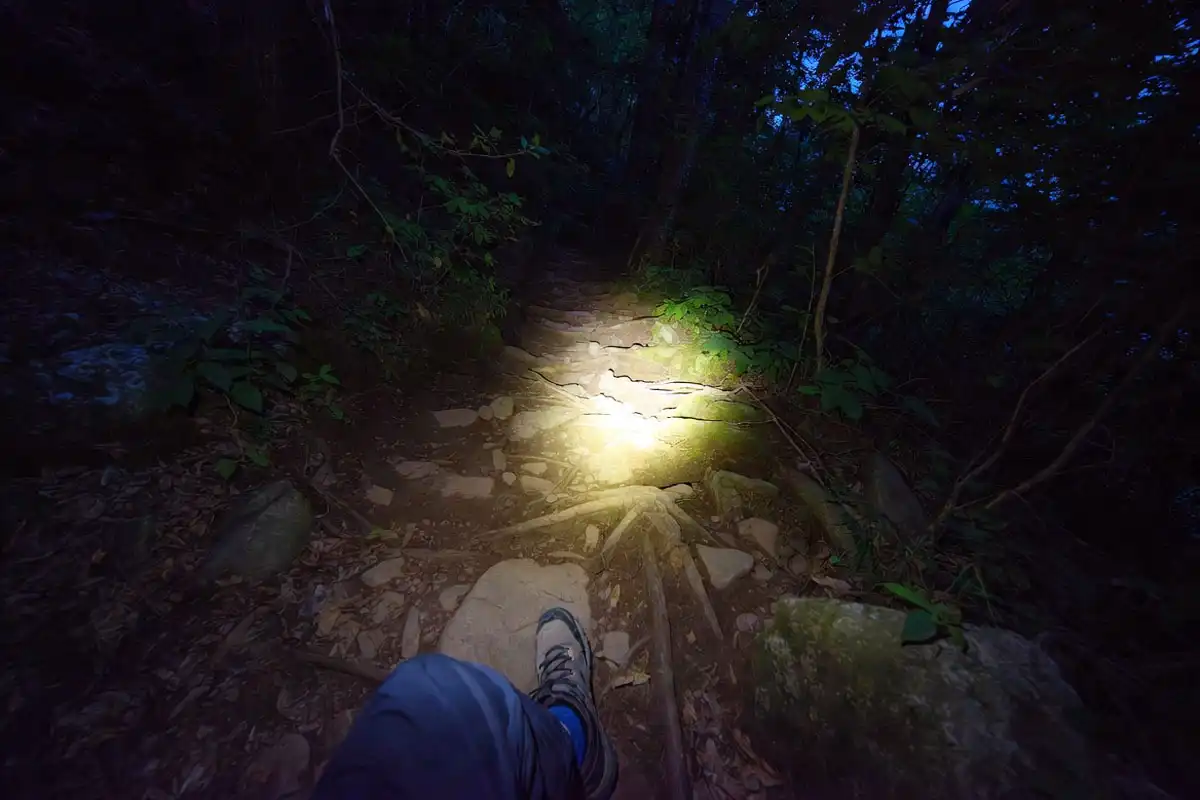
Point the beam at the ground 6 to 10 feet ahead of you. Aiming too high flattens depth perception and hides rocks or roots at your feet.
Step 5: Scan wider with your head
Move your head left to right periodically to sweep the beam across trail edges. This reveals blazes, cairns, and sudden drop-offs you’d miss with a fixed stare.
Step 6: Follow reflective trail markers
Many trails use reflective paint on rocks or posts. Your beam activates them clearly at night. Losing them is the first sign you’ve stepped off the trail.
Step 7: Stop and check navigation more frequently
Night landmarks look different than their daytime versions. Stop every 15 to 20 minutes to confirm your position on the map or GPS. Moving while confused compounds the problem quickly.
Step 8: Listen actively
Darkness sharpens hearing. Rushing water, wind direction, and animal sounds give you environmental information that sight alone misses after dark.
Step 9: Use red-light mode during stops
Switch to red mode when you stop to check a map, eat, or adjust layers. This preserves night vision and saves battery.
Step 10: Know how to signal if you need help
If you get disoriented or injured, activate a signal light or whistle. I covered the full protocol for signaling for help in the backcountry in a separate article with step-by-step actions.
How to Navigate the Trail in the Dark
Night navigation works best with three tools together: your headlamp, a physical map, and a compass or GPS app.
A physical map doesn’t lose battery. Fold it to your current trail section before you start.
GPS apps drain phone battery faster when the screen stays bright. Use airplane mode with location services on to reduce drain.
I covered landmark-based navigation in my article on finding your way without GPS in a forest. That method works especially well when your beam reveals only 20 feet ahead.
If you lose the trail completely, stop moving and follow the steps in my guide on lost on the trail steps to take.
Common Mistakes Night Hikers Make
Skipping the daytime scouting run. Starting a new trail after dark removes your ability to read terrain patterns. This causes more night hiking accidents than any other single factor.
Using only white light the entire hike. White light destroys night vision at every stop. Switch to red whenever you pause.
Hiking solo without leaving a plan. Darkness amplifies every risk. No contact person means no rescue if something goes wrong.
Carrying only one light source. A single headlamp failure ends the hike in complete darkness. Carry a small backup flashlight or clip-on blinky light.
Hiking too fast. Moving quickly increases errors and removes the sensory calm that makes night hiking worth doing.
Safety Rules to Follow on Night Trails
Stay on marked trails. Off-trail movement in darkness increases fall risk and makes rescue harder.
Wear high-visibility clothing. If other hikers or vehicles share the area, reflective gear protects you.
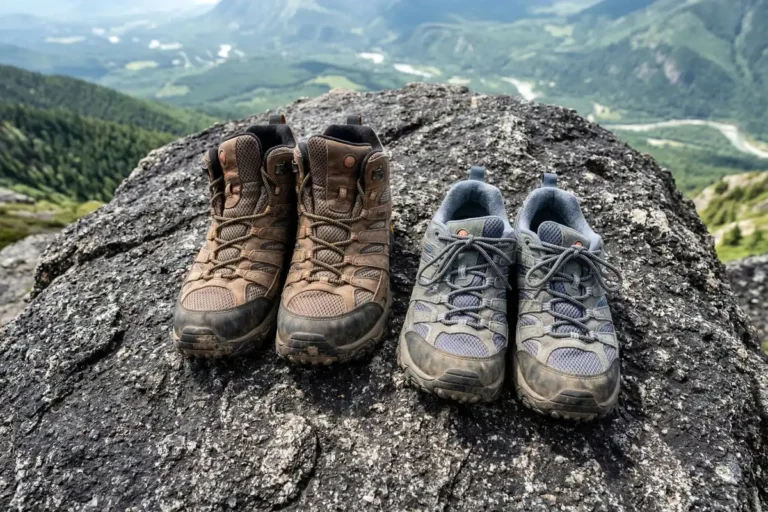
Be deliberate on descents. Downhill sections produce the most ankle and knee injuries at night. I covered foot placement and managing knee pain on downhill hikes in detail; that advice applies directly to dark descents.
Carry a whistle. Three short blasts is the universal distress signal. A whistle carries farther than a voice and uses no battery.
Account for insects. Mosquito and insect activity increases at night in humid terrain. If your trail has heavy bug pressure, the repellent and clothing approach I covered in my article on dealing with mosquitoes on trails holds at night too.
FAQs about Night Hiking With a Headlamp
How many lumens do I need for a night hike?
200 to 400 lumens handles most forested trails well. Technical or rocky terrain benefits from 300+ lumens with a combined flood and spot beam.
Is it safe to night hike alone with just a headlamp?
Solo night hiking carries higher risk than day hiking. It is manageable with preparation: know the trail, carry a backup light and whistle, and always leave your route and return time with a contact person.
What mode preserves night vision best?
Red-light mode preserves night vision better than any other setting. White light resets your eye adaptation instantly; red light does not.
How do I stay on the trail in complete darkness?
Follow reflective trail markers by sweeping your beam side to side. Stop every 15 to 20 minutes to confirm your position. Move slower than instinct suggests.
What gear should I carry beyond a headlamp?
Carry backup batteries or a second light, a physical map, a whistle, an extra insulating layer, water, and a small first aid kit. A phone with a downloaded offline map adds another safety layer.
Conclusion
Night hiking with a headlamp changes the trail experience completely. It rewards preparation over speed and attention over assumption. With the right headlamp, a known route, and a clear safety plan, the trail after dark offers a quiet and focused experience that daytime hiking rarely gives you.
Prepare the gear, know the route, and let the trail reveal itself 15 feet at a time.