How to Keep Bedding Dry in Humid Weather: 10 Fast Solutions

To keep bedding dry in humid weather, block moisture at the source and let trapped moisture escape: elevate your sleep system, ventilate your shelter, and store bedding sealed when you are not using it. This guide explains why bedding gets damp in humidity, what to change in your campsite and gear, and a simple night-and-morning routine you can follow on any trip. You will learn quick fixes for tents, hammocks, cabins, and car camping, plus troubleshooting when everything still feels clammy.
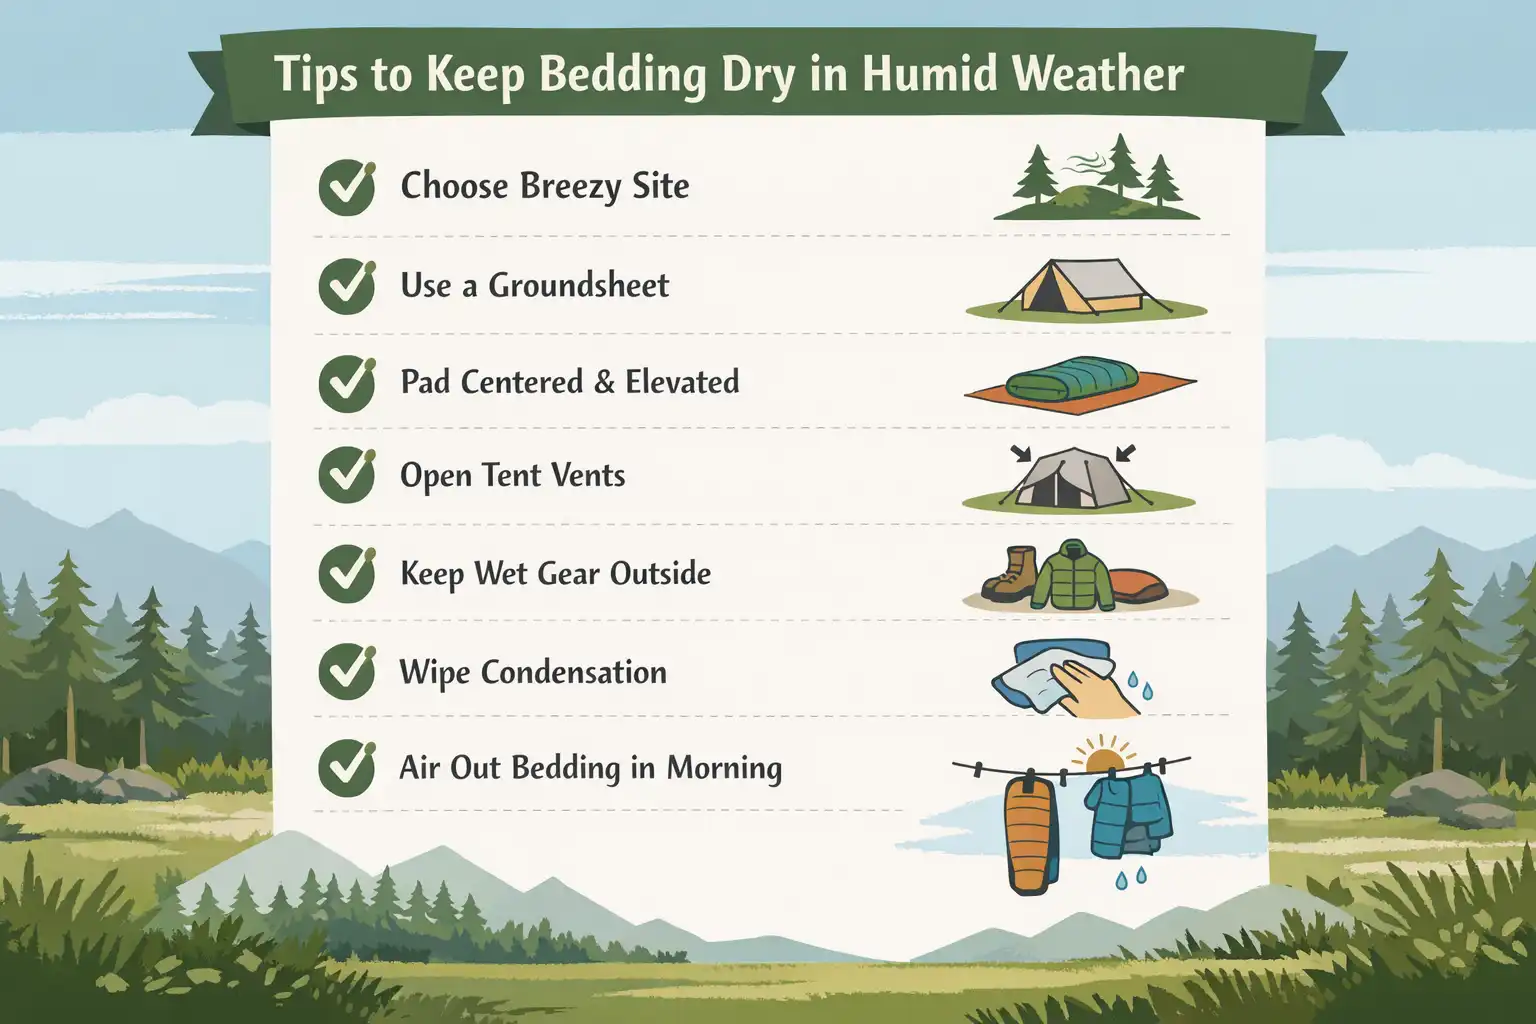
Lift bedding off damp ground, add a waterproof ground barrier, and run steady ventilation (vents open, fly tensioned, door cracked under a tarp). Pack bedding only when it is dry inside a dry bag. Sleep in dry clothes and keep wet gear outside the sleeping area. Wipe tent condensation before it drips.
What “humid wet bedding” really is
Humid weather soaks bedding in three common ways.
- Ground moisture rises from soil, grass, and leaf litter and cools your sleep system from below.
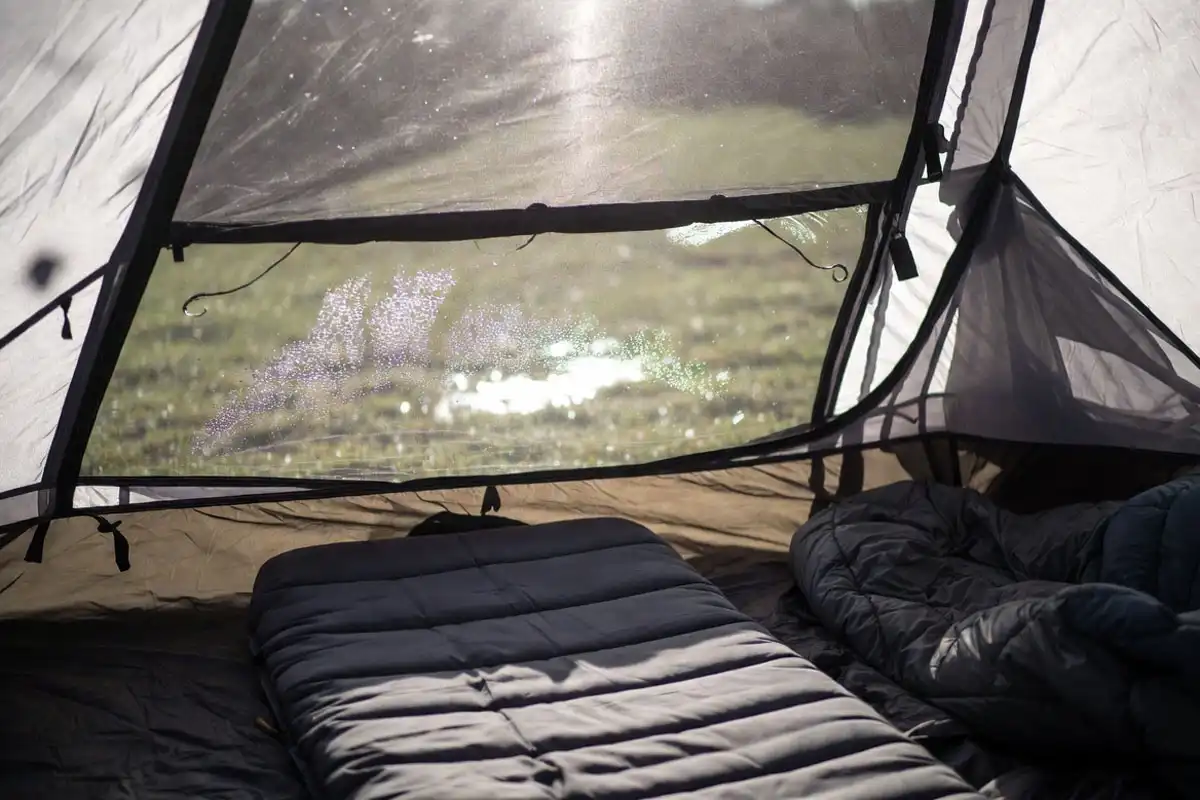
- Condensation forms when warm, moist air hits a cooler surface like a tent fly, inner wall, or even your sleeping pad.
- Body moisture comes from sweat and breath. In high humidity, evaporation slows, so moisture stays in fabric longer.
Keeping bedding dry means controlling all three paths, not only “keeping rain out.”
When bedding gets wet fastest (timing matters)
Humidity feels worst at night and early morning because temperatures drop and surfaces cool.
Watch for these patterns:
- Clear, still nights: Dew forms fast, even without rain.
- After a rainy day: Everything around camp holds water and releases it overnight.
- Near water and in valleys: Cool air settles low and pushes you toward the dew point.
- Dense vegetation: Tall grass and thick forest trap moisture and block airflow.
If the air feels sticky at sunset, plan for condensation management before you crawl into your bag.
Where to set up for a drier sleep
A good campsite reduces moisture before you touch your gear.
Choose a spot that does these jobs:
- Sits slightly higher than the surroundings. A small rise sheds cool, damp air better than a low pocket.
- Catches a gentle breeze. Light airflow beats perfect privacy on humid nights.
- Stays away from open water edges. Lakeshores, riverbanks, and wet sand increase overnight dampness.
- Avoids heavy grass. Grass holds dew that transfers to your groundsheet and then your bedding.
If you must camp in a humid basin, focus harder on elevation (cot or thick pad) and ventilation (more airflow than you think you need).
Gear that keeps bedding dry (without overcomplicating it)
You do not need a pile of gadgets. You need a few pieces that work together.
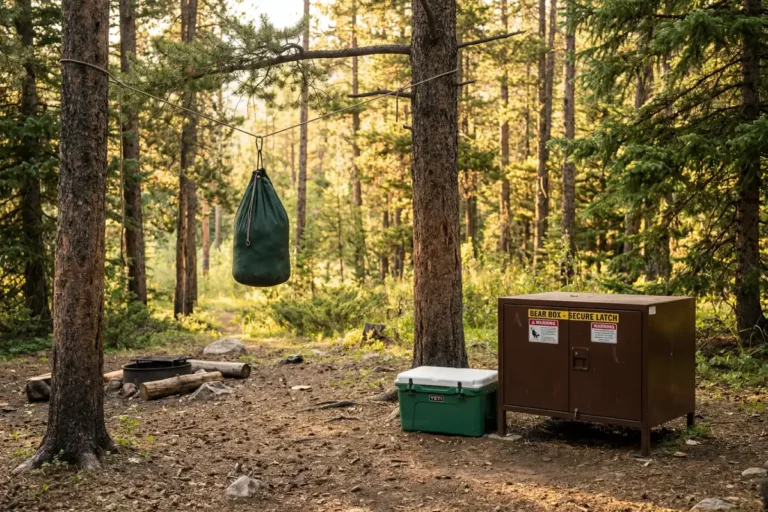
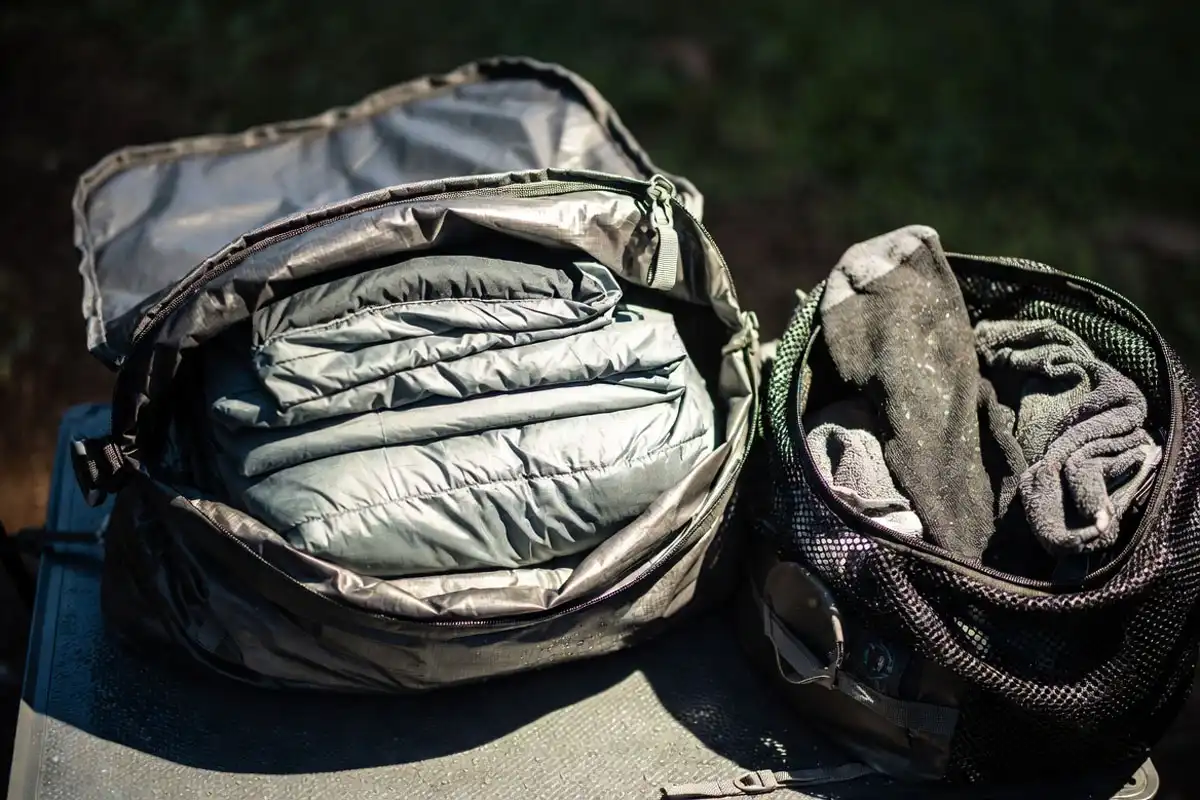
1) A “dry storage” system for bedding
- Waterproof dry bag or pack liner for your sleeping bag, quilt, and sleep clothes.
- Separate bag for damp items so wet socks and towels never share space with bedding.
Rule: Dry bag holds only dry items. If you put damp fabric inside, you trap moisture and it stays damp all night.
2) A ground moisture barrier
- Groundsheet or footprint under the tent floor (or under your sleeping area if tarp camping).
- Sleeping pad with enough insulation and thickness to reduce cooling from below.
- Cot if you want the simplest “off the ground” solution. A cot also creates airflow under bedding, which helps in humid weather. If you are considering one, see my picks for supportive camping cots.
3) A condensation control kit
- Small microfiber towel to wipe tent walls and the underside of the fly.
- A small cloth or bandana to dry your hands and keep your sleeping bag clean.
- A tarp or awning option so you can crack doors and vents even when drizzle threatens.
4) A shelter that breathes
Double-wall tents and well-placed vents reduce the “cold surface inside the tent” problem.
If you are choosing a tent, pay attention to vent placement and door options, not only waterproof rating. A wide, easy-to-vent shelter also helps if you camp with pets and need better airflow management. This guide on roomy, well-ventilated tents is a useful reference.
If you want to browse more gear categories later, start here: OutdoorAwaits gear guides.
Step-by-step: A nightly routine that keeps bedding dry
Follow this order. It prevents “one wet mistake” from undoing everything.
Step 1: Create a dry zone before you open your bedding
Pick a spot inside your shelter where bedding stays protected.
Keep wet shoes, rain jackets, and cooking gear outside that zone.
If your tent has a vestibule, that vestibule becomes the wet storage area.
Step 2: Pitch for airflow first, rain second
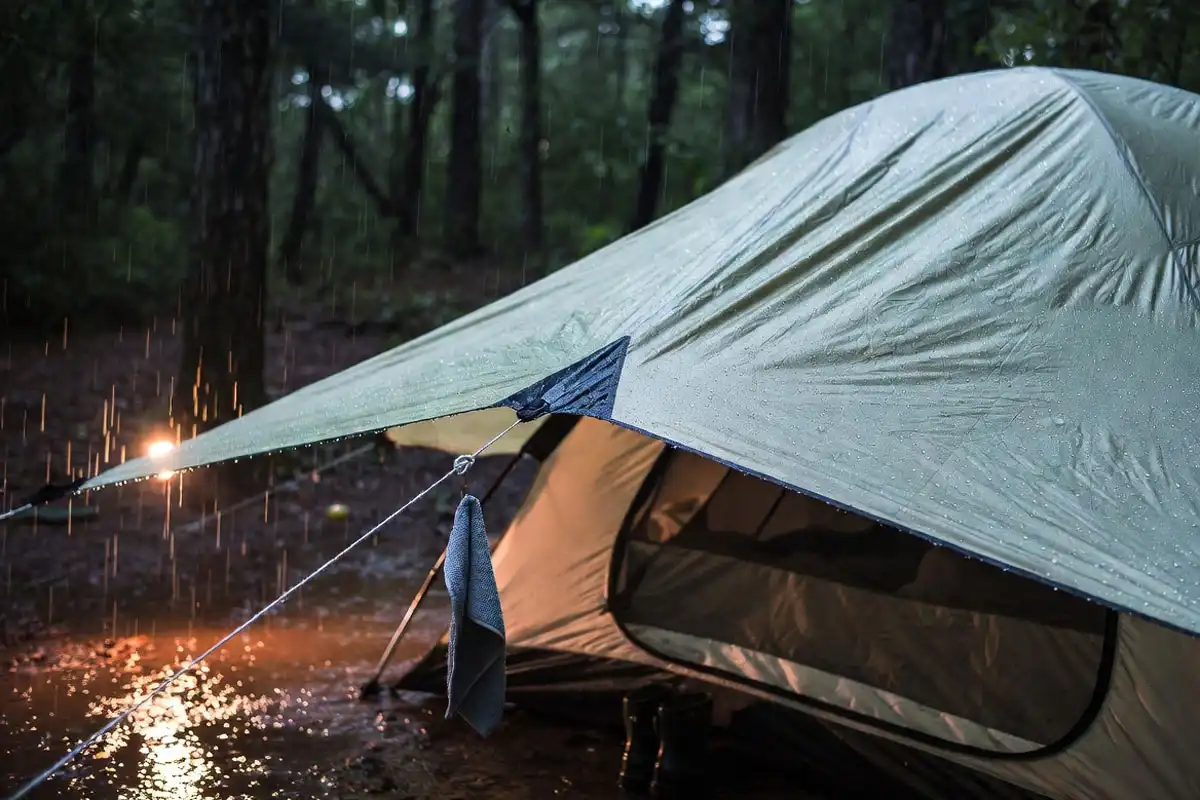
Tension the fly so it does not sag.
Open high vents fully.
Crack the door or vestibule zipper from the top if weather allows.
If rain threatens, rig a tarp so you can keep airflow while blocking direct splash.
Step 3: Stop ground moisture from reaching you
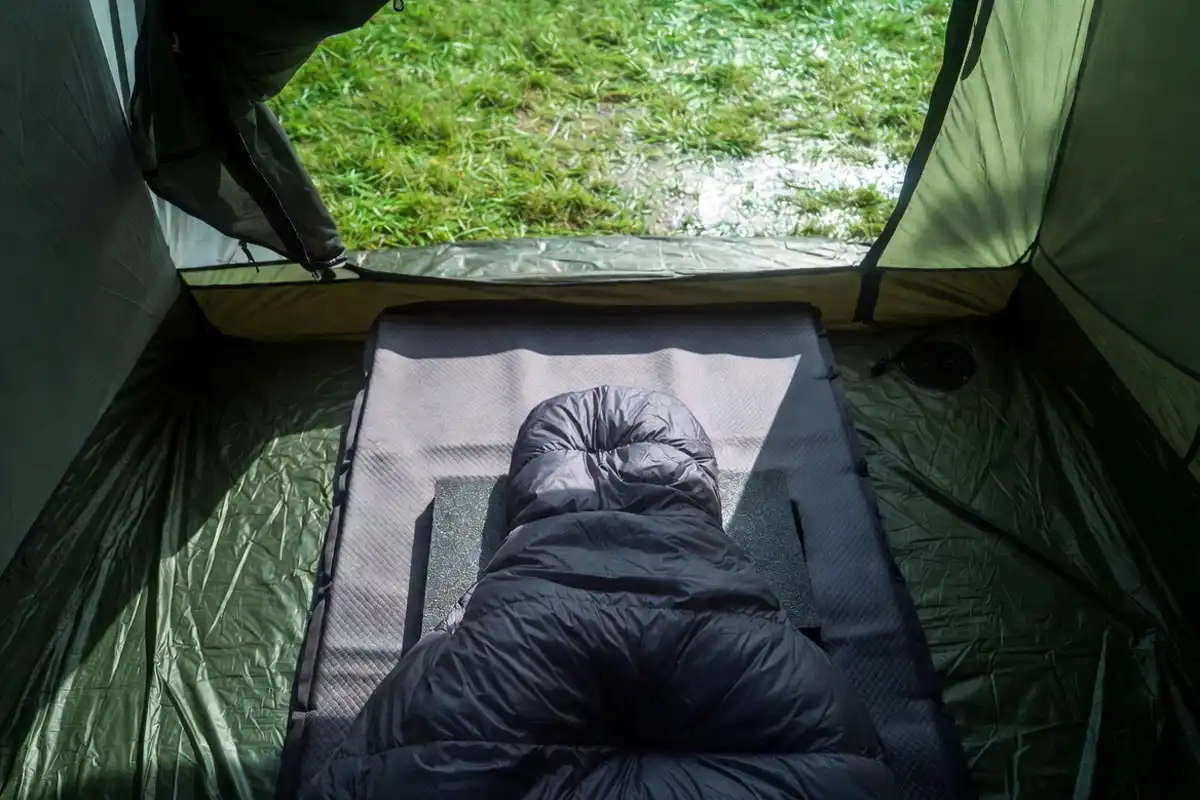
Lay your groundsheet flat and keep edges tucked so water does not funnel under it.
Center your sleeping pad so it never touches tent walls.
If you use a cot, place a thin closed-cell foam pad on top when the air feels clammy. Foam reduces cooling and limits condensation at contact points.
Step 4: Keep bedding off tent walls
Most “wet sleeping bag” problems come from brushing the inner wall.
Use these habits:
- Sleep slightly centered, not pushed into a corner.
- Keep the foot of the bag away from the tent end.
- Avoid storing a backpack at the head of your sleeping area if it pushes bedding outward.
Step 5: Manage body moisture before it becomes bedding moisture
Change into a dry sleep layer.
If your base layer is damp from hiking, do not sleep in it.
If you sweat at night, loosen the bag or quilt early rather than waiting until you are hot.
A sleeping bag liner helps because you can wash it easily, and it keeps skin oils off insulation.
Step 6: Keep wet gear out of the sleeping air
Wet items raise humidity inside the shelter.
Do not hang soaked clothes inside the tent body.
Do not cook inside the tent. Steam turns into condensation fast.
If you must bring damp items in, place them in a sealed bag and keep them away from bedding.
Step 7: Wipe condensation before it drips
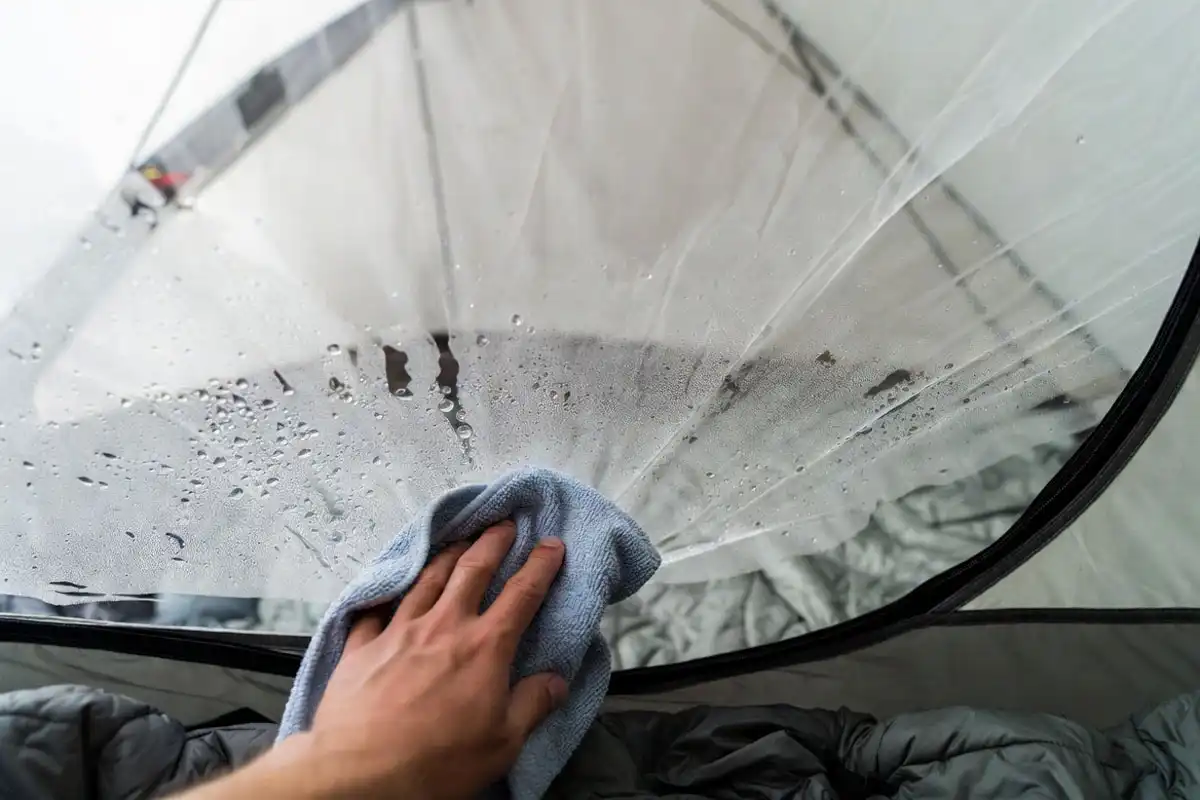
Before you sleep, run your towel along:
- The tent inner wall near your head and feet
- Any low points on the fly where droplets collect
This takes one minute and prevents surprise drips at 3 a.m.
Morning routine: Dry out, then pack up
Morning habits decide whether tonight starts dry or damp.
Step 1: Vent hard as soon as you wake
Open vents and doors wide.
Pull the fly back if weather allows.
Let moisture escape before the sun heats the tent and turns your shelter into a humid box.
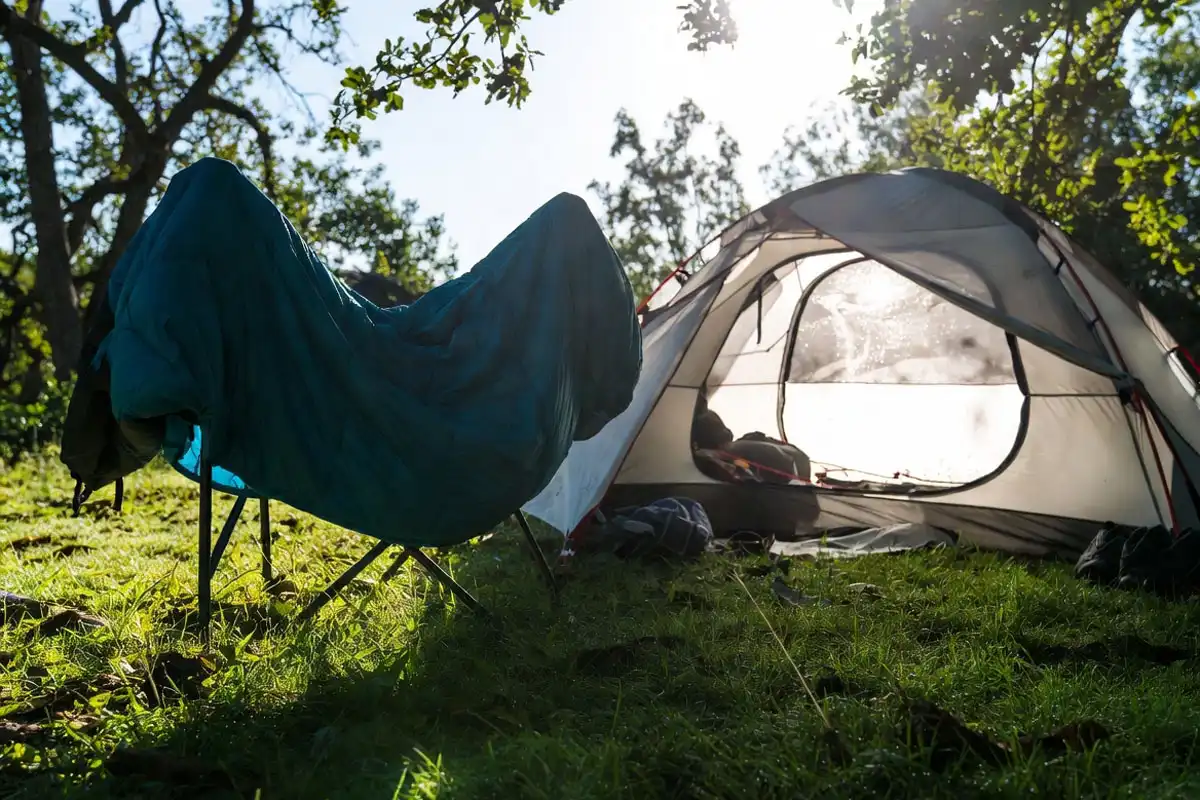
Step 2: Air your bedding for 10 to 20 minutes
Lay your sleeping bag or quilt over a line, cot, or clean surface.
Keep it out of direct wet grass if dew is heavy.
Even short airing reduces that clammy feel.
Step 3: Wipe the shelter, then pack bedding last
Wipe tent walls and fly.
Pack everything else.
Pack bedding only when it feels dry to the touch.
Then seal it in the dry bag so it stays protected through the day.
Solutions for common setups
Tent camping in high humidity
Use this simple setup stack:
- Groundsheet under the tent
- Sleeping pad centered and dry
- Quilt or bag kept off the walls
- Vents open, fly tight, door cracked under a tarp
If condensation keeps forming, add airflow. In humid weather, “more ventilation” usually solves more than “more waterproofing.”
Hammock camping
Hammocks avoid ground moisture but still collect condensation on the outside of insulation.
Key moves:
- Use an underquilt protector or wind barrier in misty air.
- Avoid sealing the hammock in a non-breathable cover.
- Keep tarp pitch high enough for airflow, low enough to block splash.
If your top quilt feels damp, check your breath direction. In still air, breath moisture can settle into fabric.
Cabin, van, or car camping
Enclosed spaces trap humidity fast.
Do these three things:
- Crack windows on opposite sides for cross-ventilation.
- Keep wet shoes and towels in a separate container.
- Hang bedding to air out during breakfast.
If the space smells musty, you are storing moisture. Vent longer and dry bedding before you pack it.
Troubleshooting: Bedding still feels damp. What is causing it?
Use quick symptoms to find the real source.
Problem: The underside of your bag or quilt feels wet
Likely cause: Ground moisture and cooling from below.
Fix:
- Add a better ground barrier.
- Increase pad thickness or insulation.
- Consider moving to a cot for airflow under bedding.
Problem: The footbox is wet in the morning
Likely cause: Touching tent walls or fly condensation dripping at the tent end.
Fix:
- Pull your sleep system away from the tent end.
- Re-tension the fly to remove sag.
- Wipe the tent end before sleep.
Problem: Everything feels clammy, not soaked
Likely cause: High humidity plus low airflow, plus body moisture.
Fix:
- Vent more, earlier.
- Sleep in a dry layer.
- Loosen insulation before overheating starts.
Problem: Bedding smells musty after a couple of nights
Likely cause: You pack bedding slightly damp and seal it for hours.
Fix:
- Air bedding every morning, even briefly.
- Pack bedding last.
- Do a mid-day sun-and-breeze dry-out if the weather opens.
For general camping setups and routines that support better sleep, browse the camping basics.
Mistakes that keep bedding wet in humid weather
- Closing every vent because “humidity is outside”
- Letting bedding touch tent walls
- Drying wet clothes inside the tent body
- Cooking inside the tent and adding steam
- Packing bedding damp “just this once” into a sealed bag
- Sleeping in sweaty hiking clothes
- Setting up in a low, still pocket near water when a breezy rise exists nearby
Safety notes (why this matters beyond comfort)
Wet bedding steals warmth. If night temperatures drop, the risk of cold stress rises fast.
If bedding gets wet and you start shivering:
- Change into the driest clothes you have.
- Add a dry layer between you and the pad.
- Eat something and warm up gradually.
- If conditions stay wet and cold, switch plans. Move to a sheltered, drier place.
Humidity also feeds mildew. Air and dry bedding after the trip before long storage.
For more practical skills that reduce risk on overnight trips, visit Safety Skills.
Conclusion
Keeping bedding dry in humid weather comes down to a simple system: pick an airflow-friendly campsite, block moisture from the ground, prevent contact with wet tent walls, and vent the shelter all night. Store bedding in a true dry bag and only pack it when it is dry. Add a short morning air-out and a fast wipe-down, and your sleeping bag, quilt, and pillow stay dry for the whole trip.