To make a camping bucket light, gather a 5-gallon bucket, a utility light, and a clear liner. Drill holes in the bucket, attach the light, and insert the liner for diffusion.
Creating a camping bucket light is a simple DIY project that can enhance your outdoor experience. This convenient lighting solution is perfect for illuminating your campsite, tent, or outdoor area and requires only a few materials. With its portability and ease of use, a bucket light serves as both a functional tool and a charming addition to your camping gear.
The soft light it emits can create a cozy atmosphere while still being bright enough to navigate your surroundings safely. Whether you’re a camping enthusiast or just looking for a reliable light source for outdoor gatherings, crafting your own camping bucket light is a practical and rewarding endeavor that combines simplicity with functionality.
Introduction to Camping Bucket Lights
Imagine walking into a well-illuminated campsite after sundown, where everything is visible without the harsh glare of a traditional lantern. Camping bucket lights are rising in popularity among outdoor enthusiasts because of their practicality and ambiance. These ingenious lighting solutions offer a diffused, ambient glow that’s perfect for a variety of outdoor settings. Understanding how to make your own camping bucket light is not just a crafty DIY project; it’s a step towards elevating your camping experience to new levels of comfort and convenience.
Definition and Purpose of a Camping Bucket Light
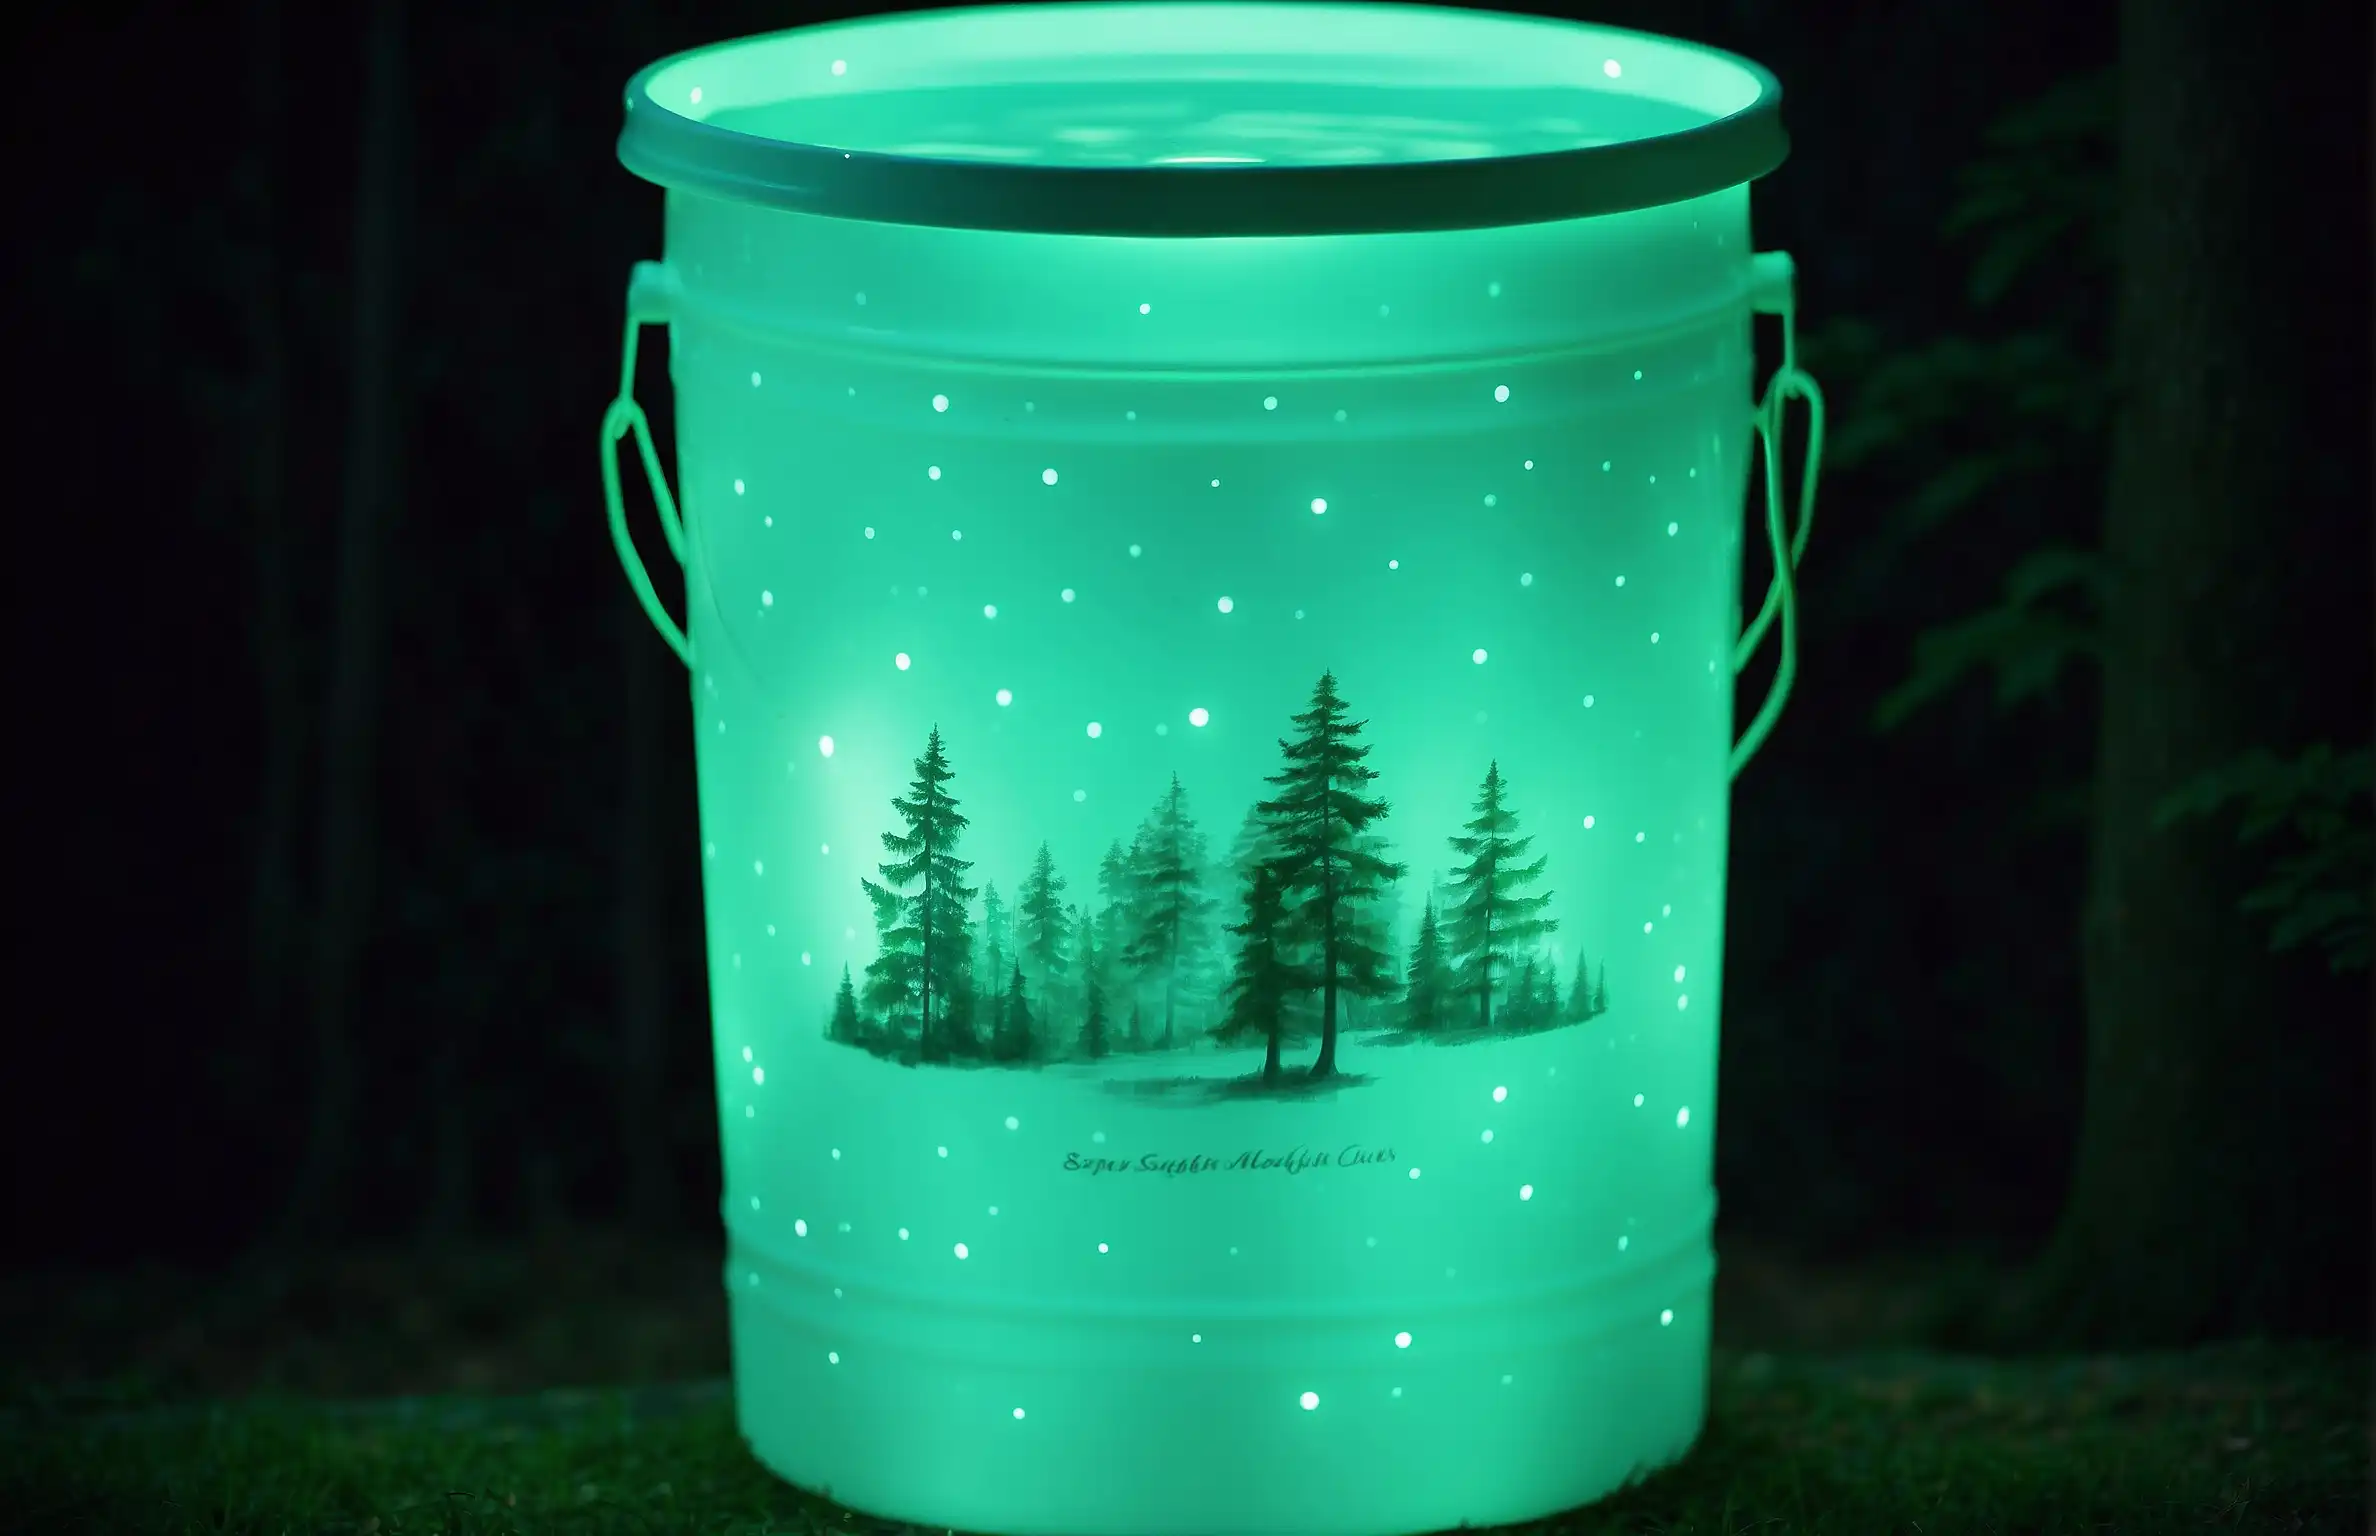
A camping bucket light is a portable, convenient, and effective lighting solution that’s crafted by converting a standard 5-gallon bucket into a light diffuser. It uses an LED light strip or a set of Christmas lights fed through the bucket, producing a soft, ambient light that illuminates a broad area without blinding brightness. The core objective of a camping bucket light is to provide adequate, comfortable lighting in a campsite, reducing the dependency on focused, intense light sources that can be disruptive in a natural setting.
Benefits of Having a Camping Bucket Light
- Enhanced Ambiance: Creates a warm and inviting campsite atmosphere.
- Area Lighting: Offers widespread illumination for cooking, socializing, or navigating the campsite.
- Energy Efficient: LED lights consume minimal power and generate less heat compared to traditional bulbs.
- Customizable: Personalize with colored lights or patterns to match moods and occasions.
- Portable: Easy to transport due to the lightweight nature of the bucket.
- Durability: 5-gallon buckets are sturdy and can withstand outdoor elements.
Overview of Materials and Tools Needed
Before beginning your DIY camping bucket light project, ensure you have the following items:
| Materials | Tools |
|---|---|
| 5-gallon bucket | Drill or punch tool |
| LED light strip or Christmas lights | Scissors or knife |
| Frosted or translucent lid (optional for a covered light source) | Screwdriver (if needed for securing the light fixture) |
| Power source (battery pack or plug for LED lights) | Measuring tape or ruler |
| Adhesive or fasteners for securing the light strip | Marker or pen (for marking drill points) |
With these materials and tools at the ready, you’re all set to create a vibrant hub of warmth and convenience right at your campsite. Not only will this enhance your evening outdoor experiences, but it will also bring a sense of pride in a DIY creation that’s both fun and functional.
Designing Your Camping Bucket Light
Embarking on a camping adventure doesn’t mean you have to leave all the comforts of home behind. A DIY camping bucket light can not only bring a cozy ambiance to your campsite but also provide practical lighting after sunset. Designing your custom bucket light is a creative process where you can blend functionality with personal style. Let’s illuminate how to select the perfect components for your outdoor beacon.
Choosing the Right Bucket Size and Material
The foundation of your camping bucket light is, of course, the bucket itself. When selecting a bucket, size matters—a vast array of options are at your disposal. For a family campsite, a larger 5-gallon bucket can cast an extensive glow. Solo travelers or trekkers might prefer a compact alternative, such as a 2-gallon pail. Material selection is equally crucial: plastic buckets are the norm due to their lightweight nature and durability. Consider a translucent or semi-opaque bucket if you wish for a softer light diffusion.
Deciding on the Light Source: Led, Cfl, or Incandescent
The heart of your camping light is the bulb. Choose wisely, as each bulb type comes with its own set of characteristics. LED bulbs offer longevity and energy efficiency, making them ideal for campers who spend several nights in the wilderness. CFLs (Compact Fluorescent Lights) are another energy-saving option, although they’re not as durable as LEDs when it comes to rough outdoor conditions. Traditional incandescent bulbs give off a warm glow and are economic, but they’re less energy-efficient and have a shorter lifespan.
Creative Themes and Decorative Ideas
Express your personality and camping spirit with the design of your bucket light. Wrap your bucket in reflective tape or add patterns using a stencil for a dazzling effect. Stickers, paint, or adhesive vinyl can showcase themes such as nature, animals, or celestial bodies. Integrate a practical carry handle adorned with rope or ribbon for a charming touch. For special occasions, you might even tailor your decoration to themes like Halloween or Christmas, transforming your campsite into a festive celebration.
Step-By-Step Guide to Assembling Your Bucket Light
Welcome to our step-by-step guide on how to create a DIY camping bucket light. This simple project will help illuminate your camping adventures without breaking the bank. Whether you’re a seasoned camper or preparing for your first outdoor expedition, follow these straightforward instructions to assemble your bucket light, ensuring safety, efficiency, and convenience. Let’s turn a regular bucket into a brilliant source of light!
Preparing the Bucket: Drilling and Cutting
Start with a clean, sturdy bucket. A 5-gallon bucket is ideal due to its size and durability. Here’s how to prepare it:
- Mark a circle on the bucket’s lid where the light will shine through. A standard template could be the base of your light source.
- Using a drill, create a pilot hole in the center of the marked circle.
- With a keyhole saw or a hole saw attachment, enlarge the hole to fit your light source snugly. Be careful to maintain a smooth edge to prevent damage during installation.
- Drill evenly spaced holes around the sides for ventilation if your light source generates heat.
Installing the Light Source and Wiring Safely
Safety is paramount when dealing with electrical components:
- Choose an LED light source for its efficiency and low heat emission.
- Thread the light fixture through the hole in the lid, ensuring a secure fit. A rubber gasket or silicone sealant can prevent moisture from seeping in.
- Connect the wires to a battery pack or portable generator, adhering to the manufacturer’s guidelines. Always double-check to ensure all connections are tight and properly insulated to prevent short circuits.
- If you’re not experienced with electrical wiring, consider using a pre-wired LED camping light for ease and safety.
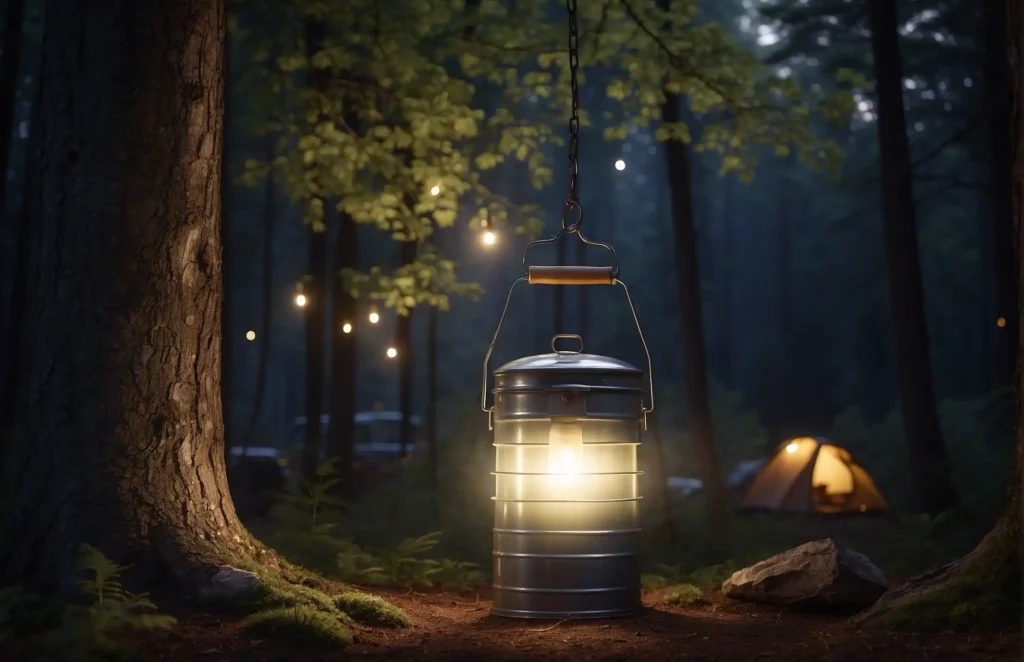
Adding a Handle for Portability and Hanging the Bucket Light
An effective bucket light also needs to be portable and easy to hang:
- For the handle, use a durable material like rope or wire that can support the weight of the bucket.
- Drill two holes on opposite sides of the bucket, just below the rim.
- Thread the rope or wire through the holes, tying secure knots on each end inside the bucket.
- Create a larger knot or loop at the midpoint outside the bucket for easy hanging.
- Ensure the handle is sturdy and check for any sharp edges that may fray the handle over time.
Customization and Enhancement Options
Camping bucket lights not only provide practical illumination for outdoor adventures but also offer a canvas for personal expression. With the right customization and enhancement options, campers can turn a simple bucket light into a multipurpose tool that reflects their taste and meets their specific needs. In this section, we’ll explore how to diffuse light effectively, choose the best power options, and weatherproof the light for durability.
Diffusing Light: Choosing and Attaching the Right Material
Diffusing the light from your camping bucket can create a softer, more even glow that’s perfect for a cozy campsite atmosphere. Here are the materials you can consider:
- Frosted plexiglass for a professional look
- Translucent fabric for an easy and quick diffuser
- Parchment paper as an affordable DIY solution
When attaching your chosen material, ensure the adhesive you use is strong and durable. If you’re using a fabric, sewing or using all-weather tape can be effective. For more rigid materials, silicone sealant can provide a durable bond.
Power Options: Solar, Rechargeable Batteries Or Direct Power
Powering your bucket light is a critical consideration. Each option has its perks:
| Option | Benefits |
|---|---|
| Solar Power | Eco-friendly, no need for battery replacements |
| Rechargeable Batteries | Cost-effective in the long term, portable |
| Direct Power | Consistent supply, ideal for RV camping |
Choose based on availability of sunlight, access to power sources, and the duration of your trip. Whichever option you choose, ensure it’s reliable and fits your camping style.
Weatherproofing Your Bucket Light
Outdoor conditions can be unforgiving, making it essential to weatherproof your bucket light. Consider these steps:
- Use a sealant to protect any openings from moisture
- Choose a bucket made of high-density polyethylene (HDPE) for durability
- Add a layer of UV-resistant paint to prevent sun damage
Proper weatherproofing ensures your bucket light stands up to rain, wind, and sun, making it a reliable light source no matter the weather.
Know more: How Long Does Camping Propane Last
Safety Tips and Maintenance
Welcome to the essential guide for camping enthusiasts and DIY aficionados! In this segment, we focus on the pivotal aspects of safety tips and maintenance for your homemade camping bucket light. Whether nestled in the woods or lakeside, your camping bucket light not only illuminates your campsite but also ensures comfort and security through the night. However, with every clever creation comes the responsibility of safe operation and upkeep. Let’s dive into the details.
Important Safety Considerations When Using Your Bucket Light
Maintaining safety is paramount when enjoying the outdoors. Keep these vital points in mind:
- Avoid Water Exposure: Ensure your camping bucket light is always positioned away from water to prevent electrical hazards.
- Heat Emission: Choose LED lights to minimize heat generation, and monitor the temperature of your bucket light during extended use.
- Secure Placement: Place the bucket light on a flat surface to avoid it tipping over and potential damage or fire risk.
- Child and Pet Safety: Keep your bucket light out of reach of children and pets to prevent accidents or damage.
- Electrical Safety: Regularly inspect the light for frayed wires or loose connections.
Cleaning and Maintaining Your Camping Bucket Light
Enhance the longevity and performance of your bucket light with regular maintenance:
- Regular Cleaning: Wipe the outer surface of the bucket with a damp cloth to remove dirt and debris.
- Check the Lights: Inspect the LED strip or bulbs for any signs of damage or burnout and replace if necessary.
- Battery Care: If using a battery-powered light, ensure the batteries are fresh or charged for optimal performance.
- Storage: When not in use, store the bucket light in a dry and dust-free environment to prevent corrosion or deterioration.
Troubleshooting Common Issues
Encounter an unexpected hiccup? Here’s a quick guide to troubleshoot common problems:
| Issue | Solution |
|---|---|
| Light Won’t Turn On | Check connections, inspect for damaged parts, ensure batteries are properly installed or charged. |
| Dim Light | Replace batteries if necessary, check if LED lights require replacing. |
| Flickering Light | Secure loose connections, check if a consistent power source is being used. |
| Overheating | Ensure the light isn’t covered by materials that prevent proper ventilation. Switch to LED bulbs if overheating persists. |
Conclusion
Crafting your own camping bucket light is a rewarding project with illuminating results. With the steps outlined, adventure seekers can effortlessly create a practical and transportable light source. Perfect for starry nights, it enhances any campsite ambiance. So grab your supplies, and let’s light up the great outdoors!
Keep your adventure alive! The Learning section at Outdoor Awaits is your map to the great outdoors.
Sukhen is a passionate blogger and traveler who visited many historical places in Bangladesh, Myanmar, India, and Thailand. He's an avid camper, so he shares his knowledge of camping and wildlife with his readers. He also helps readers plan their own camping trips. To know more, stay connected with Outdoor Awaits.