How to Manage Knee Pain on Downhill Hikes: Fast Relief Moves
To manage knee pain on downhill hikes, think “small steps, steady pace” and don’t let your knees lock out. This guide walks you through what to do before the descent and what to change step-by-step on the way down, plus simple ways to calm pain if it shows up mid-trail. You’ll learn how to use trekking poles, adjust foot placement and cadence, and pick quick rest and stretch breaks that prevent a small ache from turning into a limp.
Why Does Downhill Hiking Hurt Your Knees?
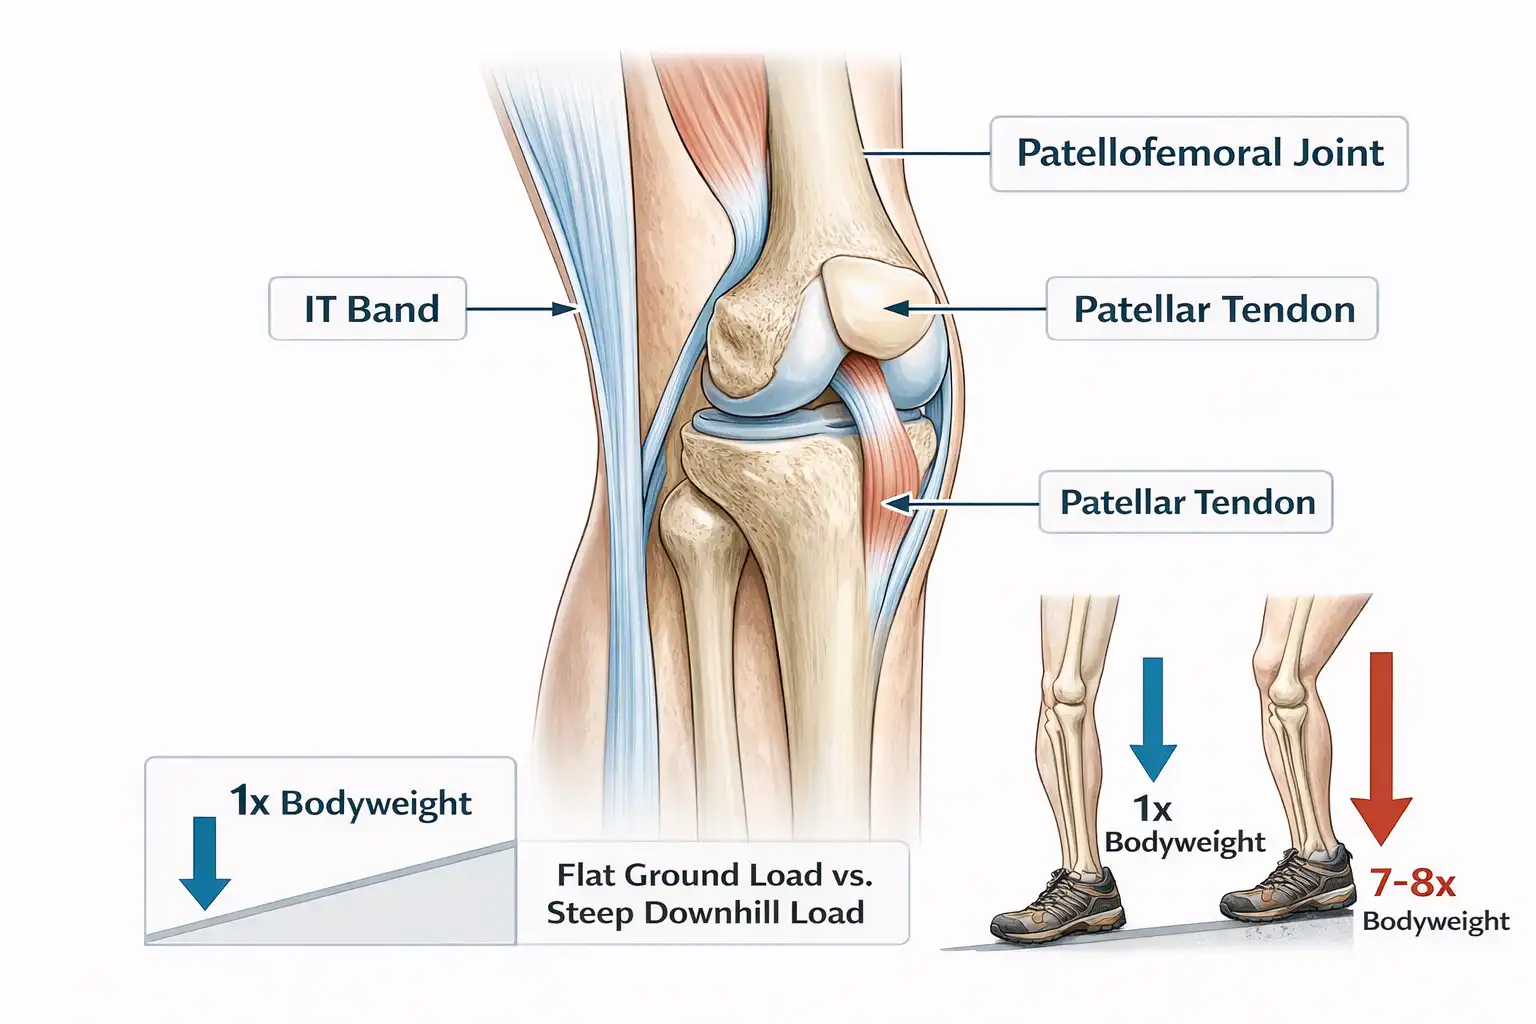
The descent increases knee load because gravity pulls your full body weight forward. Your quadriceps contract eccentrically, meaning they lengthen under load to slow your descent. That eccentric contraction produces more joint compression than a normal uphill or flat-ground step.
The patellofemoral joint, where the kneecap sits against the femur, absorbs most of this force. Repeated compression across a long descent inflames the cartilage underneath the kneecap. Hikers often call this “hiker’s knee” or patellofemoral pain syndrome.
The iliotibial (IT) band, a connective tissue strip running down the outside of the thigh, also tightens under repeated downhill loading. When it stiffens, it rubs against the outer knee and produces a sharp, localized ache.
Read next: Deal with Mosquitoes on Trails For Your Next Hike
When Is Knee Pain a Warning Sign?
Not all knee discomfort requires stopping. A dull ache that eases when you rest for 10 minutes and returns only on steep sections is common and manageable on the trail.
Stop hiking and seek medical attention when you experience any of these:
- Sudden sharp pain after a stumble or slip
- Knee swelling that increases within 30 minutes
- A locking or catching sensation inside the joint
- Pain that rates 7 or higher on a 10-point scale
These symptoms point to a structural injury, such as a meniscus tear or ligament strain, not muscle fatigue. I covered managing trail injuries more broadly in my piece on treating minor cuts and blisters at camp, which also applies to knowing when to stop and when to continue.
What Causes Knee Pain on Descents?
Three conditions produce most downhill knee pain:
Patellofemoral Pain Syndrome: The kneecap tracks unevenly under load. Weak hip abductors and quads increase the misalignment. Pain presents below or around the kneecap.
IT Band Syndrome: The IT band tightens and compresses the outer knee. Pain presents on the lateral (outer) side of the knee, typically 2 to 3 km into a steep descent.
Patellar Tendinopathy: The tendon below the kneecap develops irritation from repeated eccentric stress. Pain presents directly below the kneecap and worsens with prolonged descents.
How to Prepare Your Knees Before the Hike
Preparation reduces in-trail pain more than any mid-hike fix. Weak quadriceps transfer more load to passive structures like cartilage and tendons.
Strengthen your quads and glutes in the weeks before a steep hike:
- Wall sits: Hold for 45 seconds, 3 sets, 3 times per week
- Step-downs: Lower one leg slowly off a step, 3 sets of 10 per leg
- Clamshells: Strengthen hip abductors, which stabilize the knee laterally
These three exercises, practiced for 4 weeks before a big descent, reduce patellofemoral load by improving how the kneecap tracks through movement.
Stretch your IT band and hip flexors before and after each hike. A standing IT band stretch held for 30 seconds per side, performed at the trailhead, reduces lateral knee tightness during the descent.
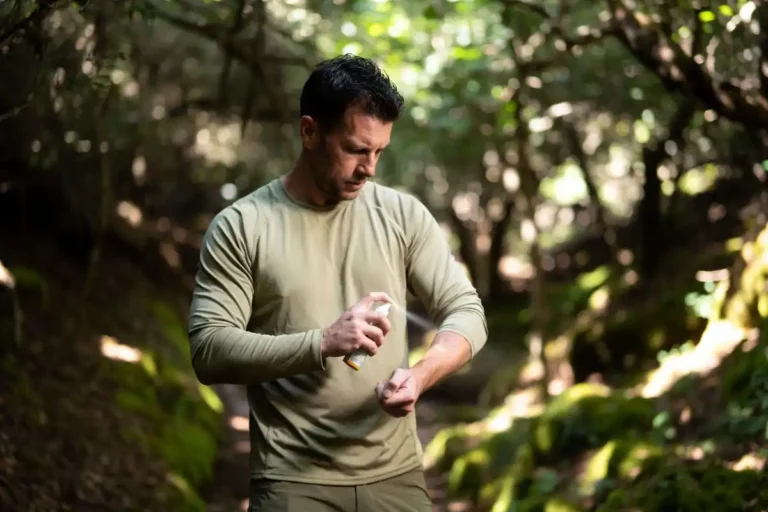
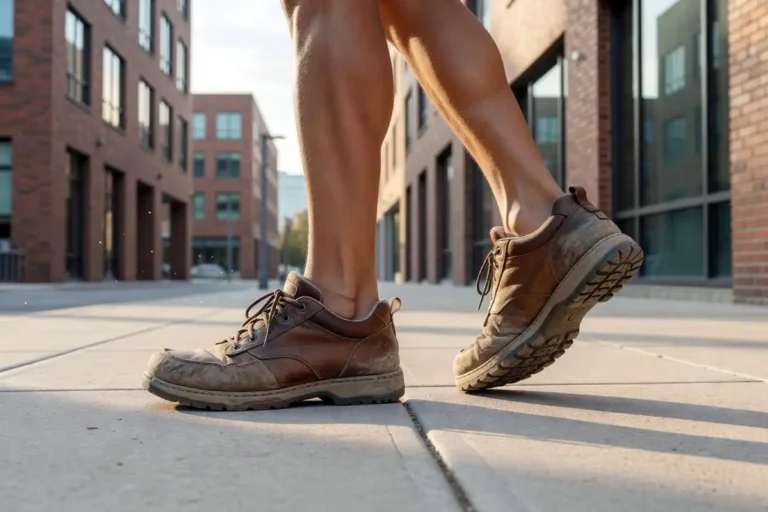
Choose the right footwear. Trail shoes with firm midsoles and adequate grip reduce foot instability on loose ground. Foot instability forces the knee to compensate, increasing compression. I discussed footwear selection in my guide on hike safely in extreme heat, which includes tips on how foot conditions affect joint strain.
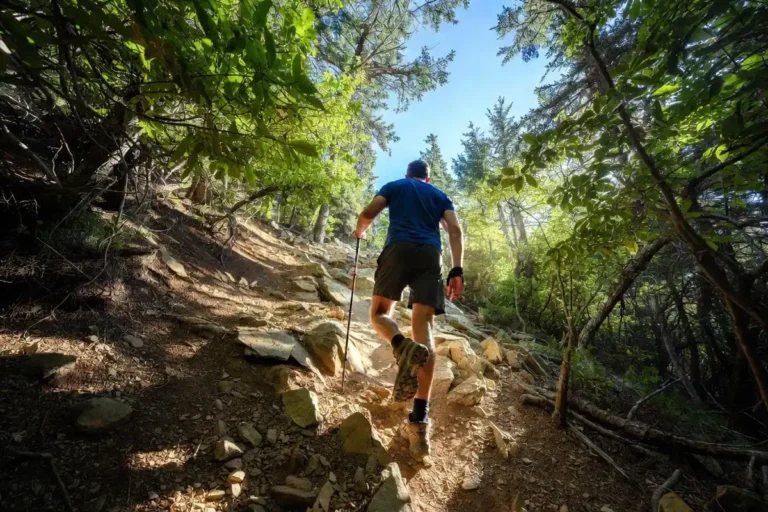
Step-by-Step: How to Descend With Less Knee Stress
This is the core section. Technique changes during the descent produce the most immediate relief. Follow this sequence on every steep section:
Step 1: Shorten Your Stride
Long strides on descent increase impact per step. Shorten your stride so each foot lands closer beneath your hips. This reduces the braking force that compresses the knee.
Step 2: Bend Your Knees Slightly at Contact
Keep a soft bend in the knee at every footstrike. A locked knee transfers the full impact up the joint with no muscular absorption. A slightly bent knee lets the quadriceps absorb part of the load.
Step 3: Plant Feet Sideways on Steep Sections
On grades steeper than 30 degrees, angle your feet slightly outward and step across the slope rather than straight down. This reduces forward momentum and lowers the compression angle at the knee.
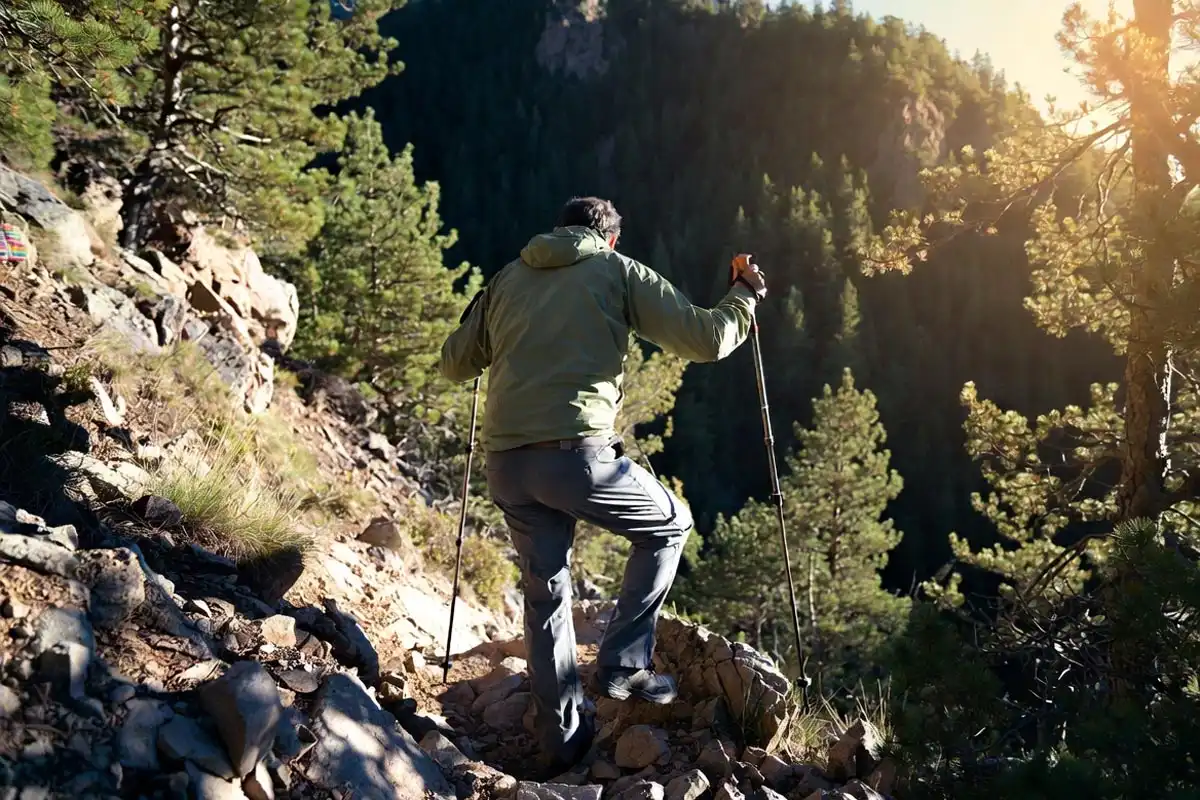
Step 4: Use Trekking Poles Actively
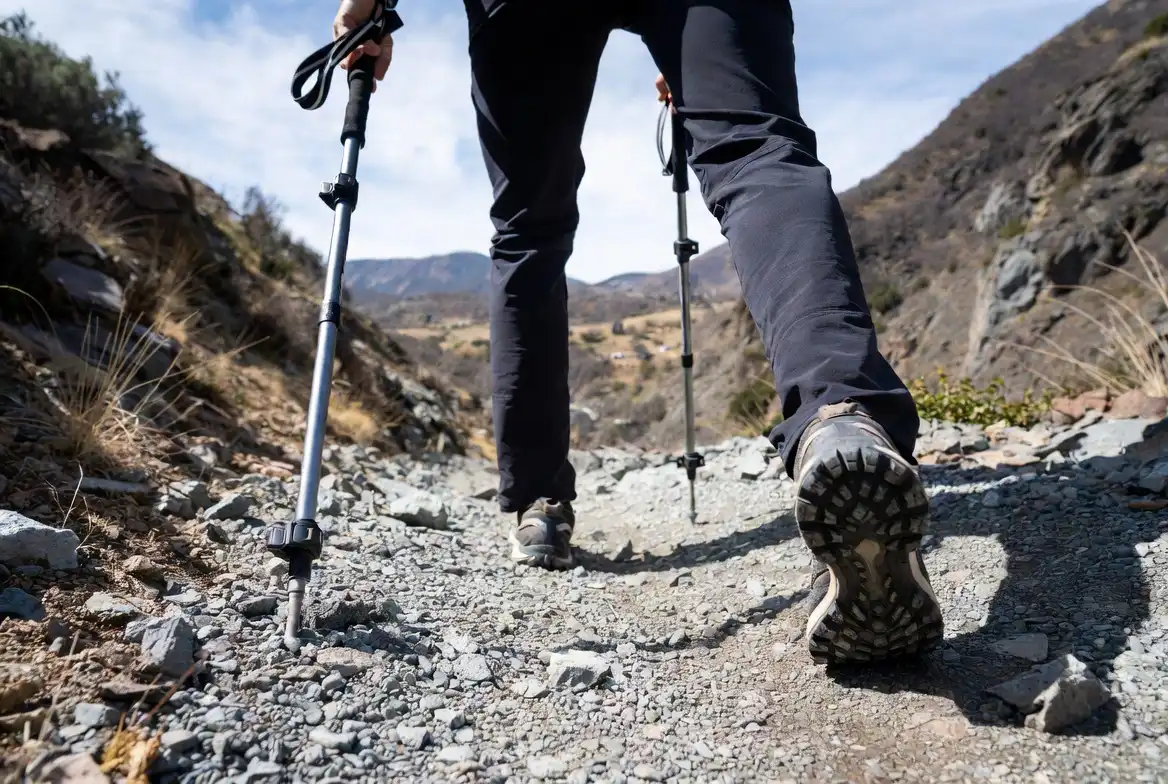
Plant both poles ahead and slightly downhill before stepping. Each pole plant transfers up to 25% of descent load from your legs to your arms and shoulders. I walk every steep descent with poles extended 5 to 10 cm shorter than my uphill setting.
Step 5: Take Rest Breaks Every 30 to 40 Minutes
Sit down, straighten both legs, and rest for 5 minutes. This relieves the sustained eccentric load on the quads and allows joint fluid to redistribute. Do not skip this on descents longer than 500 meters of elevation loss.
Step 6: Switch Sides on Switchbacks
When the trail switchbacks, lead with the opposite leg on alternate turns. This distributes the eccentric load more evenly across both knees rather than repeatedly stressing one side.
What Gear Reduces Knee Pain on Descents?
Gear supports technique but does not replace it. The right equipment, paired with correct form, produces measurable relief.
Trekking Poles: A matched pair with anti-shock springs reduces transmitted vibration. Adjust length 5 to 10 cm shorter than your uphill height for descents.
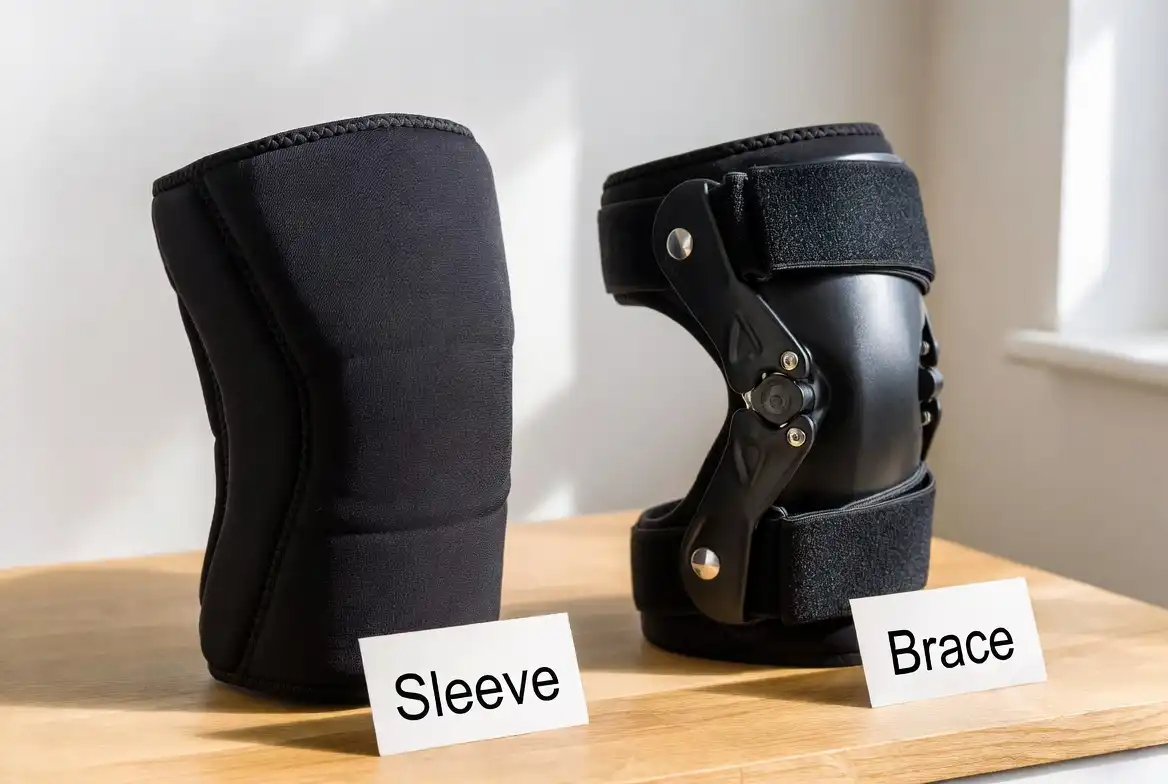
Knee Sleeves: Neoprene knee sleeves at 3 to 5 mm thickness increase warmth and proprioception. Proprioception is your joint’s ability to sense its position. Better proprioception reduces missteps that spike sudden knee loads. Sleeves do not provide structural support; braces do.
Hinged Knee Braces: A hinged brace with medial and lateral support limits lateral movement. This benefits hikers with prior ligament injuries or chronic instability. The brace adds 300 to 500 grams per knee and requires breaking in before a long hike.
Trail Shoes vs. Boots: Stiffer mid-cut or high-cut hiking boots reduce ankle roll on technical terrain. Reduced ankle roll decreases compensatory knee movement. A boot with a firm heel counter provides the most ankle stability on loose descents.
For hikers dealing with back discomfort alongside knee pain, my article on best camping chairs for back pain discusses support principles that also apply to reducing lower body fatigue at camp after a long descent.
How to Treat Knee Pain When It Appears Mid-Trail
Pain mid-descent requires an immediate response. Pushing through sharp knee pain without adjustment can convert a manageable ache into an injury that ends the trip.
Immediate steps when pain appears:
- Stop and sit for 5 minutes. Assess whether the pain is aching (muscular) or sharp (structural).
- Apply a knee sleeve if you carry one. The compression and warmth reduce inflammatory swelling.
- Adjust your trekking poles. If you were not using them, deploy them now.
- Shorten your stride to half its previous length.
- Descend the remaining section on switchbacks, even if the terrain allows a direct line.
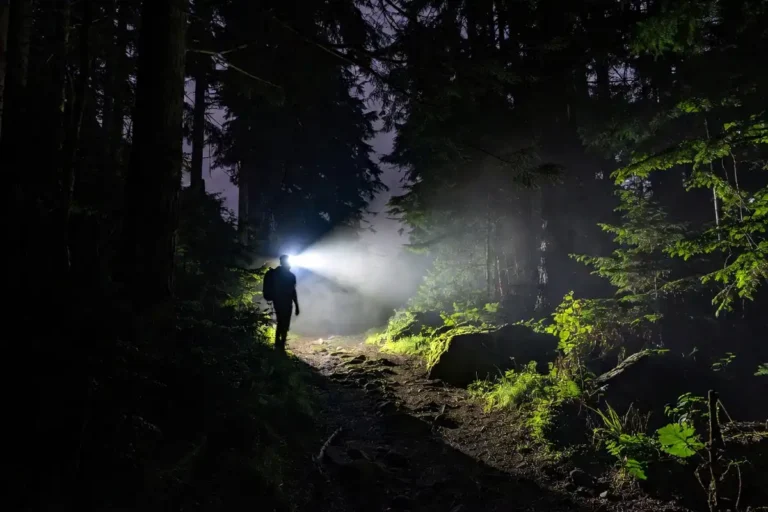
Pain that does not ease within 15 minutes of rest and adjustment: Do not continue descending steep terrain under full load. Call for assistance if the trail is remote. I covered signaling for help in the backcountry in detail in my guide on signal for help in the backcountry, which is worth reading before any remote hike.
Post-hike treatment at camp or home:
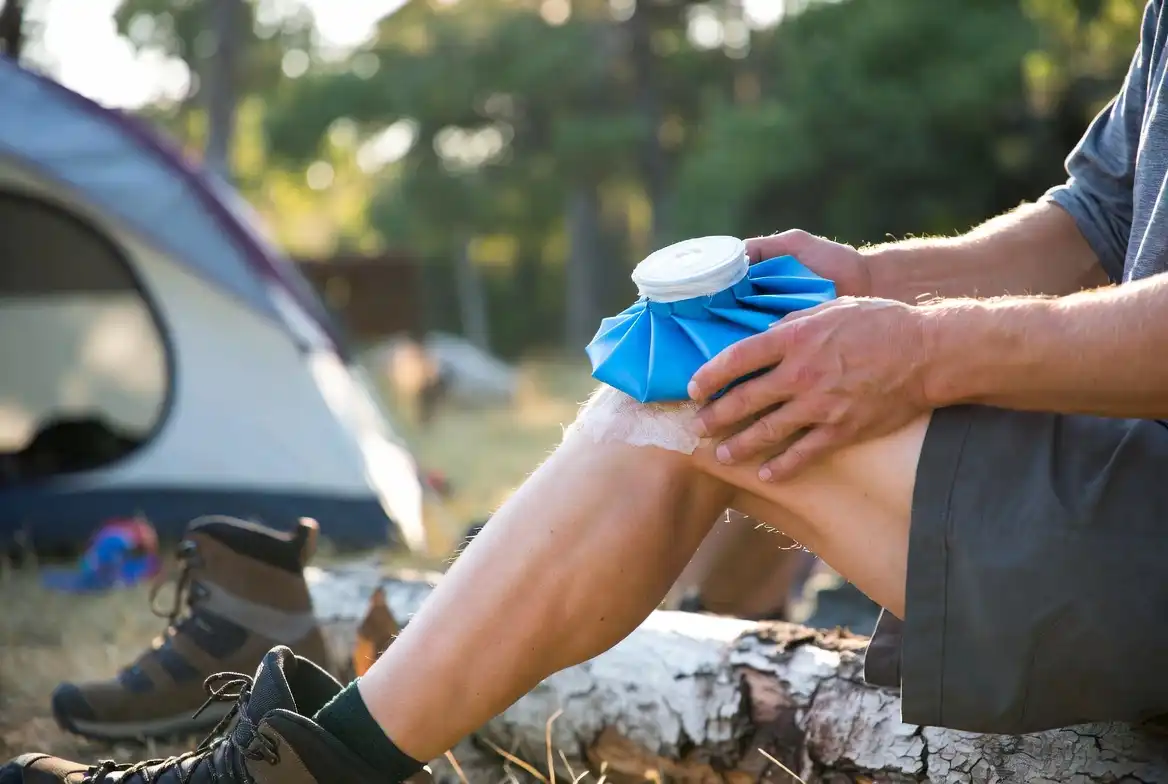
- Ice the knee for 15 to 20 minutes within 2 hours of completing the descent.
- Elevate the leg above hip height for 30 minutes.
- Avoid heat application for the first 24 hours. Heat increases blood flow and worsens early inflammatory swelling.
- Take ibuprofen at the labeled dose if swelling is present, unless contraindicated for you medically.
Common Mistakes That Make Knee Pain Worse
These errors appear repeatedly among hikers I meet on trails:
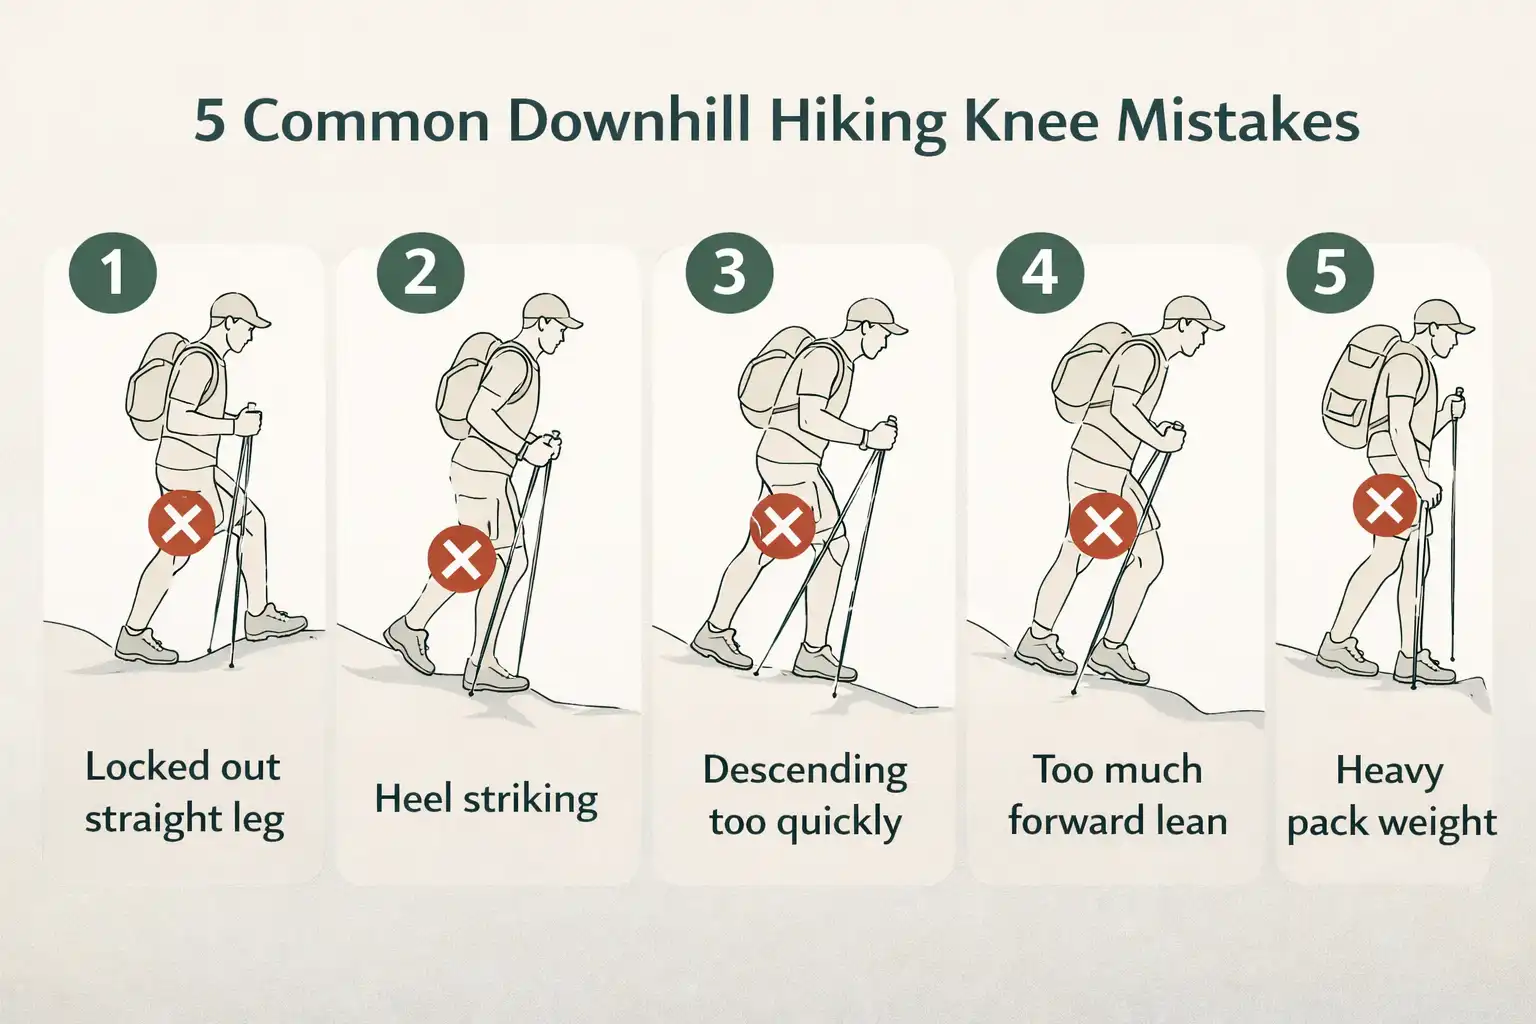
Locking the knee on each step. A straight, locked leg absorbs zero muscular load. The impact goes directly into cartilage. Keep a soft bend.
Stepping down heel-first with a straight leg. Heel striking with a locked knee produces the highest possible knee compression per step. Land midfoot with a bend.
Skipping warm-up on cold mornings. Cold cartilage dehydrates and stiffens. Walk 10 minutes at a flat grade before any steep descent, particularly on cold mornings below 10°C.
Descending too fast to finish early. Speed increases impact force. A descent at 2 km/h produces less knee compression than the same descent at 4 km/h.
Ignoring early aching. Many hikers push through the first signs of patellofemoral discomfort and arrive at camp with swollen knees. Address aching when it appears, not after it escalates.
How to Plan Future Hikes to Protect Your Knees
Prevention begins in trip planning. A hike’s elevation profile determines how much downhill stress your knees will absorb.
Review the descent gradient before departure. Descents steeper than 20 degrees over more than 500 meters of elevation loss require preparation. For your first hike with knee concerns, choose a route that descends less than 300 meters total.
Build descending fitness gradually. Include step-down exercises and weighted squats in your training 6 to 8 weeks before a mountain hike. My guide on planning a day hike to avoid getting lost covers the full pre-hike checklist, which pairs well with the knee-focused preparation above.
FAQs about Manage Knee Pain on Downhill Hikes
Is it normal for knees to hurt after a long downhill hike?
Post-hike muscle soreness around the knee is common after an extended descent, particularly if you do not regularly train eccentric quad movements. Pain that resolves within 48 hours and involves no swelling is typically delayed-onset muscle soreness (DOMS), not injury. Pain with swelling, locking, or that persists beyond 72 hours warrants medical evaluation.
Do trekking poles actually reduce knee pain on descents?
Yes. Research shows trekking poles reduce compressive knee force by approximately 25% per step during descent. The reduction comes from distributing load to the upper body through the pole plant. The benefit requires active planting technique, not passive carrying.
Should I use a knee brace or a knee sleeve for hiking?
A knee sleeve provides compression and warmth, which improves proprioception. A hinged brace provides lateral support and limits range of motion. Use a sleeve for general aching and fatigue. Use a brace if you have a prior ligament injury or your knee feels unstable on uneven ground.
Can losing weight reduce knee pain on hikes?
Yes. Each kilogram of body weight reduction decreases the compression force on the knee joint by approximately 4 kilograms during descent. A 5 kg weight reduction produces a 20 kg reduction in peak knee load per step on steep terrain.
What is "hiker's knee" and is it the same as runner's knee?
Hiker’s knee and runner’s knee both refer to patellofemoral pain syndrome. The condition is the same. The difference is the activity that triggers it. Downhill hiking produces the same kneecap compression pattern as running but over a longer, sustained duration rather than repeated short impacts.
Conclusion
Downhill knee pain comes from high eccentric load, not weakness alone. The fix combines technique adjustments, trekking poles, and targeted quad and glute strength built before the hike. Shorten your stride, keep a soft knee bend on every footstep, use both poles actively, and take rest breaks every 30 to 40 minutes on long descents. Address pain when it appears rather than after it escalates. With these steps, most hikers reduce knee discomfort significantly without cutting their routes short.