How to Navigate Without GPS in Forest: 10 Practical Off-Trail Tips
You navigate without GPS in a forest by pairing a topographic map with a compass, then using terrain features to confirm position as you walk. This guide explains the gear, map and compass skills, and a start-to-finish workflow for staying found on trails or off trail. I focus on habits that work in thick canopy, fog, and low light, when batteries or reception fail. The steps teach you how to plan bearings, use handrails and backstops, relocate when position slips, and keep a safety margin for the walk out.
Use a paper topo map and baseplate compass. Orient the map to north, match ridges, streams, and trail junctions to the map, then travel in short legs between clear features. Keep a handrail (stream, ridge, trail), set a backstop (road, river), and confirm location at each decision point.
What changes when you travel without GPS in a forest?
Forest navigation without GPS relies on map reading, compass bearings, and terrain association instead of a screen position marker. You become the tracking system. You track four core details: direction, distance, time, and terrain match.
A safe navigation plan also includes error control. A person drifts off line in brush, around blowdowns, and across side slopes. Good habits catch drift early, before it grows into a big search.
Read next: How to Make Camp Water Safer: 5 Fast Steps for Any Trip
When does GPS struggle under trees?
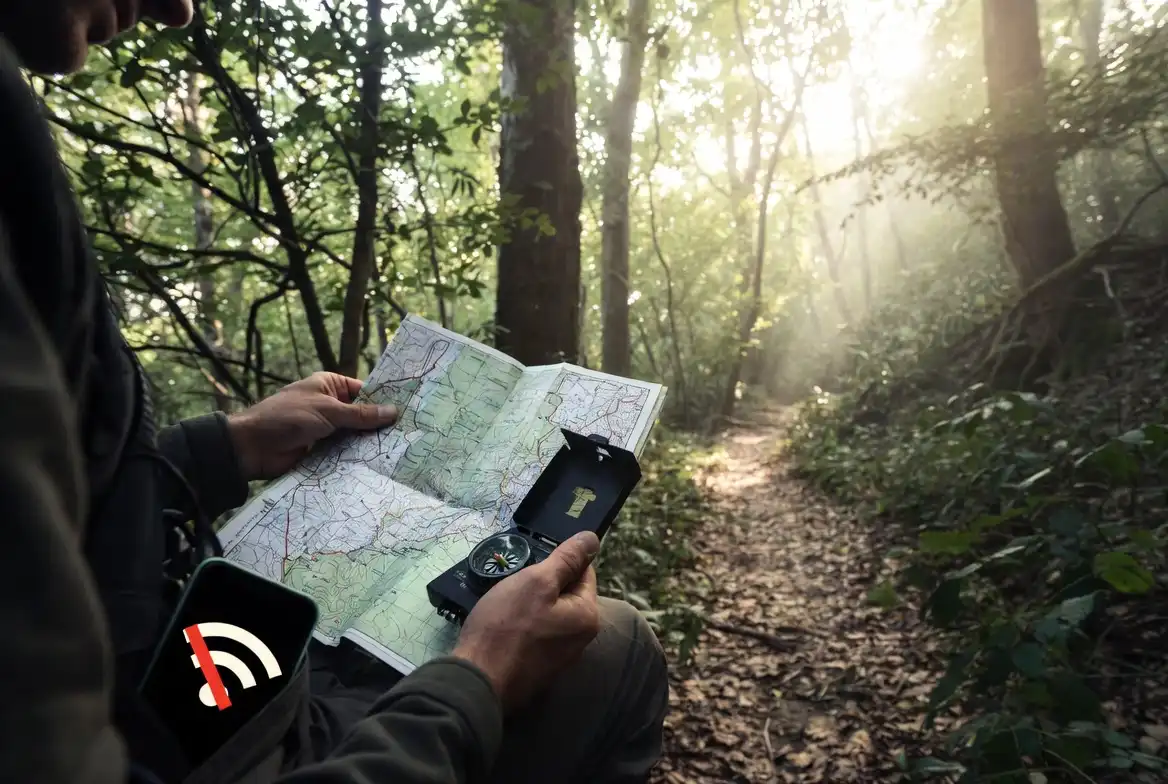
GPS struggles in forests when tree canopy, steep valleys, and wet weather weaken satellite signals or reduce accuracy. Phones also fail from drained batteries, cold temperatures, soaked charging ports, and broken screens.
Treat GPS as a helper, not a foundation. A map and compass keep working when the phone shuts down.
Where do you start before you step under tree cover?
You start at home or at the trailhead by building a paper plan that still works when the phone turns off. The plan answers one question: “Where am I going, and how do I return from any point?”
Build a simple route plan
- Circle the trailhead and any parking or road access on the map.
- Mark turn points, junctions, stream crossings, and ridgelines.
- Identify exit routes, such as a road, a river you can follow downstream, or a main trail.
- Choose a turnaround time that preserves daylight and energy.
Pack navigation and survival basics together
Navigation gear gets forgotten because it feels small. A checklist stops that pattern.
Use a reliable packing list like this 2-night camping checklist and add navigation items to the same system.
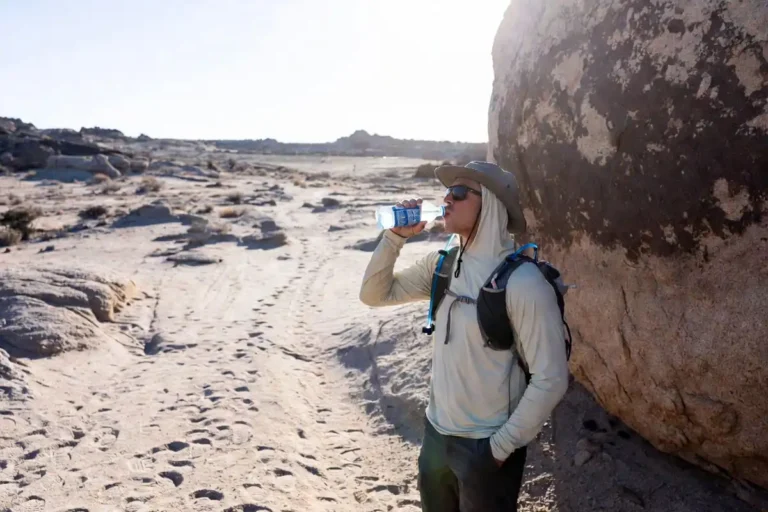
Also plan water like a safety tool, not a comfort item. This guide on how much water to bring per person helps you set a baseline before you leave the trailhead.
What tools replace GPS on the ground?
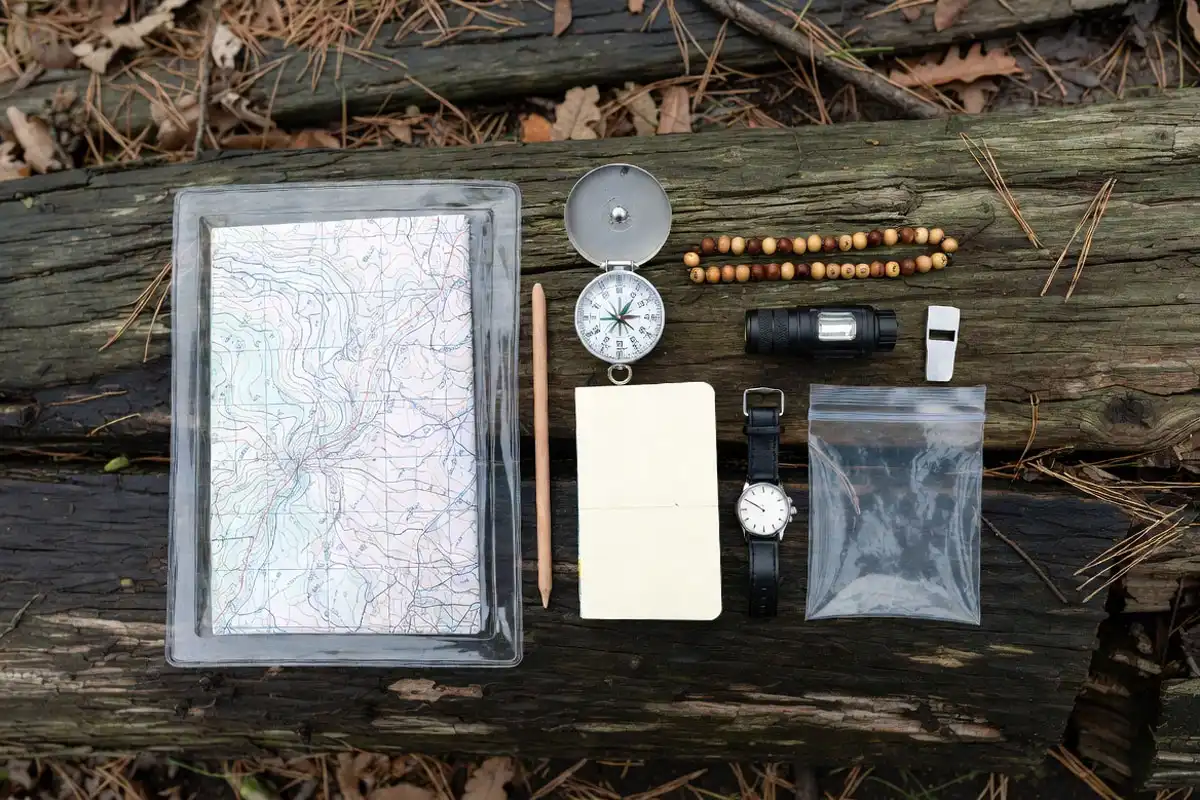
A paper map and a baseplate compass provide direction and position checks with no batteries. A pencil and a watch support the rest.
Here is the field kit that covers most forest travel:
- Topographic map in a waterproof sleeve or zip bag
- Baseplate compass with a clear ruler edge
- Pencil or waterproof pen for notes and bearings
- Watch for time checks
- Pace counter (pace beads) or a simple tally method
- Headlamp for low light travel and emergency stops
- Whistle for signaling
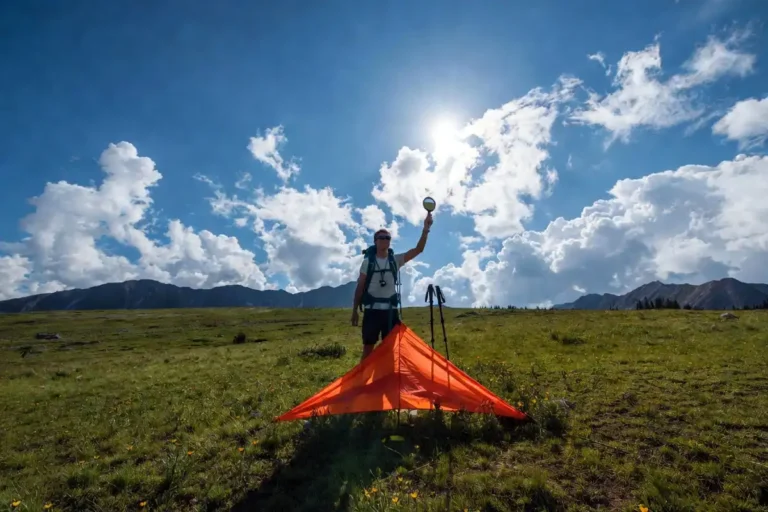
- Small shelter option like a tarp or emergency bivy
Shelter matters because a night out becomes calm when you stay dry. If you rely on a tarp, match the size to your setup and body coverage. This guide on choosing the right tarp size supports that decision.
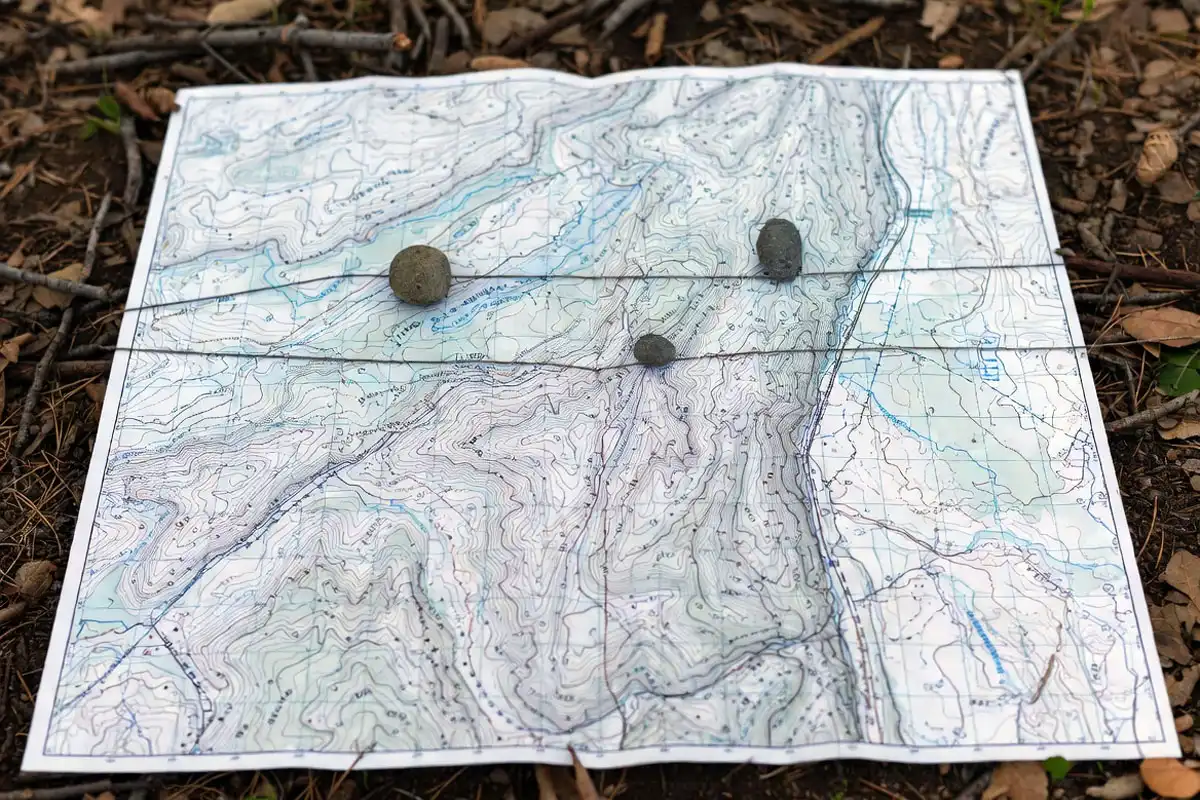
How do you read a topographic map for forest travel?
A topographic map shows land shape with contour lines, so you match ridges, valleys, and saddles to what you see around you. Trails and streams help, but the terrain shape remains the main anchor in deep woods.
Read contour lines like a language
- Close contour lines indicate steep ground.
- Wide contour lines indicate gentle ground.
- U or V shapes in contours indicate a valley or drainage.
- Finger-like contour patterns indicate spurs and ridges.
When you learn these patterns, the map stops being paper. It becomes a picture of the forest floor.
How do you orient the map with a compass?
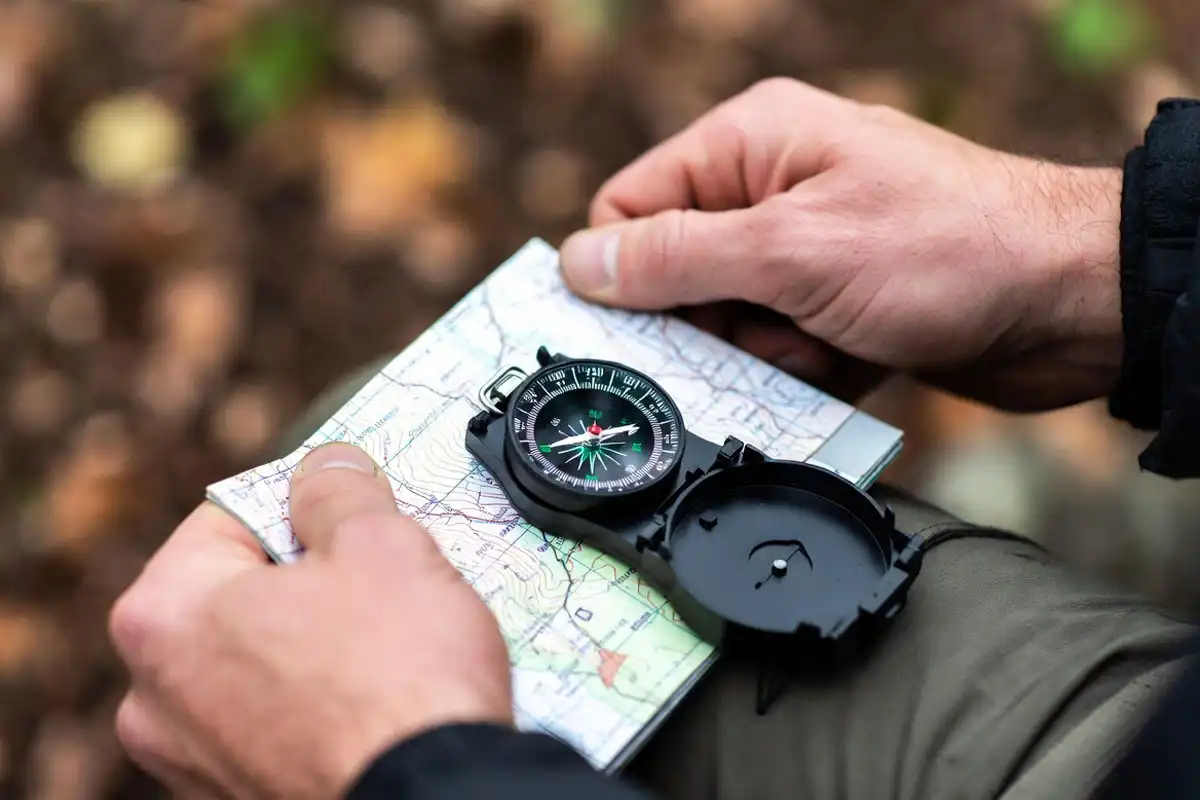
You orient a map by aligning its north lines with your compass, so the terrain on paper points the same way as the terrain around you. This step turns guessing into comparison.
Use this workflow:
- Lay the map flat on a stable surface, like a knee, pack lid, or log.
- Place the compass on the map near the margin.
- Align the compass edge with the map’s north-south grid lines.
- Rotate the map and compass together until the needle lines up with the orienting arrow.
If your area has declination, set it first. Declination changes the needle alignment.
What is declination, and how do you handle it?
Declination is the angle between true north on a map and magnetic north on your compass needle. The value depends on location, so the map margin provides the local number.
The cleanest method uses a compass with adjustable declination.
Set declination on an adjustable compass
- Read the declination value and direction from your map legend.
- Set that value on the compass using the adjustment tool.
- Use bearings from the map without extra math.
Convert bearings when the compass has no adjustment
Use the declination diagram on the map. It shows the relationship between true north and magnetic north for that area.
A simple rule helps:
- East declination: subtract the declination from a true bearing to get a magnetic bearing.
- West declination: add the declination to a true bearing to get a magnetic bearing.
Write the rule on the map margin in pencil. Field notes prevent repeat errors.
How do you set and walk a bearing through thick woods?
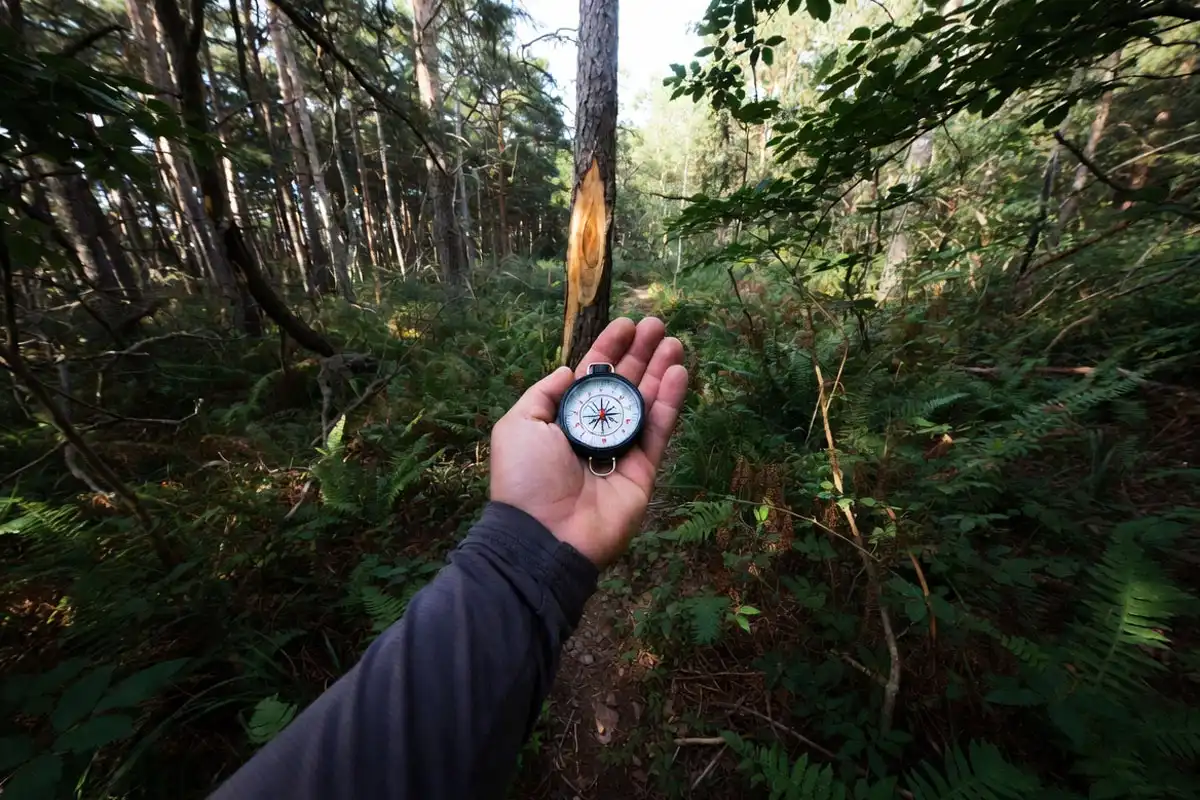
You walk a bearing by setting a direction on the compass, choosing a target tree or rock on that line, and moving in short segments. Short sight lines reduce drift in brush.
Set a bearing from the map
- Mark your current point and your target point on the map.
- Lay the compass edge between those points.
- Rotate the compass bezel until the orienting lines match the map’s north lines.
- Read the bearing at the index line.
- Apply declination if your compass does not store it.
Walk the bearing in segments
- Hold the compass level at chest height.
- Turn your body until the needle sits inside the orienting arrow.
- Pick a visible object on that line, like a distinct tree trunk or boulder.
- Walk to that object, then repeat.
Obstacle bypass causes the most drift. When you walk around a thicket or blowdown, stop after the bypass and re-center on the bearing.
Use “aiming off” for safer target finding
Aiming off means you purposely approach a linear feature from one side, so you know which direction to turn after contact. This method works well when you seek a stream, road, or trail.
How do you track distance without electronics?
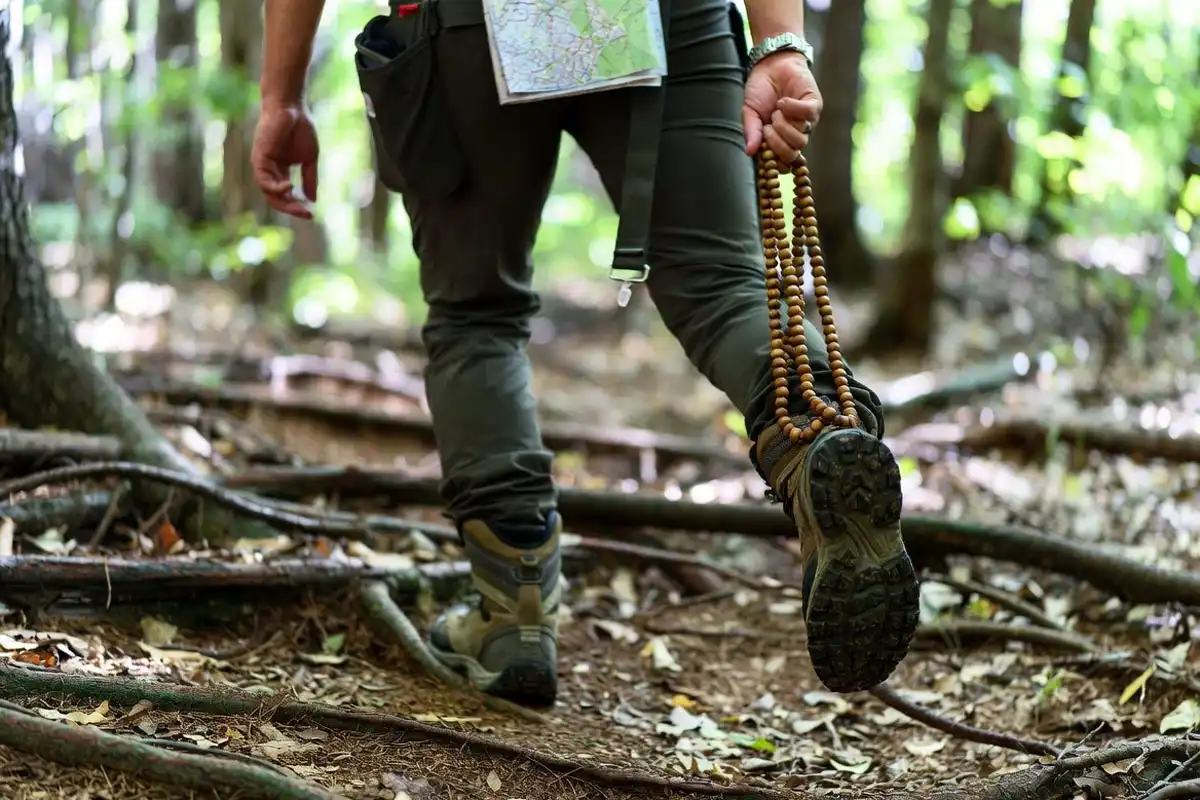
Distance tracking uses pace counting and time checks, so you know when to expect a junction, creek crossing, or ridge. This habit protects you from walking past the target.
Calibrate your pace count
A pace count is the number of double-steps over a known distance. Calibrate on flat ground and again on a slope, because steep ground changes stride length.
Use a measured field, a marked trail segment, or a known map distance between landmarks. Record the counts on the map margin.
Track time like a navigation tool
Time works when distance fails in thick brush. Set check points like “stream crossing,” “saddle,” or “trail junction” and compare actual time to planned time.
When time drifts far from expectation, stop and confirm position. Early checks prevent late-day problems.
How do handrails, backstops, and attack points keep you found?
Handrails and backstops are linear terrain features that guide your travel and stop you from walking past your target. Attack points are easy-to-identify locations near your target that help with final approach.
Use these three concepts together:
- Handrail: trail, ridgeline, stream, fence line, or road
- Backstop: large feature beyond your target, like a river, road, cliff band, or major trail
- Attack point: junction, bend in a stream, edge of a clearing, or saddle near the target
A handrail keeps you moving in the right corridor. A backstop tells you when to stop. An attack point reduces precision demands in the last stretch.
How do you relocate when you lose your position?
Relocation starts with stopping movement, returning to the last confirmed point, and using terrain clues to rebuild your map picture. Walking without a position rebuild increases risk.
Step-by-step relocation workflow
- Stop and take a slow breath.
- Mark the last confirmed location on the map.
- Orient the map again with the compass.
- Identify two or three terrain features near you, like a ridge line, drainage, saddle, or trail bend.
- Match those features to the map.
- Take a bearing to a distant landmark if you see one, like a peak, tower, or open ridge.
- Use a second landmark for a stronger position fix.
If you stay on a trail, backtracking often solves the problem fast. Junctions and bridges act as clean confirmation points.
What natural cues help, and what cues mislead?
Natural cues like sun position and downhill water flow provide rough direction checks, not precise bearings. They support the compass. They do not replace it.
Cues that help as a quick check
- Sun arc: east in the morning, west in the afternoon
- Shadow direction: a stick shadow changes direction through the day
- Water flow: small drainages run downhill toward larger streams
- Wind on exposed ridges: wind direction stays consistent in open terrain
Cues that mislead
Moss growth, “thicker branches on one side,” and ant hills do not provide reliable bearings. Local moisture and shade patterns override compass direction.
Use natural cues as confirmation only. Use the compass for direction decisions.
How do you handle the most common forest scenarios?
Each forest scenario needs a different mix of compass work and terrain association. The goal stays the same: stay on a known line, confirm at decision points, and keep an exit plan.
What if you stay on a marked trail?
A marked trail still needs map checks. Trails cross, fade, and split.
- Confirm each junction on the map before you commit.
- Track distance between junctions with time or pace count.
- Use landmarks like bridges, creeks, and ridgelines as check points.
What if you travel off trail in thick brush?
Off-trail travel needs stronger structure.
- Travel from attack point to attack point.
- Use short bearing segments between obvious objects.
- Use a backstop feature so you stop before overshooting.
What if the forest is flat and feature-poor?
Flat forest reduces terrain clues, so distance control matters more.
- Use bearing discipline and pace count.
- Choose man-made lines as handrails when they exist, like a road edge or powerline cut.
- Pause often to confirm drift, because side slope hints are weak.
What if fog or rain reduces visibility?
Low visibility reduces line-of-sight targets.
- Shorten segment length and check bearings more often.
- Follow strong handrails like streams and ridges.
- Avoid steep gullies and cliff bands in poor visibility.
What if you end up moving near dark?
Night travel multiplies small errors.
If you need to pick a safe place to stop late, this guide on choosing a campsite when you arrive late helps you select stable ground and reduce hazard exposure.
What fixes map-and-compass problems in the field?
Most navigation errors come from three sources: wrong north reference, drift while walking, and weak position checks. A calm check routine fixes most errors.
Problem: the map feels rotated compared to the terrain
Fix: re-orient the map using the compass, then confirm with a major feature like a ridge or drainage.
Problem: you keep missing your target to one side
Fix: slow down and use short sight lines. Choose larger aiming points and use attack points.
Problem: you bypass obstacles and lose the line
Fix: use a simple box method. Turn 90 degrees, count paces, turn back to parallel the original line, then reverse the first turn.
Problem: the compass needle behaves oddly
Fix: move away from metal. Step away from a vehicle, a large knife, a radio, or a phone held near the compass.
Problem: the terrain looks similar in every direction
Fix: stop and identify the largest feature available. Look for slope direction, drainage sound, or a distant ridge gap.
What mistakes cause people to get turned around?
People get turned around when they move without a plan and stop checking terrain. Most mistakes come from hurry, fatigue, or group pressure.
Avoid these patterns:
- Skipping the map orientation step at the start of the hike
- Walking “to check something” without a bearing and a return plan
- Ignoring time drift until daylight becomes short
- Following animal paths that fade into brush
- Splitting the group at a junction or creek crossing
- Trusting weak natural signs like moss direction for bearings
A small habit helps: confirm position at every decision point. Decision points include junctions, creek crossings, ridge tops, and trail bends.
What safety steps matter when you feel lost?

Safety in a forest starts with stopping movement, staying warm and dry, and making it easy for others to find you. Panic burns time and energy.
Use this safety sequence:
- Stop moving and calm your breathing.
- Think back to the last confirmed point.
- Observe terrain, light, wind, and weather change.
- Plan one action and do it with focus.
If you travel solo, build safety systems before you need them. This solo camping safety guide supports that mindset and planning.
Stay dry and protect body heat
Wet clothing turns a small delay into a cold problem. Use a simple tarp or shelter, and keep your sleep system dry.
If you camp in humid areas, moisture control matters. This guide on keeping bedding dry in humid weather covers methods that also help during an unplanned stop.
Signal in a way people recognize
A whistle carries farther than a shout and saves your voice. Three whistle blasts often serve as a distress signal in outdoor groups. Repeat after a pause.
Also use visibility:
- Bright fabric on a branch
- A headlamp beam toward open space
- A reflective item on your pack
Choose movement only when it improves safety
Movement helps when you have a strong handrail and a clear exit route. Movement increases risk when you lack a confirmed position and daylight.
If you choose to move, move with structure. Follow a bearing, keep pace count, and confirm at each decision point.
How do you practice forest navigation without risking a long day?
Practice builds skill faster than reading, and a local park provides safe terrain for drills. Short sessions create reliable habits.
Try these drills:
- Map orientation drill: orient the map at every trail junction.
- Pace count drill: count paces between two known points and compare to map distance.
- Bearing drill: set a bearing, walk 50 to 100 paces, then check drift.
- Relocation drill: walk off trail a short distance, stop, then rebuild your position using terrain association.
I also practice one quiet habit: I mark my last confirmed point on the map with a small pencil dot. That dot becomes my anchor when the woods feel repetitive.
What habits keep you found when GPS is off?
A map and compass keep you found when you use them early and often. Orientation at the start of the hike sets the foundation. Handrails, backstops, and attack points keep travel structured. Pace and time checks prevent silent drift.
When uncertainty starts, stop movement and rebuild position from the last confirmed point. That calm routine keeps forest travel safe, even when technology fails.
Conclusion
GPS makes travel convenient, but forests reward basic navigation skills. A paper map provides the big picture. A compass controls direction for short legs. Checkpoints, handrails, and distance tracking keep your position tied to the ground. Practice on simple loops, confirm terrain often, and stop early when something feels off. That pattern keeps you found.