How to Plan a Camping Trip with Swimming or Kayaking
To plan a camping trip that includes camping plus a swimming or kayaking day, choose a water-access campsite, time your activity around conditions, and pack gear beyond your standard camp kit. This guide covers how to pick the right location, structure your trip day by day, gear up for swimming and paddling, and stay safe on the water. You get a complete plan from first research to the moment you push off from shore.
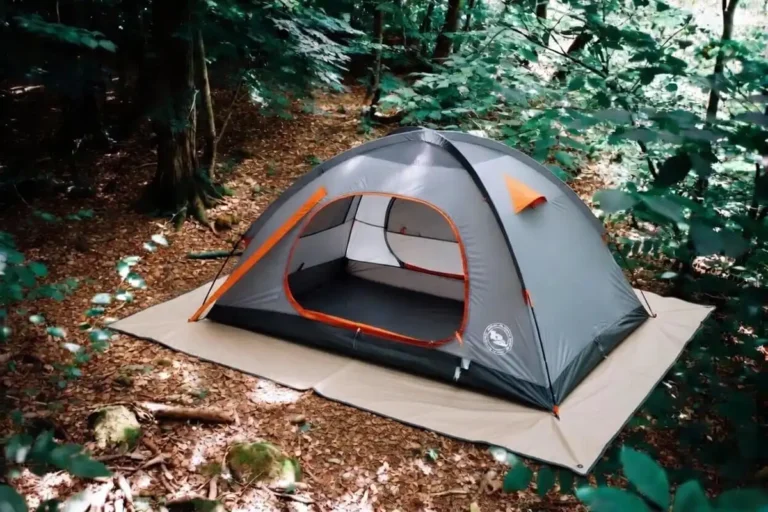
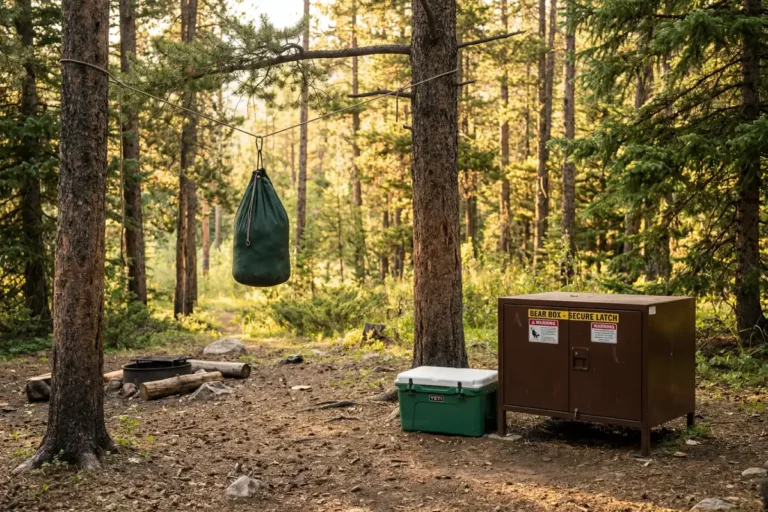
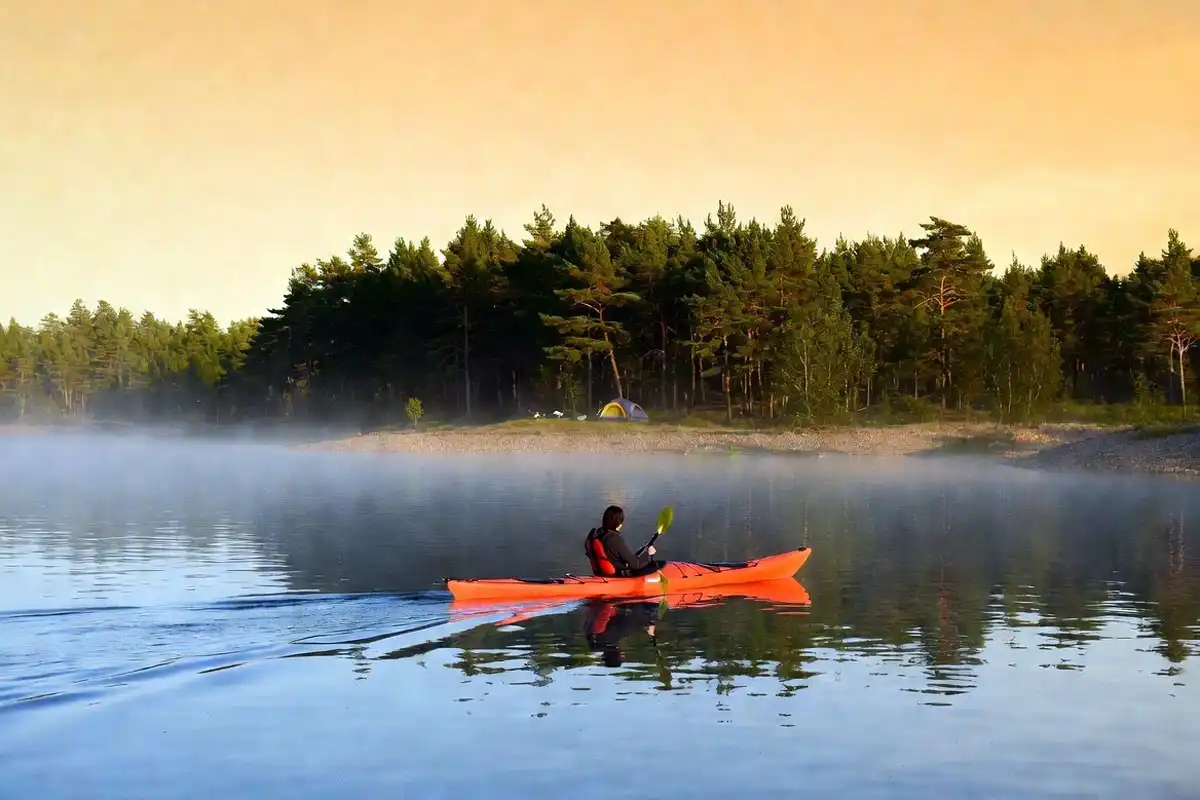
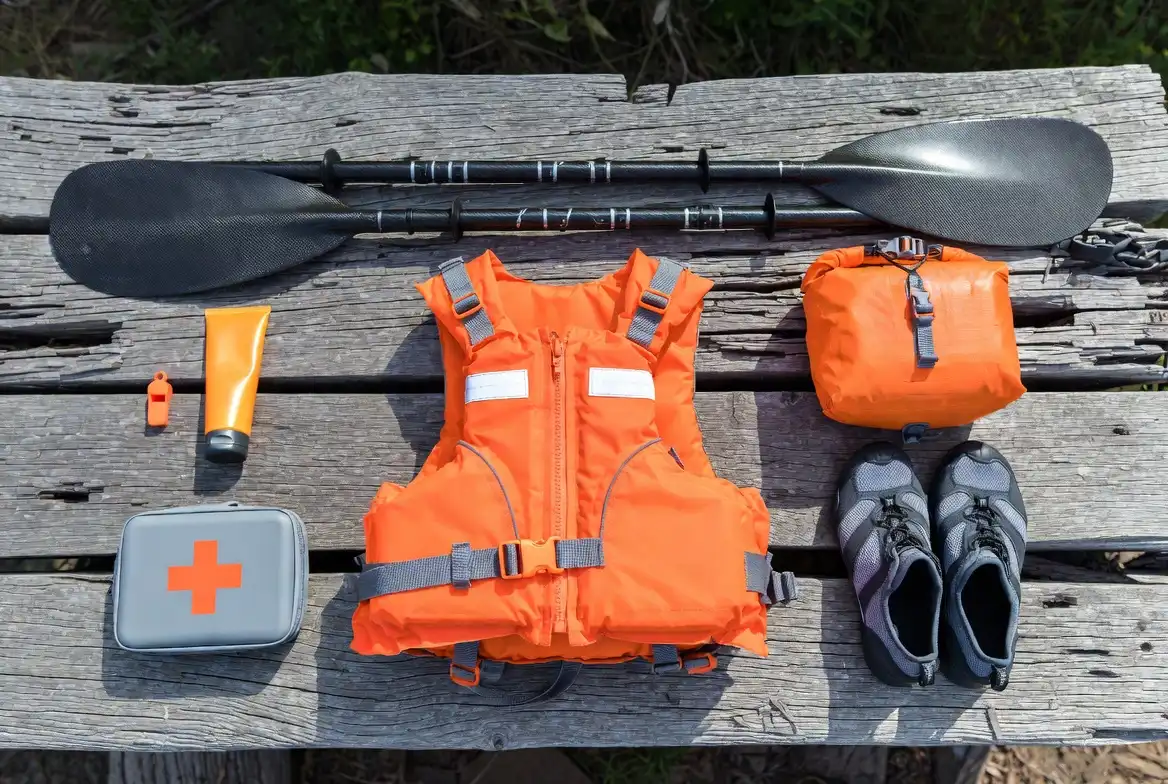
Choose a campsite with confirmed water access within a 10-minute walk or short paddle. Schedule the water day mid-trip, not on arrival or departure day. Pack a personal flotation device (PFD) for kayaking, water shoes, a dry bag, and a compact first aid kit. Check water quality reports before booking and weather forecasts 48 hours before the activity day. Confirm permit requirements for kayak launches separately from your campsite booking.
What Makes a Water Activity Day Different from a Standard Camp Day?
A water day adds two planning layers a typical camp day does not: water access and water safety.
You need a campsite that physically connects to a swimming hole, lake, river, or paddling route. You also need gear that handles wet conditions and a schedule that accounts for weather and current changes.
Without both, the day loses structure fast.
When Should You Schedule the Water Day?
Late spring through early fall delivers the most reliable conditions for swimming and flatwater kayaking in most regions. June through August produces the warmest lake and river temperatures across the northern hemisphere.
Water temperatures below 60°F (15°C) increase cold shock risk significantly, even when air temperatures feel warm. Plan the water day in the middle of your trip. Day one typically involves setup and orientation. The last day carries pack-out pressure that leaves little room for a full activity.
A mid-morning start, around 9–10 a.m., gives you calm water before afternoon wind builds on lakes and reservoirs.
How to Choose the Right Campsite for a Water Activity Day
The campsite determines whether your water day works or falls apart. Focus on four criteria before booking.
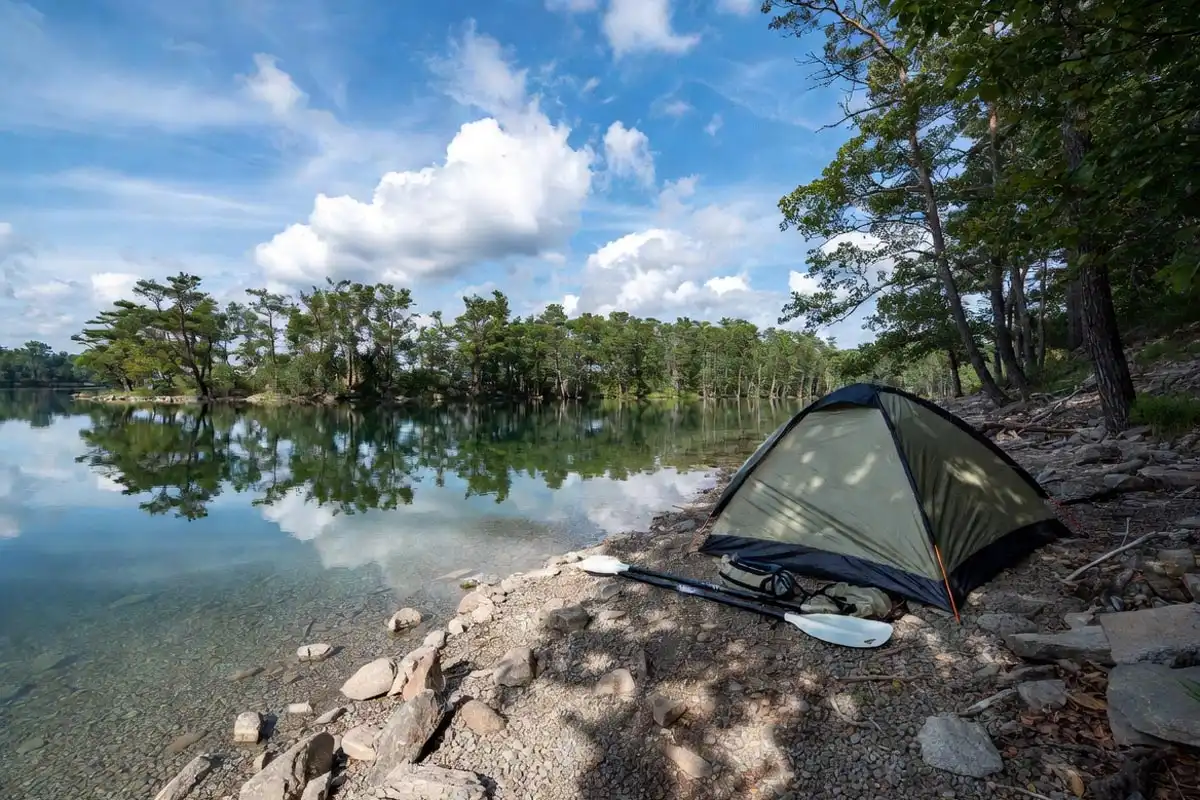
Proximity. The water access point should sit within a 10-minute walk or a short paddle from camp.
Water type. Still or slow-moving water suits swimmers and beginner kayakers. Fast-moving rivers require specific paddling skills.
Entry point. A sandy or gravel bank reduces injury risk during water entry and exit.
Water quality. National park, state park, and designated recreation lakes publish water quality reports. Check those before you book, not after.
If you are newer to structuring a full camping trip around specific activities, I covered the complete foundation in my earlier guide on planning your first camping trip from scratch.
How to Plan a Camping Trip with a Swimming or Kayaking Day: Step by Step
Step 1: Decide on Swimming, Kayaking, or Both
Swimming requires calm, clear water with a safe depth. Four to eight feet suits most adult swimmers at a beach or designated swim area.
Kayaking requires a put-in and take-out point and at least one person per boat with basic paddling experience.
Combining both on the same day works well at lake campsites. Schedule swimming in the morning when water is calm, and kayaking in late morning before wind picks up.
Step 2: Research Your Location
Search for campgrounds near lakes, rivers, or reservoirs with confirmed water access. Look for these four things in the listing or park website:
- Water quality advisories from your state or national park service
- Designated swim beaches or kayak launch ramps
- Permit requirements for non-motorized watercraft
- Distance from the campsite to the water access point
Many state park systems publish all of this on their reservation pages. Use it before you commit to a booking.
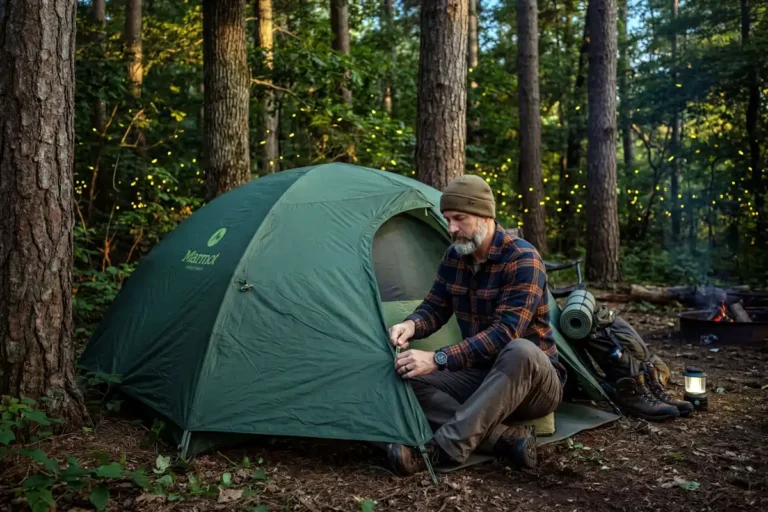
Step 3: Build Your Day-by-Day Trip Structure
Assign each trip day a clear role. A 3-night structure that works well:
- Day 1: Travel, arrive, set up camp, scout the water access point on foot
- Day 2: Full water activity day (swimming, kayaking, or both)
- Day 3: Rest day or hike, gear dry-out, simple meal prep
- Day 4: Pack out
For budgeting across those days, I covered gear and food cost planning in my guide on building your outdoor trip budget.
Step 4: Gather Gear Specific to the Water Day
Standard camping gear covers sleeping and cooking. A water day requires additional items. See the gear section below for the full list.
Step 5: Check Conditions 48 Hours Before the Activity Day
Weather apps provide surface wind forecasts for lakes and open water. River flow data comes from national water information systems. The USGS publishes daily streamflow data across the United States.
High flow rates or strong wind forecasts above 15 mph signal a day to reschedule or shift the activity to a more sheltered spot.
Step 6: Brief Everyone Before You Head to the Water
Every person in your group needs to know three things before entering the water:
- The designated swim area or launch point
- The exit plan if conditions change
- Who carries the first aid kit and where it stays
A 5-minute brief at camp prevents confusion at the water’s edge.
What Gear Do You Need for a Swimming or Kayaking Day at Camp?
For Swimming
- Water shoes: Protect feet on rocky or slippery lake beds and river crossings
- Rash guard or sun shirt: Reduces UV exposure during extended time on the water
- Dry bag: Keeps your phone, keys, and wallet dry during swimming
- Towels: One per person plus one spare
- Water-resistant sunscreen (SPF 30+): Reapply every 80 minutes while on the water
For Kayaking
- Personal flotation device (PFD): One per paddler, properly fitted. Non-negotiable on open water.
- Paddle: One per boat, matched to paddler height
- Helmet: Required for moving water; recommended for beginners on open lakes
- Dry bag: Keeps valuables secure inside the cockpit
- Bilge pump or sponge: Removes water from the cockpit after swamping
- Whistle: Attached to PFD for signaling in an emergency
Rental kayaks from outfitters near most state parks include PFDs and paddles. Confirm what the rental covers before you pack your own.
For a checklist that integrates both camp gear and water activity items, my article on building a 2-night camping checklist provides a full inventory to work from.
What Safety Precautions Apply on a Water Activity Day?
Swimming Safety
- Swim at designated areas with visible depth markers when available
- Never swim alone; a buddy system covers sudden cramps or fatigue
- Keep children and non-swimmers in water shallower than chest height
- Exit the water immediately at the first sign of a storm; lightning over open water carries direct risk
Kayaking Safety
- Wear a PFD at all times on the water, even in calm conditions
- Avoid paddling in fog, wind above 15 mph, or under thunderstorm risk
- Tell someone at camp your paddling route and expected return time before launching
- Know how to perform a wet exit and self-rescue, or stay within 50 feet of shore if you do not
Open water reflects UV rays, which increases sunburn rate compared to hiking in tree cover. Dehydration also develops faster on the water because paddlers focus on technique and forget to drink. Bring more water than you think you need.
For broader safety principles I apply on every trip I take, I covered core habits in my guide on staying safe while camping alone.
Common Mistakes to Avoid When Planning a Water Activity Day
Booking without confirming water access. Many campgrounds sit adjacent to water that requires a separate fee, permit, or shuttle to reach. Read the full campground listing before booking.
Ignoring seasonal water temperatures. Late fall and early spring produce cold water and unpredictable conditions in most regions. I covered how to match trip timing to destination conditions in my guide on choosing the best season for a destination.
Underestimating sun exposure. Four hours on open water without reapplication burns even skin that tans easily. Pack more sunscreen than you think is enough.
Not securing valuables before entering the water. Phones and wallets left on a towel near the bank frequently end up wet or missing. Use a dry bag, every time.
Overloading the water day. A full day of swimming and kayaking drains energy faster than a hike of similar duration. Build rest time into the afternoon. Plan a simple camp meal for that evening.
Do You Need a Permit for Kayaking or Swimming at a Campground?
Most developed campgrounds include swimming access and non-motorized boat use within the site fee. However, several state and national parks require a separate launch permit for kayaks and canoes.
Fees typically range from $5 to $25 per day. Some parks require paddlers to display a registration sticker on the hull. Check the specific park’s official website or call the ranger station before your trip.
FAQs about Plan a Camping Trip That Includes a Swimming or Kayaking Day
Can beginners kayak on a camping trip?
Yes. Beginners handle flatwater lakes and calm rivers well after a short orientation paddle. Avoid moving water with visible rapids until you develop basic forward-stroke control and the ability to perform a wet exit.
What is the best campsite type for a kayaking day?
Lakeside campgrounds with a designated launch ramp provide the most straightforward setup. Look for listings that include “canoe/kayak access” or “non-motorized boat launch” in their amenity descriptions.
How do you keep gear dry when kayaking at a campsite?
Use a roll-top dry bag rated for full submersion. A 10-liter bag holds a phone, wallet, keys, and a small first aid kit. Attach it to a grab loop inside the cockpit so it stays with the boat if you capsize.
Is travel insurance necessary for a kayaking camping trip?
A standard trip cancellation policy covers weather-related cancellations and some gear loss. For kayaking, look for policies that specify water sports or adventure activities in their coverage terms. I covered what outdoor travel insurance typically includes in my guide on travel insurance for outdoor and adventure activities.
When should you cancel a water activity day because of weather?
Cancel or postpone if lightning appears within 10 miles, wind exceeds 15 mph on open water, or air temperature drops below 60°F combined with cold water. Cold air and cold water together accelerate heat loss rapidly in the event of a capsize.
Final Thoughts
A camping trip with a water activity day delivers something a hike-only trip does not. Swimming and kayaking add a physical and restorative layer that changes the character of the whole trip.
The planning requires one extra step beyond a standard camp trip: confirm water access, select appropriate gear, and run a safety brief before anyone enters the water.
Get the campsite right. Pack the PFD. Check the forecast 48 hours out. The rest takes care of itself on the day.