How to Plan a Day Hike to Avoid Getting Lost with 5 Key Checks
Plan your day hike to avoid getting lost starts before you reach the trailhead. This guide covers trail selection, map reading, route marking, timing, gear choices, and what to do if the trail becomes unclear. Most hikers who get lost skip one of three things: a downloaded offline map, a firm turnaround time, or a shared itinerary with someone back home. Work through each step here before your next hike.
To plan a day hike and avoid getting lost: download an offline trail map before leaving, mark all trail junctions on that map, set a firm turnaround time, and share your full route with a contact at home. On the trail, check your position against a landmark every 30 minutes. Carry a compass and paper map as backup to your phone.
Why Do Hikers Get Lost on Day Hikes?
Hikers get lost for predictable reasons, not random ones. The three most common causes are no map, missed trail junctions, and starting too late in the day.
A trail that looks straightforward on a phone screen holds dozens of unmarked splits in the forest. Without a map, one wrong turn compounds into two. Weather changes reduce visibility fast. A clear morning turns foggy by early afternoon in mountain terrain, removing visual landmarks entirely.
Understanding the causes helps you build a plan that targets each one.
How to Choose the Right Trail
Match trail difficulty to your current fitness and experience level.
A new hiker covering 10 miles with 2,500 feet of elevation gain risks trail fatigue, slow pace, and poor decisions late in the day. That combination produces lost hikers.
Check these four factors before selecting a trail:
- Distance: New hikers do well on trails under 6 miles total.
- Elevation gain: Trails with more than 400 feet of gain per mile slow pace significantly.
- Trail markings: High-traffic trails use frequent blazes, cairns, and signposts. Choose those for unfamiliar areas.
- Cell coverage: Many forest trails have zero signal. Confirm coverage before relying on digital-only navigation.
AllTrails and local forest service websites list trail ratings, recent conditions, and user photos. Cross-check both sources before committing to a route.
Step-by-Step: How to Plan Your Route Before You Leave
Pre-hike planning accounts for the majority of navigation success. This step-by-step process takes 20 to 30 minutes and covers the gaps that cause most lost-hiker situations.
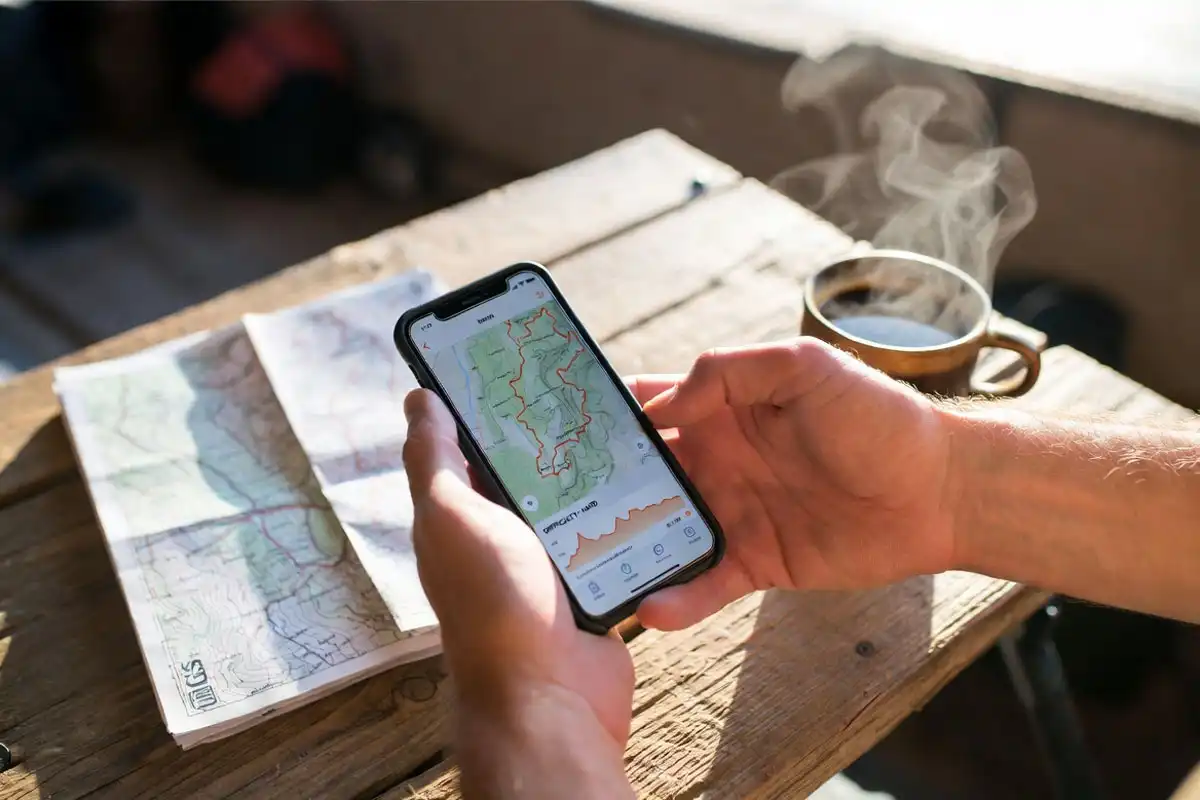
Step 1: Download an offline trail map
Download the trail from AllTrails, Gaia GPS, or a similar mapping app before leaving home. Do not rely on cell signal in the field. Save the map to your device and confirm it loads with airplane mode on.
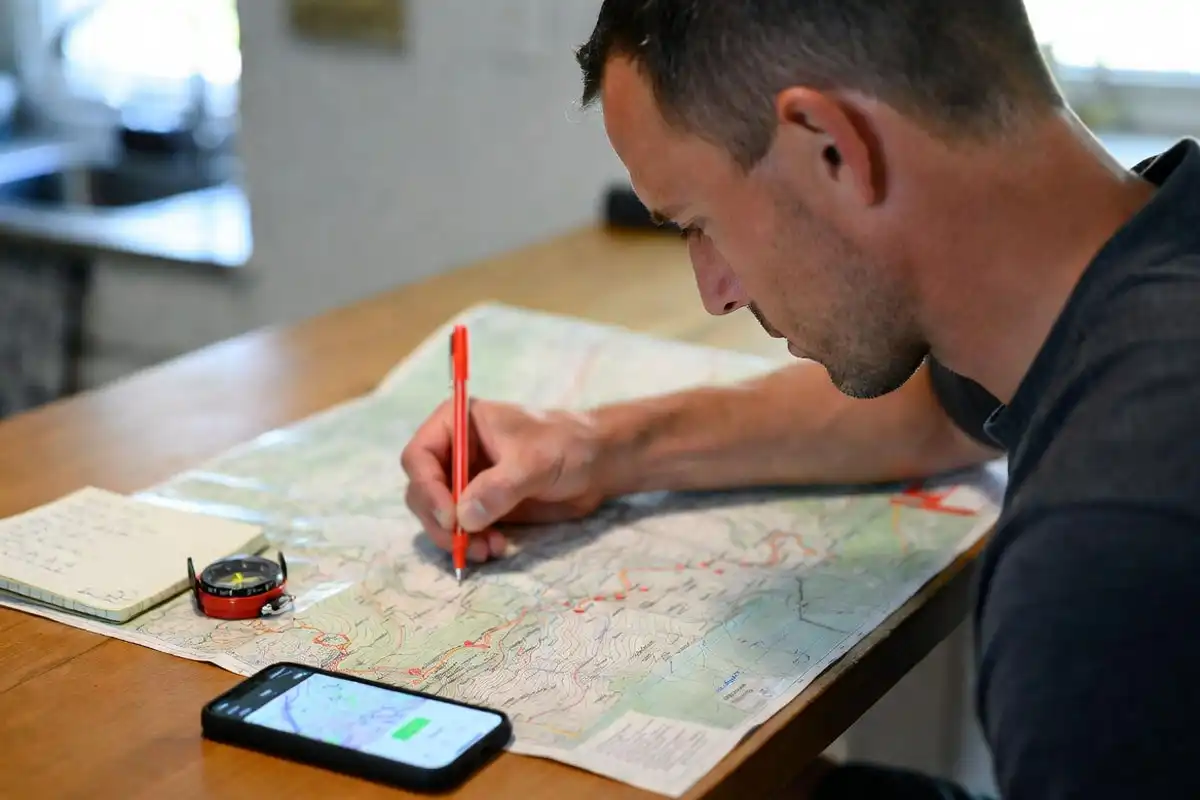
Step 2: Identify every trail junction
Open the downloaded map and locate every point where the trail splits. These junctions are the highest-risk decision points on any hike. Write each junction down on a paper notepad as a backup record.
Step 3: Note 3 to 5 physical landmarks
Choose natural checkpoints along your route: a stream crossing, a ridge saddle, a rock formation, or a trail sign. Write these down. They serve as position confirmation points while you walk.
Step 4: Calculate your total hiking time
Use 2 miles per hour as a baseline pace on flat terrain. Add 30 minutes for every 1,000 feet of elevation gain. Add 10 to 15 minutes per rest stop. This gives your realistic on-trail duration.
Step 5: Set a firm turnaround time
Calculate sunset time for your hike date using a weather app. Subtract 90 minutes for your safety buffer. Subtract your estimated return hike time. The result is your turnaround time. I set mine regardless of position on the trail.
Step 6: Share your itinerary with a trusted person
Tell someone your trailhead name and location, planned route, expected return time, and what action to take if you miss check-in. This single step has saved lives in search-and-rescue situations across the country.
Navigation Tools Every Day Hiker Needs
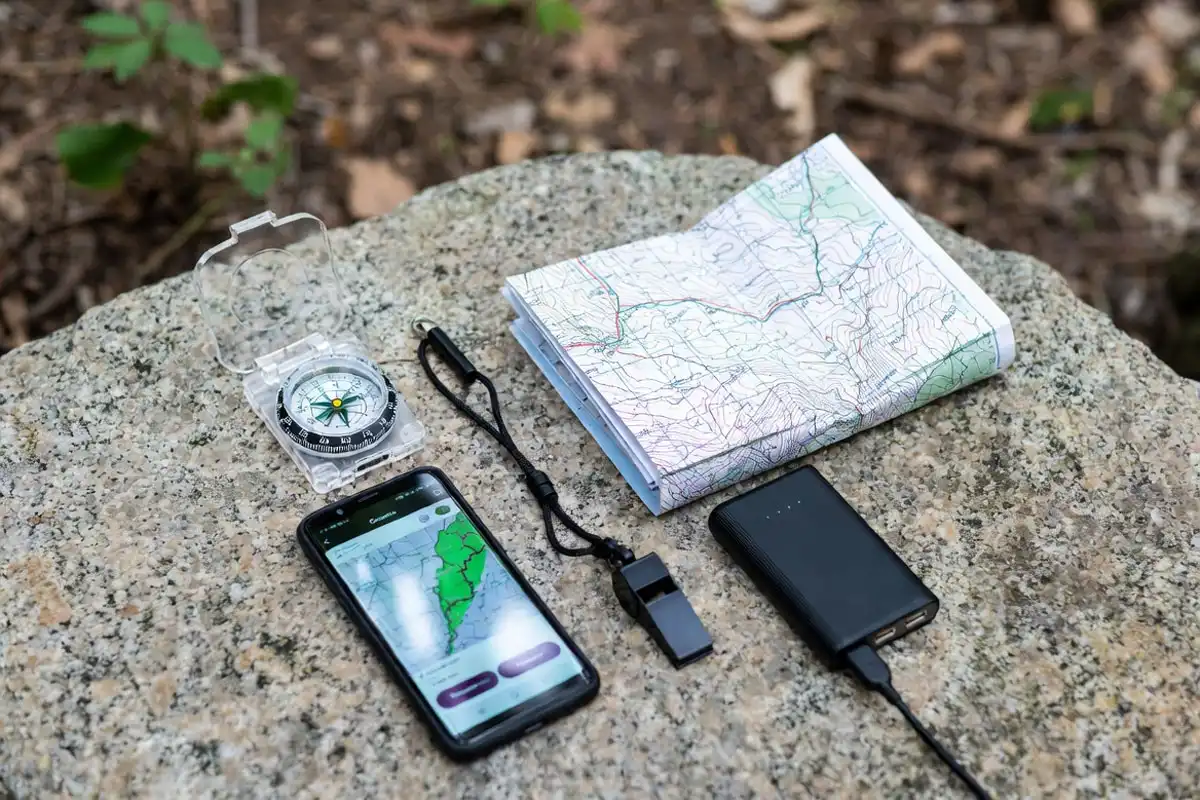
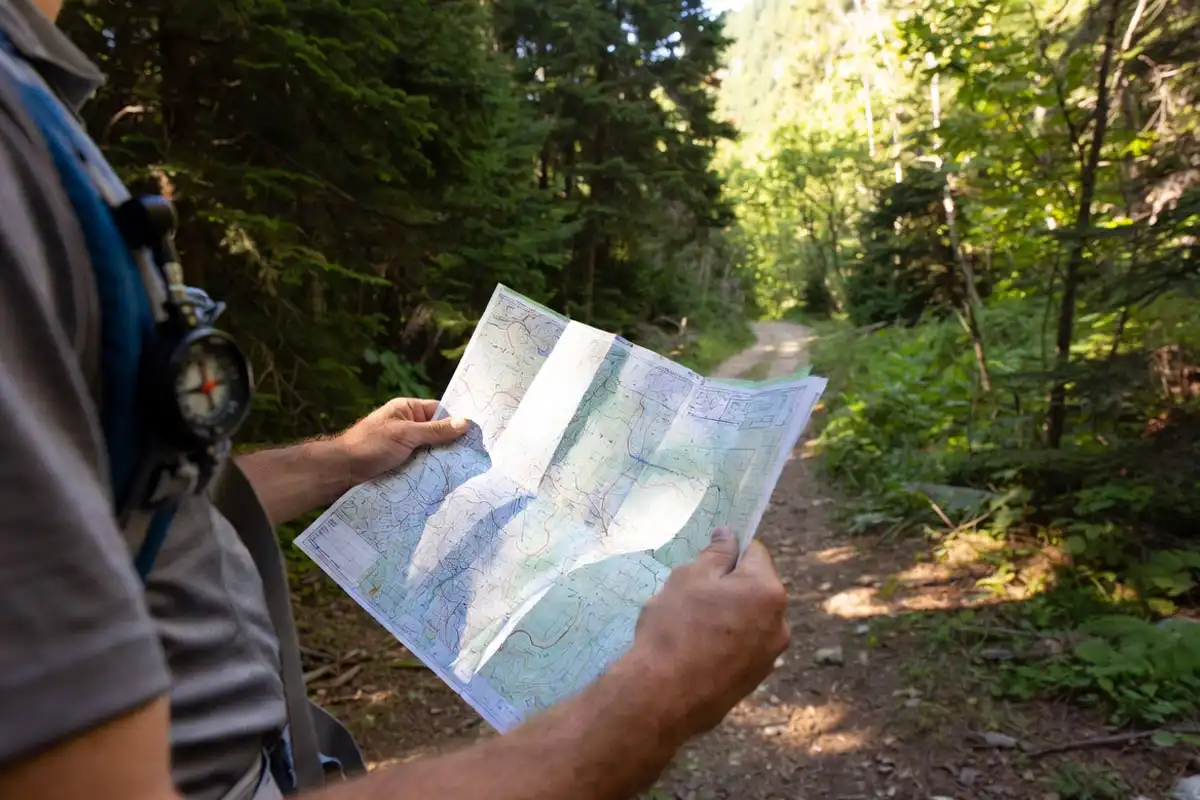
A paper map and a baseplate compass form the core navigation system for any day hike.
Digital tools help, but they fail when batteries die or signal drops. Carry both analog and digital options.
| Tool | Why It Matters |
|---|---|
| Paper topographic map | Shows terrain detail apps compress or hide |
| Baseplate compass | Works without batteries; confirms direction from any position |
| Charged phone with offline map | Fast reference; always a backup, never the primary |
| Emergency whistle | Three blasts signals distress to nearby hikers |
| Power bank | Extends phone battery on long days |
I covered forest navigation methods in depth in my article on navigating without GPS in a forest, which pairs directly with this planning guide for anyone heading into dense tree cover.
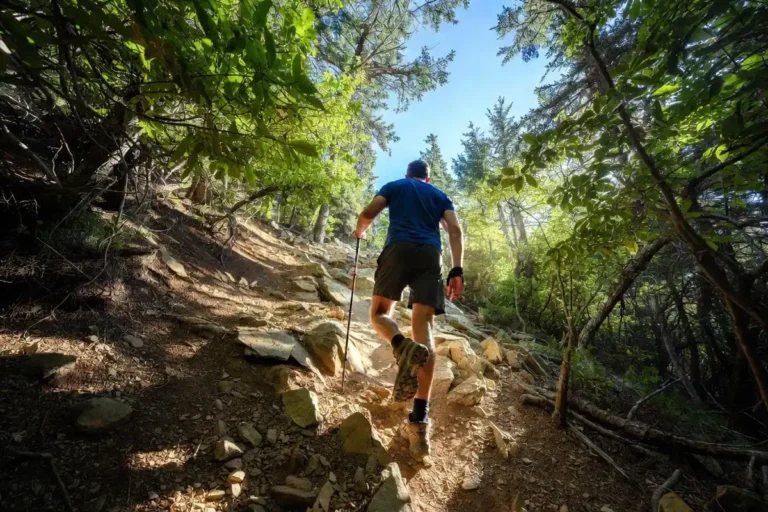
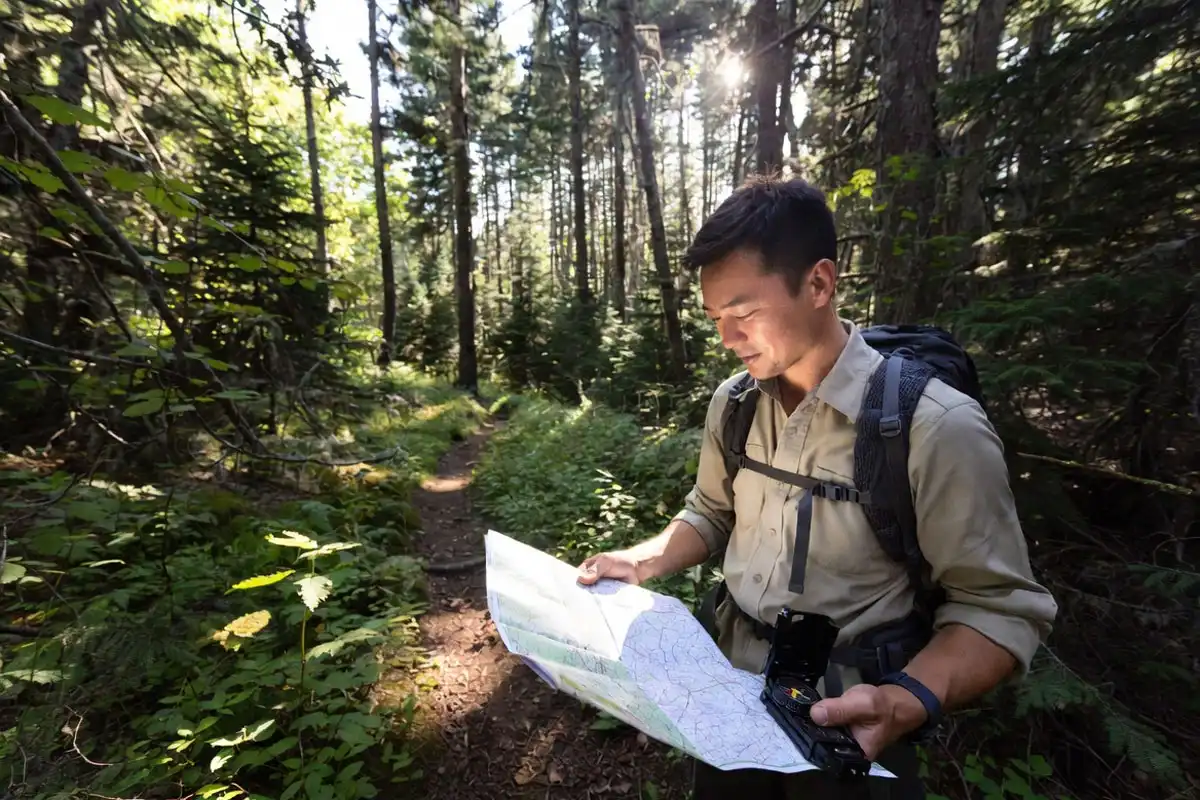
How to Read the Trail While You Hike
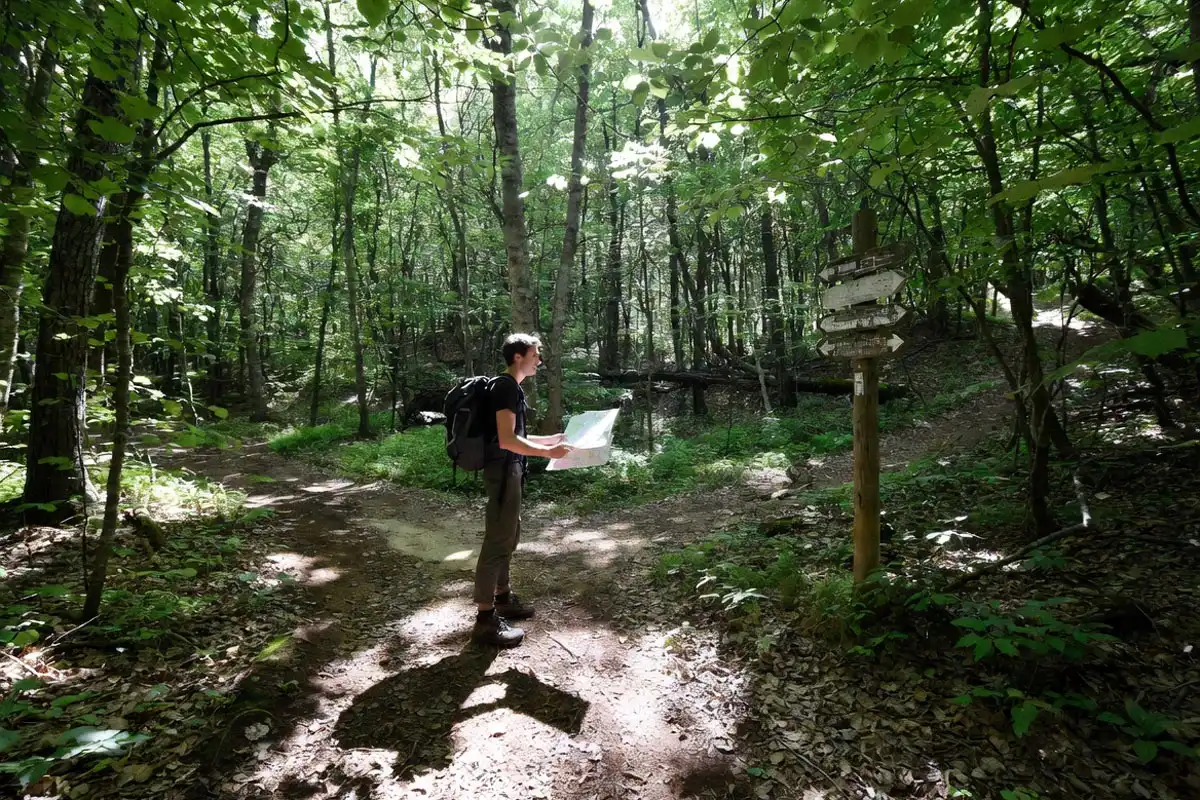
Active navigation means confirming your position continuously, not only when something feels wrong.
Follow this sequence from the trailhead onward:
Check your position every 30 minutes. Open your map and match your location to a visible landmark. If the two don’t align, stop immediately and reconcile before moving.
Count time between blazes. Most marked trails place blazes, cairns, or colored markers every few minutes of walking. If 3 minutes pass without a marker, retrace to the last blaze you saw before continuing.
Photograph junction signs. At every split, photograph the signpost before choosing a direction. This creates a visual log you can reference when backtracking.
Track elevation changes. A topographic map shows contour lines. If the terrain feels flat but your map shows a climb ahead, you’ve likely drifted off route. Stop and reassess.
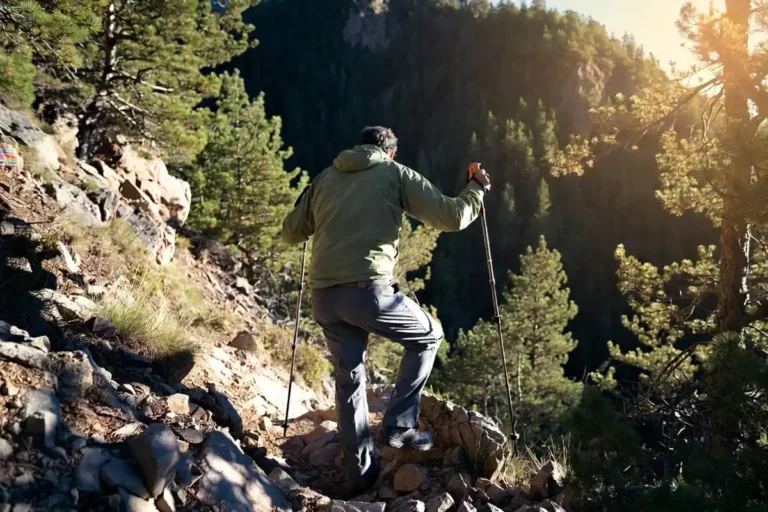
How to Set a Safe Turnaround Time
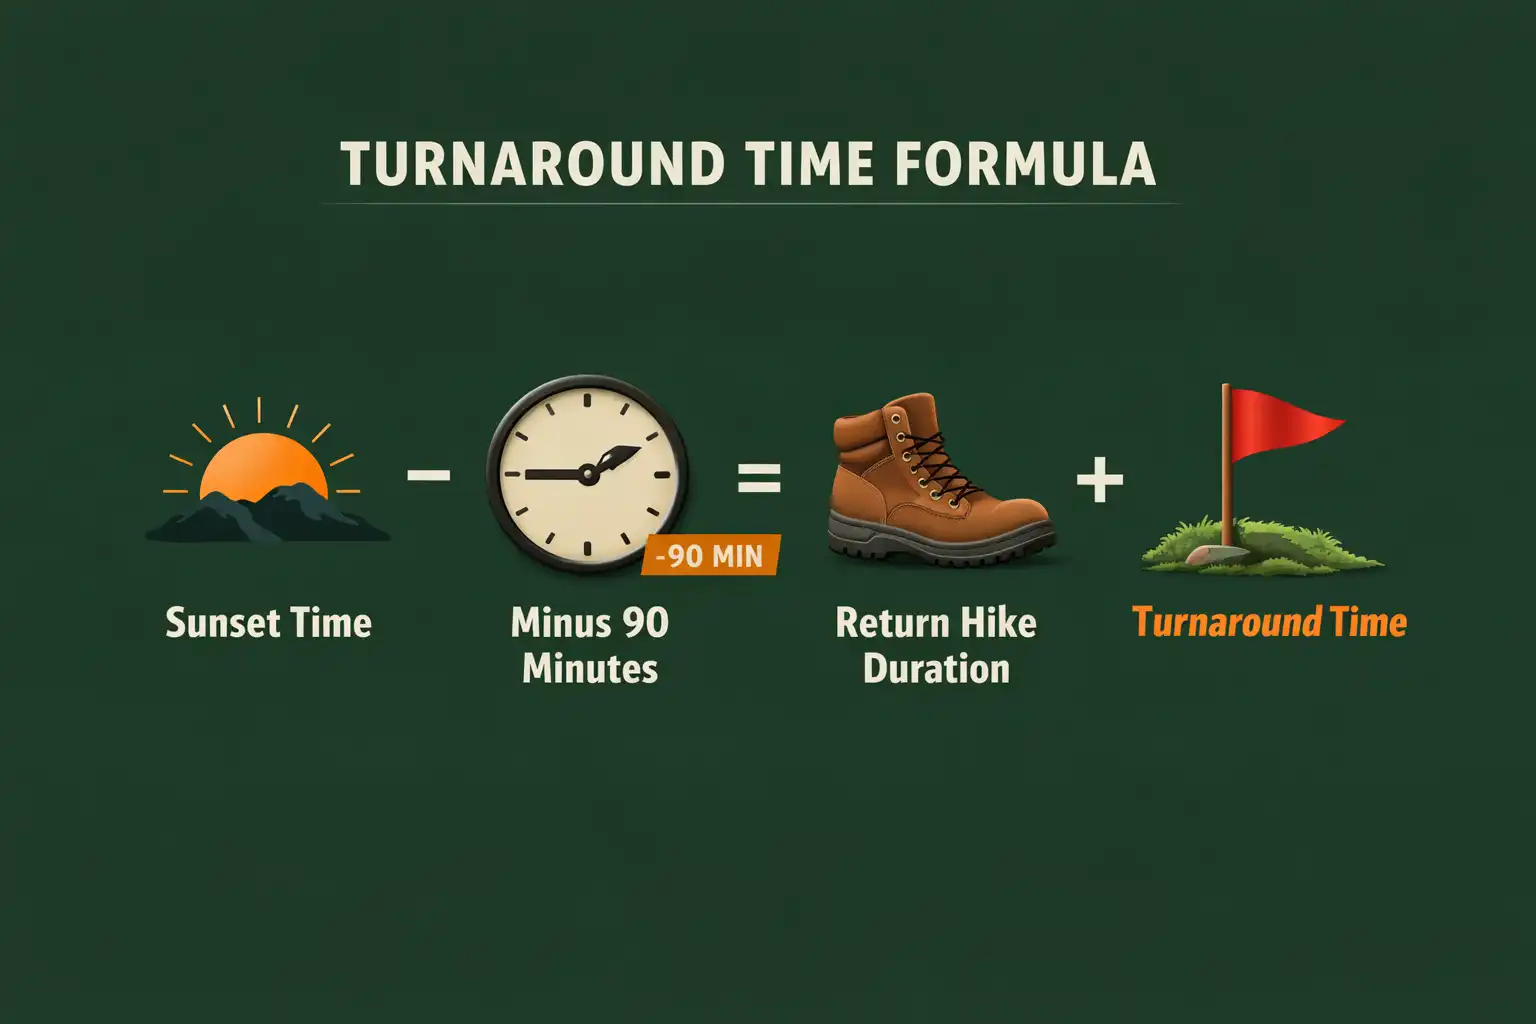
The turnaround time protects you from the most common day hike mistake: hiking too far out.
This is the calculation I use on every hike:
- Find your sunset time for the hike date.
- Subtract 90 minutes as a safety buffer before dark.
- Subtract your estimated return-hike duration from that buffer time.
- The remaining time is your turnaround point.
Example: Sunset at 7:00 PM. Buffer back to 5:30 PM. Return hike takes 2 hours. Turnaround time is 3:30 PM.
Hold that time even if you haven’t reached your planned destination. Summit fever causes more hiker rescues than poor maps do.
What to Do If You Lose the Trail
Stop the moment you feel uncertain. Moving further in the wrong direction extends rescue time and depletes energy.
Follow these steps in order:
- Stop and breathe. Panic accelerates poor decisions.
- Look behind you. Retrace your last 5 to 10 minutes of walking and find the last trail marker you passed.
- Check your map. Compare visible terrain features to the topographic contours on the map. Identify a ridge, creek, or slope that confirms your position.
- Signal with your whistle. Three blasts repeated at intervals signals distress to other hikers or rangers nearby.
- Stay put after dark. Hiking without a light in unfamiliar terrain increases fall risk sharply. Shelter in place, signal regularly, and wait for daylight or help.
I wrote a complete guide on what to do when you get lost on a hike that covers each step in greater detail, including how to retrace a route by memory. Read it before any solo hike.
If no help arrives and you need to contact rescuers from a remote position, my article on signaling for help in the backcountry covers ground-to-air signals, whistle patterns, and mirror use in full.
Common Planning Mistakes to Avoid
These are the errors I see most often from hikers who end up disoriented or delayed.
Relying only on a phone. Phones overheat in direct sun, drain under heavy GPS use, and lose signal in dense forest. A phone functions as a backup tool, not the primary navigation system.
Skipping the itinerary share. Search teams in the US cover hundreds of square miles per person without a starting point. A shared itinerary narrows a search to a specific trail corridor and speeds up every rescue.
Starting too late. A 6-mile hike that starts at 1:00 PM with a 5:30 PM sunset leaves less than 2 hours of comfortable hiking time. Start no later than 8:00 AM for most standard day hikes.
Ignoring morning weather changes. Mountain conditions shift in under an hour. Check a forecast the morning of your hike, not the evening before. Rain reduces trail visibility and makes rocky terrain slippery.
Wearing road shoes on trail. Trail runners or hiking boots with ankle support grip wet roots and loose gravel. Road shoes lose traction on those same surfaces and increase roll-ankle risk on descents.
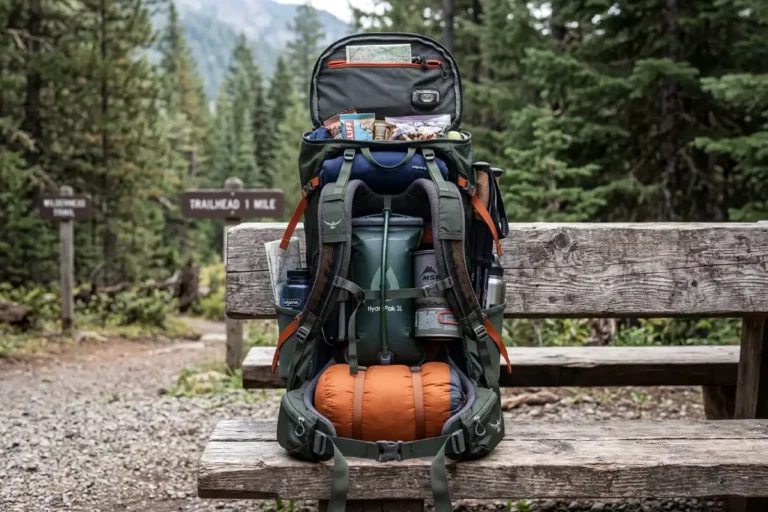
Safety Essentials to Pack for a Day Hike
The Ten Essentials framework covers the core items every day hiker carries into the field.
These include: navigation tools, sun protection, insulation, illumination, first-aid supplies, fire-starting tools, a knife, nutrition, hydration, and an emergency shelter layer.
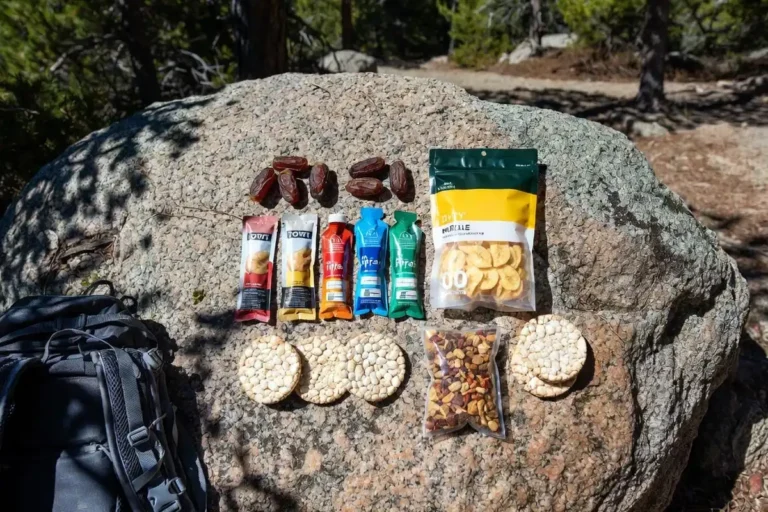
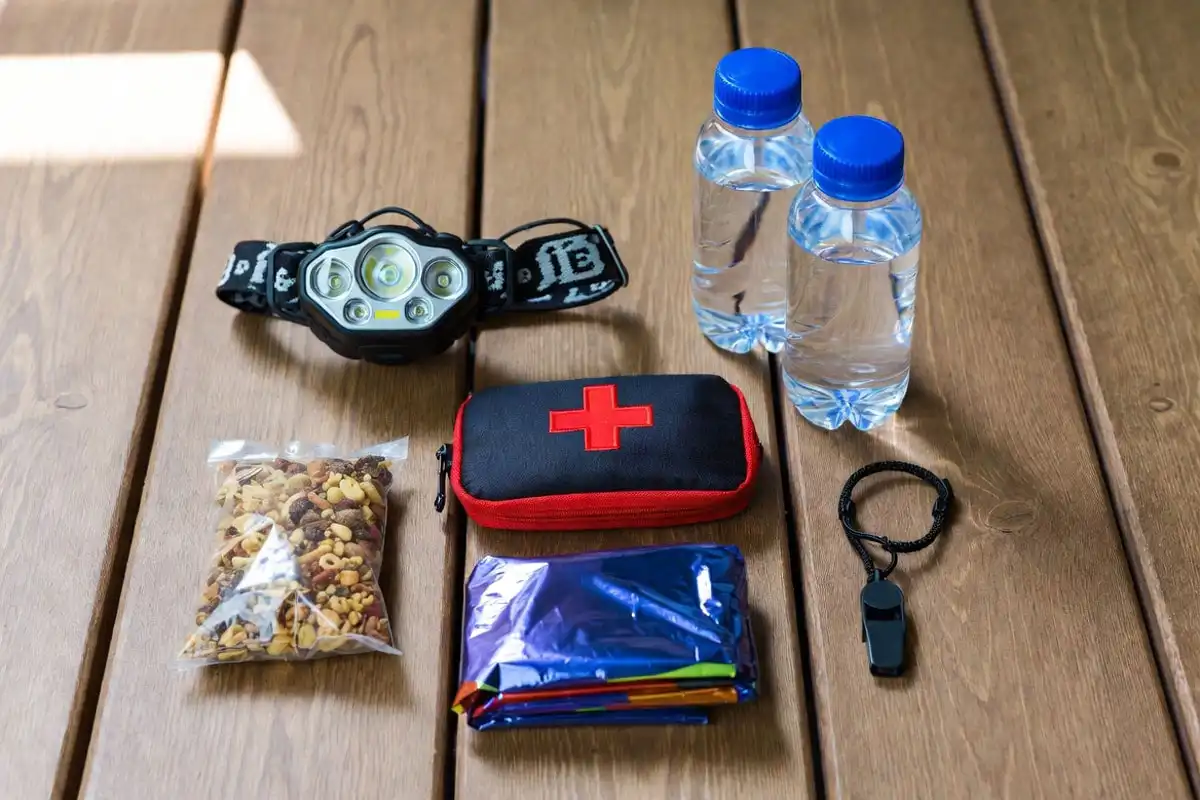
For a standard day hike, these five matter most:
- Headlamp: A 200-lumen headlamp weighs under 3 oz and covers any delayed return.
- Water: Carry at least 0.5 liters per hour of active hiking. Increase in warm weather.
- Extra food: Pack 200 to 300 extra calories beyond your planned intake to cover delays.
- Emergency whistle: Attach it to your pack strap for instant, hands-free access.
- First-aid kit: Include blister treatment, adhesive bandages, and an elastic bandage wrap.
If you hike alone, preparation requirements increase. My article on staying safe while solo camping addresses the mindset and pre-trip preparation solo travelers need, much of which applies directly to solo day hiking as well.
On warm-weather hikes, dehydration and heat exhaustion compound navigation problems fast. My article on hike safely in extreme heat covers the specific adjustments that keep a summer hike safe.
Conclusion
A lost hiker is almost always a hiker who skipped preparation. Pre-hike planning removes most of the conditions that produce disorientation: download your offline map, mark your junctions, set a turnaround time, and share your itinerary before every hike.
Carry a compass and paper map even when your phone works. Read the trail actively by checking your position every 30 minutes. Stop the moment something feels off.
Preparation turns a day hike into the experience it’s meant to be. The forest rewards the hiker who shows up ready.