How to Respond to a Snake Bite While Camping: 11 Dos and Don’Ts
Respond to a snake bite while camping by getting away from the snake, keeping the bitten person calm and still, and arranging urgent medical care. Treat any snake bite in camp as a medical emergency: get out of strike range, keep the person still, and start evacuation to medical care. This guide walks you through what to do in the first minutes, what to avoid, how to handle long carries, and what information helps doctors give antivenom. I wrote it for hikers, families, and solo campers who need a clear field workflow when stress is high. Print the checklist or save it offline before your next trip.
Move away from the snake, call your local emergency number, and keep the person still. Remove rings, watches, and tight clothing before swelling starts. Splint the limb and keep it at heart level, then cover the bite with a clean, dry dressing. Do not cut, suck, ice, or use a tourniquet. Evacuate without delay.
What happens after a snake bite?
A snake bite injures tissue and sometimes injects venom that disrupts blood, nerves, or muscle. Doctors call venom injection envenoming. Some bites inject no venom, but you cannot confirm that in the field. Treat every bite as urgent until a clinician rules out envenoming.
A venomous bite injects toxins that can damage tissue, disrupt blood clotting, or affect nerves and breathing. Snakebite envenoming is also a global public health problem: the World Health Organization estimates 5.4 million snakebites each year, with 1.8 to 2.7 million envenomings and 81,410 to 137,880 deaths.
Not every bite injects venom. Mayo Clinic notes that some venomous snakes deliver a “dry bite,” which still needs medical assessment because you cannot confirm it in the field.
Read next: How to Navigate Without GPS in Forest: 10 Practical Off-Trail Tips
When is a snake bite an emergency?
A snake bite is an emergency every time because symptoms can start later and treatment works best early. Get medical help right away instead of waiting for swelling, pain, or dizziness to “prove” it.
Red flags that raise urgency during evacuation include:
- Trouble breathing, drooping eyelids, or weakness
- Vomiting, fainting, confusion, or collapse
- Rapidly spreading swelling, bruising, or bleeding from gums or nose
These signs need faster transport and close airway watching.
Where you camp changes one key detail: pressure bandage or not?
Your region affects whether a pressure immobilization bandage fits the situation.
- Neurotoxic snakes (some elapids): WHO notes the Australian Pressure Immobilization Bandage method is recommended only for neurotoxic snakes that do not cause local swelling.
- Pit vipers (many bites in the United States and Canada): Wilderness Medicine sources list pressure bandaging as unhelpful and potentially harmful for pit viper bites. Use splinting without compression.
If you do not know local snake types, focus on the universal steps below and get expert guidance by phone during evacuation if possible.
How do you respond in the first minutes?
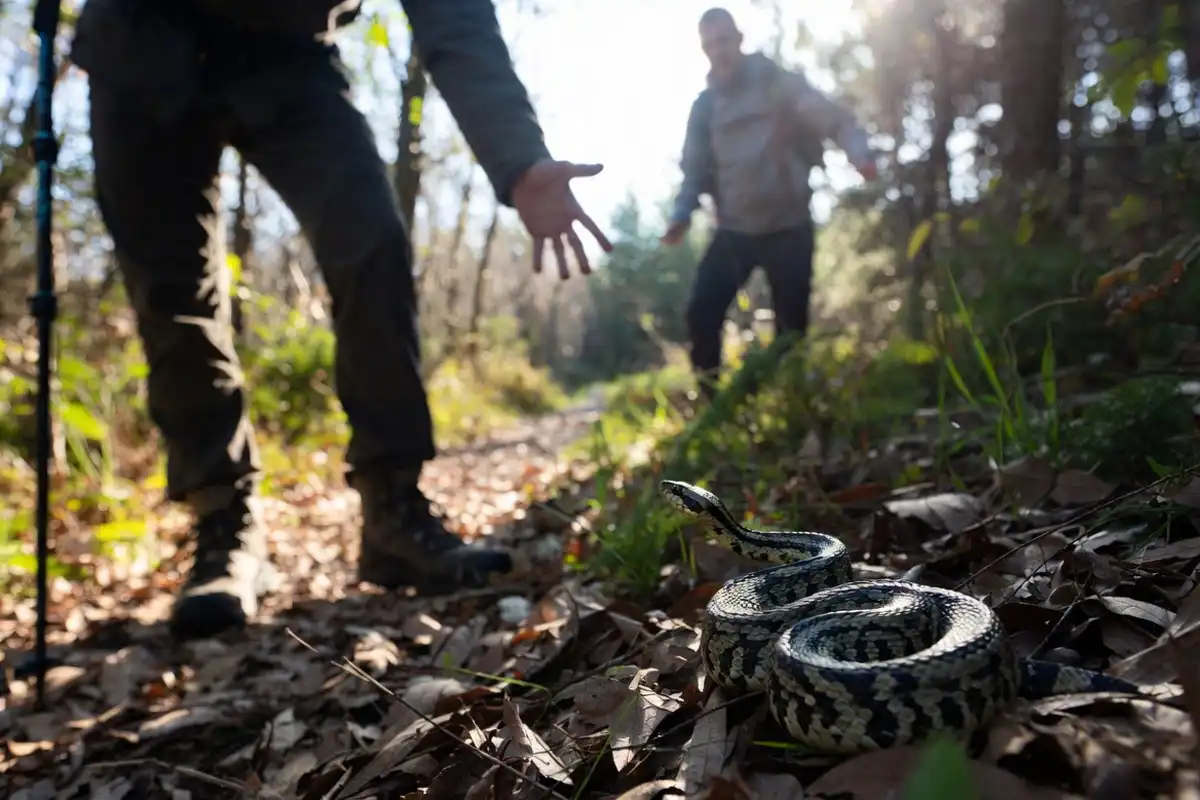
Step 1: Create distance and prevent a second bite
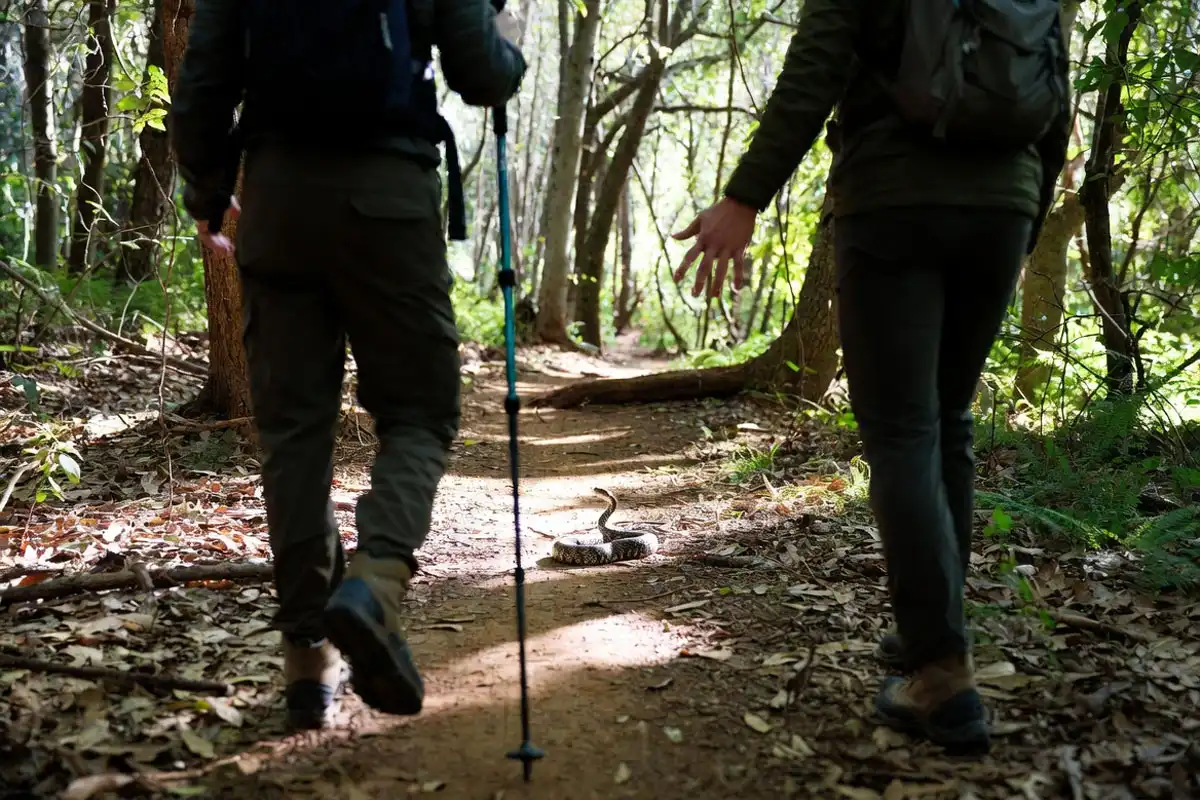
Move the group away from the snake. Do not try to catch, kill, or handle it, even if it looks dead. If you can take a photo from a safe distance without slowing evacuation, that can help later identification. Mayo Clinic supports a safe-distance photo rather than capture.
Step 2: Start the rescue call and the evacuation plan
Call your local emergency number and share location, trail name, landmark, and the nearest access road. If you are in the U.S., Poison Control is 1-800-222-1222.
Step 3: Keep the person calm and keep movement low
Reassure the person and reduce walking. Carry them if the terrain allows it. Movement speeds venom spread through the lymph system. WHO advises complete immobilization and stretcher carry when possible.
Step 4: Remove tight items before swelling starts

Remove rings, watches, anklets, and tight sleeves. Remove boots only if it does not force extra walking or bending. Swelling turns small jewelry into a tourniquet.
Step 5: Splint the limb and choose a safe limb position
Splint the bitten limb to limit joint motion. Wilderness Medicine guidance for pit viper bites keeps the limb at heart level and splinted without compression.
If your local health authority teaches pressure immobilization for your region’s snakes, follow that specific training. WHO limits that method to selected neurotoxic bites.
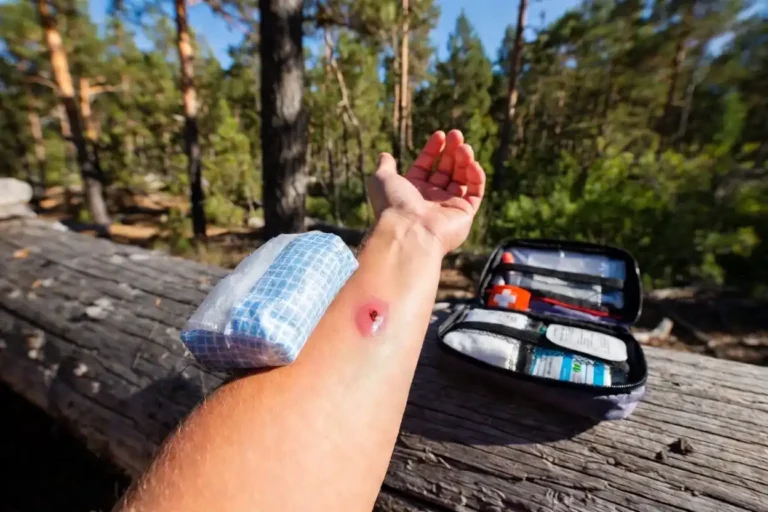
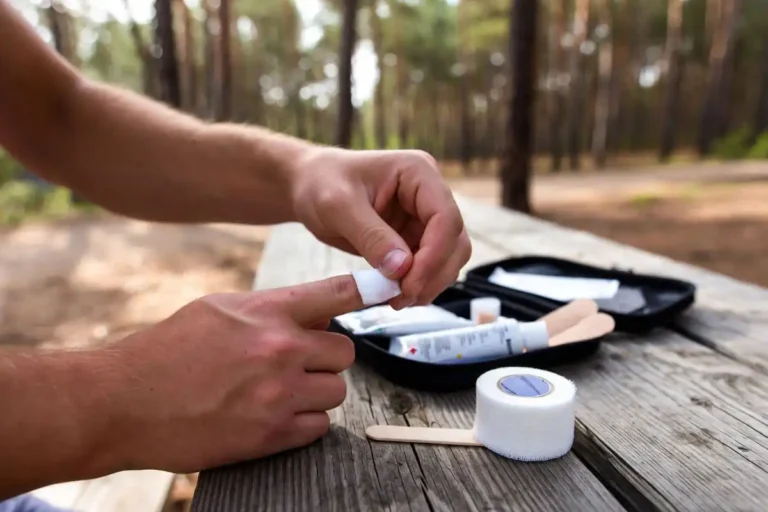
Step 6: Clean and cover the bite without delaying transport
Wash with soap and water if you have it and if it does not slow evacuation. Cover with a clean, dry dressing.
Step 7: Track time and progression
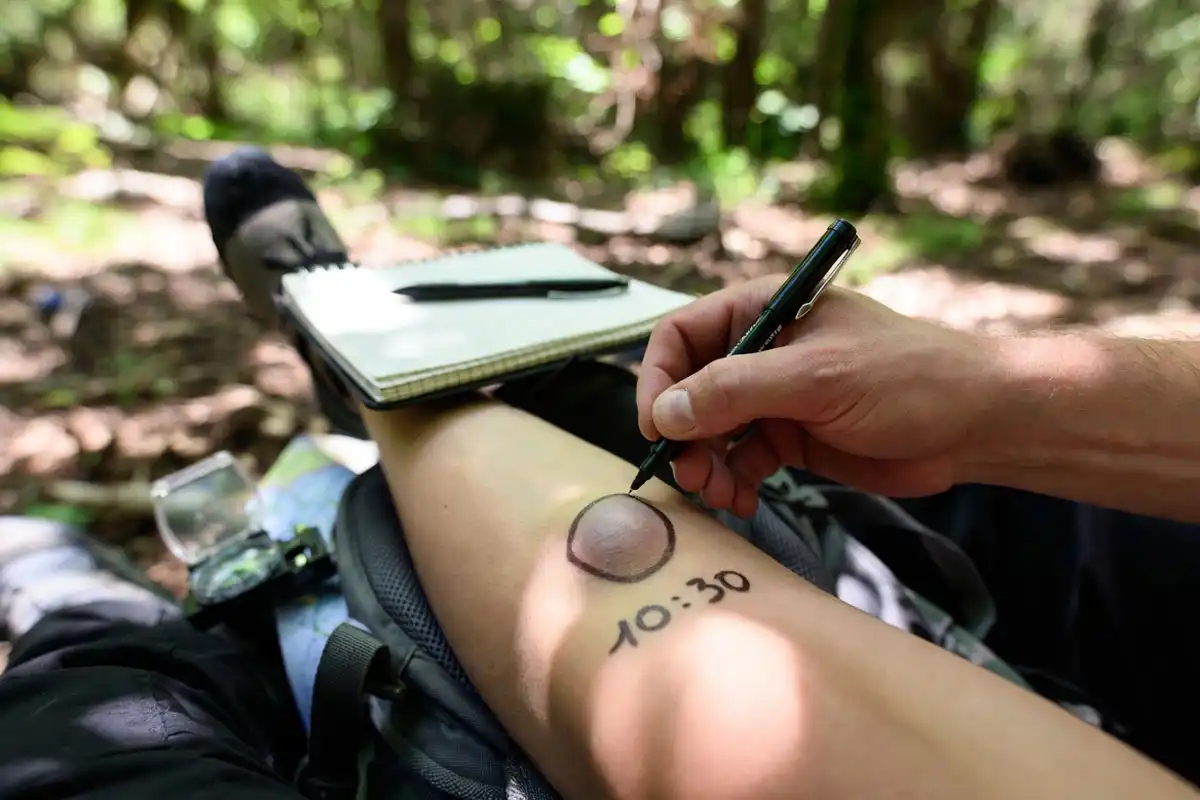
Write down the bite time. Mark the edge of swelling with a pen and note the time beside the mark. Measure limb circumference above and below the bite if you have a tape. These notes help clinicians judge progression.
Step 8: Manage pain safely
Use paracetamol (acetaminophen) for pain when the person stays alert and can swallow. Avoid aspirin and common anti-inflammatory pain relievers because bleeding risk rises in some envenomations.
How do you evacuate from a campsite without making it worse?
Evacuation works best when you plan it like a short rescue, not a long hike.
Keep these priorities in order:
- Less walking for the bitten person
- Faster access to a road, boat landing, or pickup point
- Clear communication with rescuers
If your group often camps far from roads, build a “rescue-ready” habit into your prep. I keep my essentials grouped so one person can grab them in seconds, not minutes. This checklist style helps in any emergency: a 2-night packing checklist.
Carry enough water for the evacuation route and for the helper team, because dehydration and heat stress add risk during a long carry-out. This planning guide helps you estimate that: knowing how much water to bring per person.
What do you do while waiting for help?
You keep the person stable and you watch the airway.
- Check breathing and alertness every few minutes.
- If vomiting starts, place the person on their left side with mouth angled down to reduce choking risk, as WHO advises.
- Keep the person shaded, warm, and dry.
- Take a clear photo of the snake only from a safe distance if it does not delay evacuation.
What not to do after a snake bite
These actions increase injury risk or delay real treatment. CDC, Red Cross, Mayo Clinic, and NHS list them clearly.
Avoid all of the following:
- No tourniquet. Do not tie the limb off.
- No cutting the wound.
- No suction devices and no mouth suction.
- No ice and no soaking in water.
- No alcohol or caffeine. Mayo Clinic warns against both.
- No aspirin, ibuprofen, or naproxen for pain. Mayo Clinic and NHS note bleeding risk with these medicines after snakebite. Use acetaminophen/paracetamol instead if needed.
- No snake handling, dead or alive. CDC warns that even a dead venomous snake can injure you.
If someone already placed a tight band above the bite, do not tighten it further. Focus on getting professional help quickly and follow emergency instructions.
Troubleshooting in real camp conditions
No phone signal
Move one person to higher ground with a radio, satellite messenger, or whistle plan. Keep the patient still while that happens. Write coordinates if you have GPS.
Swelling reaches a ring, watch, or boot
Remove the tight item immediately. Re-check the splint and keep the limb still. WHO and Wilderness Medicine both emphasize early removal of constricting items.
The person panics and wants to walk out fast
Slow breathing, firm reassurance, and a carry plan reduce movement. Panic raises heart rate and increases wandering.
You “think it was a dry bite”
Do not wait for proof. CDC and MedlinePlus advise seeking care right away and not waiting for symptoms.
What happens at the clinic or hospital?
Clinicians assess airway, breathing, circulation, and local swelling. They use labs and repeated exams to confirm envenoming. WHO describes antivenom as the only specific treatment that can prevent or reverse many venom effects when given early.
Your field notes help. Share:
- Bite time and any swelling marks with times
- Symptoms (vomiting, weakness, bleeding)
- Photo of the snake if you took one safely
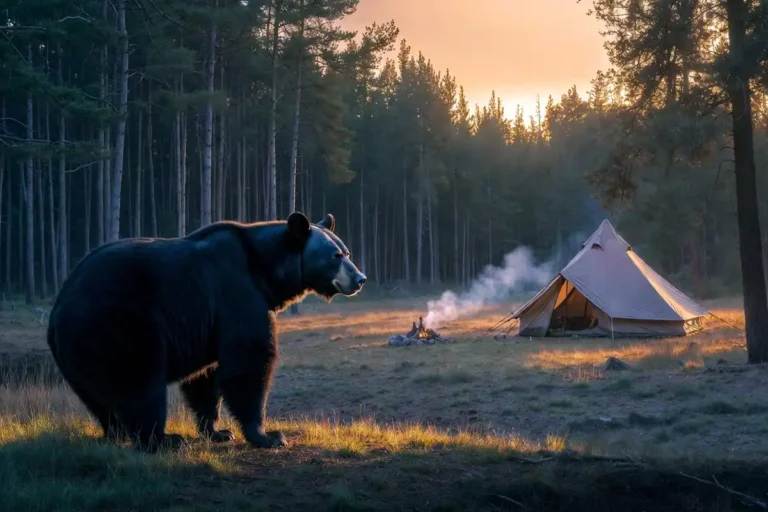
How do you prevent snake bites while camping?
Snakebite prevention starts with campsite choice, light, and hand placement. Pick a site with good visibility and less rodent traffic. If you arrive late, use a headlamp and slow steps while choosing your spot: choose a campsite when you arrive late.
Keep these habits:
- Wear closed-toe shoes at night and at dawn.
- Use a light when you leave the tent.
- Step on logs, then over them, because snakes rest beside cover.
- Keep hands out of rock gaps and thick grass.
- Shake out boots and clothing left on the ground.
- Zip the tent and keep gear organized, especially on rocky edges or sandy ground where you pitch low: pitch a tent on rocky or sandy ground.
If you camp alone, improve your communication plan and your margin for error. This safety guide supports that mindset: stay safe while solo camping.
Final Words
A snake bite response succeeds when you reduce movement, avoid harmful myths, and reach medical care fast. Move away from the snake, call for help, remove tight items, splint the limb, track swelling, and evacuate with urgency. Antivenom and clinical monitoring happen at the hospital, so your job in camp is safe transport and steady observation.