How to Stop a Nosebleed on a Hike in 15 Minutes
To stop a nosebleed on a hike fastest, sit upright, pinch the soft part of your nose, and hold firm pressure for 10 to 15 minutes without releasing, since most hiking nosebleeds come from dry air, altitude gain, or a minor bump, not a serious injury. This guide covers the exact steps to stop the bleed, what triggers nosebleeds outdoors, what to carry in your pack, common mistakes to avoid, and when the situation needs medical attention.
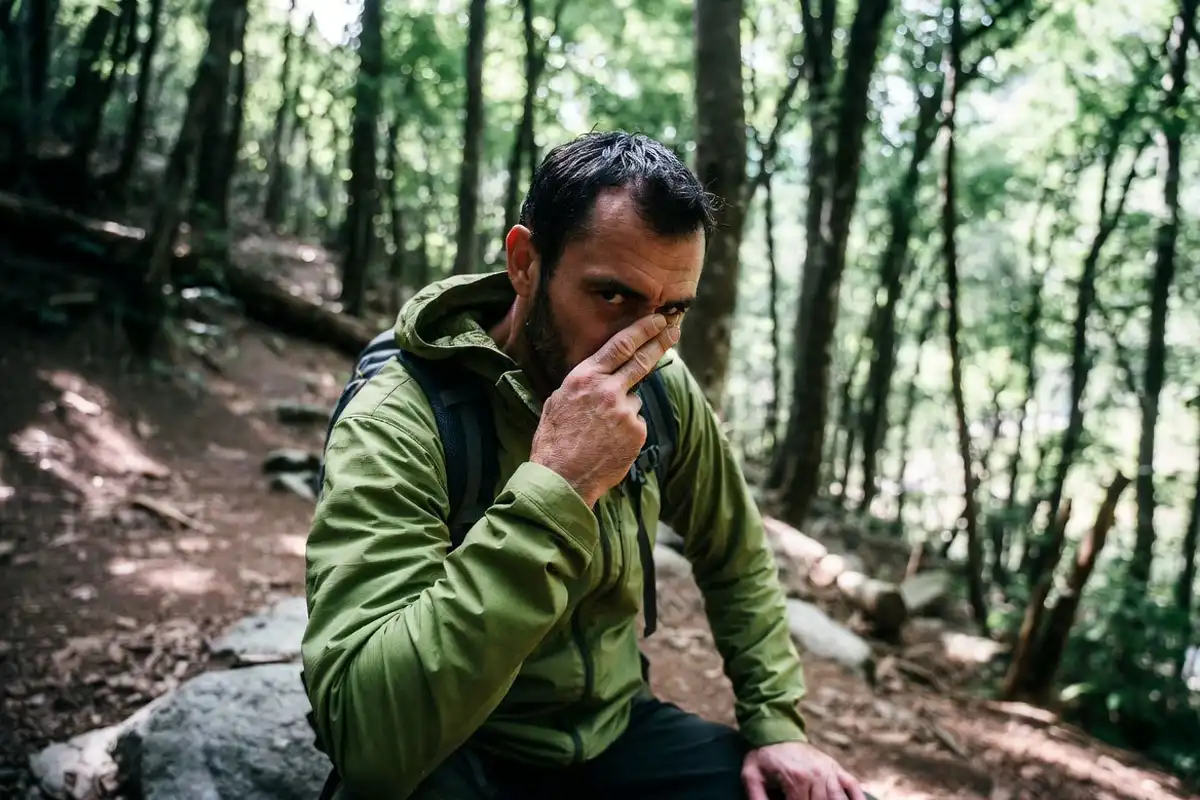
Sit down and lean slightly forward. Pinch the soft lower part of your nose with two fingers. Hold steady pressure for 10 to 15 minutes without checking. Breathe through your mouth. Do not tilt your head back. If bleeding runs past 20 minutes or follows a hard fall or head impact, treat it as an emergency and get help.
Why Nosebleeds Happen on Hikes
Hiking conditions dry out nasal membranes faster than everyday environments. When membranes dry, small blood vessels near the surface of the nasal lining crack and bleed.
Several trail factors trigger this:
- Altitude gain reduces air pressure and moisture, which dries nasal tissue quickly.
- Dry, windy air pulls moisture from the nasal lining.
- Dehydration thins nasal membranes and makes them more fragile.
- Sun and heat exposure increases dehydration faster. I’ve written about managing heat on the trail in my guide on hiking safely in extreme heat.
- Nose-blowing too hard during a dusty or pollen-heavy hike ruptures small vessels.
- Minor bumps from branches, falls, or pack straps can cause direct impact bleeding.
Most of these are simple nosebleeds from the front of the nose (anterior bleeds). They respond well to basic first aid.
How to Stop a Nosebleed on a Hike: Step-by-Step
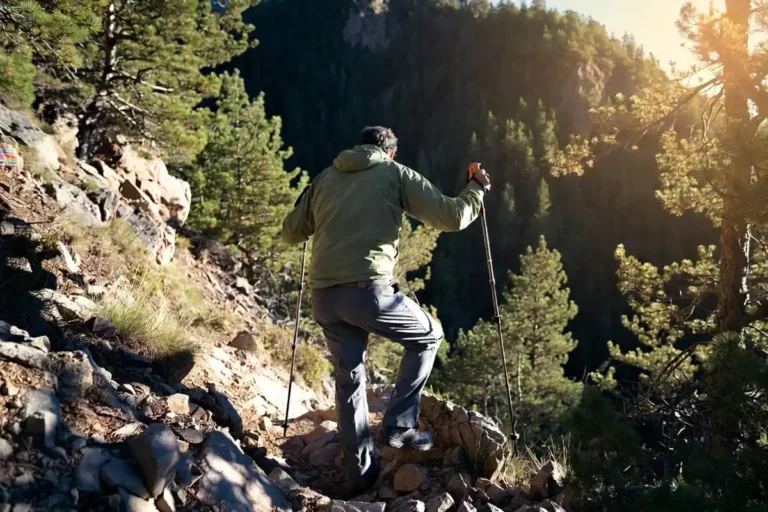
Step 1: Stop and Sit Down
Stop hiking immediately. Continuing uphill raises blood pressure and extends bleeding time.
Sit on a rock, a log, or your pack. Keep your torso upright. Do not lie down.
Step 2: Lean Slightly Forward
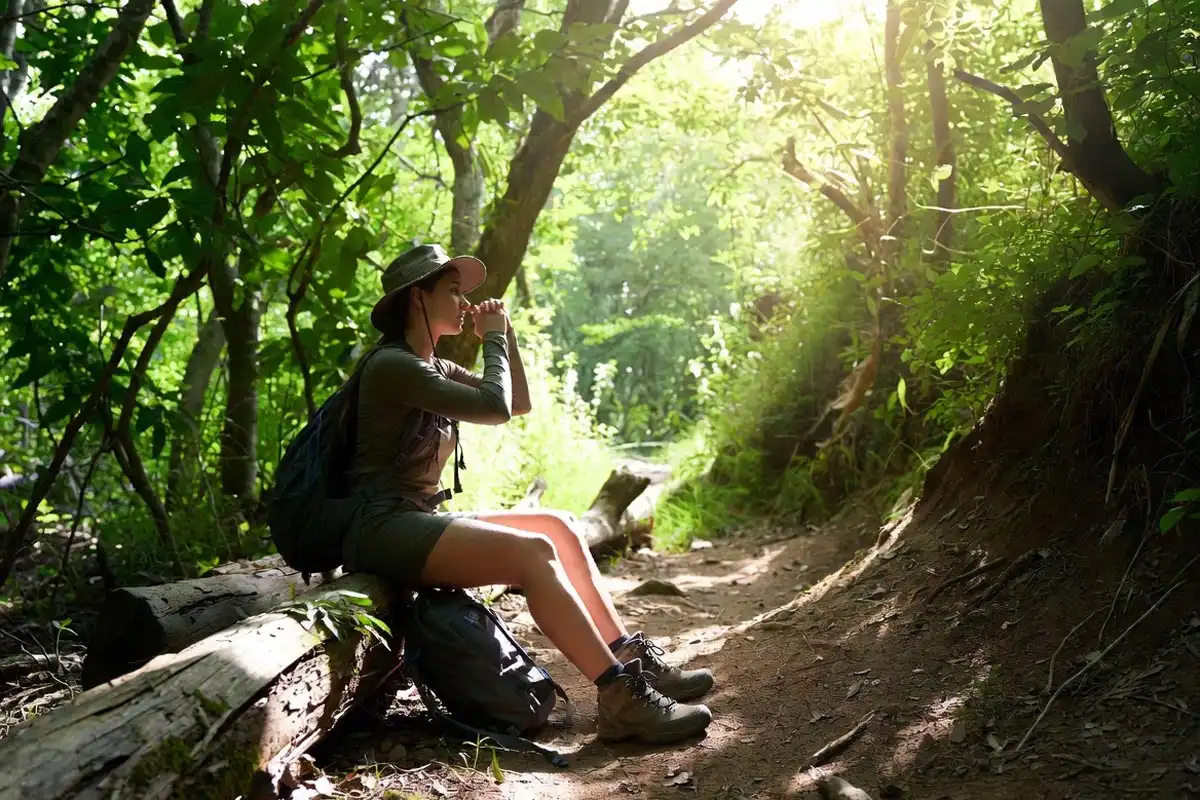
Tilt your head slightly forward, not backward. Leaning back sends blood down your throat. Swallowed blood causes nausea and makes it harder to track how much you are losing.
Step 3: Pinch the Soft Part of Your Nose
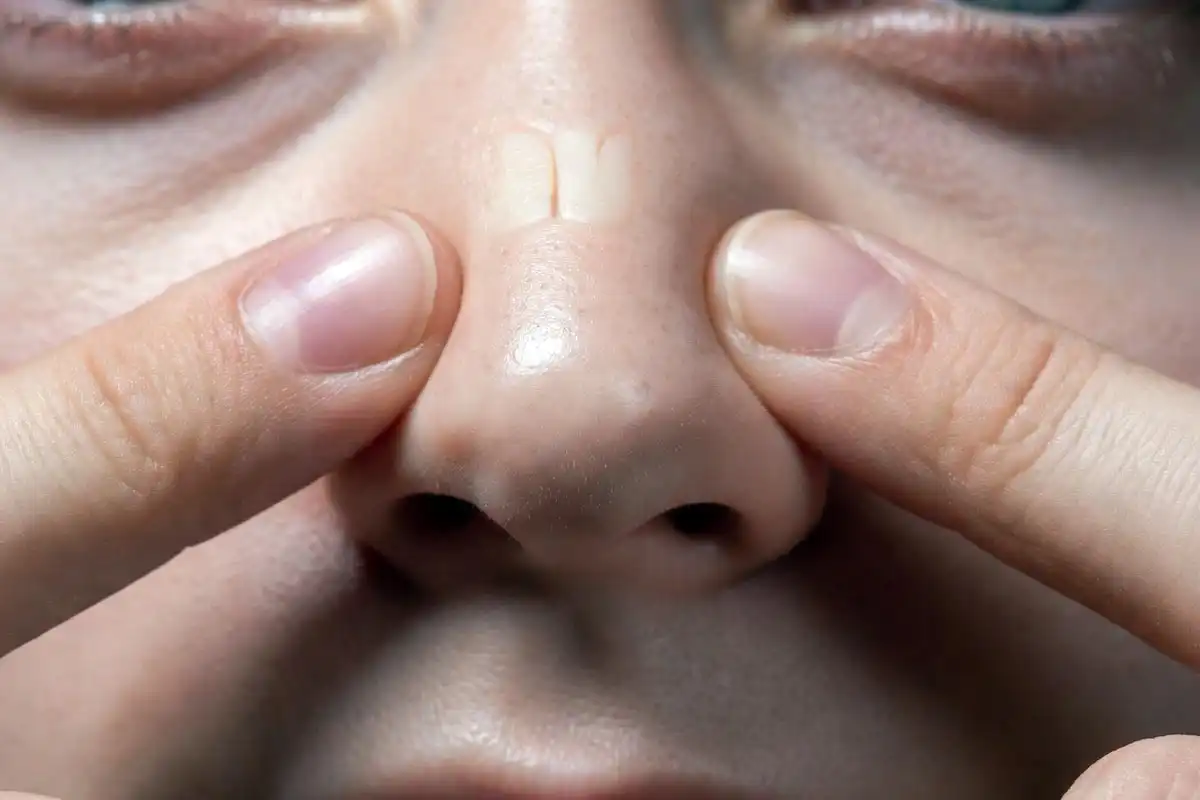
Use your thumb and index finger to pinch the soft part of your nose — the lower fleshy section, not the bony bridge.
Pinching the bridge does nothing. The bleeding comes from the soft tissue, so that is where you apply pressure.
Step 4: Hold Pressure for 10 to 15 Minutes
Hold the pinch continuously. Do not release to check the bleed at the 5-minute mark. Every time you release, you interrupt clot formation.
Set a timer if your watch or phone allows it. Fifteen minutes feels long on a trail, but it works.
Step 5: Breathe Through Your Mouth
Keep your mouth open and breathe calmly. Sniffing or blowing your nose during this step dislodges forming clots.
Step 6: Check After 15 Minutes
Release pressure gently after 15 minutes. If the bleed has stopped, rest in place for a few more minutes before standing.
If bleeding continues, repeat the pinch for another 10 minutes.
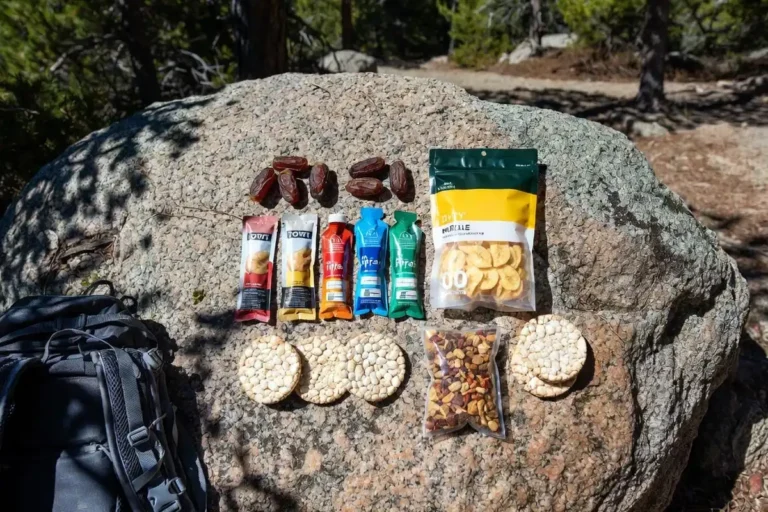
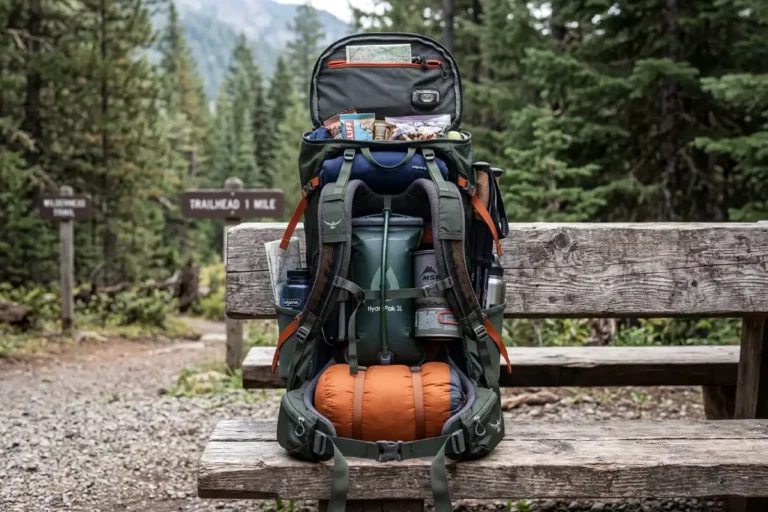
What to Carry for Trail Nosebleed First Aid
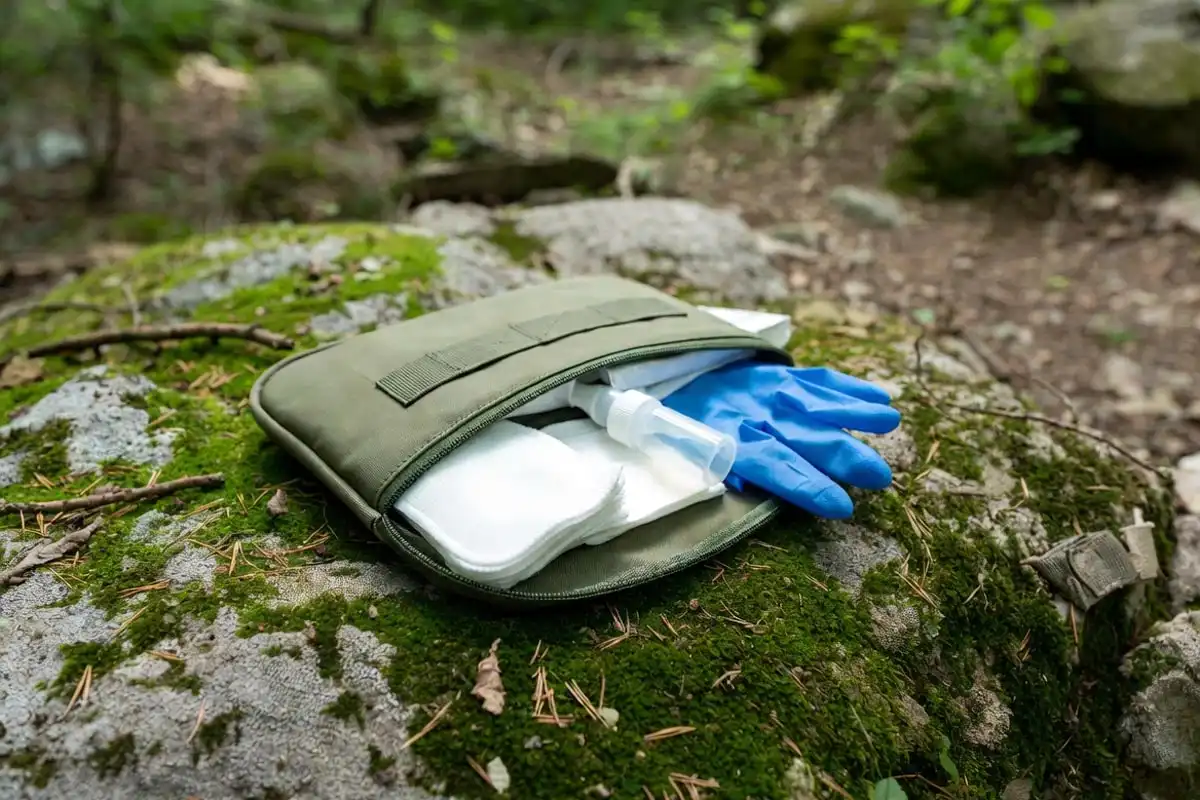
Your kit does not need to be heavy. A small bleed kit inside your main first aid pouch covers most trail situations.
Carry these items:
- Gauze pads or medical gauze — use to apply external pressure if pinching alone is difficult.
- Saline nasal spray — moistens dried nasal passages before bleeding starts. One spray in each nostril during a long ascent prevents many altitude-related nosebleeds.
- Nitrile gloves — blood-borne precautions matter even for your own blood when others are assisting.
- A small pack of tissues — to wipe and monitor flow, not to pack inside the nose.
For a broader look at trail wound management, I covered cuts, blisters, and minor bleeding in a separate piece on treating minor cuts and blisters at camp.
Mistakes That Make It Worse
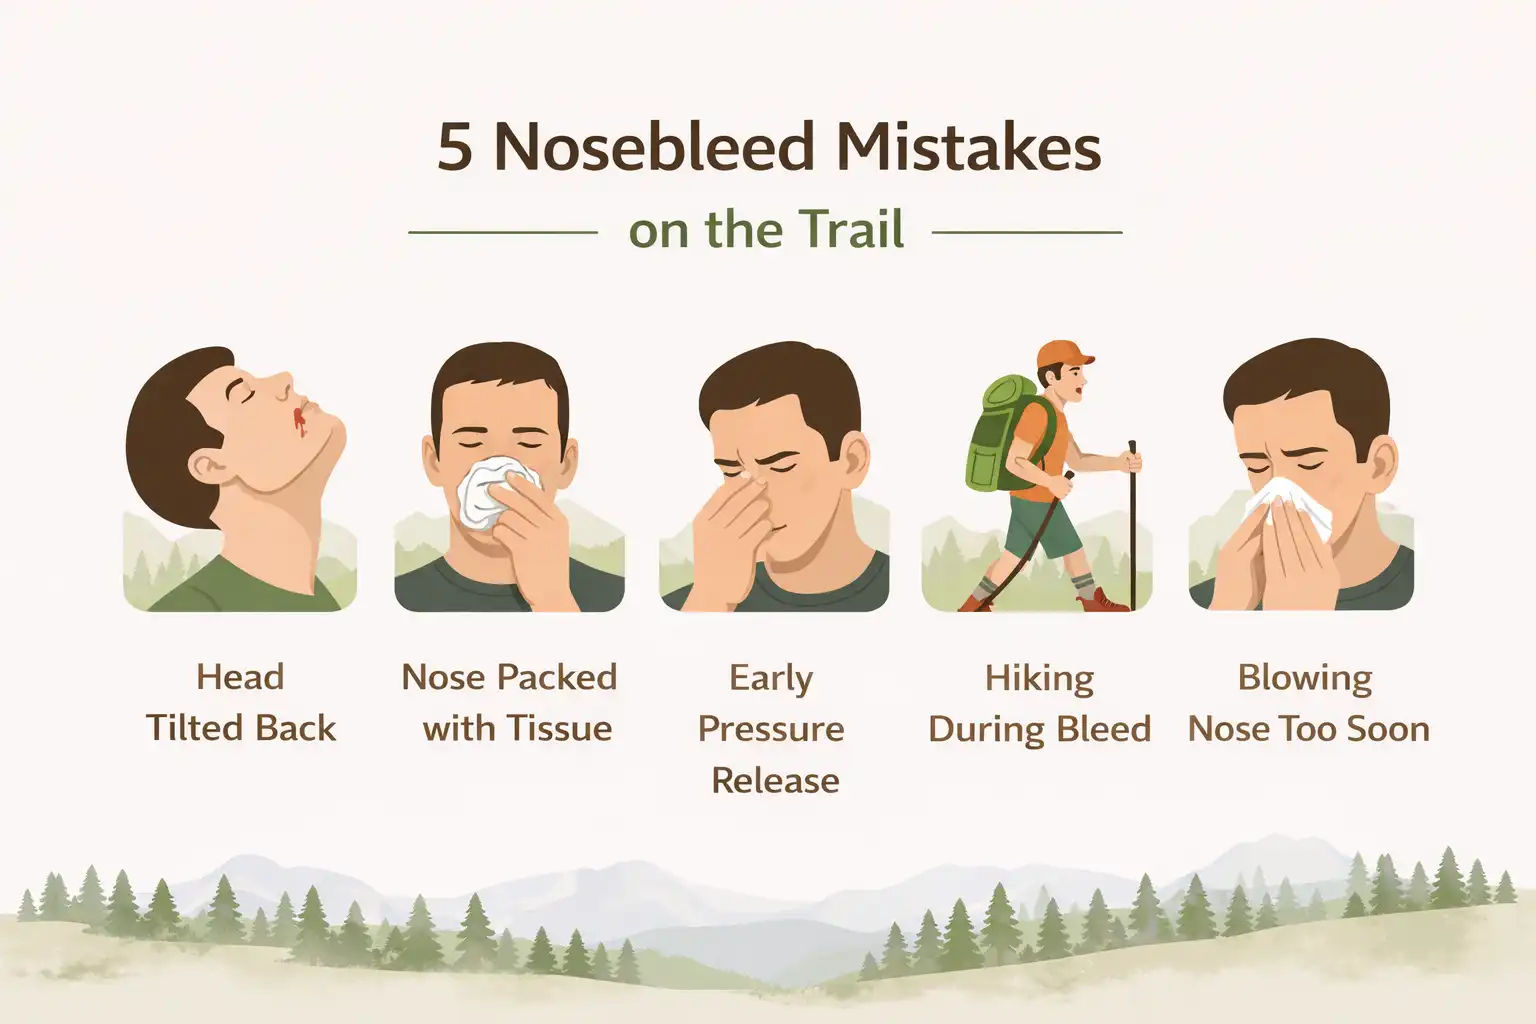
These are the most common errors I’ve seen on group hikes. Each one extends bleeding time or causes a secondary problem.
Tilting the head back. This sends blood into the stomach and airway. It does not stop the bleed.
Packing the nose with tissue. Forcing tissue up the nostril damages already fragile nasal tissue and pulls the forming clot out when removed.
Releasing pressure too early. Checking the bleed at two or three minutes breaks clot formation every time.
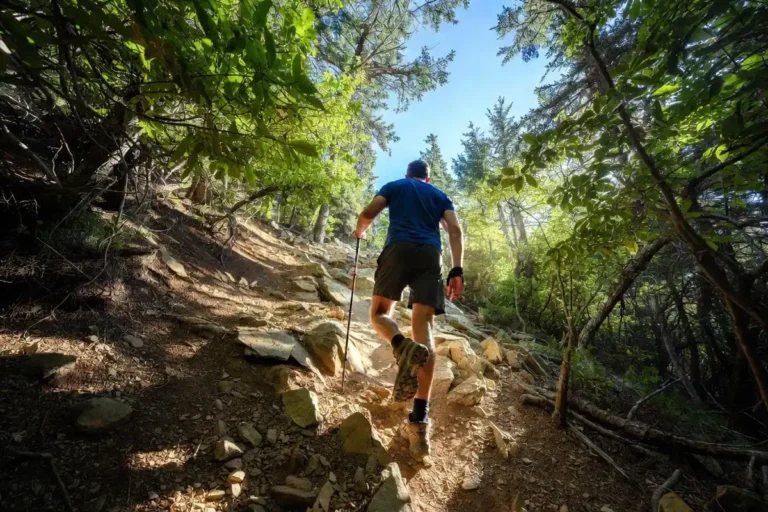
Continuing to hike during the bleed. Uphill exertion raises blood pressure. That pressure works against the clot forming at the vessel.
Blowing your nose immediately after it stops. Wait at least 30 minutes after a nosebleed before blowing. Blowing removes the clot and restarts the bleed.
When a Nosebleed Becomes an Emergency
Most trail nosebleeds stop within 15 to 20 minutes. Some situations require faster action.
Seek medical help if:
- Bleeding does not stop after two rounds of 15-minute pressure (30 minutes total).
- The nosebleed follows a fall or hard head impact.
- The person feels dizzy, confused, or loses consciousness.
- Blood flows from both nostrils simultaneously at high volume.
- The hiker takes blood-thinning medication (such as aspirin or warfarin) — these bleeds do not clot normally.
If you are in a remote area and cannot stop the bleed, knowing how to signal for help in the backcountry is a skill worth having before the trip starts, not after.
How to Prevent Nosebleeds on Future Hikes
Prevention reduces how often you need to treat this on trail.
Stay hydrated. Dehydration dries nasal membranes faster than air temperature alone. Drink water consistently throughout the hike, not only when thirsty. I covered hydration planning in detail in a guide on how much water need to bring camping for per person.
Use saline nasal spray before long ascents. Apply one spray in each nostril at the trailhead and again at higher elevation. This keeps membranes moist without medication.
Breathe through your nose in cold dry air. Your nose warms and humidifies air before it reaches your lungs. Mouth breathing bypasses this, drying nasal tissue faster.
Avoid aggressive nose-blowing in pollen season. Blow gently, one nostril at a time, and reduce force at high altitude.
FAQs about Stop a Nosebleed on a Hike
Can I keep hiking after a nosebleed stops?
Yes, but rest for 5 to 10 minutes first. Let the clot stabilize before resuming exertion. Avoid uphill sections immediately after stopping, as raised blood pressure increases rebleed risk.
Should I pack my nostril with gauze to stop it faster?
No. Packing forces material against fragile tissue and removes the forming clot when extracted. Firm external pinching on the soft part of the nose produces better results with less damage.
Why do nosebleeds happen more at altitude?
Higher altitude reduces air pressure and lowers humidity. Both conditions dry the nasal lining quickly. Blood vessels near the surface of the nasal septum become more likely to crack and bleed.
What if I am alone on the trail when it happens?
Sit down, lean forward, and apply two-finger pressure to your nose. Use a bandana or clothing over your fingers if needed. Stay seated until the bleed stops fully. Do not rush to stand or walk.
Is a nosebleed on a hike a sign of altitude sickness?
A nosebleed alone does not confirm altitude sickness. Nosebleeds from dry air or dehydration are common at elevation. If you also experience headache, nausea, dizziness, or shortness of breath at rest, descend and monitor for altitude sickness symptoms.
Conclusion
A nosebleed on a hike looks dramatic but responds well to simple, calm first aid. Sit down, lean forward, pinch the soft part of your nose, and hold pressure for a full 15 minutes. That single action handles most trail nosebleeds.
Carry saline spray and gauze, stay hydrated, and know the signs that need medical attention. Those three habits reduce both the frequency of nosebleeds and the risk they pose when one does happen.