What to Do When You Get Lost on a Hike: 9 Smart Moves to Stay Safe
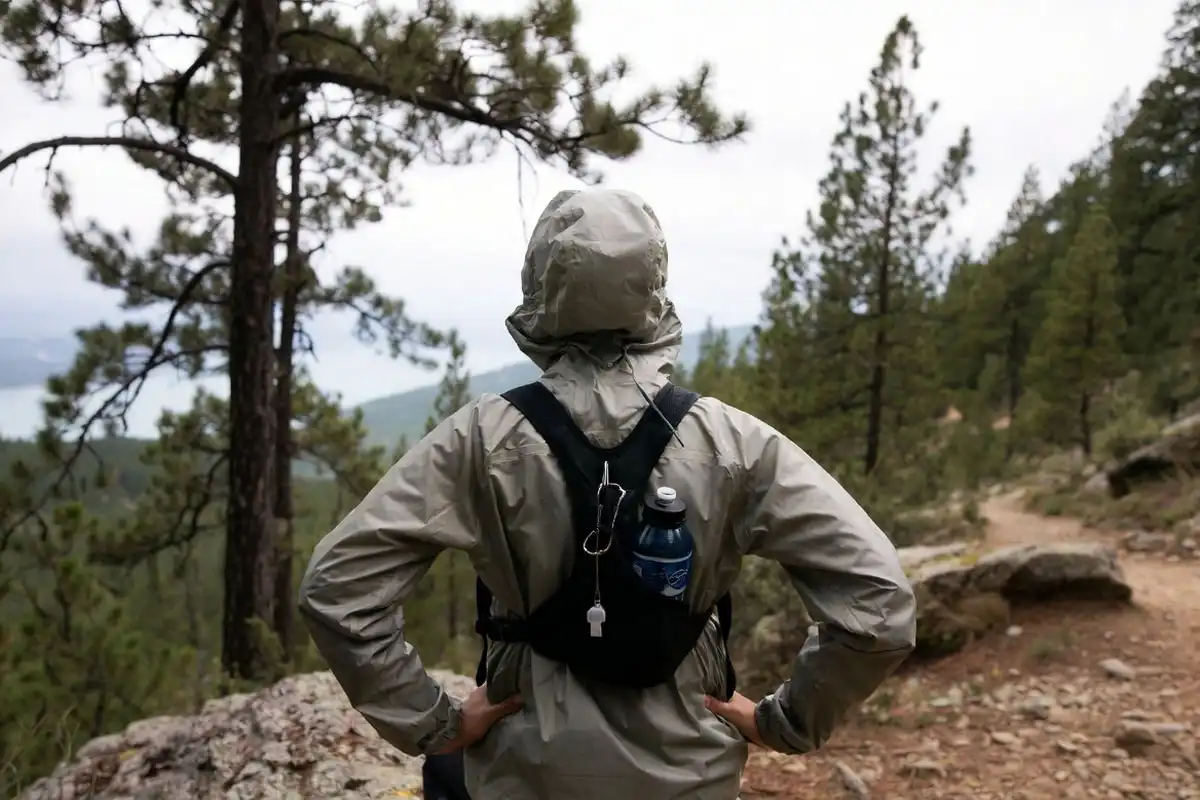
Getting lost on a hike gets safer when you stop early and switch to a simple system. This guide walks you through a full response from the first minute you realize you’re off route to the moment you reconnect with the trail or contact rescuers. You will learn how to pick a safe place to pause, confirm your last known point, decide whether backtracking makes sense, and stay warm and visible if you need to wait.
Stop moving and treat your current spot as home base. Calm your breathing, check your last known point, and use map, compass, and phone to confirm direction. If you cannot confirm a safe route back, stay put, contact help by call or text, and signal with a whistle, light, and bright clothing.
What does “lost on a hike” mean?
A hiker is lost when they cannot place their position on the planned route with confidence. The trail can still look like a trail, yet the terrain no longer matches your map, memory, or GPS track. The key problem is uncertainty, not distance.
When do you switch into a lost-hiker plan?
Switch as soon as the route stops making sense. Waiting often turns a small navigation error into a bigger search area.
Move into “lost-hiker mode” when any of these happens:
- You reach a junction you cannot identify.
- The tread fades and you cannot recover it after a short scan.
- A major feature appears that was not in your plan (new road, fence, drainage, or steep drop).
- Your decisions start to feel rushed or emotional.
Learn more: How to Build a Simple Shelter in Sudden Rain: 5 Safe, Dry Moves
Where do you stop right now?
Stop in the safest nearby spot you can reach without scrambling. A safe pause gives you time to think, message, and warm up.
Look for:
- Flat footing away from loose rock and steep slopes
- Shelter from wind and rain
- Distance from streambeds that can rise fast in storms
If the ground pushes you toward a cliff edge or a gully, move a few steps to safer terrain first, then stop.
How do you respond step-by-step when you realize you’re lost?
Use this workflow. It keeps your mind steady and your choices simple.
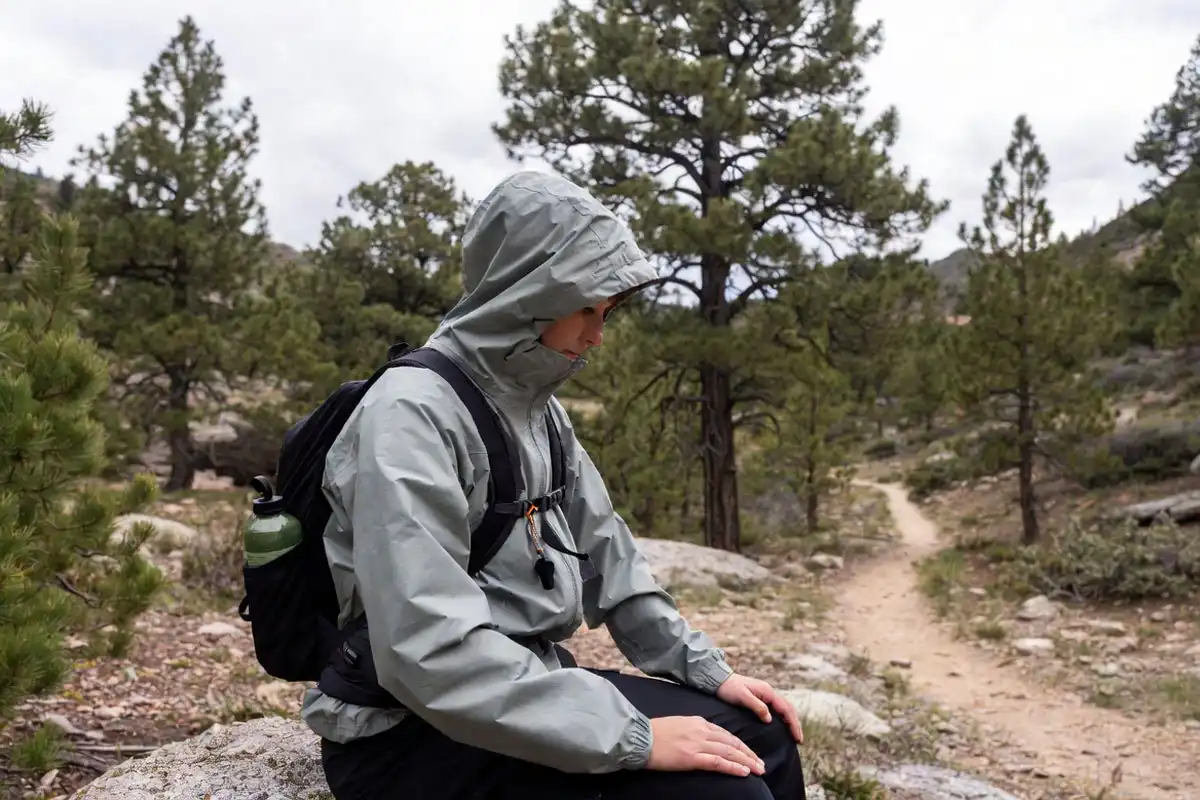
Step 1: Stop and settle your breathing
Stopping prevents deeper drift into unknown terrain. Take 10 slow breaths. Drink a small sip of water. Add a layer before you feel cold. A warm body thinks clearer than a chilled one.
Step 2: Lock in your last known point
Your last known point anchors every decision.
Ask and answer out loud:
- “The last place I knew my location was ______.”
- “From there, I traveled ______ direction.”
- “The last clear landmark was ______.”
If you hike with others, agree on this point together. A group that shares one story makes better moves.
Step 3: Observe the terrain like a map
Turn your head slowly and collect facts.
Notice ridgelines, drainages, lakes, roads, power lines, and obvious clearings. Listen for traffic, voices, or running water. Check the time and daylight. Wind and weather decide how long you can safely wait or move.
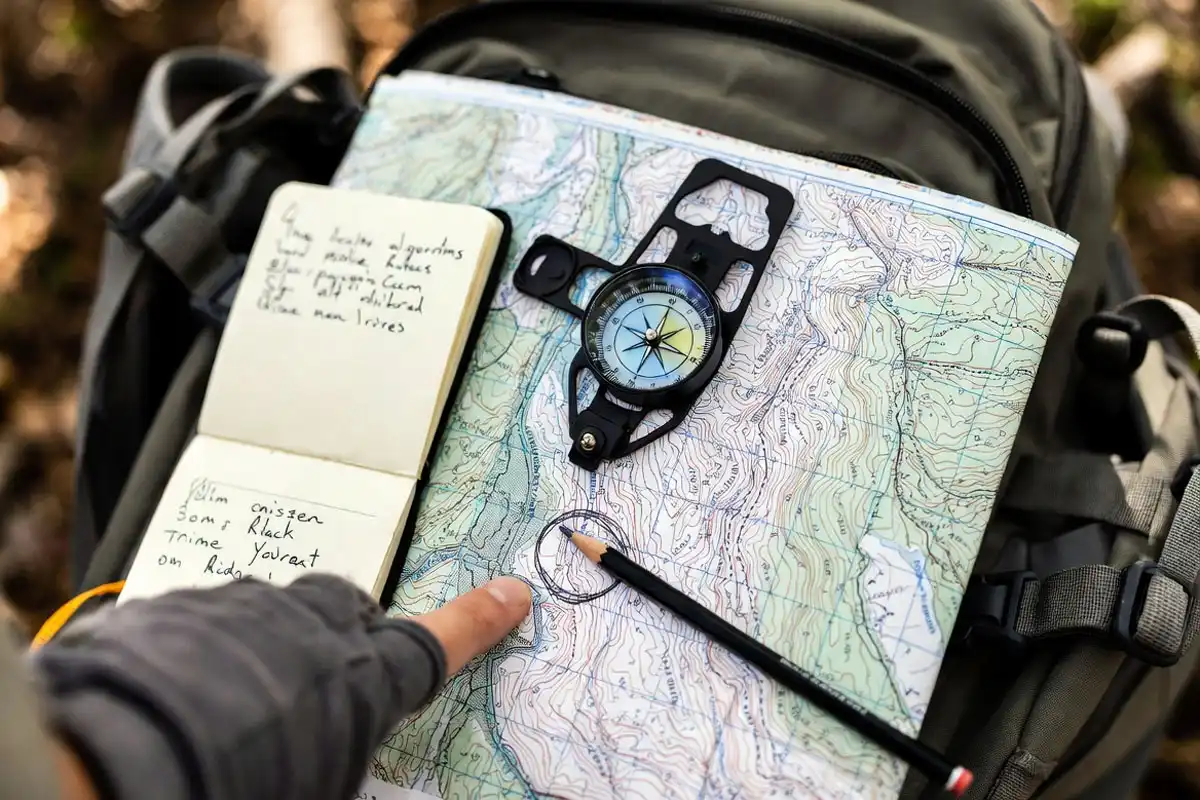
Step 4: Check tools in this order: phone, then map, then compass
Start with the fastest confirmation, then back it up.
- Phone: If you have an offline map or GPS track, check it once and note the result. Save battery right after.
- Map: Match big features first, like ridge shapes and valleys.
- Compass: Use it to confirm direction of travel, not to guess a route through rough terrain.
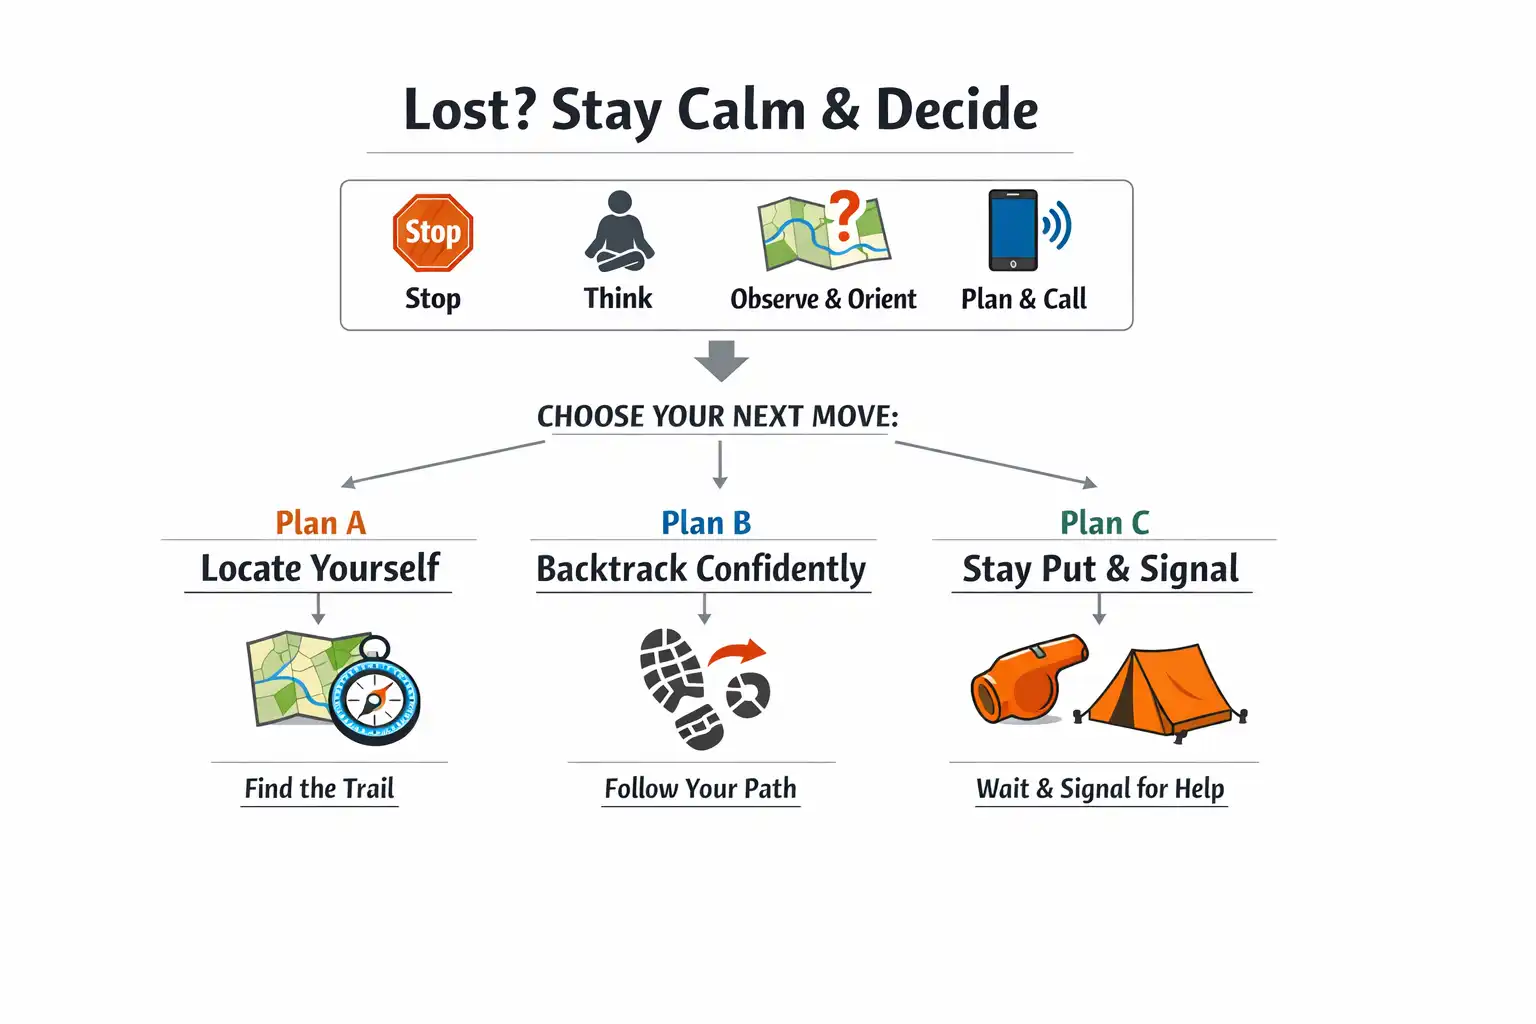
Step 5: Choose one of three plans
Pick the plan that fits your certainty, not your hope.
Plan A: You know your location: Walk to a known point like a trail junction or trailhead using a safe route.
Plan B: You can backtrack with confidence: Turn around and follow your inbound path. Confirm landmarks as you go. If landmarks stop matching, stop again.
Plan C: You cannot confirm a safe route: Stay put. Contact help. Make your position easy to find.
Most serious situations come from pushing into Plan B when Plan C fits the facts.
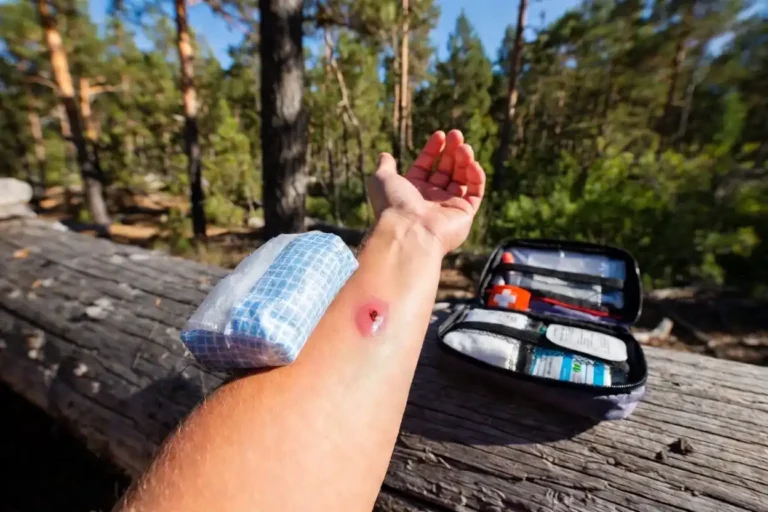
Also read: How to Treat Minor Cuts and Blisters at Camp
How do you self-rescue without making the situation worse?
Self-rescue works when you move only on high certainty.
Backtracking rules that keep you safe
Backtracking means reversing what you already proved.
Move slowly and look for your own footprints, broken twigs, scuffs, or wet boot marks on rock. Pay attention at every junction, even small ones. If you used a GPS track earlier, compare your movement to that line only at stops, not while walking.
Terrain choices that reduce risk
When you feel lost, avoid terrain that traps you.
Avoid:
- Dropping downhill into unknown drainages
- Side-hilling on steep slopes with loose rock
- Crossing fast water to “see what’s over there”
If you reach a cliff band, thick brush, or a steep gully, that’s a hard stop. Turn around or shift to staying put.
How do you call or text for help the right way?

Communication works best when it is simple and specific.
- Try a call to emergency services if your area supports it.
- If calls fail, send a text. Text can go through on weak signal.
- Share a location pin or coordinates when your app provides them.
- Message your plan: “I am staying here” or “I am backtracking to last known point.”
Then reduce battery drain. Dim the screen, close apps, and use low power mode. Keep the phone warm in an inner pocket.
If you hike solo often, the decision-making habits in this guide on solo outdoor safety transfer well to day hikes, especially the parts about communication and conservative choices.
How do you signal so rescuers can find you?
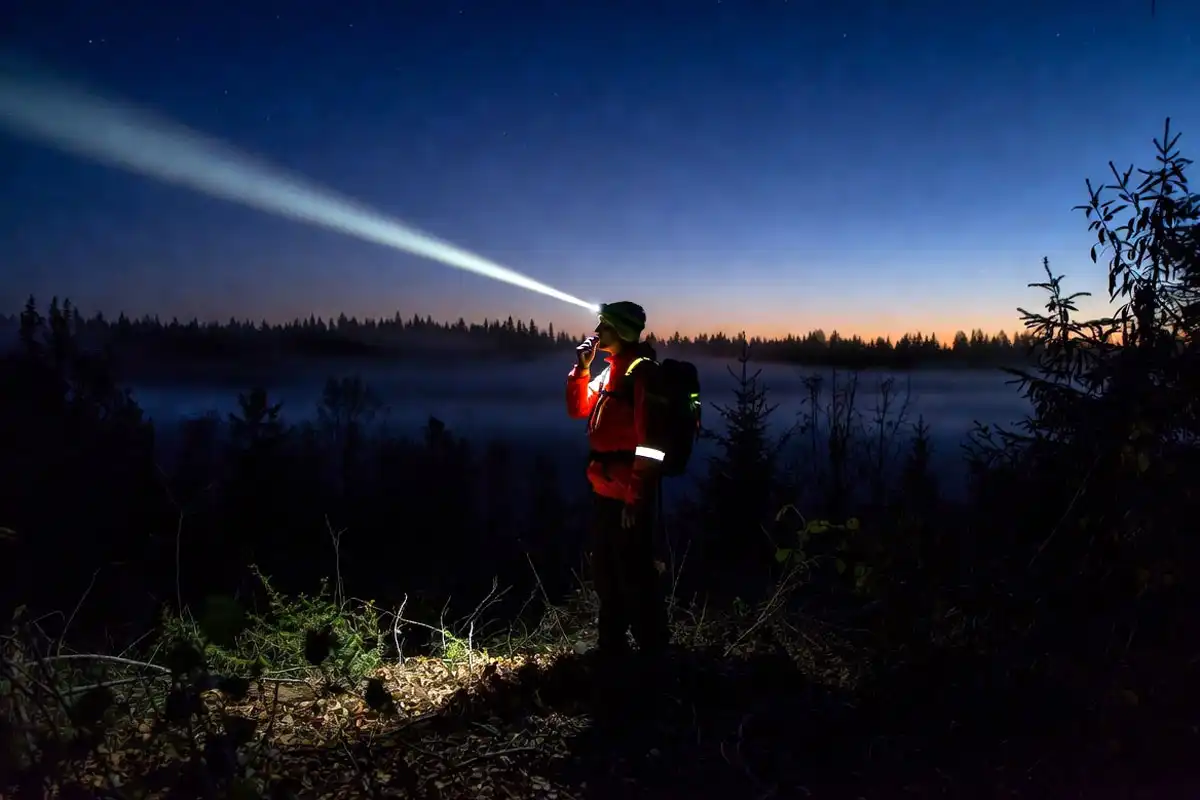
Signaling works when it creates contrast in sound, light, and color.
- Whistle: Three short blasts, pause, repeat.
- Light: Sweep a headlamp or phone light after dusk.
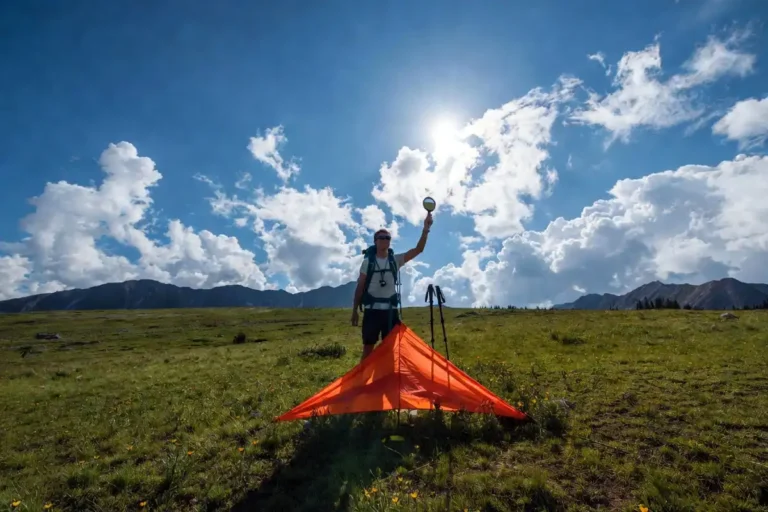
- Color: Wear a bright layer or lay bright fabric in an opening.
- Ground signal: Arrange rocks or sticks into big letters like “SOS” in a clearing.
After you signal, stay in the same area unless the location becomes unsafe.
Troubleshooting: what if a key tool fails?
What if you have no cell signal?
No signal shifts your focus to shelter, warmth, and visibility. Walk only a short distance to a safer, more open spot for one more check. If signal stays absent, stop roaming and commit to one base location.
What if your phone battery is low?
Low battery means one clean message, then conserve. Send your best location info and your plan. Use airplane mode between checks. Keep the phone warm and dry.
What if fog, rain, or snow hides landmarks?
Low visibility raises navigation error. Reduce movement. Add insulation early. Wait for a break in weather if you have shelter and warmth.
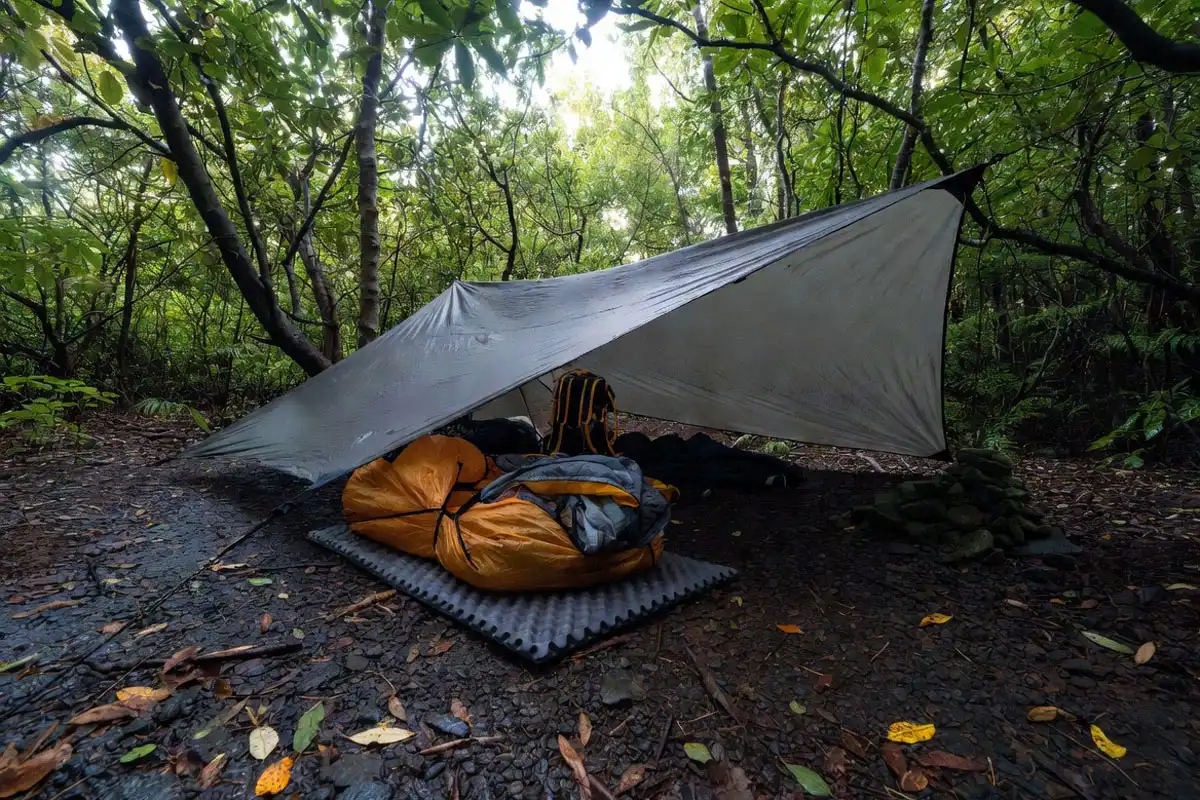
What if darkness arrives?
Darkness increases fall risk. Move only on confirmed, safe tread. If you cannot confirm the tread, stop and build a simple shelter. Insulate from the ground with your pack, spare clothing, or a pad.
What if someone is injured?
Injury changes the goal to stabilize and get found. Control bleeding, protect joints, insulate from the ground, and signal. Staying put helps rescuers search the last known location.
What mistakes make getting lost more dangerous?
These errors show up often:
- Speeding up to “fix it”
- Splitting up to search
- Continuing downhill with no clear plan
- Waiting to add warm layers until shivering starts
- Draining phone battery with constant map scrolling
A calm stop early prevents most of these.
What safety priorities matter most while you wait?
Safety comes from managing cold, wet, and exhaustion.
- Block wind and rain first.
- Insulate from the ground.
- Sip water steadily and eat small portions if you have food.
- Keep signaling simple and repeatable.
If you want a broader skill path, the resources in your safety skills section fit well with navigation, first aid, and decision-making.
How do you prevent getting lost next time?
Prevention starts before you leave the trailhead.
- Share your route and return time with a trusted contact.
- Carry a paper map and a simple compass, even when you use GPS.
- Download offline maps before the hike.
- Pack a headlamp, extra layer, whistle, and emergency shelter.
- Plan water based on distance, heat, and pace.
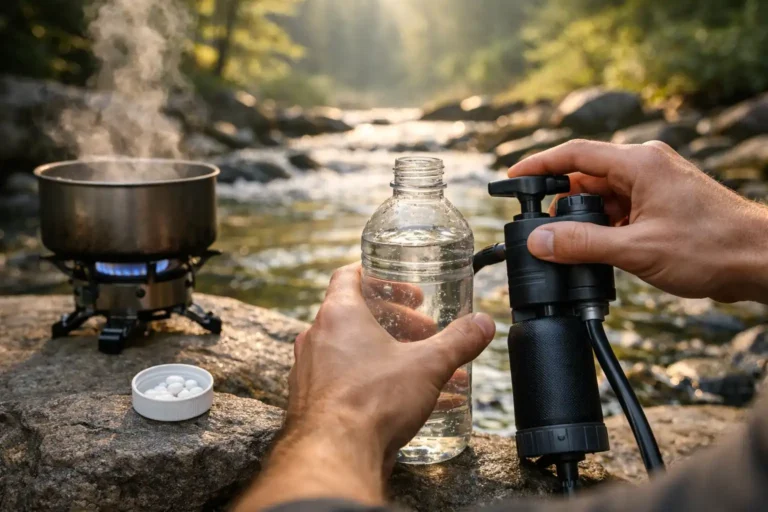
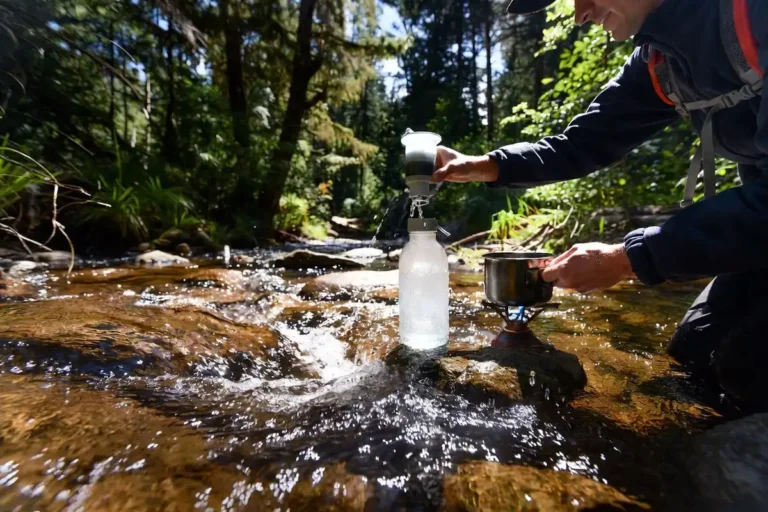
For planning habits, this checklist that reduces forgotten essentials adapts well to hiking. For hydration, this water planning guide gives a simple baseline you can adjust.
Conclusion
Getting lost on a hike stays manageable when you stop early and follow a clear process. Lock in your last known point, confirm facts with tools and terrain, then choose a plan based on certainty.
Backtrack only when the route remains clear. When certainty drops, stay put, contact help, and make yourself easy to find with sound, light, and color.
Run STOP. Backtrack only to a confirmed point. If travel turns risky, stay put, build shelter, conserve battery, and signal in a steady pattern. A calm plan keeps you warm, visible, and easier to find.