How to Build a Simple Shelter in Sudden Rain: 5 Safe, Dry Moves
A simple rain shelter starts with a tight, sloped roof that sheds water and blocks wind from your core. This guide walks you through fast site choices, quick gear improvisation, and three shelter builds (tarp, poncho, and natural materials) so you stay warm, keep your pack dry, and regain control of the situation without wasting energy.
Move to safe high ground, turn your tarp or poncho into a steep roof, and keep your body off wet soil. String a ridgeline between two supports, drape the tarp over it, stake the edges low on the wind side, and angle the roof so water runs away from where you sit or sleep. Add a ground layer and keep airflow at one end.
What Counts as a “Simple” Rain Shelter?
A simple rain shelter is any quick roof and windbreak that keeps rain off your head, torso, and insulation layers. A good shelter sheds water with a slope, holds tension so it does not sag, and covers at least one dry spot for you and your pack.
If your shelter does only one job, pick rain shedding first. Wet clothing and wind push your body temperature down fast.
When Do You Build One in Sudden Rain?
Build a shelter as soon as rain starts to soak your insulation, your hands get clumsy, or the wind turns cold. Sudden rain often arrives with a temperature drop, and that combination drains energy even before you feel “cold.”
If you are moving, a shelter also gives you a protected place to eat, re-layer, check the map, and make a clear decision.
Know more: What to Do If You Suspect Hypothermia: 7 Fast, Safe Steps
Where Should You Place a Rain Shelter?
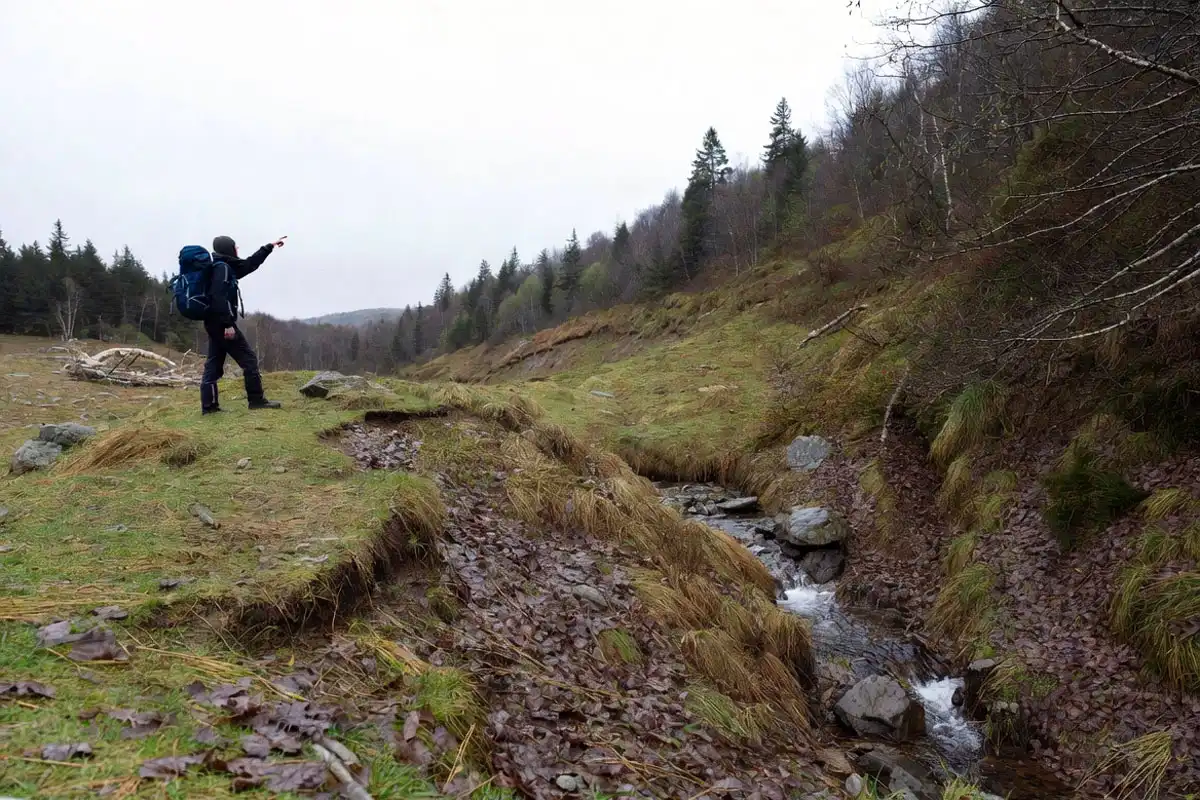
Place your shelter where water moves away from you and hazards stay away from you.
Pick a safe micro-site first
Choose a spot that meets all four checks:
- High and slightly sloped: Water runs past, not through.
- Wind-aware: Put the low side into the wind.
- Above runoff lines: Avoid dry streambeds, gullies, and the bottom of bowls.
- Away from falling hazards: Skip dead limbs, leaning trunks, and lone tall trees in open ground.
For a fast checklist on good late-day placement, use my guide on picking a campsite when daylight is fading.
Avoid these “looks fine” spots
- Depressions that collect water (even shallow ones)
- Thick grass over soft soil (often hides low spots)
- Under heavy, dead branches (widowmakers)
- Right beside a riverbank that can rise
What Gear Helps You Build a Shelter in Minutes?
A shelter goes up fastest when you build tension without overthinking.
Carry items (or improvise) that do the work
- Tarp or poncho: Your roof
- Cordage (paracord or bank line): Ridgeline and guylines
- Stakes: Real stakes, sticks, rocks, or buried “deadman” anchors
- Poles: Trekking poles, paddles, straight branches
- Ground barrier: Trash bag, emergency blanket, pack liner, or spare clothing bag
If you already carry a tarp for your main setup, match size to your shelter goals using this tarp sizing breakdown.
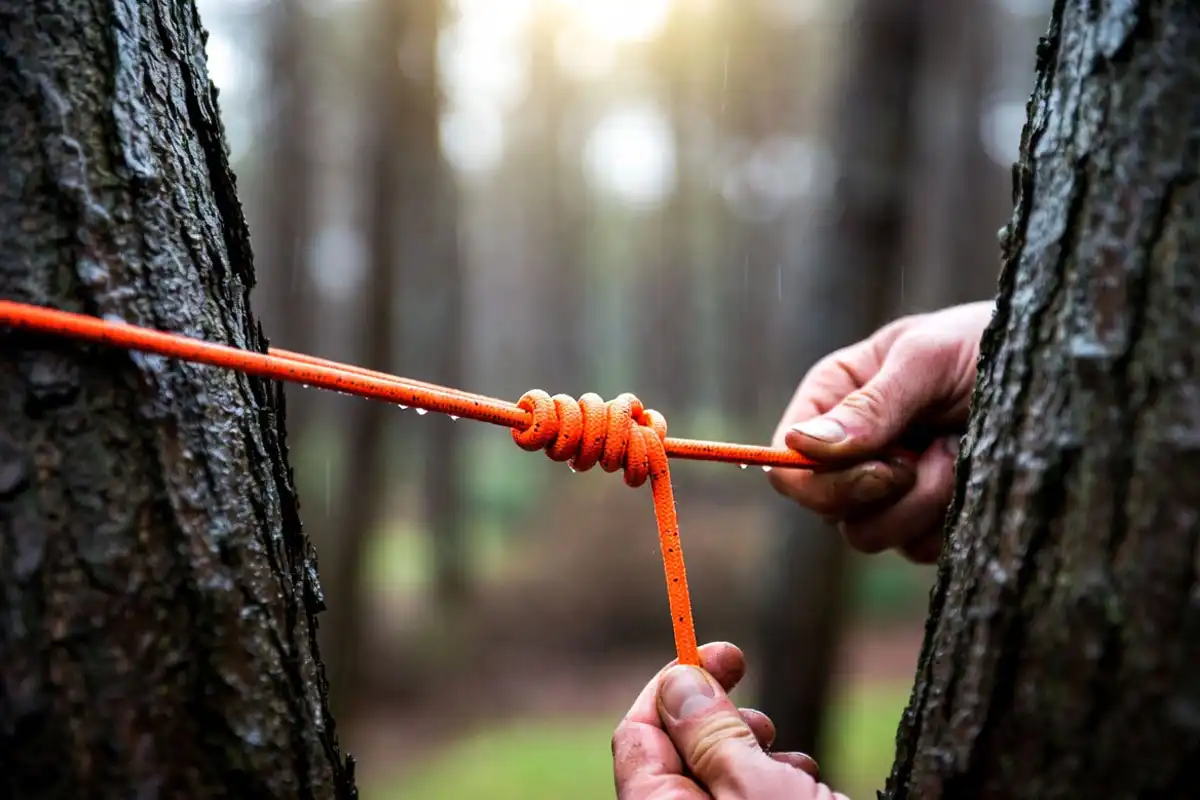
Three knots that speed everything up
- Bowline: Fixed loop that does not slip
- Trucker’s hitch: Tensions a ridgeline fast
- Taut-line hitch: Adjustable guyline without re-tying
If knots feel slow, wrap cordage around a rock and use a simple slip loop for a temporary anchor. Tension matters more than fancy tying.
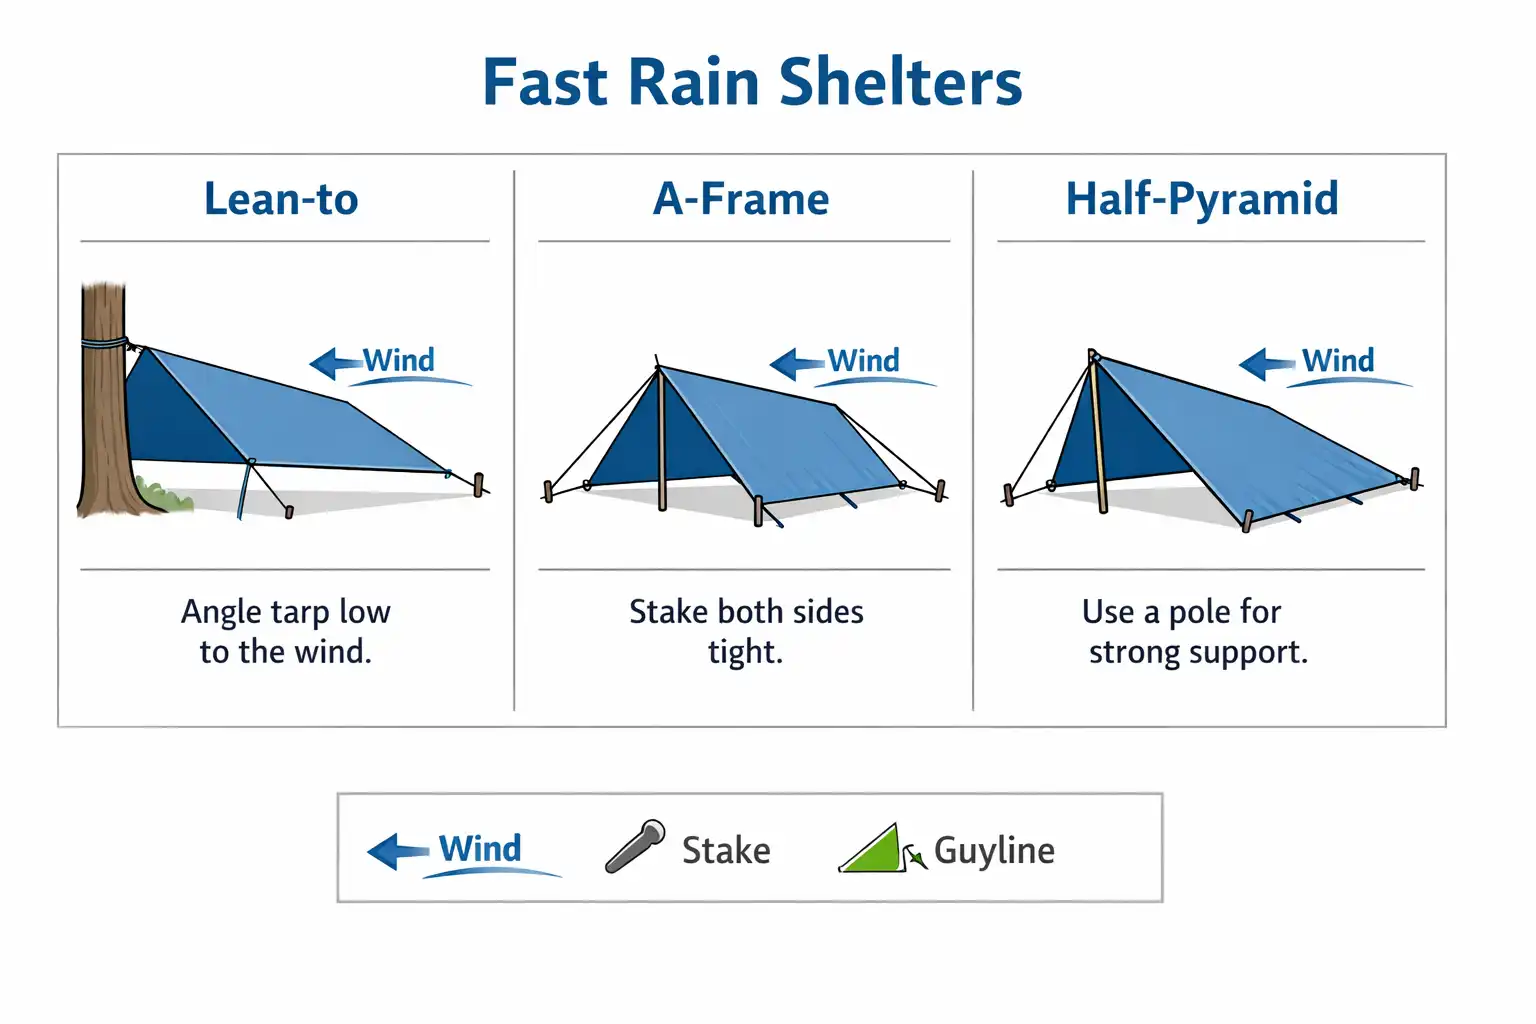
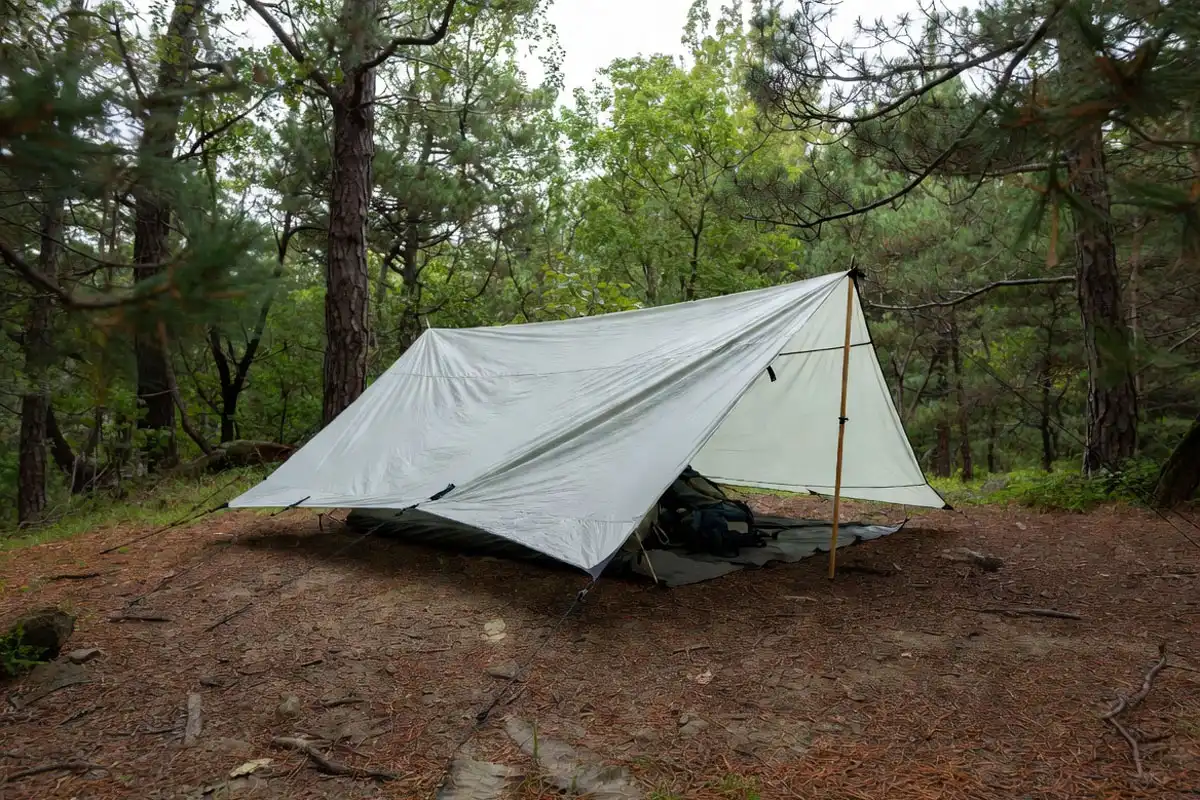
How Do You Build the Fastest Shelter? (Tarp or Poncho Lean-To)
A lean-to is the quickest reliable shape in hard rain because it sheds water and blocks wind with fewer tie-outs.
Step 1: Set your ridgeline
- Pick two supports 8 to 12 feet apart (trees, sturdy posts, large roots).
- Tie cordage chest-high for sitting shelter, waist-high for sleeping shelter.
- Tension the line so it “twangs” when you pluck it.
Decision point: No good trees? Use two trekking poles and anchor their bases with rocks, then run the ridgeline between pole tips.
Step 2: Drape the tarp and create a steep roof
- Center the tarp over the ridgeline.
- Angle the tarp so one side reaches close to the ground.
- Face the low edge into the wind.
A steep pitch sheds water faster and reduces pooling.
Step 3: Anchor the wind side first
- Stake or rock down the low edge corners.
- Keep the fabric tight, not stretched to tearing.
- Add one mid-edge anchor if the tarp flaps.
If the ground is rocky or sandy, these anchoring tricks help a lot: pitching on rough ground.
Step 4: Finish the open side and create a dry zone
- Pull the high side out and stake it wider for headroom.
- Lay a ground barrier inside, not outside.
- Place your pack on the uphill side as a splash block.
Step 5: Control drip lines and runoff
- Tie a short string to the ridgeline just outside the tarp edge as a drip line.
- Digging trenches damages sites in many areas. Instead, pitch higher and redirect runoff by moving your shelter a few feet.
Quick check before you settle in
- Rain runs off both sides without pooling
- Wind hits the low edge, not the open face
- Your sleeping area sits on the highest point under the roof
- Cordage does not touch your sleeping bag (it wicks water)
Three Shelter Solutions for Different Situations
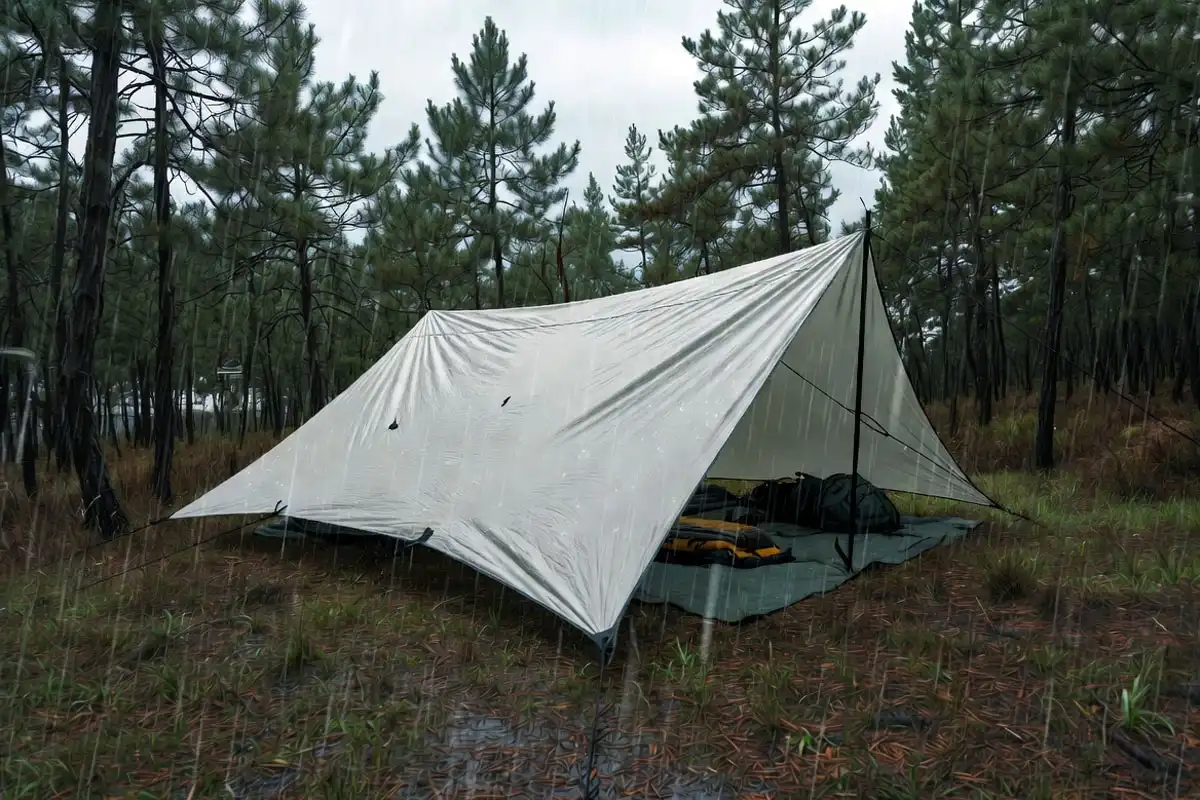
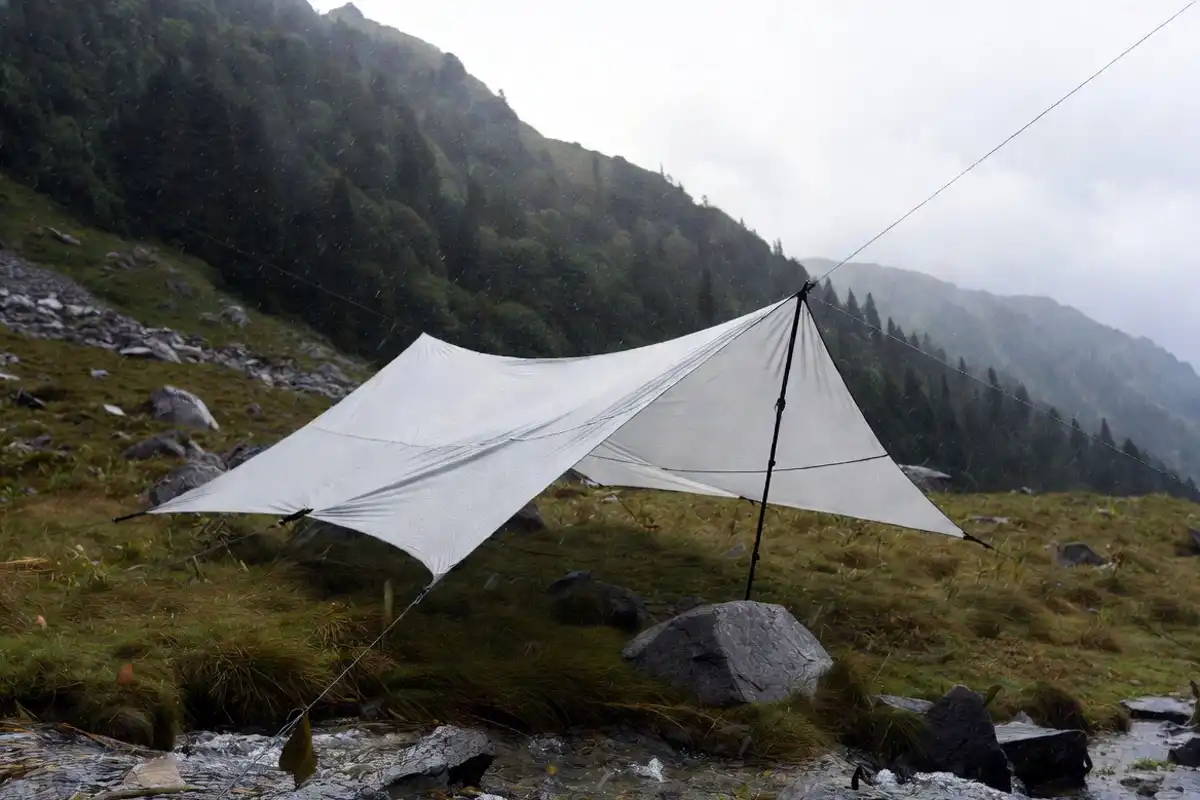
1) A-frame ridgeline shelter (best all-around coverage)
An A-frame covers both sides and protects gear better than a lean-to. Drape the tarp evenly over the ridgeline, stake both long edges low, and keep one end slightly open for airflow. This shape handles steady rain well, especially when wind shifts.
Use it when: Rain stays steady and you plan to wait it out.
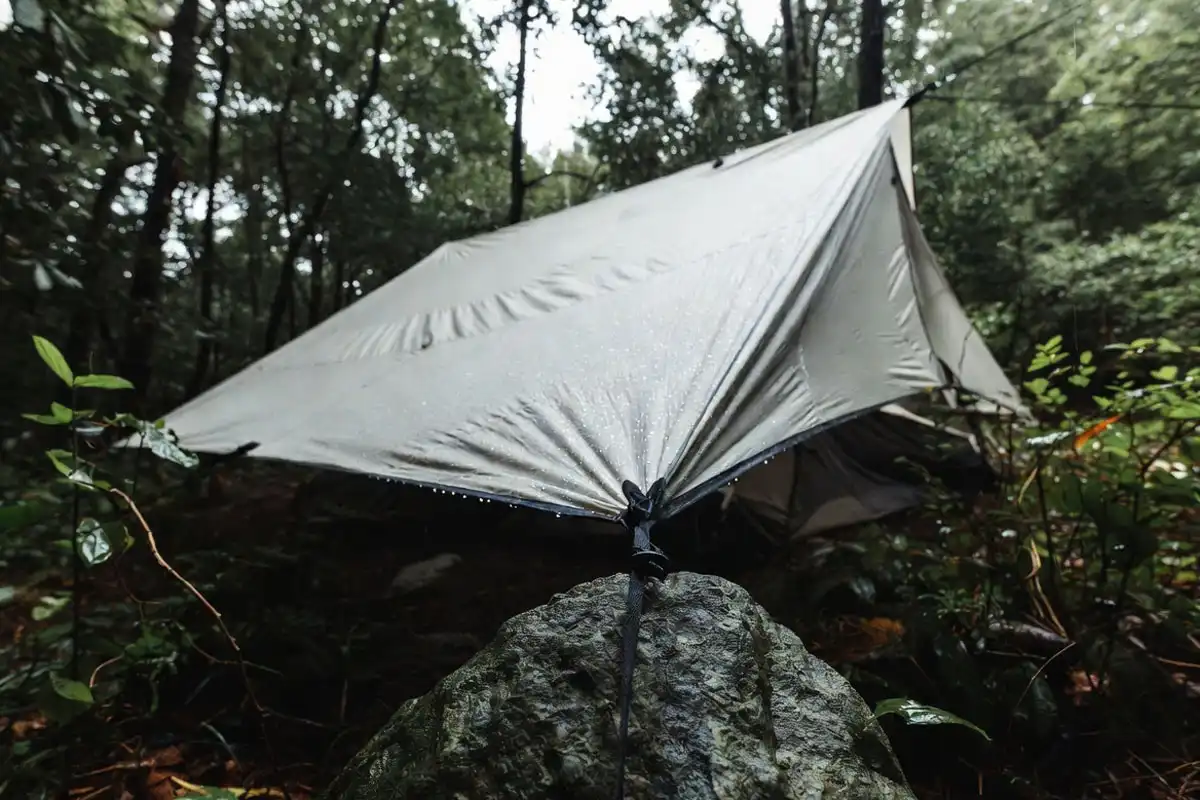
2) Half-pyramid (best in gusty wind)
A half-pyramid drops one corner low and uses one pole to lift the opposite corner. It blocks wind and sheds rain in one strong direction. Anchor the low corner hard, then tension the lifted corner.
Use it when: Wind drives rain sideways.
3) Natural lean-to with debris roof (when you have no tarp)
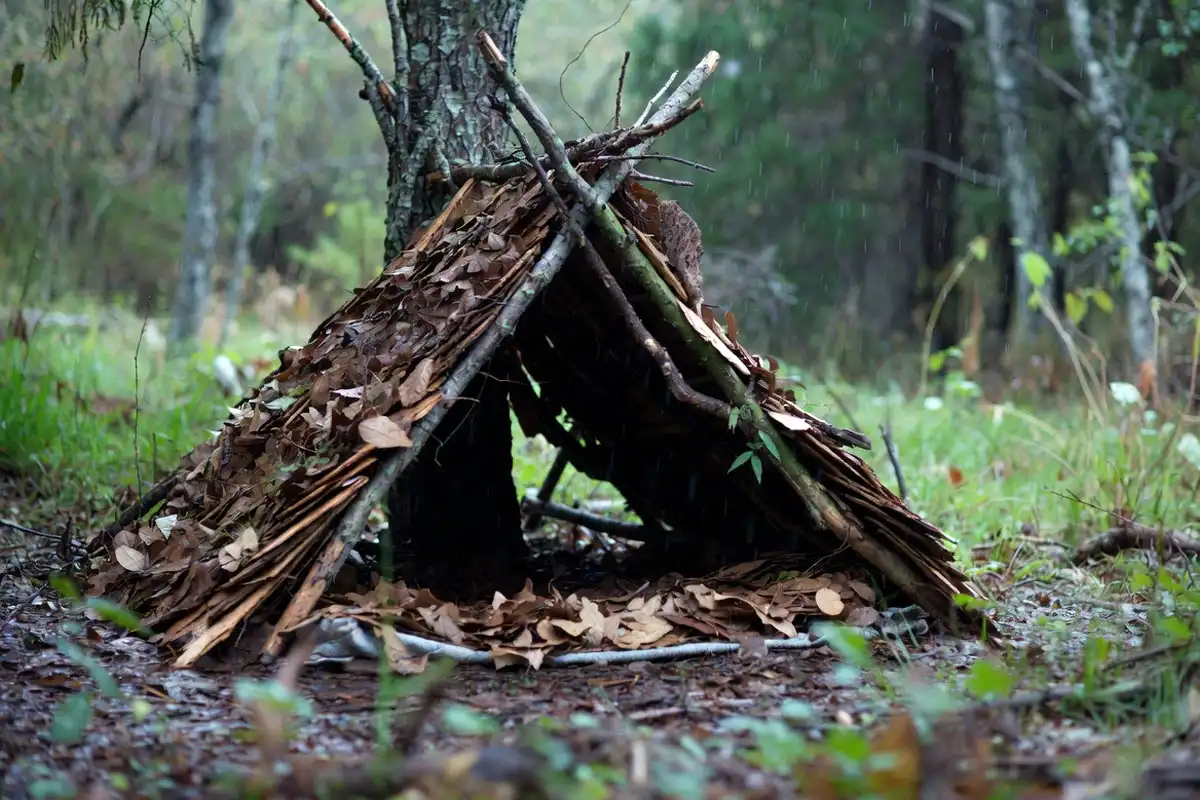
A natural shelter takes longer, but it still works if you build it like a roof, not a nest.
- Find a sturdy ridgepole branch and wedge it between a tree fork and the ground.
- Lean thumb-thick ribs against the ridgepole to form a wall.
- Pile leaves, fern, bark slabs, or grasses from bottom to top like shingles.
- Add a ground barrier under you (bark sheet, dry leaf bed, spare clothing inside a bag).
Rule for natural roofs: Thick beats wide. A thin layer leaks.
Troubleshooting: Quick Fixes When Your Shelter Fails
The tarp sags and starts dripping
- Re-tension the ridgeline.
- Move stakes farther out to increase fabric angle.
- Add one more tie-out at the sag point using a small stone in the fabric (wrap and tie).
Water pools on the roof
- Increase the slope by lowering one side.
- Add a center lift with a pole or a stick under the ridgeline.
- Avoid flat “tabletop” pitches in heavy rain.
Wind blows rain into the open side
- Rotate the shelter so the low edge faces the wind.
- Drop the wind edge closer to the ground.
- Add a pack or log as a short wind wall, outside the drip line.
Condensation wets your gear
- Open one end or raise one corner for airflow.
- Keep wet clothing outside the sleeping area under the edge.
- Avoid sealing all sides tight unless wind forces it.
Common Mistakes That Soak People Fast
- Pitching in the lowest nearby spot because it looks “flat”
- Setting the roof too shallow, which invites pooling
- Anchoring the high side first, then fighting flapping fabric
- Letting cordage run into the shelter without a drip line
- Sleeping directly on wet soil without a barrier
- Ignoring wind direction until gear is already wet
For keeping sleep insulation protected long-term, this helps: keeping bedding dry in damp conditions.
Safety Notes for Sudden Rain Shelters
Watch for lightning and tree hazards
If lightning is close, avoid ridge tops, lone tall trees, metal poles held upright, and open shorelines. Drop lower, spread your group out, and wait in a safer area before you build anything tall.
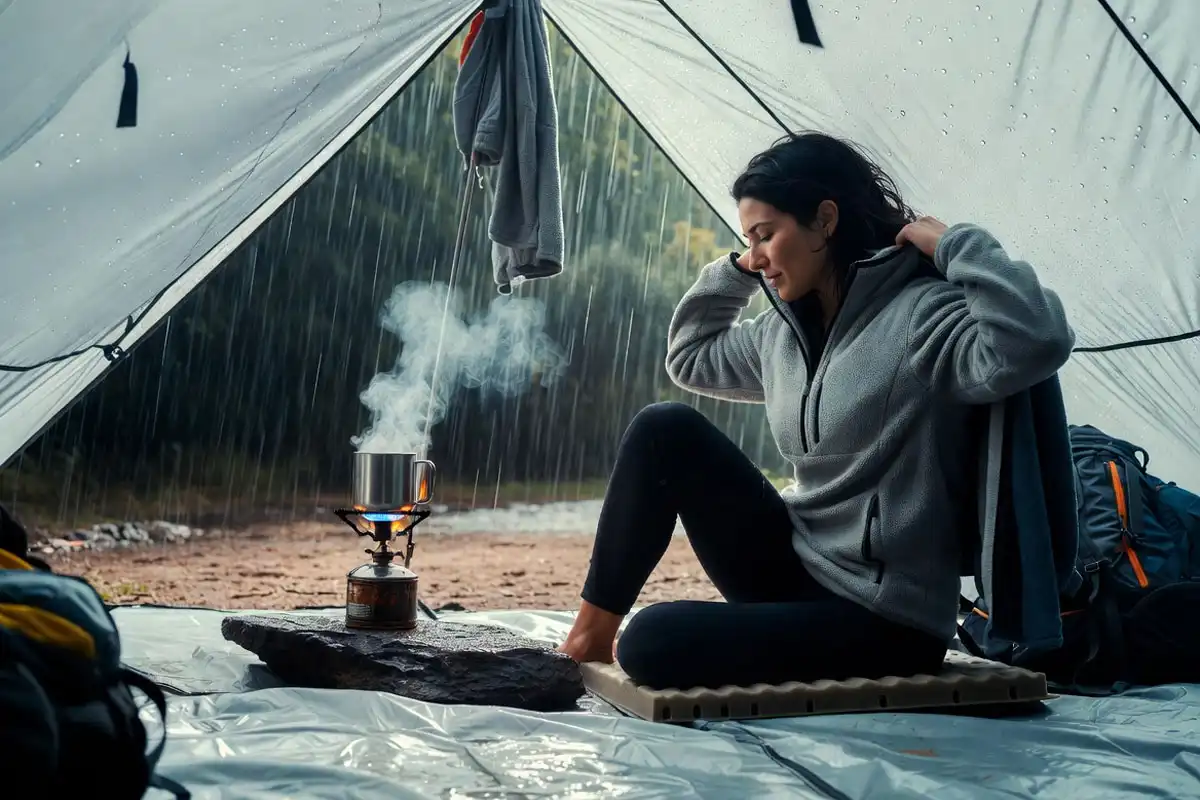
Treat cold rain like a real threat
Cold rain plus wind pushes your body toward hypothermia. Early warning signs include intense shivering, clumsy hands, and mumbled speech. Get a roof up, change into dry layers, and eat a quick calorie snack.
If you camp alone, build extra margin into your decisions. This solo safety guide helps: staying safe while solo camping.
Respect moving water
A calm stream can rise after upstream rain. Keep distance from banks and avoid dry channels that turn into runoff paths.
Conclusion
A sudden rain shelter works when it does three jobs: sheds water with a steep roof, blocks wind on one side, and keeps your body off wet ground. Start with a safe site, anchor the wind edge first, then tension everything until the tarp stays quiet. Practice one shelter style on a dry day, and you will build it cleanly when the sky turns dark.