How to Carry Bear Spray on a Backpack in 7 Quick Steps
Carry bear spray on your hip belt or shoulder strap in a dedicated holster, never buried inside the pack. The canister has to clear leather in under two seconds when a bear charges. This guide walks through the best placement spots, holster types, attachment steps, and the common mistakes I see hikers make every season out in bear country.
To carry bear spray on a backpack safely, mount it in a holster on your hip belt at the strong-side hip, or clip it to a shoulder strap near the sternum strap. Keep the safety clip on, the nozzle pointed away from your face, and the canister within a one-second reach.
Why Bear Spray Placement Matters
A bear charge closes 50 feet in about three seconds. If your spray is in a side pocket, a top lid, or the main compartment, you will not reach it in time. Studies cited by the National Park Service at Yellowstone show bear spray works in over 90% of close encounters when deployed correctly. The deployment part depends on placement.
Placement also keeps the canister safe from punctures, heat, and accidental discharge. A holster locks the trigger, shields the safety clip, and lets you draw with one hand while the other hand stays free for trekking poles or a child.
Where to Carry Bear Spray on a Backpack
The three working spots are the hip belt, the shoulder strap, and the chest harness. Pick one and stay consistent so your hand finds it without thinking.
Hip belt holster (strong-side hip)
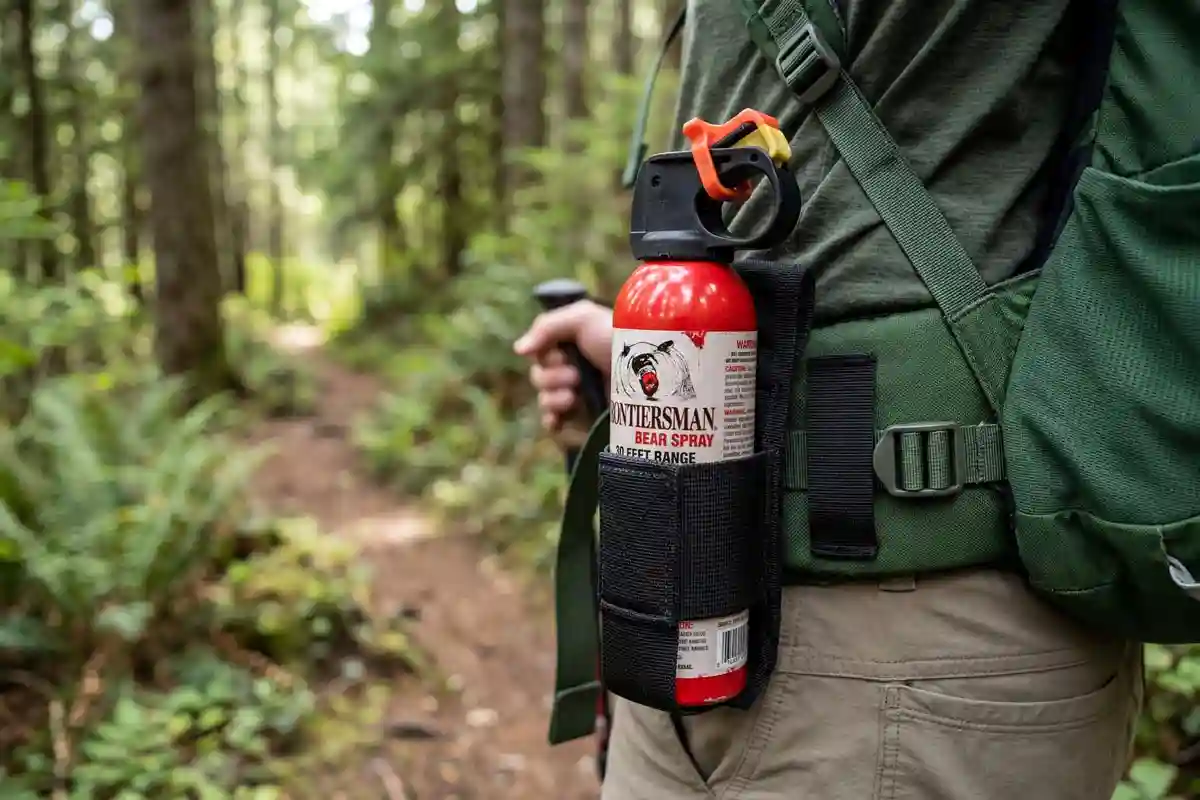
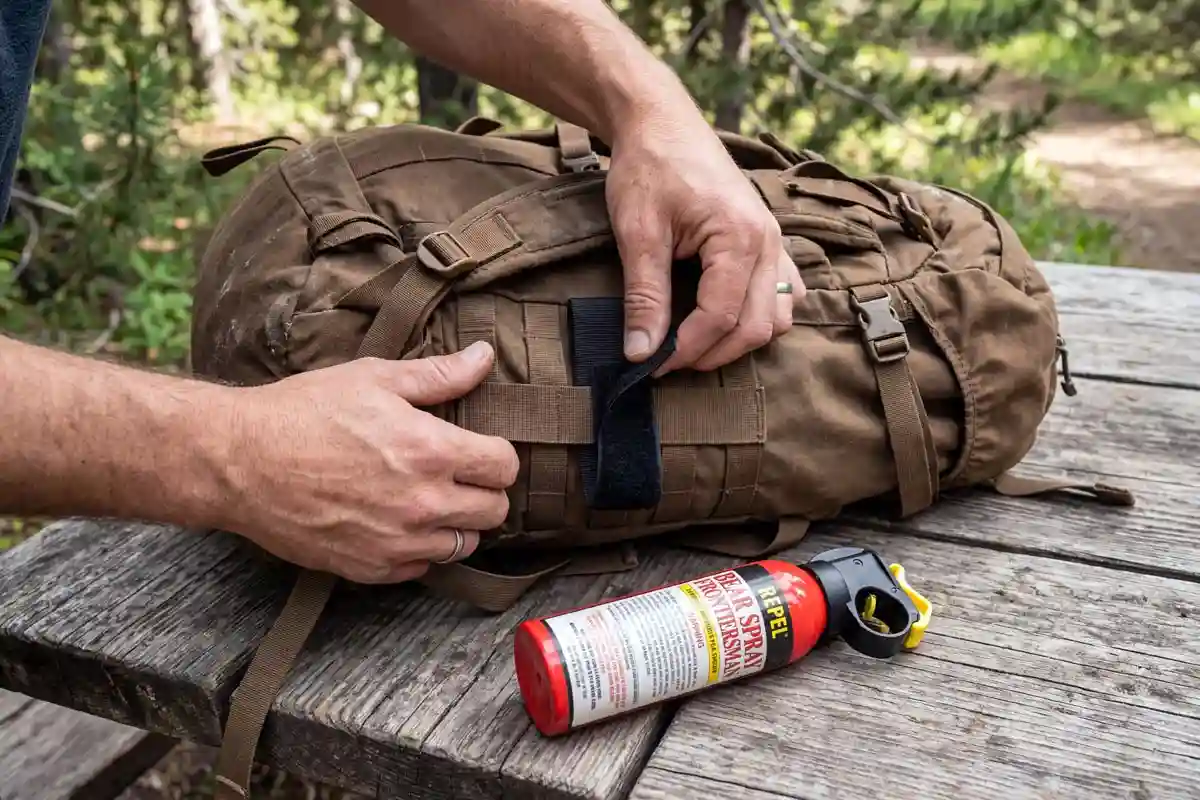
This is my default. The canister sits on the same side as your dominant hand, angled forward at about 30 degrees. You can draw it like a pistol, sweep the safety clip, and aim downrange in one motion. Most hip belt holsters use a Velcro wrap or a webbing loop that threads onto the belt before you put the pack on.
Shoulder strap mount
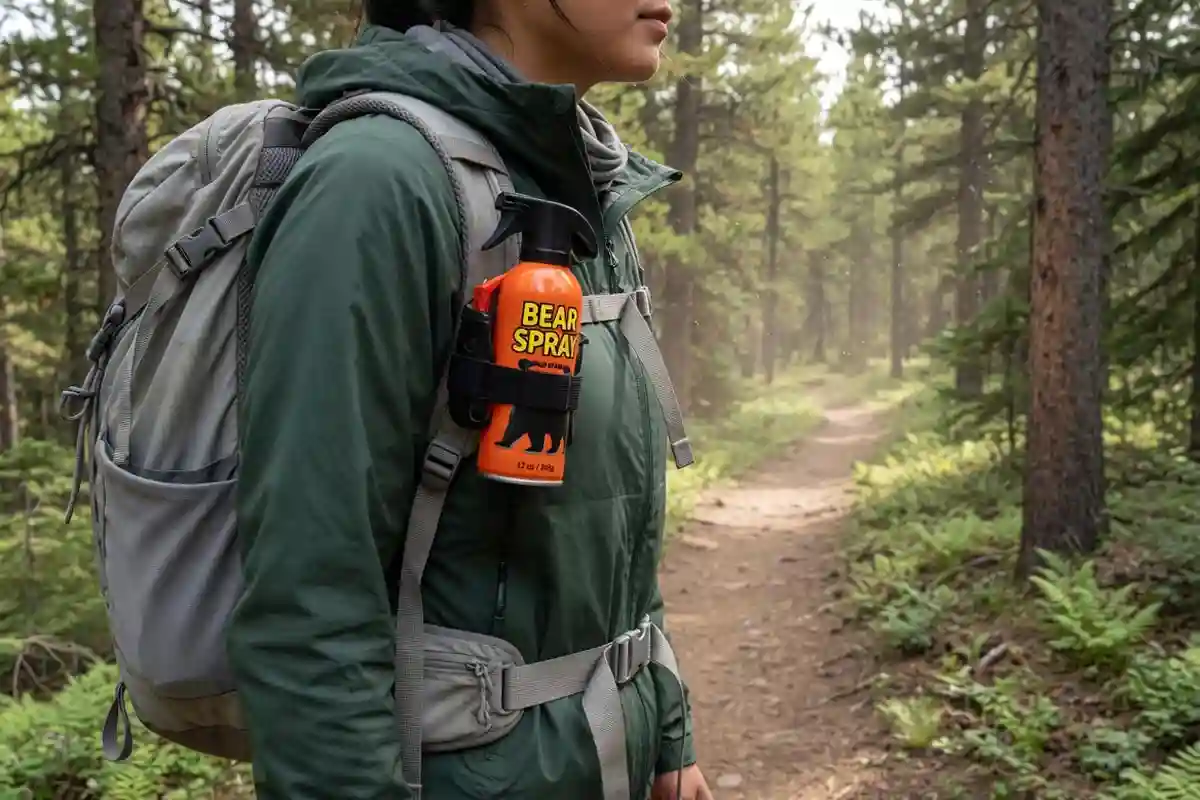
A shoulder strap holster works for runners, day hikers with small packs, and anyone whose hip belt is loaded with a camera or water bottle. Mount the holster on the strap opposite your dominant hand so you can cross-draw across the chest. Keep it below the collarbone but above the sternum strap.
Chest harness or sternum strap
Chest carry suits skiers, scramblers, and bikers who lean forward often. The canister rides high and central. Drawback: a forward fall can press the canister into your ribs, so use a holster with a rigid backer.
How to Attach Bear Spray to a Backpack: Step-by-Step
Here is the process I run every morning before breaking camp.
- Inspect the canister. Check the expiration date stamped on the bottom. Most cans last three to four years. Look for dents, rust at the rim, or a loose safety clip.
- Choose a holster sized to your canister. Counter Assault, Frontiersman, and UDAP all sell holsters matched to standard 7.9 oz and 9.2 oz cans. A loose holster lets the canister bounce out on rough terrain.
- Thread the holster onto the hip belt or shoulder strap. Do this before you put the pack on. Slide it through the webbing loop or wrap the Velcro around the strap.
- Position the holster. Strong-side hip at a 30 degree forward angle, or shoulder strap mid-chest. Test the draw twice with an empty hand.
- Insert the canister nozzle-up, safety clip facing out. This lets your thumb hit the clip during the draw. The trigger should sit under your index finger when you grip.
- Lock any retention strap. Many holsters have a hood or bungee retainer over the top. Keep it closed during travel and pop it open at trailheads in active bear country.
- Practice the draw three times. Once standing, once with a loaded pack, once while walking. If the canister snags or twists, reposition before you hit the trail.
I covered general load balance in my guide on packing a backpack so your shoulders don’t hurt, and the same hip-belt logic applies here. A loaded belt should still leave room for the spray on your dominant side.
Choosing the Right Bear Spray Holster
Look for four features:
- Rigid or semi-rigid shell that protects the trigger from snagging on brush.
- Quick-release closure (Velcro flap, magnetic snap, or open-top with bungee).
- Webbing-compatible mount that fits 1.5 to 2 inch hip belts.
- Drainage hole at the bottom to clear rain and stream water.
Skip elastic-only sleeves. They stretch out, and the canister works loose on rocky descents. Skip duct-tape mounts and zip ties. They look fine in the parking lot and fail by mile three.
When to Switch Placement on the Trail
Conditions change, and so should your carry.
- Brushy, low-visibility trail: Move spray from hip to shoulder strap so a low branch will not knock it loose.
- River crossings: Move spray to a shoulder strap or chest harness above waterline.
- Camp setup: Keep the canister on your body, not on the pack. When you take the pack off, clip the holster to your belt.
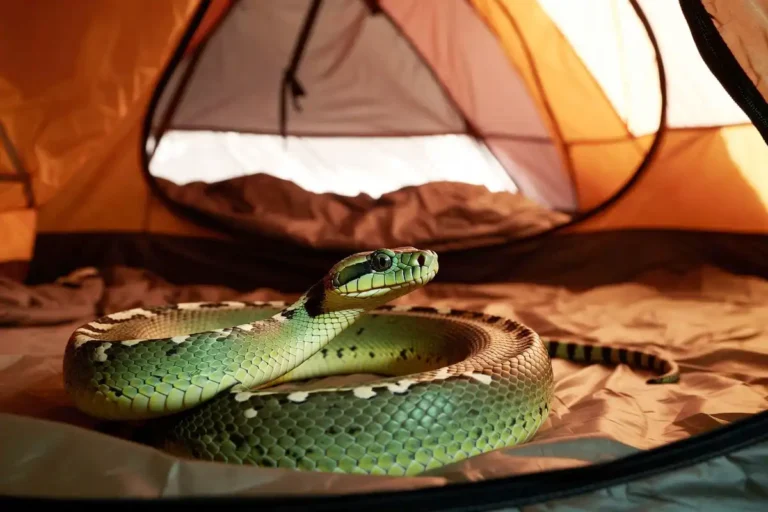
- Sleeping in bear country: Place the canister inside the tent vestibule next to your headlamp, safety clip on. Do not leave it in a hot car or pack pocket overnight.
For broader campsite habits, my notes on staying safe while solo camping cover the small routines that matter when no one else is around to spot a bear.
Mistakes to Avoid When Carrying Bear Spray
I see the same five errors at trailheads every summer.
- Spray buried in the main compartment. You will not retrieve it in time. Move it to the belt.
- Safety clip removed during travel. A snagged trigger sprays you, your dog, or your tent. Keep the clip on until the bear is in sight.
- Carrying expired cans. Pressure drops below the spray rating after the expiration date. Replace it.
- Mounting the canister upside down. Nozzle-down means a slow, awkward draw. Nozzle-up always.
- Leaving the can in a hot vehicle. Above 120°F, the canister can rupture. Pull it out at trailhead parking.
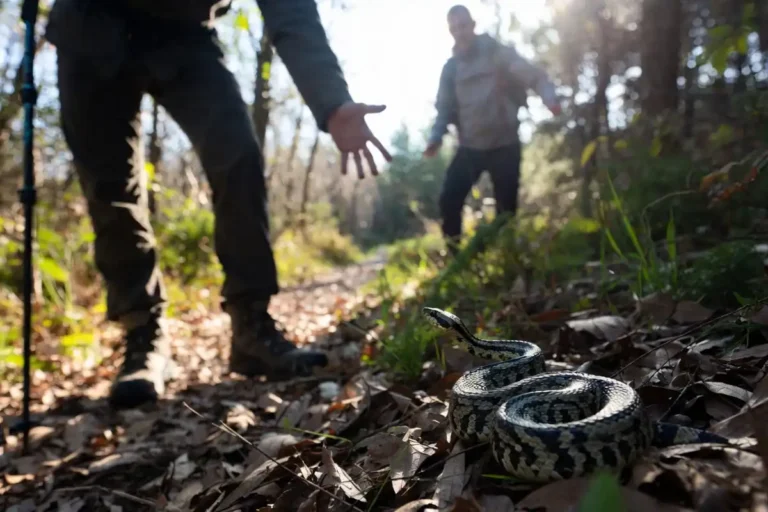
If a bear does show up, the response varies by species. I covered black bear behavior in what to do if a black bear shows up at your campsite, and the deployment principles for spray are the same for both species.
Safety Tips for Bear Spray on a Backpack
- Test the draw before every trip. Three reps from a loaded pack.
- Check wind direction before deploying. Spray drifts. The Glacier National Park bear spray guidance covers wind technique in detail.
- Brief your hiking partners. Each person carries their own can on their own belt.
- Do not fly with bear spray in checked luggage. TSA and FAA prohibit it. Buy at the destination.
- Carry a whistle as backup. I outlined options in signaling for help in the backcountry.
- Replace the canister after any partial discharge. Pressure drops and you will not get a full deployment next time.
FAQs about Carry Bear Spray on a Backpack
Can I carry bear spray inside my backpack?
Where on a backpack should bear spray go?
Is it safe to attach bear spray to the outside of a backpack?
Can bear spray go off accidentally on a backpack?
How do I carry bear spray when hiking with kids?
Final Thoughts
Bear spray works only if you can reach it. A holster on the strong-side hip belt or the shoulder strap gives you the draw speed bear country demands. Match the holster to the canister, lock the safety clip, and practice the draw before you leave the trailhead. Do this once and the routine stays with you for every trip after.