How to Handle a Sprained Ankle on the Trail: Hiker Needs to Know
To handle a sprained ankle on the trail, stop right away, assess what hurts, and treat the injury before taking another step. This guide covers how to recognize sprain severity, apply the RICE method with backcountry-available supplies, decide whether to walk out or wait for help, and prevent making the injury worse. Whether you are a day hiker or a multi-day backpacker, the steps here give you a clear plan to act on when the injury happens and a safer path to get off the trail.
Stop moving immediately and sit down. Apply RICE: Rest the ankle, place a cold wet cloth on it for 15 to 20 minutes (Ice), wrap with Compression using an elastic bandage or bandana starting at the ball of the foot, and Elevate above hip level. A Grade 1 sprain allows slow walking with pole support. A Grade 2 or 3 sprain requires evacuation.
What a Sprained Ankle Is
A sprained ankle is a ligament injury, not a bone break. The lateral ankle ligaments, particularly the anterior talofibular ligament (ATFL), stretch or tear when the foot rolls inward. This inversion motion accounts for the majority of trail ankle injuries.
Torn ligament fibers bleed into surrounding tissue, causing swelling. Bruising follows within hours. Pain and joint instability develop quickly.
How to Grade Your Sprain on the Trail
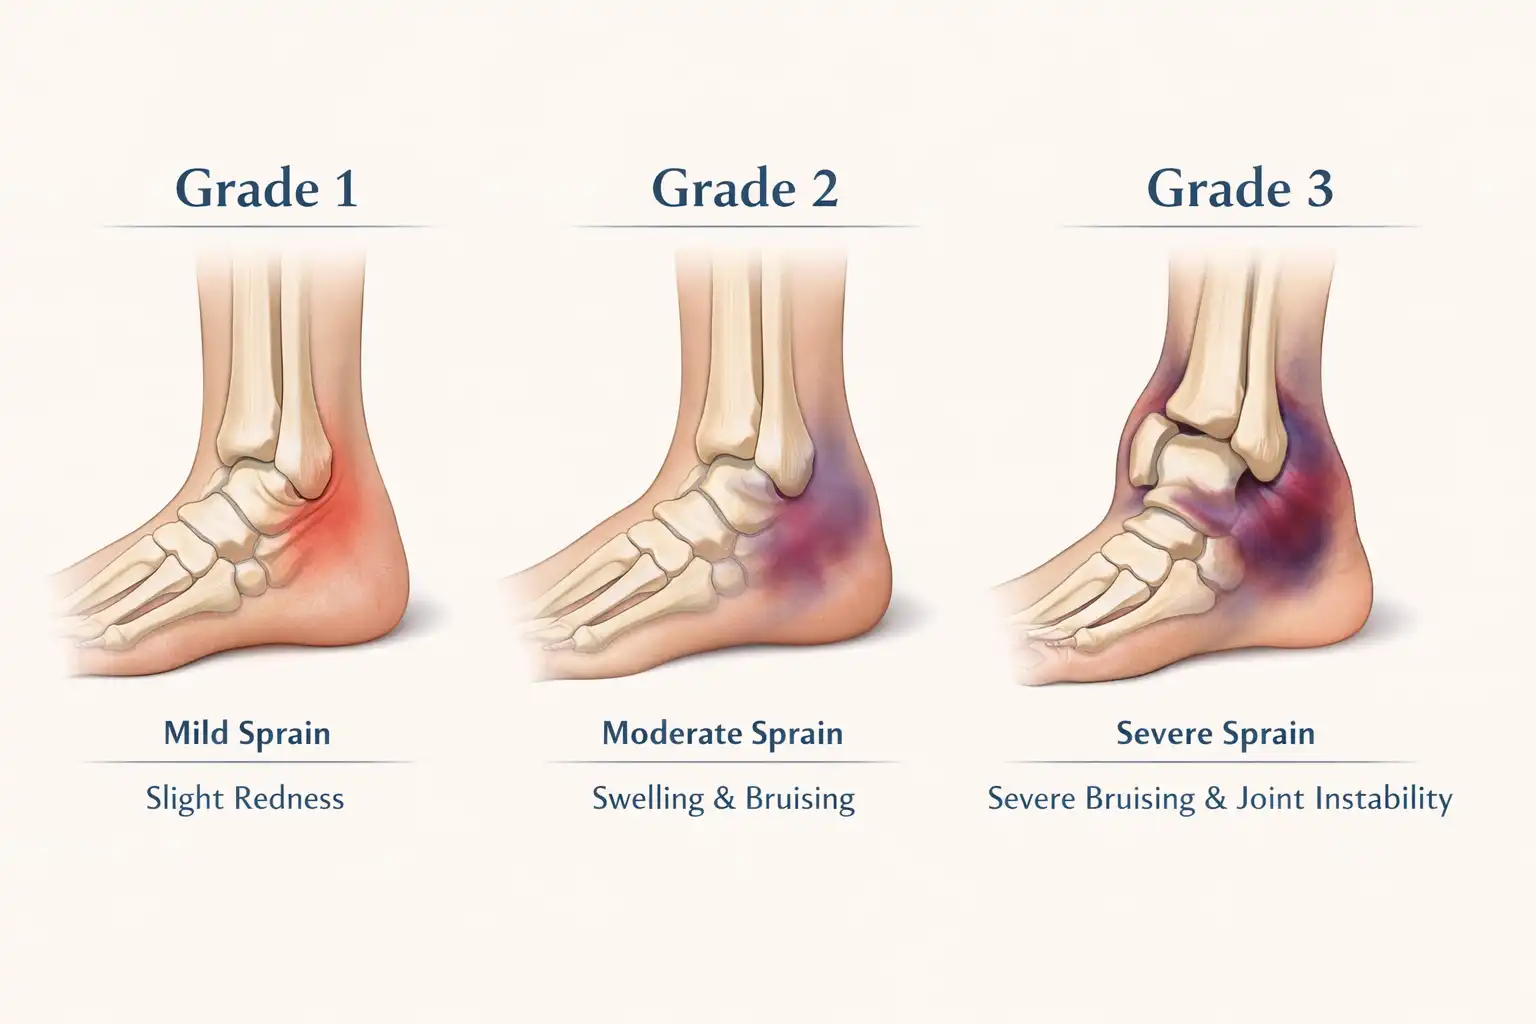
Sprains fall into three grades. Knowing the grade determines your exit plan.
Grade 1 (mild): The ligament stretches without tearing. The ankle feels sore and slightly swollen. Full weight-bearing is possible, though painful.
Grade 2 (moderate): Partial ligament tear. Swelling develops within minutes. The ankle feels unstable and gives way on uneven ground. Walking is painful but possible on flat terrain.
Grade 3 (severe): Complete ligament rupture. Severe swelling and bruising appear rapidly. The ankle cannot support any weight. This grade requires evacuation.
Step-by-Step: How to Handle a Sprained Ankle on the Trail
Step 1: Stop and Sit Down
The moment you feel the roll and the pain, stop walking. Continuing to walk increases ligament damage and worsens swelling. Find a flat spot, sit down, and remove your pack.
Step 2: Check for a Fracture First
Before treating a sprain, rule out a broken bone using the Ottawa Ankle Rules. Press along the posterior edge of the fibula (outer ankle bone) and the tibia (inner ankle bone). Sharp bone pain at those points, rather than soft-tissue tenderness, indicates a possible fracture. Treat it as a fracture and do not attempt to walk.
Also press the navicular bone on the inner foot arch and the base of the fifth metatarsal on the outer foot. Tenderness at either spot suggests a fracture.
Step 3: Apply RICE
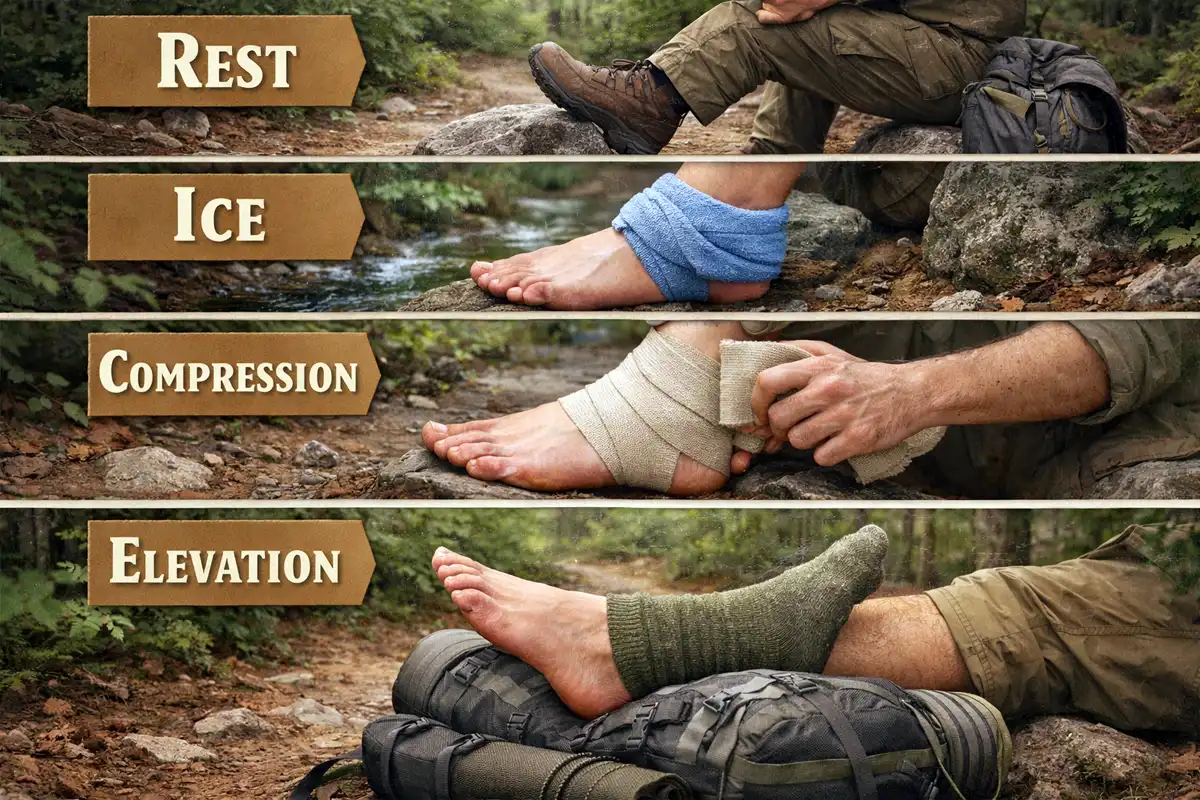
Rest: Keep weight off the ankle completely.
Ice: Soak a cloth or spare sock in cold stream water and apply it for 15 to 20 minutes. On snow terrain, wrap snow in a spare sock before placing it on the ankle. Never apply ice or snow directly to bare skin.
Compression: Wrap with an elastic bandage starting at the ball of the foot and working upward past the ankle. Keep it firm but not tight enough to cut off circulation. Check toes for numbness every 20 minutes.
Elevation: Prop the foot on your pack or a rock so the ankle sits above hip level. This reduces blood pooling in the joint and slows swelling.
Step 4: Test Weight-Bearing After 20 Minutes
After completing RICE, attempt to stand using a trekking pole or a companion’s shoulder for support. If you can bear full weight and take 4 steps without severe pain, the sprain is likely Grade 1 or low Grade 2. Proceed with a slow, supported exit.
If you cannot bear weight at all, or if the ankle buckles under pressure, do not walk. Signal for evacuation.
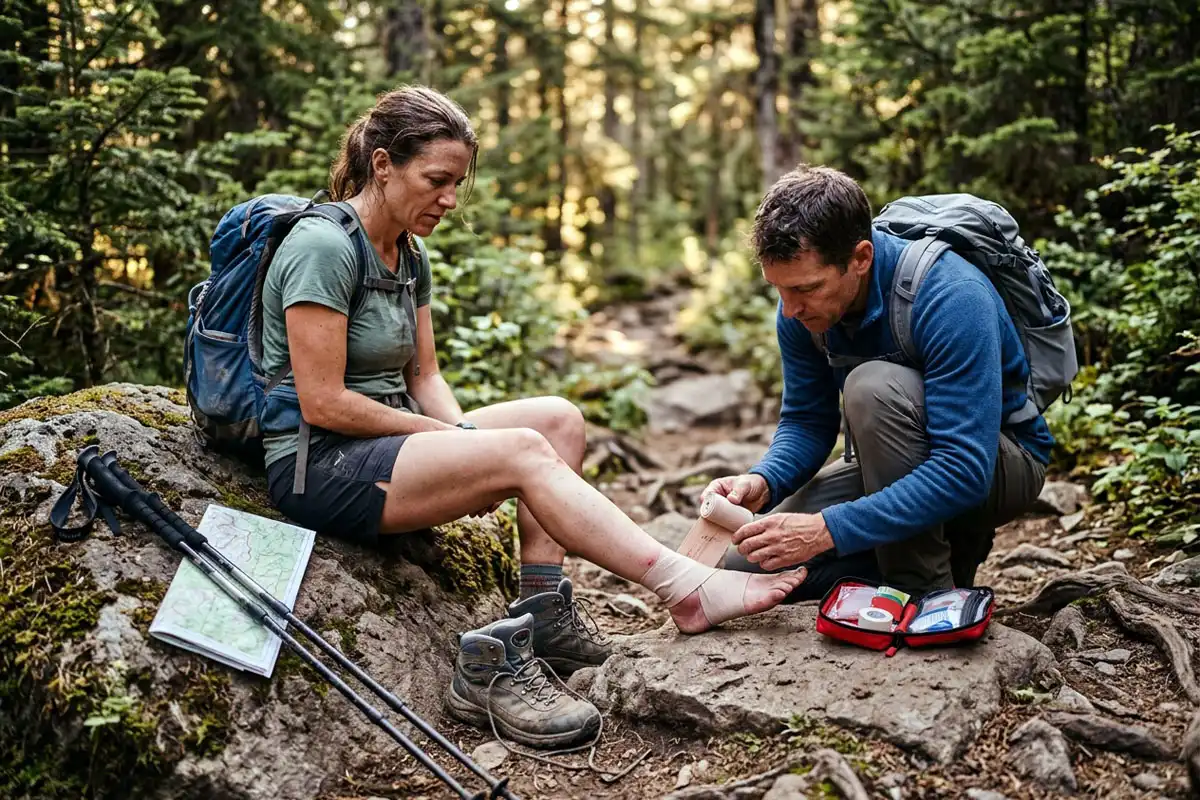
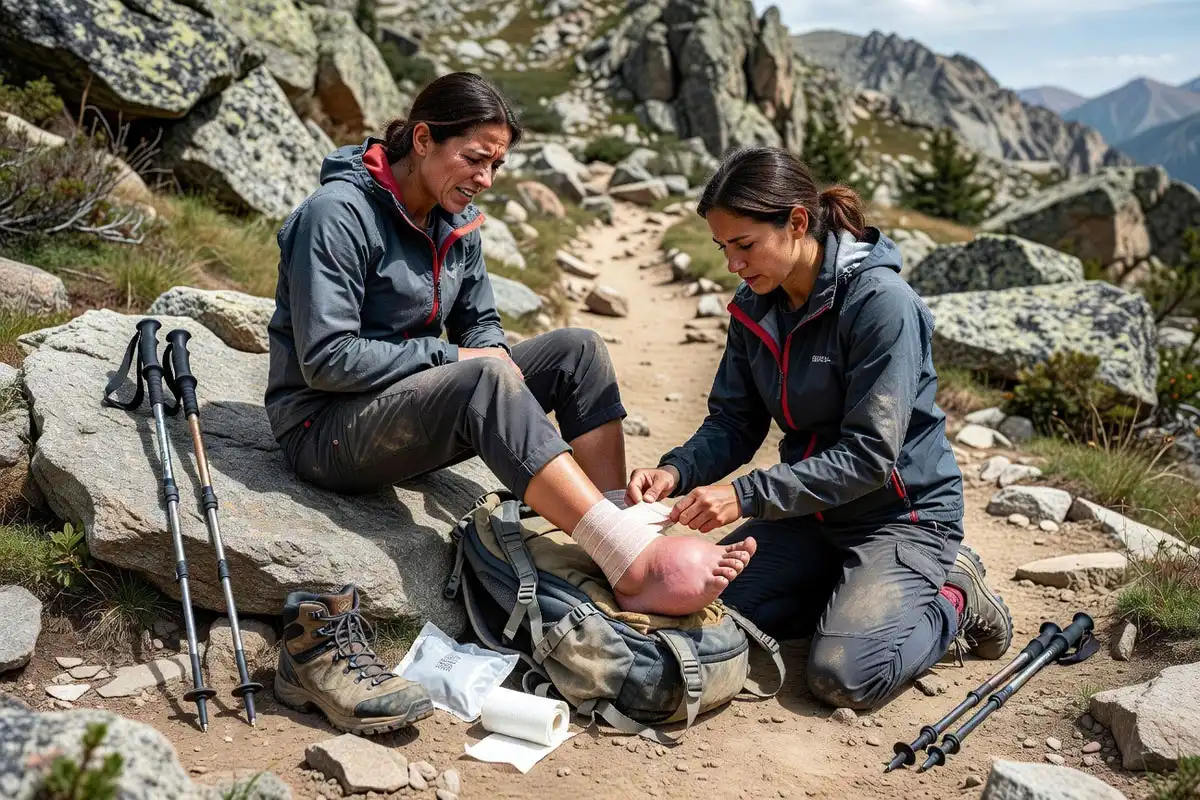
Step 5: Tape the Ankle Before Walking
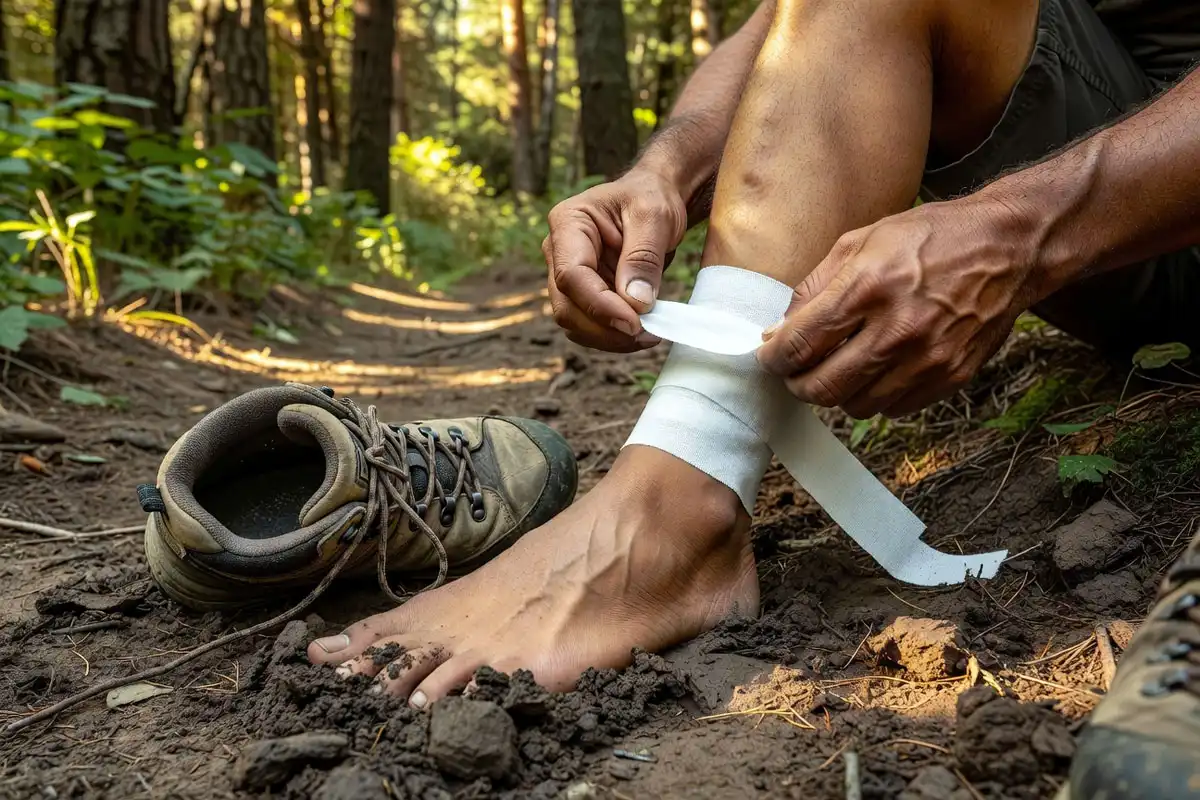
Apply a figure-8 wrap. Start below the arch, cross over the top of the foot, wrap around the heel twice, and secure above the ankle. This wrap limits lateral joint movement during the walk out.
Lace your hiking boot snugly over the wrap. The boot provides additional lateral support and holds the bandage in place.
Step 6: Walk Out Slowly with Pole Support
Use both trekking poles to shift load off the injured ankle. Take short, controlled steps. Avoid loose rocks, exposed roots, and uneven trail sections.
Stop every 20 to 30 minutes. Elevate the ankle for 5 minutes and check that the compression wrap remains firm but not cutting off blood flow. If swelling increases during the walk, reduce your pace further.
I covered pole technique and pacing for joint stress in my article on managing knee pain on downhill hikes, and the same approach applies here for descending with a sprained ankle.
When to Evacuate Instead of Walking Out
Some ankle sprains require outside help. Do not attempt to walk out when:
- You cannot bear weight after 20 minutes of RICE
- Bone tenderness exists along the fibula, tibia, navicular, or fifth metatarsal
- Deformity or a grinding sensation is present at the joint
- Swelling becomes extreme within the first 5 minutes
- The route to the trailhead covers more than 5 miles of technical terrain
I wrote backcountry distress signal methods in a an article, including whistle signals, mirror use, and PLB activation steps.
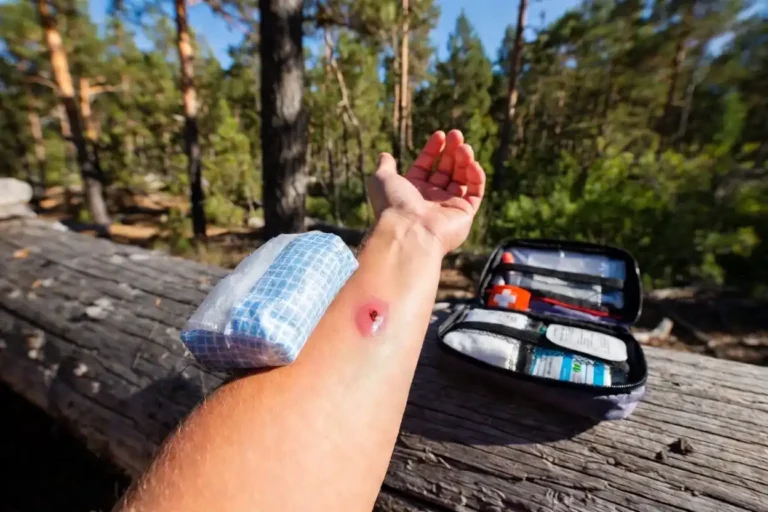
What to Carry for Trail Ankle Injuries
A basic ankle kit adds under 100 grams. Pack these items:
- 1 elastic bandage (ACE wrap), 2 inches wide
- 1 roll of athletic pre-wrap foam
- 8 to 10 strips of 1.5-inch athletic tape
- 1 SAM splint (functions as an improvised brace for Grade 3 injuries)
- Trekking poles (reduce ankle load during exit)
I wrote about camp first aid for minor cuts and blisters in an article; several items from that kit overlap usefully with ankle care.
Mistakes That Make a Trail Sprain Worse
Walking through the pain. Continuing to hike on a freshly sprained ankle converts a Grade 1 injury into a Grade 2 or 3. Stop as soon as the injury happens.
Skipping compression. Elevation alone does not control swelling. Compression slows fluid accumulation in the joint. Both work together.
Removing the boot after a severe sprain. Keep the boot on during the walk out. It provides critical lateral support. Once removed, rapid swelling can prevent you from putting it back on.
Applying ice directly to skin. Ice burns develop in under 10 minutes on bare tissue. Always wrap the cold source in cloth.
Assuming all ankle pain is a sprain. Fractures and sprains present similarly. Bone-point tenderness along the fibula or fifth metatarsal indicates a possible fracture. Do not walk until you confirm bone tenderness is absent.
How to Reduce Ankle Sprain Risk Before the Hike
Ankle strength and footwear selection reduce sprain frequency. Hikers who train single-leg balance exercises develop better ankle proprioception. This improves the foot’s automatic correction when it begins to roll.
Well-fitted hiking boots with ankle collar support reduce lateral movement on uneven surfaces. I covered the process of breaking in new hiking boots in detail, including fit tests that also improve ankle stability.
Sock thickness and cushioning around the ankle collar affect how the boot fits and supports the joint. My article on preventing hiking blisters covers sock selection with direct relevance to ankle fit.
FAQs on Trail first aid for an ankle sprain
Can you walk on a sprained ankle on the trail?
A Grade 1 sprain allows slow walking with compression and pole support. A Grade 2 sprain makes walking painful but possible on flat terrain with taping. A Grade 3 sprain prevents weight-bearing and requires evacuation.
How long does a trail ankle sprain take to heal?
Grade 1 sprains heal in 1 to 3 weeks with rest and light rehabilitation. Grade 2 sprains require 3 to 6 weeks. Grade 3 sprains take 3 to 6 months and sometimes require surgical repair.
Should I remove my hiking boot after a sprained ankle?
Keep the boot on during the walk out. It controls swelling and provides lateral joint support. Remove it once you reach the trailhead or camp. Removing it earlier allows rapid swelling that prevents you from putting it back on.
What is the difference between a sprained ankle and a broken ankle on the trail?
A sprain damages ligaments. A fracture breaks bone. Both produce pain, swelling, and bruising. The field test is bone-point tenderness directly on the fibula, tibia, navicular, or fifth metatarsal. Tenderness on the bone itself indicates a possible fracture.
Should I keep compression on a sprained ankle overnight at camp?
Remove the compression wrap before sleeping to allow normal circulation. Elevate the ankle on a rolled sleeping pad or your pack. Rewrap with compression before standing in the morning.
Final Thoughts
A sprained ankle on the trail becomes manageable the moment you stop walking and apply RICE correctly. The critical decisions are grading the sprain, ruling out a fracture, and choosing between a supported walk-out or calling for evacuation.
Carry an elastic bandage and trekking poles on every hike. Those two items alone improve your ability to exit safely from most Grade 1 and low Grade 2 injuries.