How Does a Self-Inflating Camping Pad Work? Full Field Guide
A self-inflating camping pad works by pairing open-cell foam with an airtight outer shell. When you open the valve, the compressed foam expands and pulls outside air through the valve into the pad. This guide covers the inflation mechanism, foam and R-value, setup steps, storage, troubleshooting, and field tips so you can rely on your pad through cold and warm seasons.
To inflate a self-inflating camping pad, open the valve and let the compressed open-cell foam inside expand on its own. As the foam expands, it draws air through the valve and fills the sealed chamber. The foam adds loft and insulation. The trapped air adds cushion. Together they support your body and block ground cold.
What Is a Self-Inflating Camping Pad
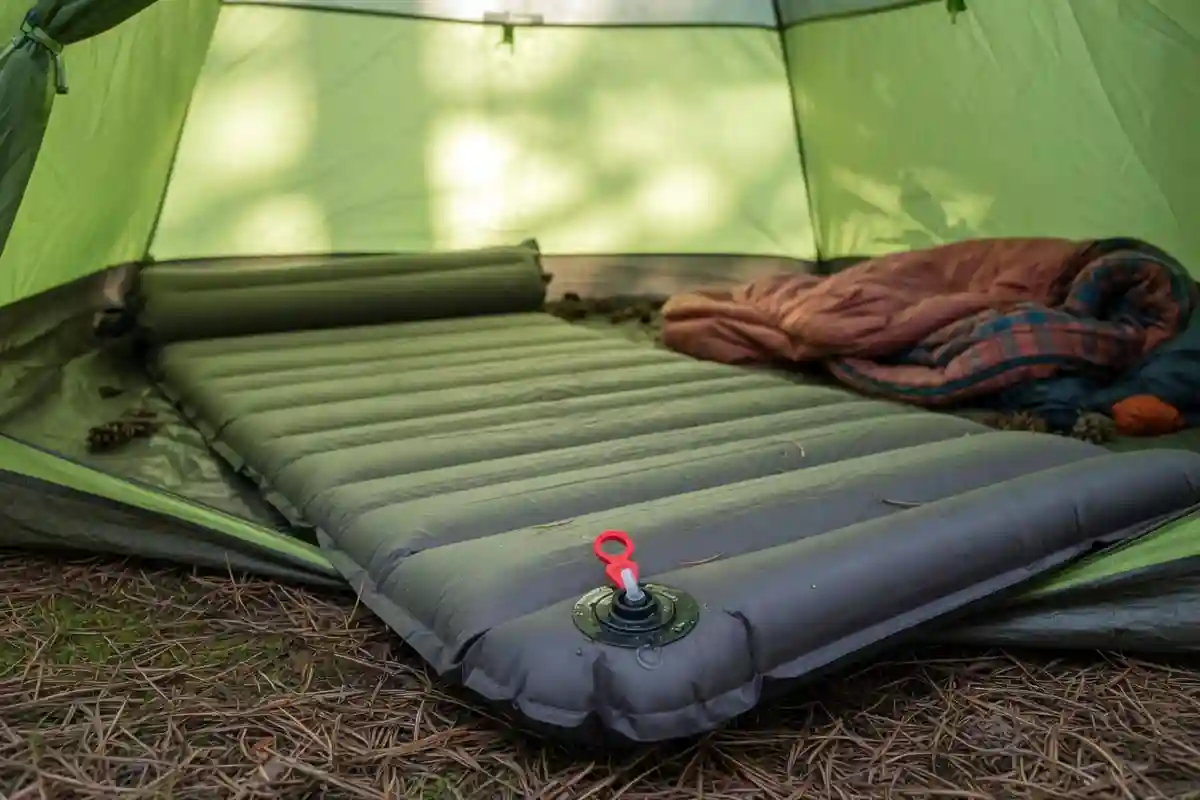
A self-inflating camping pad is a sleeping surface built from three working parts: an open-cell foam core, an airtight fabric shell, and a one-way valve. The foam holds shape under pressure. The shell traps air inside. The valve lets air in or out.

Cascade Designs introduced the first commercial self-inflating pad, the Therm-a-Rest, in 1972. The core idea has stayed the same since then. The foam expands and pulls air through the valve. The sealed shell keeps that air locked in until you release the valve.
How a Self-Inflating Sleeping Pad Inflates
A self-inflating sleeping pad inflates through a pressure difference between inside and outside the pad. When the pad is rolled tight with the valve closed, the foam stays squeezed flat and most of the air is forced out. Inside pressure stays low.
Open the valve and the foam tries to spring back to its full shape. As it expands, the inside volume grows. Outside air rushes in through the valve to balance the pressure. The pad lifts on its own with no breathing or pumping needed.
The foam provides the structure. The air provides the cushion. The shell keeps both in place.
Parts of a Self-Inflating Pad
A standard self-inflating pad has four working parts:
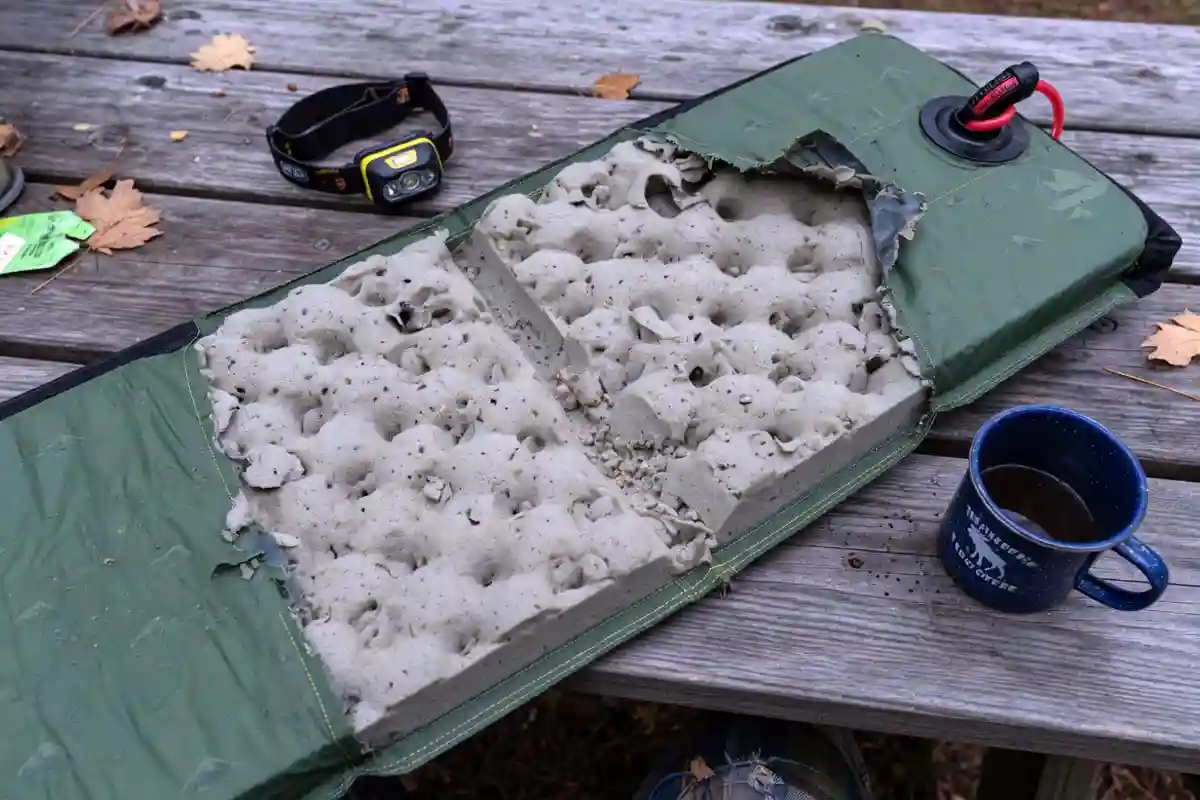
- Foam core: Open-cell polyurethane foam. The cells are connected, so air moves freely between them. Foam density and thickness control firmness and warmth.
- Outer shell: Nylon or polyester fabric with a polyurethane or TPU coating. The coating blocks air leaks through the fabric.
- Valve: A twist valve or flat valve at one corner. It opens for inflation and closes to lock air in.
- Bonding points: Internal welds that hold the top and bottom shell at fixed distances. These keep the pad from ballooning into a round shape.
How to Inflate a Self-Inflating Pad Step by Step

Follow these steps to inflate your pad in the field:
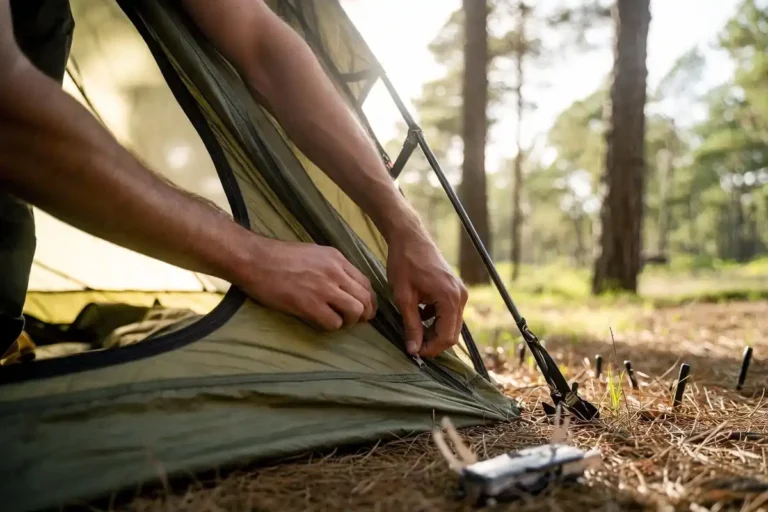
- Lay it flat. Place the rolled pad on a clean spot inside your tent. Unroll it with the valve at one end.
- Open the valve. Twist or flip the valve to the open position. You may hear air rushing in.
- Wait 5 to 15 minutes. The foam expands at its own pace. Cold weather slows it. Warm air speeds it up.
- Top off if needed. Add 2 to 5 short breaths through the valve, or use a pump bag. This sets the firmness you want.
- Close the valve. Twist or flip it shut. Press the pad once to check for air loss.
For long trips, use a pump bag instead of breath. Breath holds moisture, which can soak into the foam over time and cause mildew.
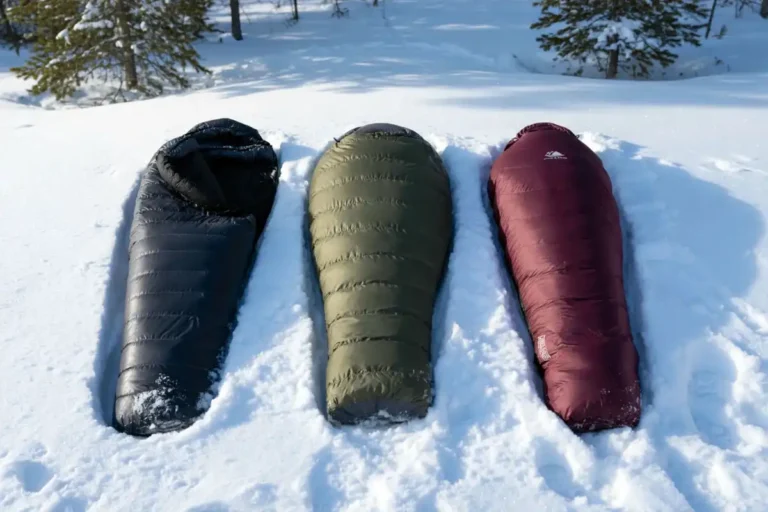
How R-Value Affects Warmth on a Self-Inflating Pad
R-value measures how well a pad resists heat loss to the ground. The ASTM F3340 standard, set in 2020, gives all pads a single test method. A higher R-value means more insulation under your body.
A general guide:
- R 1 to 2: Summer use, warm nights above 50 degrees Fahrenheit
- R 2 to 4: Three-season use, spring and fall camping
- R 4 to 6: Cold weather and snow camping
Self-inflating pads sit in the middle range for most models. Their foam adds steady insulation that pure air pads do not match at the same weight.

Cold ground draws heat from your body faster than cold air, which is why a pad matters as much as a sleeping bag. The CDC’s notes on cold stress cover how surface contact speeds up heat loss.
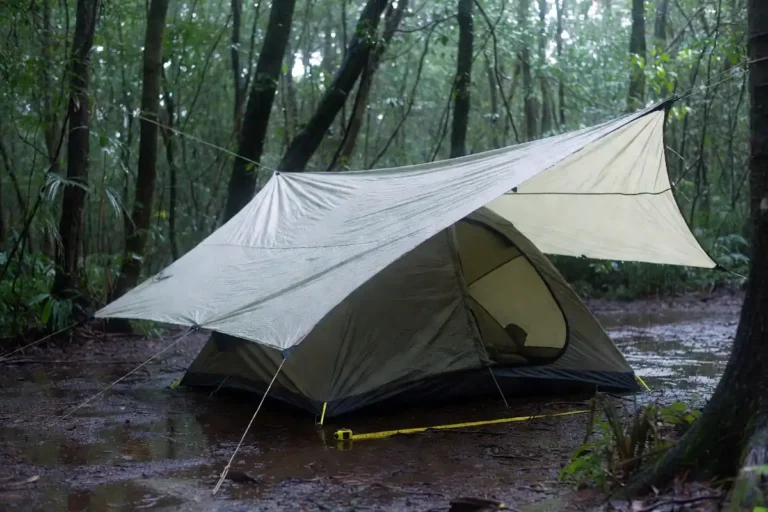
When to Use a Self-Inflating Pad
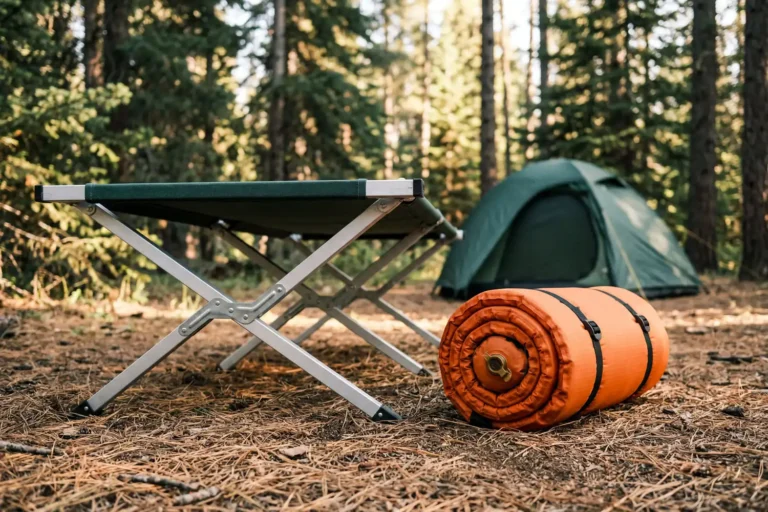
A self-inflating pad fits car camping, base camping, and three-season backpacking. The foam adds reliable warmth, and the build handles repeat trips well.
For ultralight backpacking, a pure air pad weighs less. For winter snow camping, stack a closed-cell foam pad under your self-inflating model to add R-value with little risk. I wrote about cold weather sleep limits in another article so you can match your pad to the trip ahead.
How to Store and Care for Your Pad
Storage habits decide how long your pad lasts. Keep these rules:
- Store flat or loosely rolled with the valve open. This lets the foam stay lofted. A pad rolled tight with the valve closed for months will lose foam memory.
- Keep it dry. Wipe the shell after wet trips. Let the inside dry by leaving the valve open in a warm room for a day.
- Pack it last in your tent. Sharp gear, twigs, and rocks puncture the shell. A ground cloth that fits your tent floor gives the bottom side a buffer.
- Carry a patch kit. Most pads ship with one. Tenacious Tape patches also work for small holes in the field.
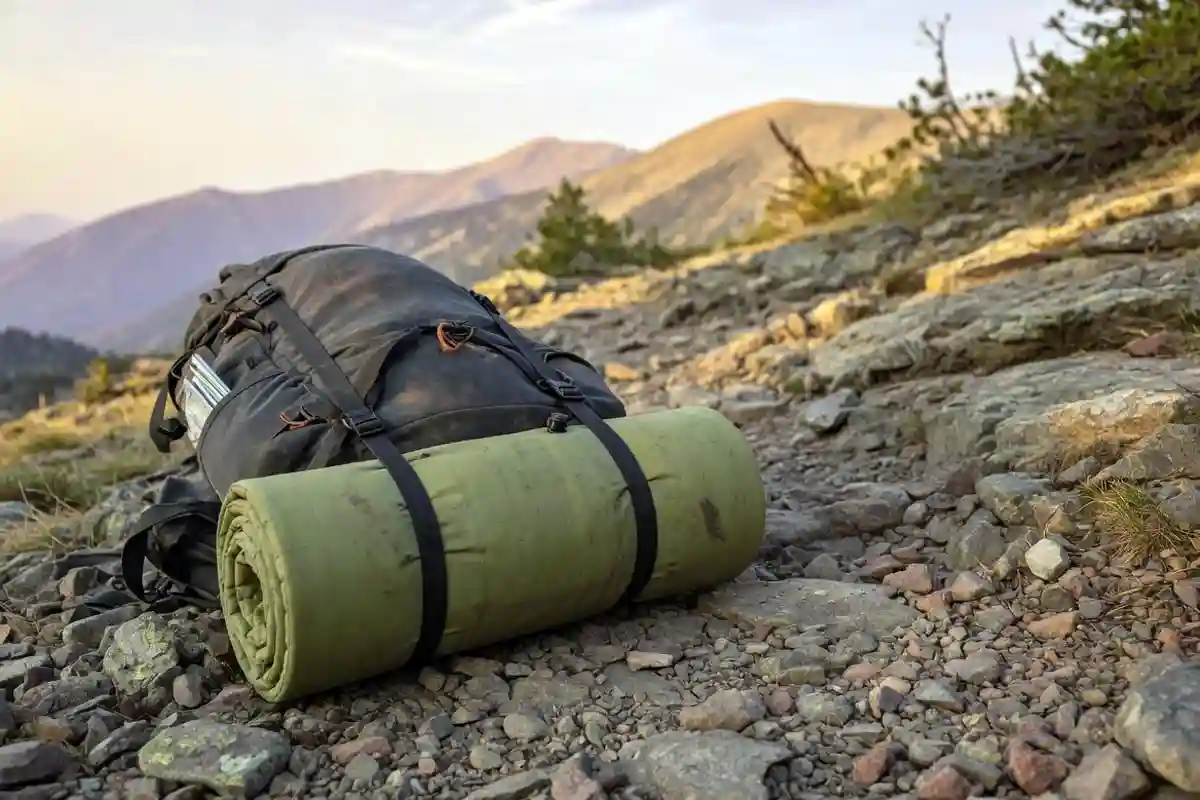
For pack carry, attaching the pad to your pack the right way keeps it from rubbing on branches or dragging in mud.
Common Mistakes to Avoid
A few habits cause most pad failures in the field:
- Inflating with hard breath only. Moisture from your lungs collects inside the foam. Over months, it grows mildew. Use a pump bag for full inflation.
- Storing rolled and compressed. The foam loses spring. After two seasons of tight storage, the pad never reaches full thickness again.
- Setting the pad on rough ground. Pine needles and small stones poke pinholes. Sweep the spot first.
- Closing the valve before topping off. A soft pad lets your hips touch the ground. Add breath or a pump until the pad firms up under your body weight.
Troubleshooting a Self-Inflating Pad
When your pad fails to inflate or feels flat, run through these checks:
- Slow inflation: Cold foam expands slowly. Open the valve and shake the pad to help. In freezing weather, plan 20 minutes.
- Soft pad after closing: Top off with breath or a pump. Check the valve for trapped grit.
- Won’t hold air: Inflate fully, close the valve, and submerge the pad in a tub. Bubbles point to the leak. Mark the spot with tape and patch with the repair kit.
- Valve leaks: Clean the threads with water. Most twist valves use an O-ring that you can replace with a spare from the maker.
Safety and Warmth Notes
Cold ground pulls body heat through any sleeping bag without insulation under it. A pad with the right R-value is one link in the warmth chain. I wrote more about how a sleeping bag traps body heat, and the pad sits at the start of that chain.
For deep cold, layer a closed-cell foam pad under your self-inflating pad. The closed-cell pad blocks puncture risk and adds R-value. Pair this with smart tent setup, and review tips on staying warm at night when temperatures drop.
FAQs on Self-Inflating Camping Pad
How long does a self-inflating pad take to inflate?
Do you have to blow into a self-inflating pad?
How long does a self-inflating pad last?
Can you repair a punctured self-inflating pad?
Are self-inflating pads warmer than air pads?
Conclusion
A self-inflating camping pad gives you steady insulation and a quick setup with little effort. The open-cell foam pulls air through the valve, the shell holds it in, and the bonded shape supports your body through the night. Match the R-value to the season, top off the pad before sleep, and store it flat at home with the valve open. Treat it well and one pad will follow you through years of camping.