How to Attach a Sleeping Pad to a Backpack Without It Slipping
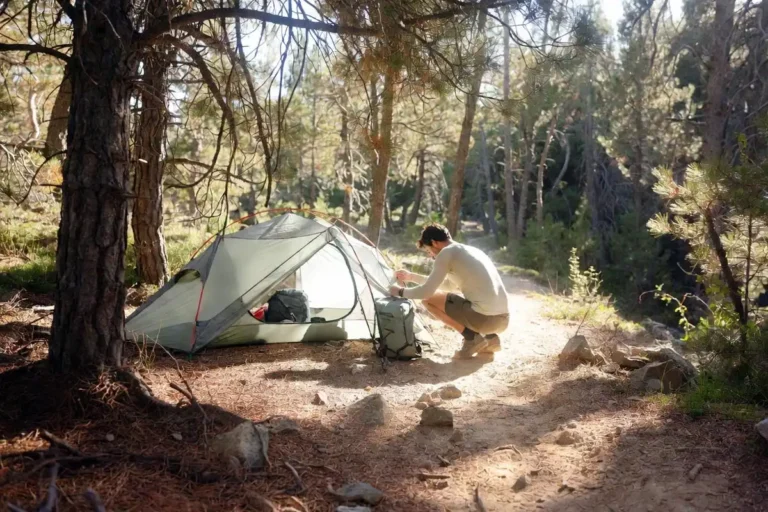
A sleeping pad can attach to a backpack using side compression straps, bottom lash points, or the main compartment itself, depending on the pad type you’re working with. This guide covers every reliable method I use on the trail for foam, inflatable, and self-inflating pads. You will learn correct placement, strap setup, weight balance, weather protection, and the small mistakes that cause shifting.
To attach a sleeping pad to a backpack, roll or fold the pad tightly, place it horizontally under the bottom straps or vertically along the side compression straps, then tighten until the pad sits firm with no sway. Foam pads ride outside; inflatable pads pack inside the main compartment for puncture protection.
What Is the Right Way to Attach a Sleeping Pad
The right way to attach a sleeping pad keeps the pad close to the pack body, balanced left to right, and protected from snags. A loose pad swings, throws off your stride, and catches on branches. A tight pad rides quiet, holds its shape, and stays dry.
Three core attachment points exist on most modern backpacks:
- Side compression straps for vertical mounting
- Bottom lash points or sleeping bag straps for horizontal mounting
- Inside the main compartment for inflatable pads
The choice depends on pad type, pack volume, and trail conditions.
Where to Attach a Sleeping Pad on a Backpack
Five attachment spots work well, and each suits a different setup.
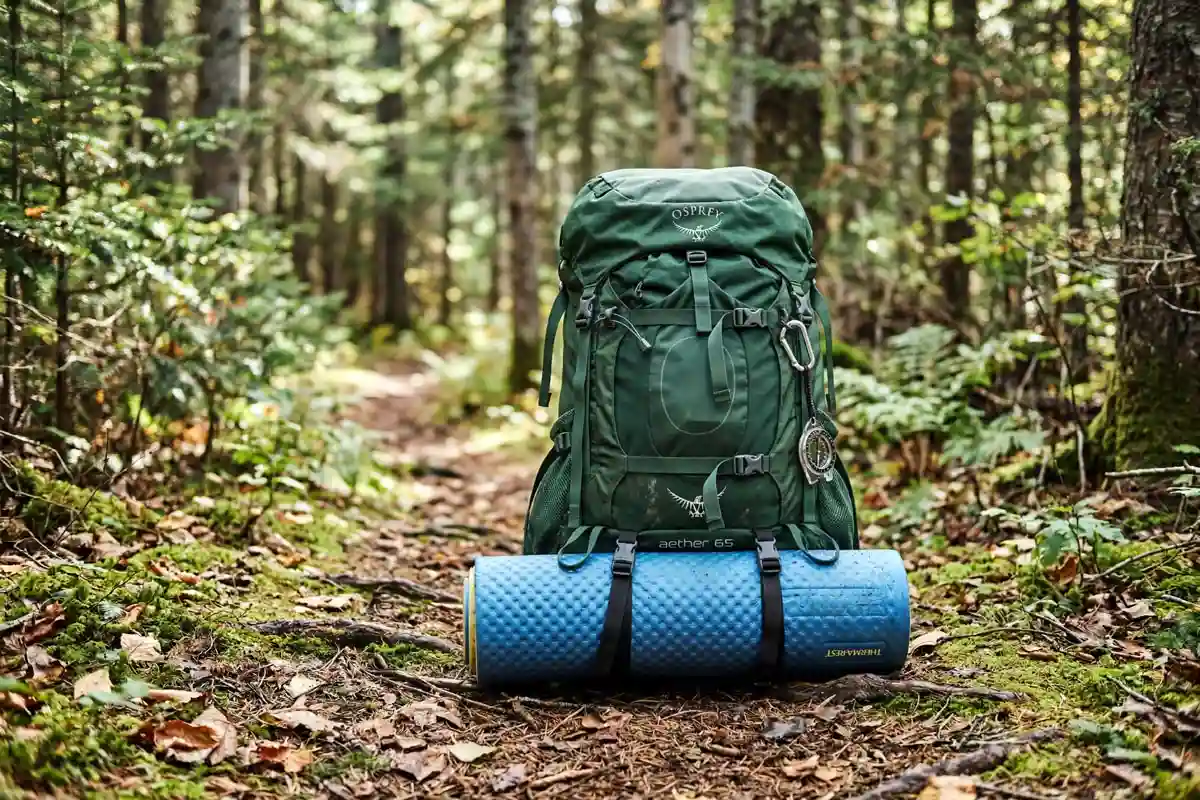
1. Bottom of the pack (horizontal). The most common spot for foam pads. Two webbing straps or daisy chain loops hold the rolled pad below the main bag.
2. Top of the pack, under the lid. Some packs include a top lash point. This works for thin foam pads on day hikes.
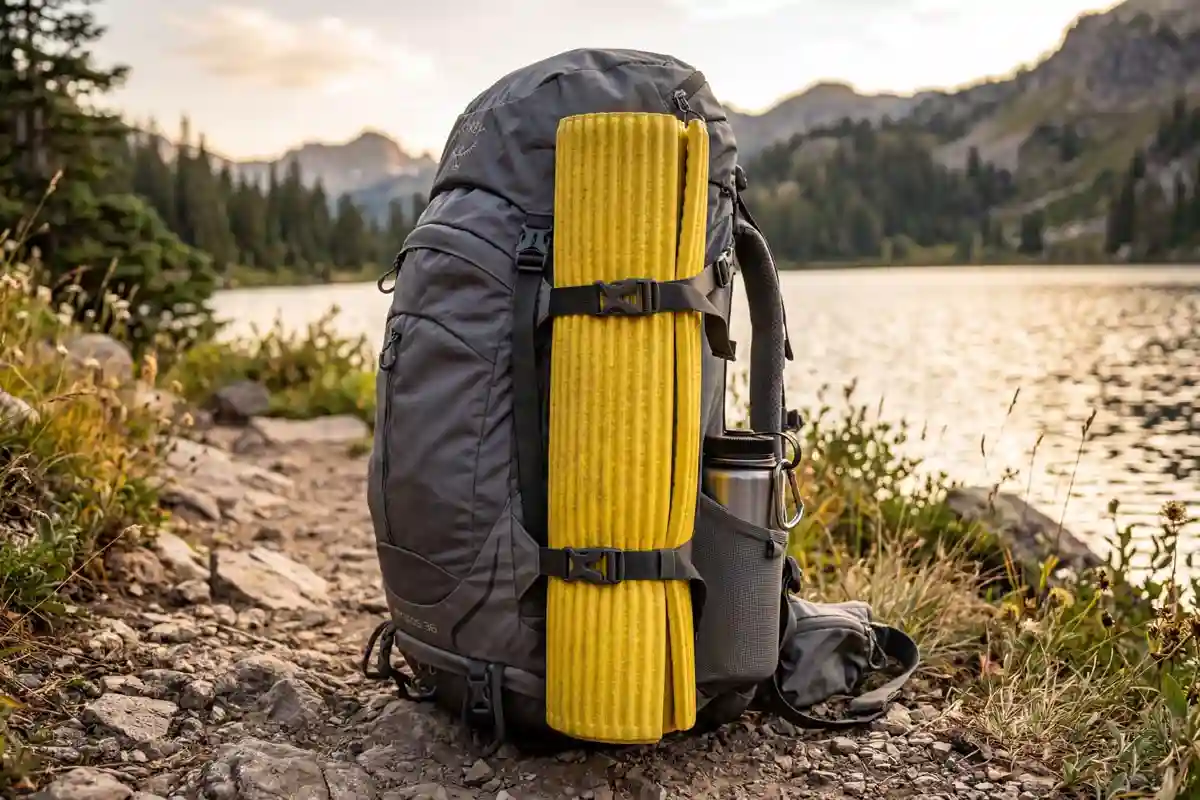
3. Side compression straps (vertical). Run the pad along one side, parallel to the pack frame. This keeps weight centered.
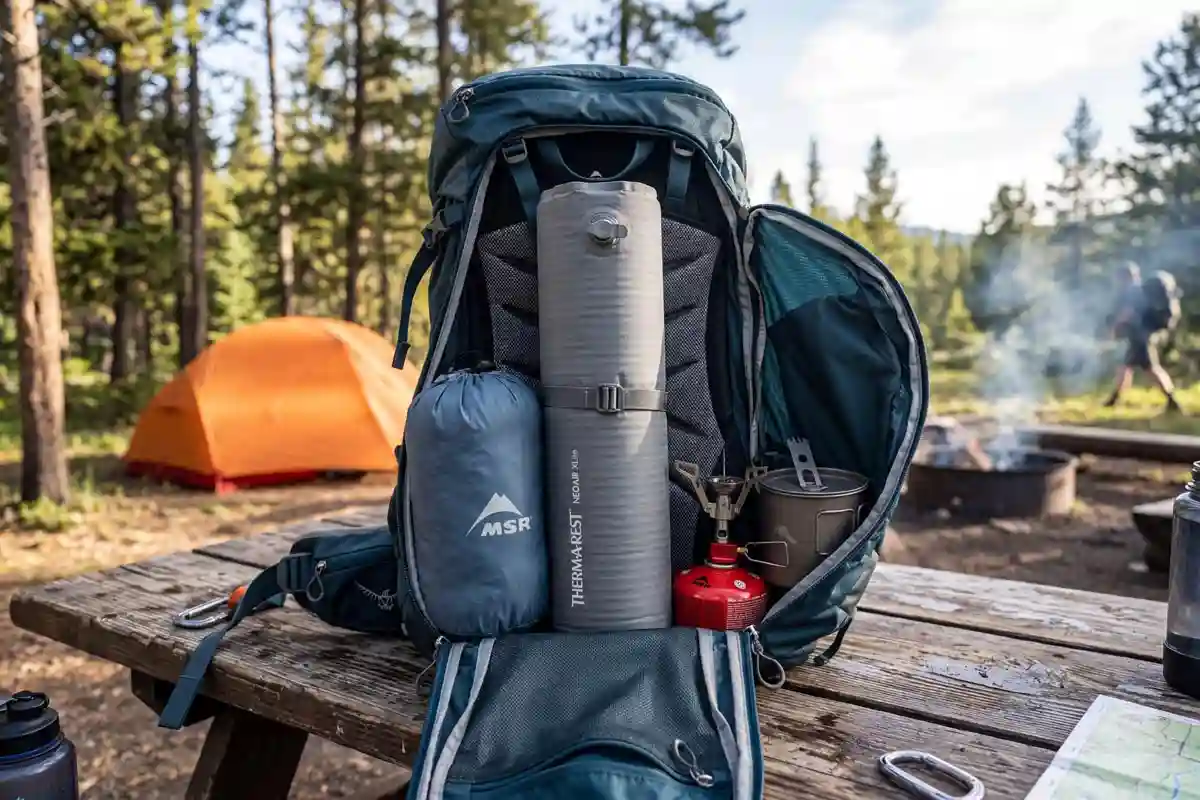
4. Inside the main compartment. Best for inflatable pads. Place the deflated pad along the back panel as a frame sheet.
5. Front strap or daisy chain. Useful when the bottom is full of a tent or sleeping bag.
The same logic applies when you secure a sleeping bag for the trail, so the principle carries across both items.
When to Carry the Pad Inside vs Outside the Pack
Carry the pad outside when:
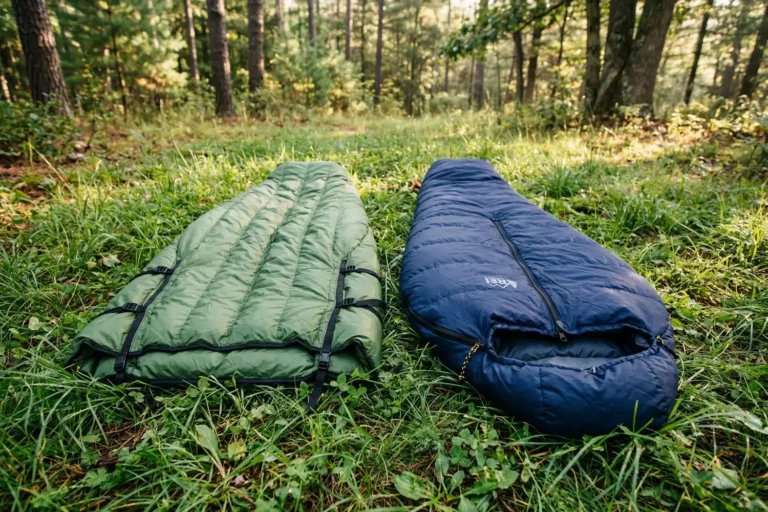
- You use a closed-cell foam pad like a Z-Lite or RidgeRest
- The pack has under 50L of volume
- You need quick access at lunch breaks
Carry the pad inside when:
- You use an inflatable pad like a NeoAir or Sea to Summit
- Trail conditions include thorns, rock scrambles, or heavy brush
- Heavy rain is forecast and the pad lacks a dry sack
Foam pads survive scrapes. Inflatable pads do not. A single thorn can end a 200-dollar pad’s life.
How to Attach a Foam Sleeping Pad: Step-by-Step
Foam pads ride best on the outside. Follow these steps for a clean mount.
- Roll or fold the pad tightly. Z-fold pads stack flat. Round-roll pads cinch with a stuff sack or two short straps.
- Pick the spot. Bottom for short pads, side for longer pads, top for thin day-hike pads.
- Loosen the pack straps fully. This gives the pad room to seat against the pack body.
- Position the pad parallel to the pack frame. Horizontal at the bottom, vertical along the side.
- Thread the straps through any pad loops or stuff sack daisy chain. Skip this step on bare foam pads.
- Tighten the straps in even passes. Cinch one side, then the other, then back again. Even tension prevents tilt.
- Check for sway. Lift the pack and shake. The pad should feel locked, not floppy.
Pack your hiking backpack so shoulders do not hurt before you load the pad. Heavy items go close to the back, near the shoulder blades.
How to Attach an Inflatable or Self-Inflating Pad
Inflatable pads need different handling. The valve, baffles, and shell film tear on contact with sharp objects.
- Deflate the pad fully. Open the valve, roll from the closed end, expel all air.
- Stuff or roll into the included sack. Most inflatable pads ship with a compression bag.
- Place the pad inside the main compartment. Lay it flat against the back panel, behind heavier gear.
- Skip outside mounting unless protected. A dry sack with a foam sleeve adds enough armor for short stretches outside.
Self-inflating pads like the Therm-a-Rest ProLite handle outside mounting better than air pads but worse than foam. I keep mine inside whenever space allows.
How to Balance Weight After Attaching the Pad
A pad weighs little, often 200g to 600g, but bad placement still throws off your stride. Heavy gear (food, water, stove fuel) belongs near the upper back, between the shoulder blades. The pad goes outside the heavy core, never on top of it.
For deeper guidance on load order, I covered this in detail in a piece on spreading weight evenly across a camping backpack. The pad slot does not change the load triangle. It bookends the bottom or sides.
The same load principle appears in REI Expert Advice on loading a backpack: heavy near the back, medium around it, light at the bottom and top.
How to Protect the Pad From Rain and Branches
Rain soaks foam pads in minutes. A wet pad freezes overnight and loses warmth fast, since damp foam loses R-value as the trapped air gives way to water.
Three protection moves work:
- Cover the pad with a trash compactor bag or dry sack before strapping it on
- Slide the pad inside a fitted stuff sack and cinch tight
- For bushwhacking trails, move the pad inside the main compartment
I keep a 20L dry sack in my kit for foam pads on rainy days. The bag costs around 15 dollars and saves both the pad and the night’s sleep.
Mistakes to Avoid When Attaching a Sleeping Pad
Five common mistakes ruin a good setup.
- Strapping the pad too high on the bottom. This blocks bottom-zip access and pushes the pad into your hamstrings.
- Using one strap instead of two. A single strap lets the pad pivot. Always use two anchor points.
- Mounting an inflatable pad outside without a guard. One sharp branch ends the trip.
- Leaving the stuff sack drawcord loose. Loose cords flap and snag on brush.
- Over-cinching the pad. Crushed foam loses loft and warmth. Snug is enough.
Pack the sleeping bag inside the pack the right way so the bag and pad share space without crushing each other.
Troubleshooting Common Issues
The pad keeps slipping down. The bottom straps need both anchor loops. Check that the pad sits between the straps, not below them.
The pad swings side to side. One strap is looser than the other. Re-tension both in even pulls.
The pad pokes into your back through the pack. Move it from the back panel to a side strap. Add a thin layer of clothing as a buffer.
The pad is too long for your pack. Side mount it vertically. If still too long, switch to a torso-length pad and use a folded jacket under your legs at night.
The pad weighs down one shoulder. Re-balance gear inside the pack. Heavier items go to the opposite side.
For long solo trips, lighter pads cut grams fast. I covered the broader weight strategy in a piece on trimming tent weight for solo backpacking.
Safety Notes Before You Hit the Trail
A loose pad is a fall risk. Catching the pad on a low branch can pull you off balance on a narrow trail. Before any hike, run a 10-second check:
- Tug each strap. No slip.
- Walk five steps. No swing.
- Squat once. No drag.
Proper pack fit and load also reduce strain on long trails, a point reinforced in NPS hiking safety guidance.
If your pad sits over a hipbelt buckle or a side pocket where you keep a water bottle, move it. Function first.
FAQs about Attach a Sleeping Pad to a Backpack
Should I roll or fold my sleeping pad?
Can I attach a sleeping pad with bungee cord?
How do I attach a sleeping pad to a backpack without straps?
Where does the sleeping pad go on a backpack for hiking?
Will my sleeping pad get wet if I attach it outside?
Final Thoughts
A sleeping pad attaches well when the method matches the pad. Foam pads ride outside on bottom or side straps. Inflatable pads ride inside the main compartment, protected from sharp objects. Even tension on two anchor points beats a single tight strap. Test the load before the trailhead, not after a mile of swing and slip on the path.