How to Pack a Sleeping Bag in a Backpack the Right Way
To pack a sleeping bag in a backpack, stuff it into a compression sack first, then place it flat at the bottom of the main compartment against the back panel. This guide covers sack choice, loading order, waterproofing layers, common mistakes, and troubleshooting, drawn from my years of treks across the Chittagong Hill Tracts. Use it as a checklist before your next overnight backpacking trip.
Push the sleeping bag into a compression sack foot-first, squeeze out the air, and tighten the straps evenly. Line the pack interior with a trash compactor bag. Drop the compressed sack at the bottom, flat against the back panel. Load heavier gear directly above it. Seal the liner and close the pack lid.
What You Need Before Packing
Four items handle most setups:
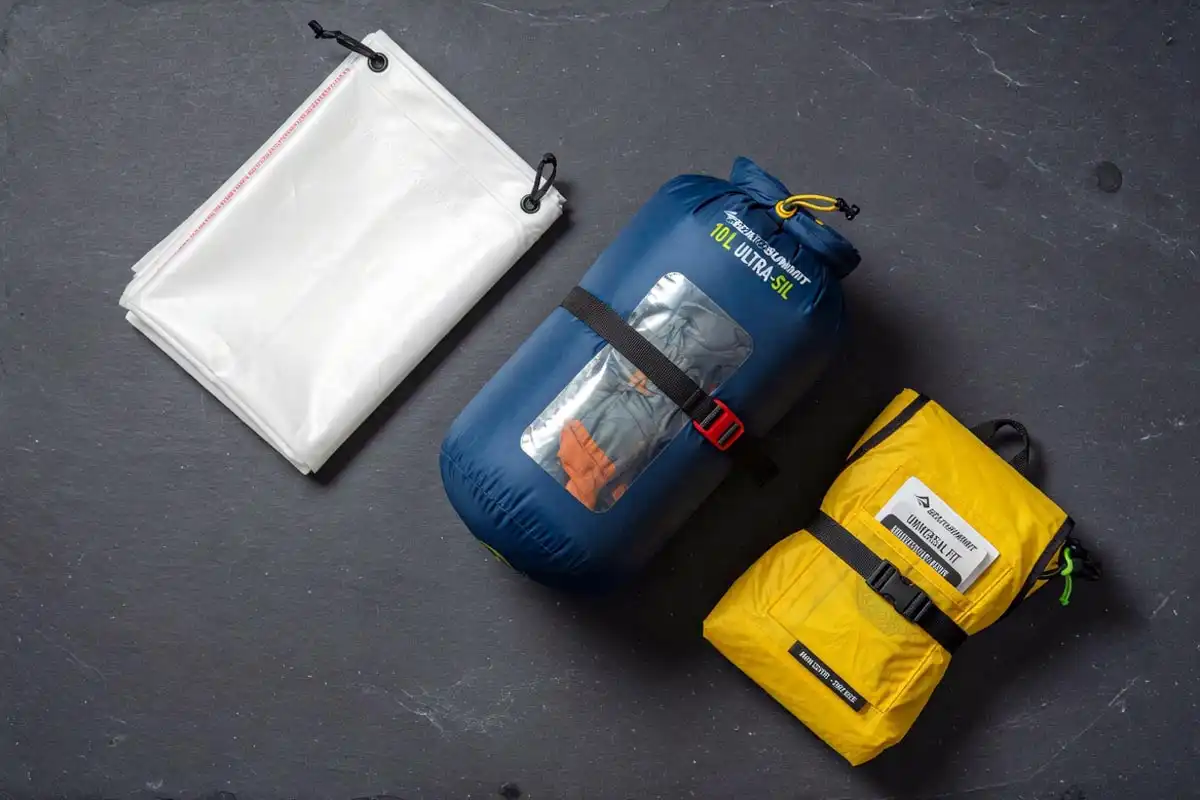
- Compression sack (reduces bag volume by 40 to 60 percent)
- Trash compactor bag or dedicated pack liner
- Sleeping bag (down or synthetic fill)
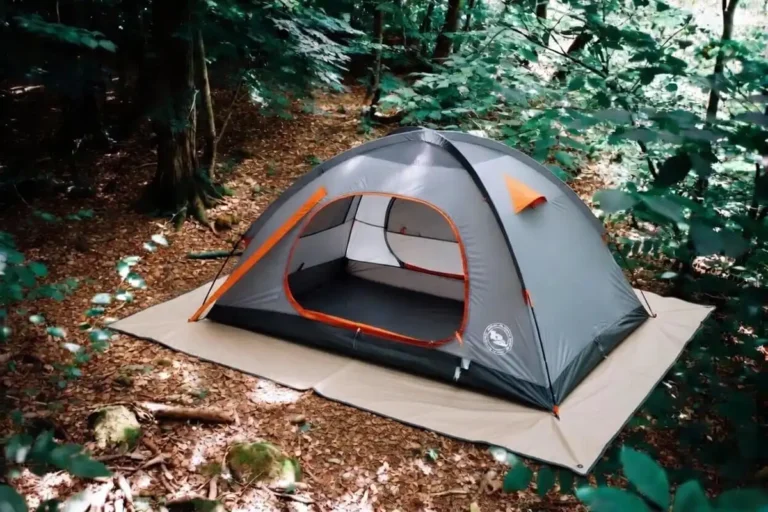
- Backpack sized 45 to 65 liters for overnight or multi-day trips
Down bags compress tighter than synthetic bags. A three-season down bag fits inside a 6 to 8 liter sack. A synthetic bag of the same rating needs 12 to 14 liters. If you want help picking a bag, I covered options in my guide to lighter backpacking sleeping bags.
Learn more on: Strap Sleeping Bag to Backpack
Where Does the Sleeping Bag Go in a Backpack?
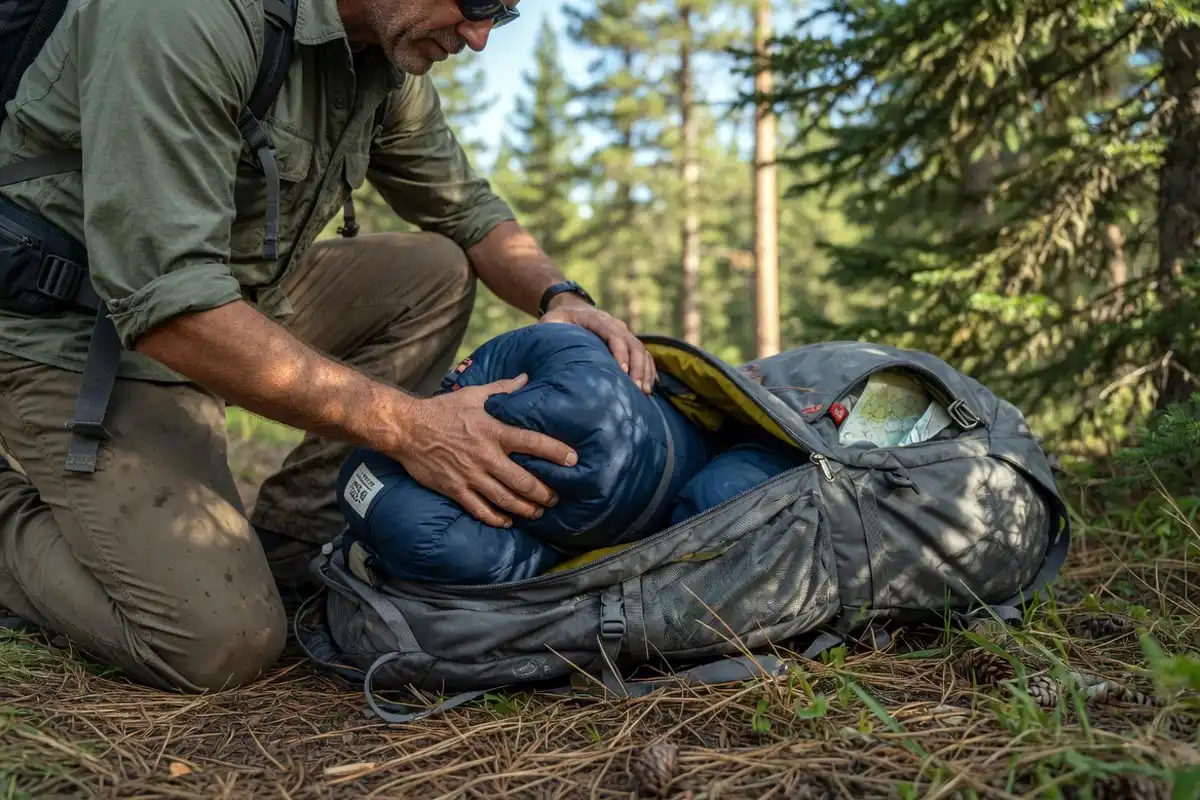
The sleeping bag belongs at the bottom of the main compartment, pressed flat against the back panel base. This placement lowers the center of gravity and reserves the middle chamber for denser gear.
Some packs include a dedicated sleeping bag compartment with a zippered divider. Others leave a single open chamber. Both work with the same principle.
Three reasons the bottom wins:
- You use the bag last at camp, so bury it deep.
- Heavy gear rides higher near the shoulder blades for balance.
- The base cushions the bag if the pack drops on rocks.
General pack-loading principles also appear in National Park Service hiking guidance for longer trails.
How to Pack a Sleeping Bag in a Backpack (Step by Step)
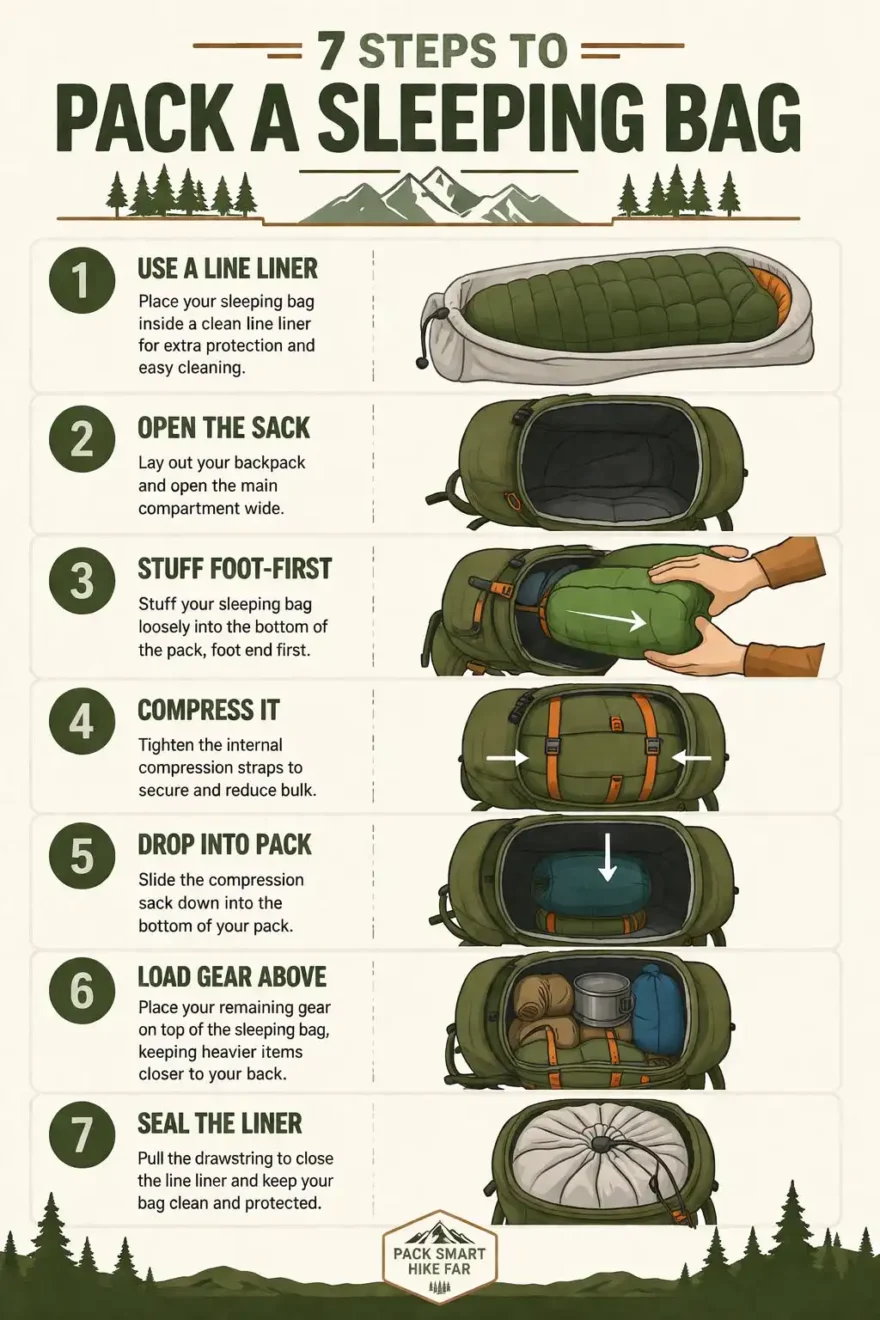
This 7-step process takes under three minutes once practiced.
Step 1: Line the Pack Interior
Open the backpack wide. Slide a trash compactor bag inside as the first layer. The liner covers the full main compartment. A single compactor bag costs under one dollar and weighs around 55 grams. It outperforms most internal rain covers.
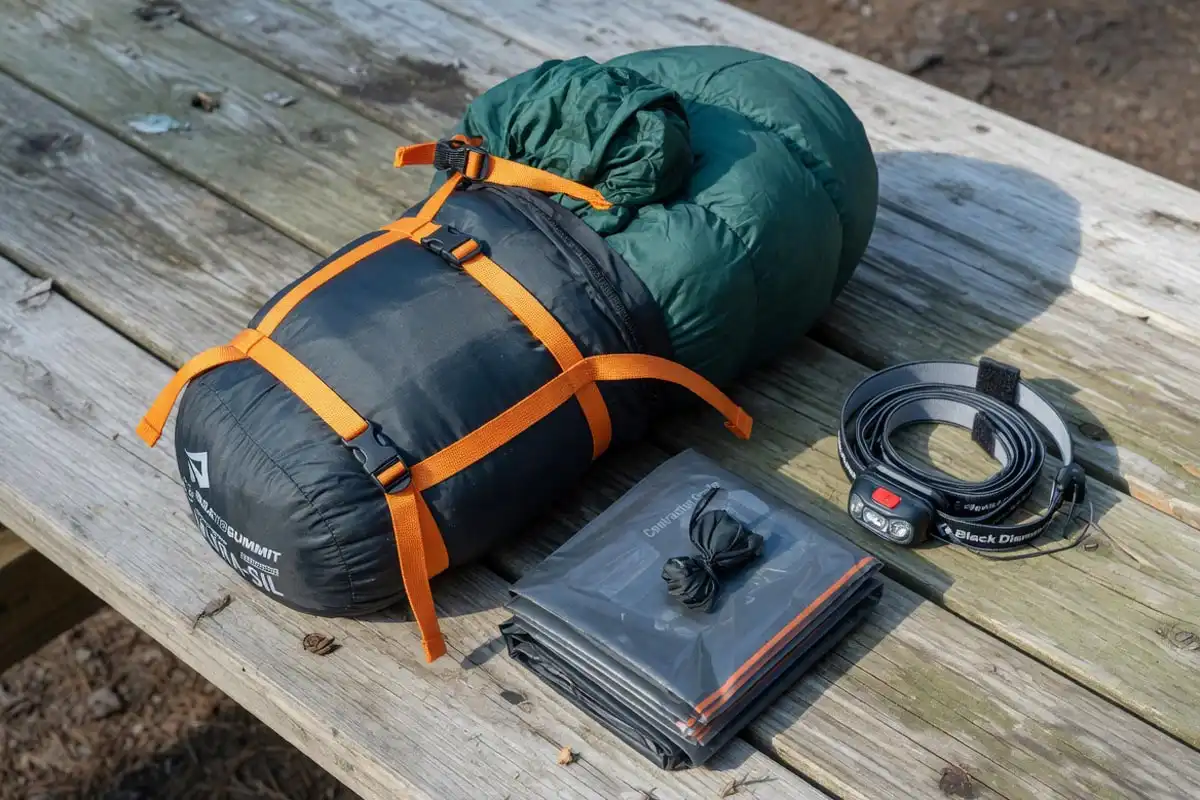
Step 2: Open the Compression Sack
Unclip the compression straps. Loosen the drawcord. Flatten the sack next to the sleeping bag.
Step 3: Stuff, Do Not Roll
Push the foot end of the bag into the sack first. Keep pushing in handfuls until the full bag sits inside. Rolling creates memory creases along the same fold lines, which flattens down clusters over seasons. Stuffing randomizes the loft and preserves warmth across hundreds of nights.
Step 4: Close and Compress
Pull the drawcord tight. Clip the lid. Tighten the compression straps in opposing pairs for even pressure. Stop when resistance firms up. Over-compression strains the sack stitching.
Step 5: Drop the Sack into the Liner
Lower the compressed sack into the pack liner. Position it flat against the back panel at the base. Avoid gaps on the sides, which waste volume and let gear shift.
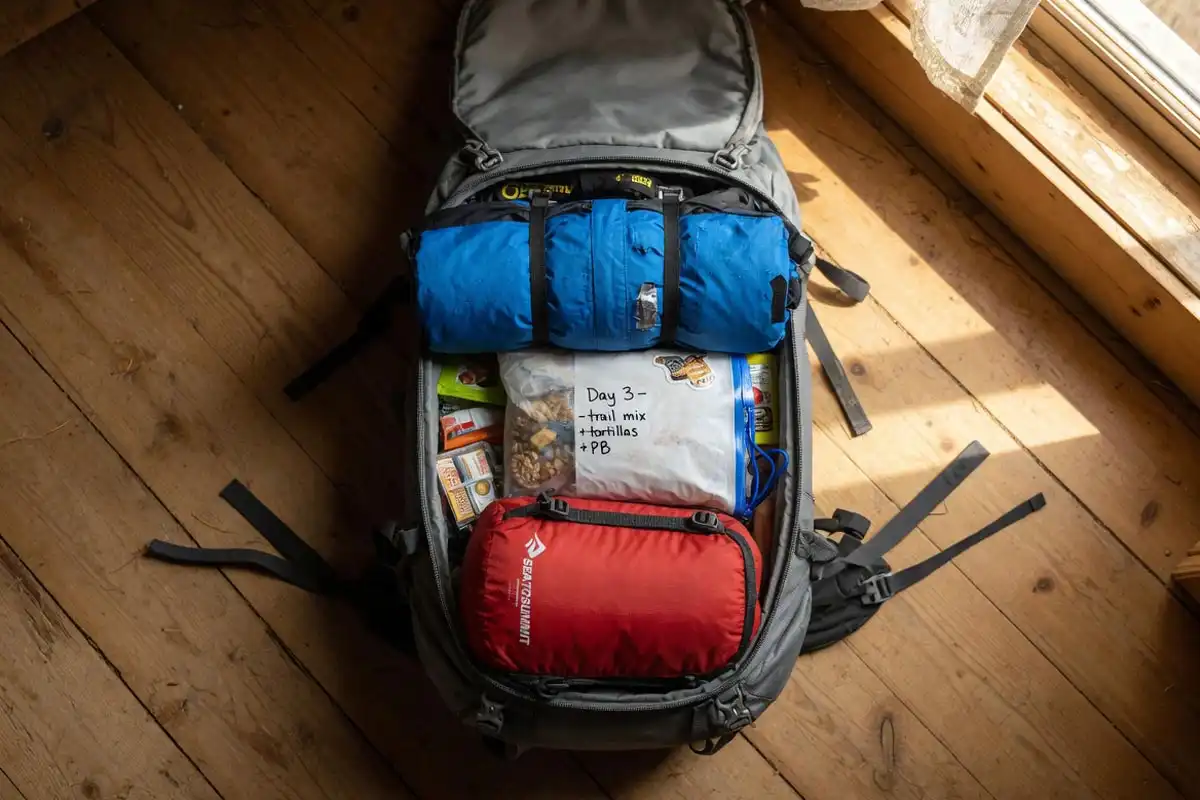
Step 6: Load Heavy Gear Above
Place dense items such as food, stove, fuel, and water bladder directly above the sleeping bag, close to the back panel. Fill outer edges with softer items like clothes and rain jackets. This tracks with the packing order I wrote about in loading a camping backpack for balanced weight.
Step 7: Seal the Liner and Close the Pack
Twist the top of the trash compactor bag, fold it over, and tuck it down inside. Clip the pack lid. Cinch the side compression straps to remove dead space.
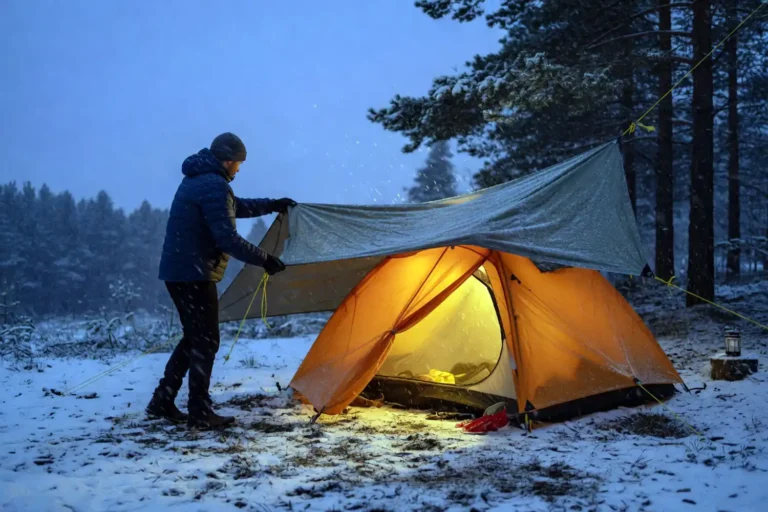
Waterproofing a Sleeping Bag Inside a Pack
A wet sleeping bag fails at warmth. Down loses up to 90 percent of its insulating ability when soaked. Synthetic fill holds more warmth when damp but still drops in performance.
Three layers of defense work best:
- Pack liner (trash compactor bag) inside the main compartment.
- Water-resistant compression sack around the bag.
- Pack rain cover stretched over the outside.
Humid climates like Rangamati make the liner non-negotiable. Field tips for damp nights appear in my article on keeping bedding dry in humid weather.
Should You Strap the Sleeping Bag Outside the Pack?
No, not for multi-day trips. An external bag faces rain, branches, mud, and abrasion. Modern packs 45 liters and above fit a sleeping bag inside with room left.
External carry works only in two cases:
- Ultralight setups that use a sealed dry bag with tested straps.
- Short overnight trips with guaranteed dry weather.
Common Mistakes to Avoid
Five errors cost warmth, volume, and gear life:
- Rolling the bag tightly instead of stuffing. Creates permanent crease lines.
- Skipping the pack liner. One river crossing or sudden downpour soaks the insulation.
- Leaving the bag compressed between trips. Store loose at home inside a large cotton sack or under a bed.
- Placing the bag above food and water. Top-heavy loads swing on steep descents.
- Using an oversized compression sack. Leaves volume wasted around the base.
After washing, follow a drying routine that saves the loft. I covered this in the article on cleaning a sleeping bag without ruining the insulation.
Troubleshooting: When the Bag Will Not Fit
Three quick fixes solve most jams:
- The sack runs too small. Upgrade one size, especially for synthetic bags.
- The bag still holds air. Press down on the top while closing the drawcord to vent trapped air.
- The pack base blocks the sack. Lay the bag horizontally across the width rather than vertically.
If the pack sits too low on the hips after packing, rebalance the load. A balanced pack rides on the hip belt, not the shoulders. I walked through that fix in detail in packing a backpack so shoulders do not hurt.
Safety Notes
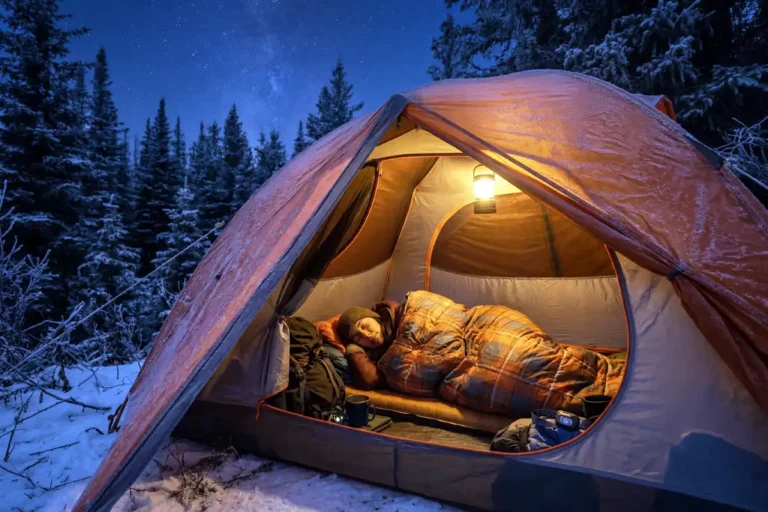
A dry sleeping bag equals survival on cold, wet nights. Wet insulation raises the risk of hypothermia. The CDC cold stress guidance identifies wet clothing and bedding as a leading trigger of dangerous core-temperature drops.
Check the bag within two minutes of reaching camp. Pull it out, shake it back to full loft, and let it breathe for 15 minutes before sleeping.
FAQs on Pack a Sleeping Bag in a Backpack
Should I roll or stuff my sleeping bag?
Does a compression sack damage a sleeping bag?
Can I use a dry bag instead of a compression sack?
Where should the sleeping pad go if the sleeping bag sits at the bottom?
How tight should I compress my sleeping bag?
Final Words
Packing a sleeping bag the right way protects warmth, balances the load, and saves volume on every trip. Stuff the bag, compress evenly, line the pack, and drop the sack flat at the base against the back panel.
Load heavier gear above. Seal the liner, close the lid, and cinch the straps. With this routine, the bag stays dry and the pack rides comfortably across long trails.