How to Insulate a Tent for Winter Camping Without Pricey Gear

A cold tent can ruin a good winter trip fast. I learned that the hard way on a frosty night in the Bandarban hills, when wind cut through every seam of a 3-season shelter. Insulating a tent for winter camping is not about fancy gear. It comes down to cutting heat loss in four places: the ground, the walls, the air gaps, and the air inside. Get those right, and a standard tent can hold warmth much longer through a freezing night. Here is the exact approach I use, step by step.
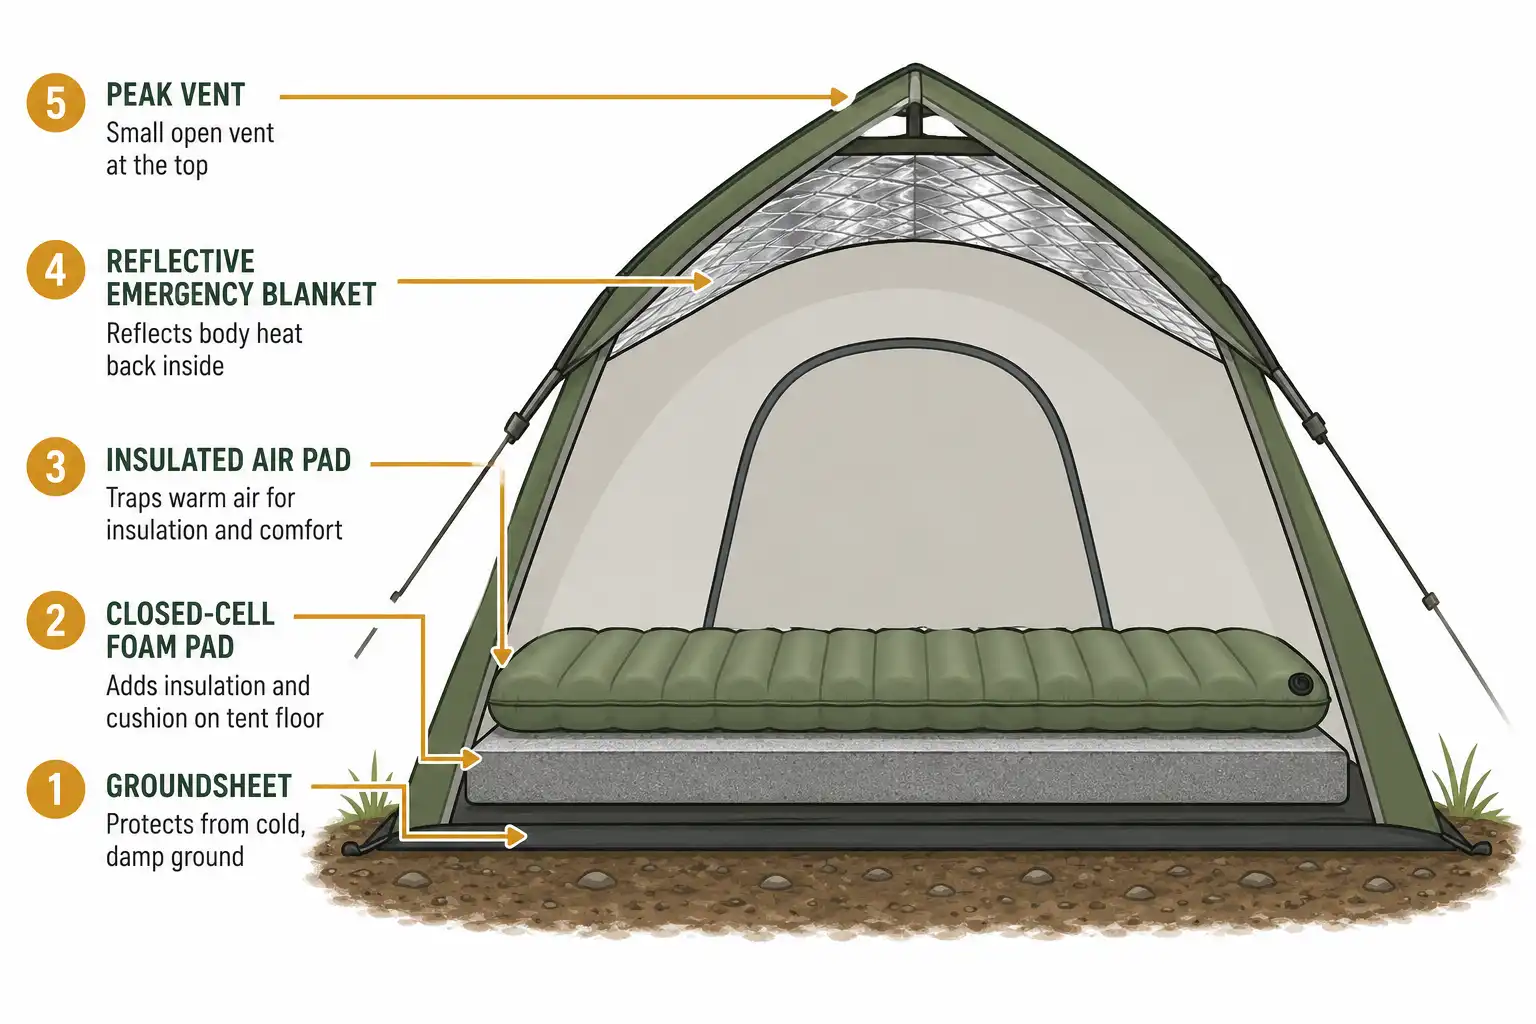
To insulate a tent for winter camping, layer the floor with a foam pad plus an insulated air pad, line the inner walls with a reflective space blanket or wool blankets, pitch a tarp over the rainfly to break wind, seal the vestibule and door base with gear bags, and keep one small top vent open so moisture can escape. Together, these five steps can raise inside temperature by 10 to 20°F compared with an unprepared tent.
Why tent insulation matters more than tent rating
A four-season tent blocks wind and snow well, but no tent generates heat on its own. It only slows how fast yours escapes. Heat moves out through the floor (conduction), through the walls (convection), through cold air leaks (drafts), and through your breath (radiation and moisture). After many cold nights, I’ve found the floor loses the most warmth. So even a budget 3-season tent can sleep warm if you layer the ground correctly.
If you’re not sure whether the forecast is safe for your gear, my notes on your tent’s safe cold-weather limit are a good first check before you head out.
Step 1: Insulate the ground first
The ground steals more body heat than the wind does. Cold soil acts like a giant heat sink under your sleeping bag. Therefore, the bottom of the tent needs at least two insulation layers between you and the dirt.
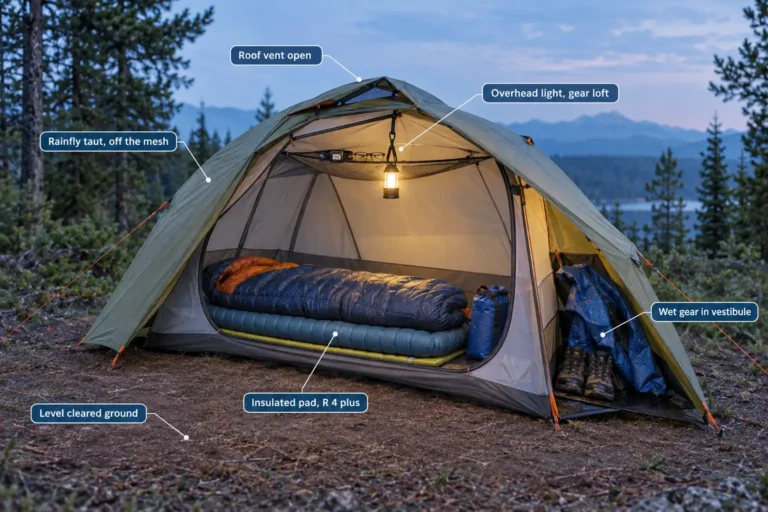
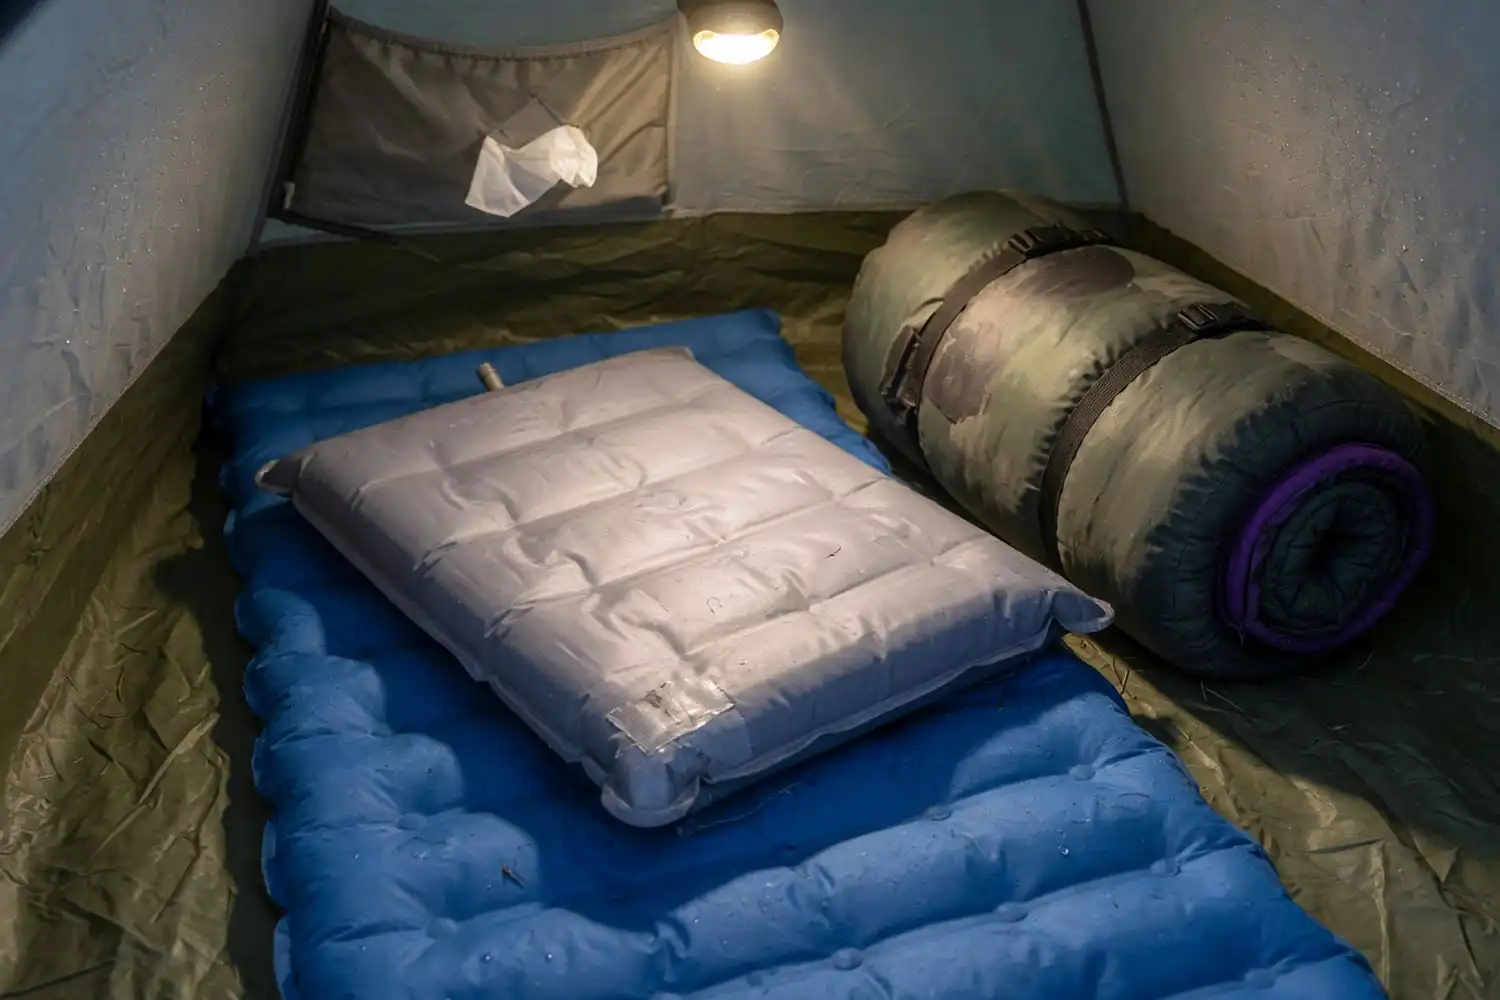
Start outside the tent with a groundsheet or footprint. After that, lay a closed-cell foam pad inside the tent, covering the floor wall to wall when possible. Then place an insulated air pad with an R-value of 4 or higher on top. Stacking pads is the simplest trick that works in winter. For wet or snowy soil, a heavier under-tent layer helps; I cover what works best in my short guide on the right ground cloth for wet conditions.
R-value targets for winter camping
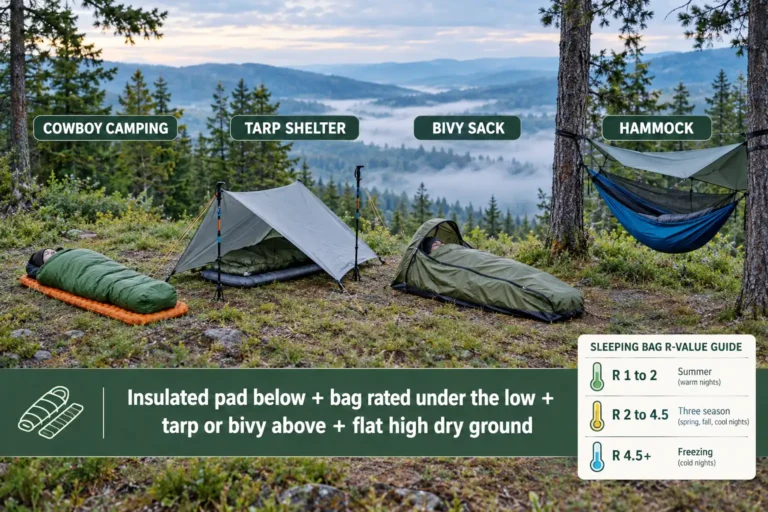
For temperatures around freezing, aim for a combined R-value near 5. In deep winter or snow camping, push closer to 7 or 8. Foam pads typically add R-2 each, and a good winter air pad sits at R-4 to R-7.
Step 2: Block heat loss through tent walls
Single-wall tents lose heat fast through thin fabric. Double-wall tents do better because the gap between the inner mesh and the rainfly traps a thin air layer. However, in deep cold even that is not enough.
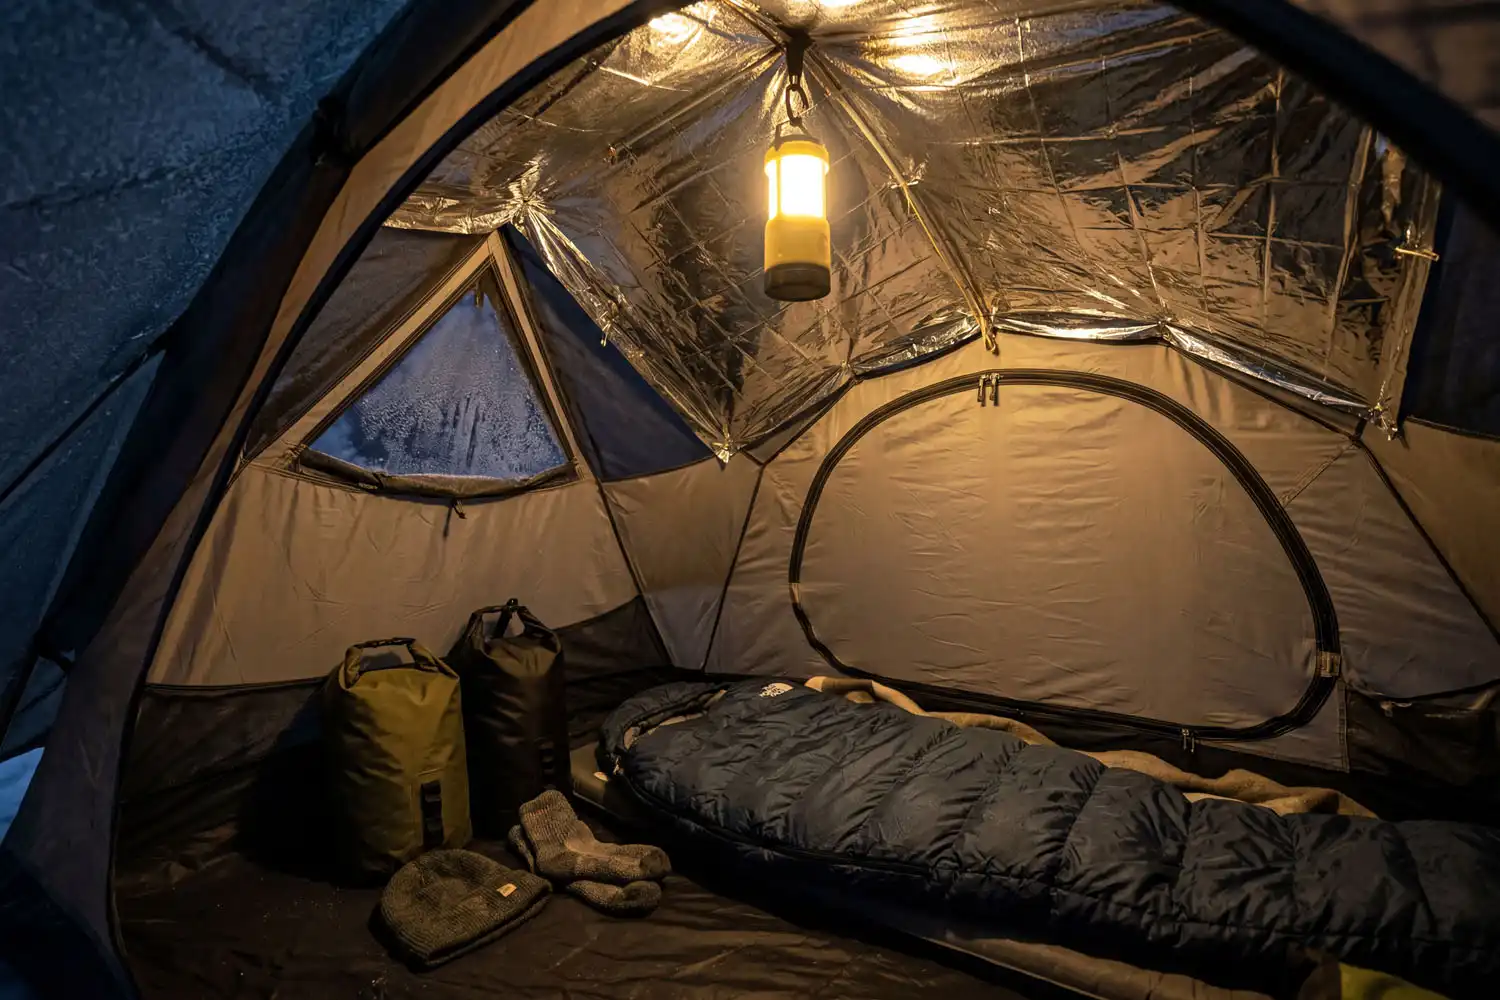
Hang a reflective emergency blanket (the silver mylar kind) on the inside ceiling, shiny side facing down. It bounces body heat back toward you. For the lower walls, tuck wool blankets or a fleece liner against the inner panels. I also drape a small camping quilt over the head end of the tent because cold tends to settle there overnight.
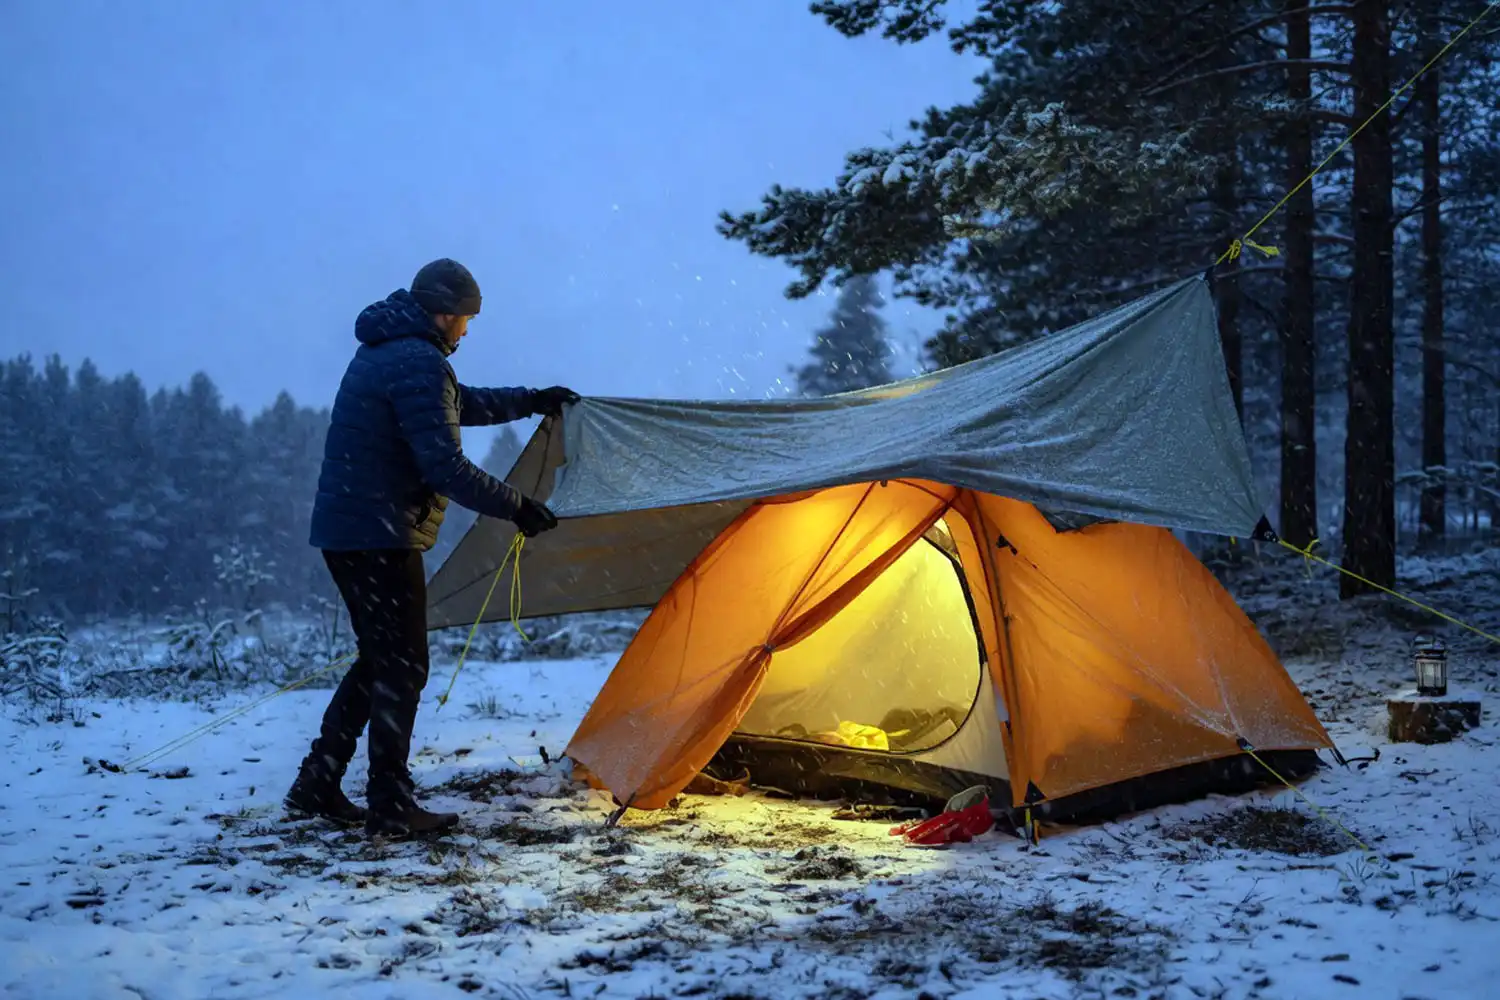
For extra wind protection, pitch a larger tarp over the rainfly with a hand’s width of gap between them. The tarp breaks gusts before they hit the fly. If you’re new to tarp pitching in winter, my piece on tarp sizing for tent setups walks through the dimensions I rely on.
How do you trap heat without blocking ventilation?
You trap heat without blocking ventilation by sealing the lower drafts while leaving one small top vent open. Cold air sneaks in through floor zippers, vestibule gaps, and door corners. Stuff gear bags or extra clothes along the base of the door. Meanwhile, keep one ceiling vent or peak vent cracked about an inch so your breath and sweat can escape.
This balance matters. If you seal the tent fully, moisture builds up, freezes on the inner walls, then drips back and soaks your sleeping bag. So always leave a small airflow path. For more on managing condensation, my notes on keeping a tent vented in cold weather go deeper.
Step 3: Add a thermal layer from the inside
Inside the tent, your gear adds insulation too. A four-season sleeping bag rated 10 to 20°F below the expected low is the foundation. Add a bag liner for an extra 5 to 15°F of warmth. Also place a wool blanket over your bag, not under it, because compressed insulation loses loft.
A few personal habits help a lot:
- Eat a fatty snack before bed. Calories fuel body heat through the night.
- Wear a dry base layer and a beanie inside the bag.
- Fill a sturdy water bottle with hot water and tuck it near your core.
- Pee before sleeping. A full bladder burns warmth.
For pre-bed routines and liner choices that stack with these tips, see my walkthrough on holding warmth inside a winter sleeping bag.
Step 4: Stop drafts at the door and floor seams
Drafts are the silent heat thief. Walk the perimeter of the tent before getting in. After zipping the door, press a rolled towel or stuff sack against the bottom seam to plug the gap. Then check the vestibule corners, which often hide small fabric folds where cold air pools.
For the floor seams, repair any tears with Tenacious Tape or seam grip before the trip. A pinhole in winter feels twice as cold as it does in summer.
Common winter tent insulation mistakes
After several frost nights in the hills, these are the slip-ups I see most often:
- Skipping the ground layer. People focus on walls and forget the floor.
- Using only one sleeping pad in deep cold.
- Sealing the tent completely. Condensation builds, then freezes overnight.
- Pitching on bare snow without packing it down first. Loose snow melts under body heat and refreezes uneven.
- Forgetting to insulate the head end. Cold settles low and creeps toward your head.
Also, never run a propane or kerosene heater inside a small tent. The carbon monoxide risk is real, and the moisture output dampens everything. According to the U.S. CDC, portable fuel-burning heaters are a leading source of CO poisoning in enclosed shelters.
Quick winter tent insulation checklist
- Groundsheet outside, foam pad inside, insulated air pad on top
- Reflective blanket on inner ceiling, shiny side down
- Wool or fleece liner along lower walls
- Tarp pitched over the rainfly for wind block
- One small top vent left open year-round
- Door base and vestibule corners plugged with gear
- Four-season bag plus liner inside
- Hot water bottle, dry base layers, beanie at bedtime
Final thoughts
Winter tent insulation is a stacking game, not a single trick. Foam under you, reflective above you, wind broken outside, drafts plugged at the seams, and one vent open at the top. Get those right and a standard tent can hold a comfortable sleep temperature even on hard frost nights. Test your setup on a backyard cold night before the real trip. Small problems show up early, when the cost of fixing them is just walking back inside.