Hiking Alone as a Woman: A Practical Safety Guide
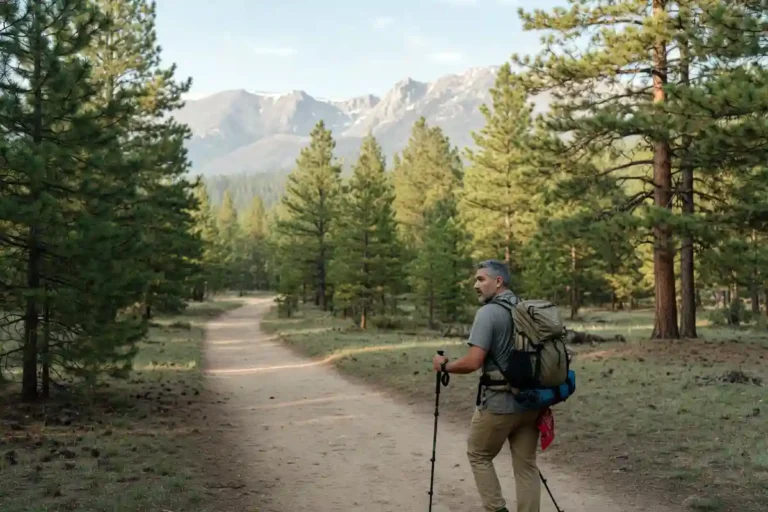
Solo hiking as a woman takes more planning than fear. I want to be straight with you up front. I’m not a woman, and this article draws on what I’ve learned hiking with female trekkers in the Bandarban hills, conversations with women who’ve solo hiked across the US and Nepal, and research from sources like the National Park Service and AllTrails safety data. The advice here is practical, tested, and respectful of the fact that women face a few extra considerations on the trail. Thousands of women solo hike every weekend and come home with great stories. Here’s how to make sure you’re one of them.
Is it safe for a woman to hike alone?
Solo hiking is generally safe for women when you pick the right trail and prepare carefully. Most trail incidents involve weather, navigation errors, falls, or dehydration, not assault. However, women do face a few situations men can usually skip, so the prep work matters more. The trails themselves rarely cause harm. Poor planning does.
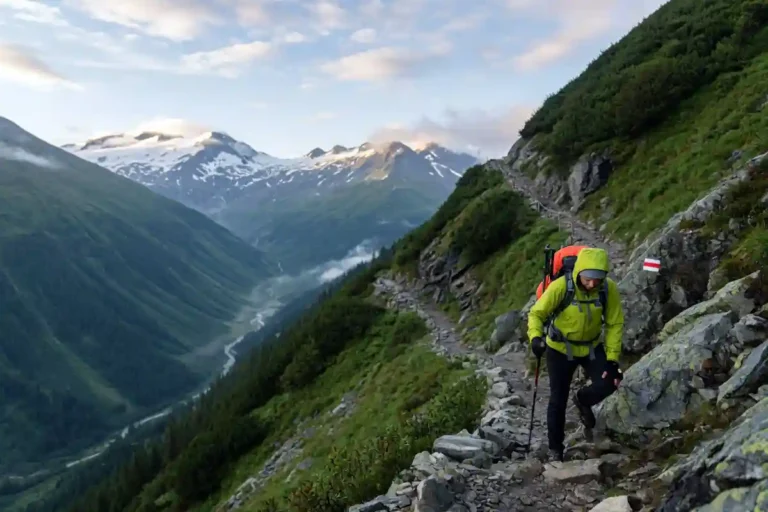
How to choose your first solo trail
Pick a well-marked, popular trail under 6 miles round-trip for your first solo outing. Look for routes with strong cell coverage, steady foot traffic during daylight, and a busy trailhead parking lot. Apps like AllTrails show recent reviews where you can spot warnings about isolated stretches or sketchy parking areas.
Watch for these red flags before you commit to a trail:
- Reviews mentioning empty parking lots or harassment
- Routes crossing remote terrain without cell signal
- Recent wildlife encounter reports near the trailhead
- Long out-and-back trails with few bail-out points
In my experience, loop trails with multiple trailheads feel safer than out-and-backs, because you can exit at a different point if something feels off. Also, weekday mornings on weekend-popular trails give you the best mix of foot traffic and quiet.
Know more: Hiking at Keokradong Peak
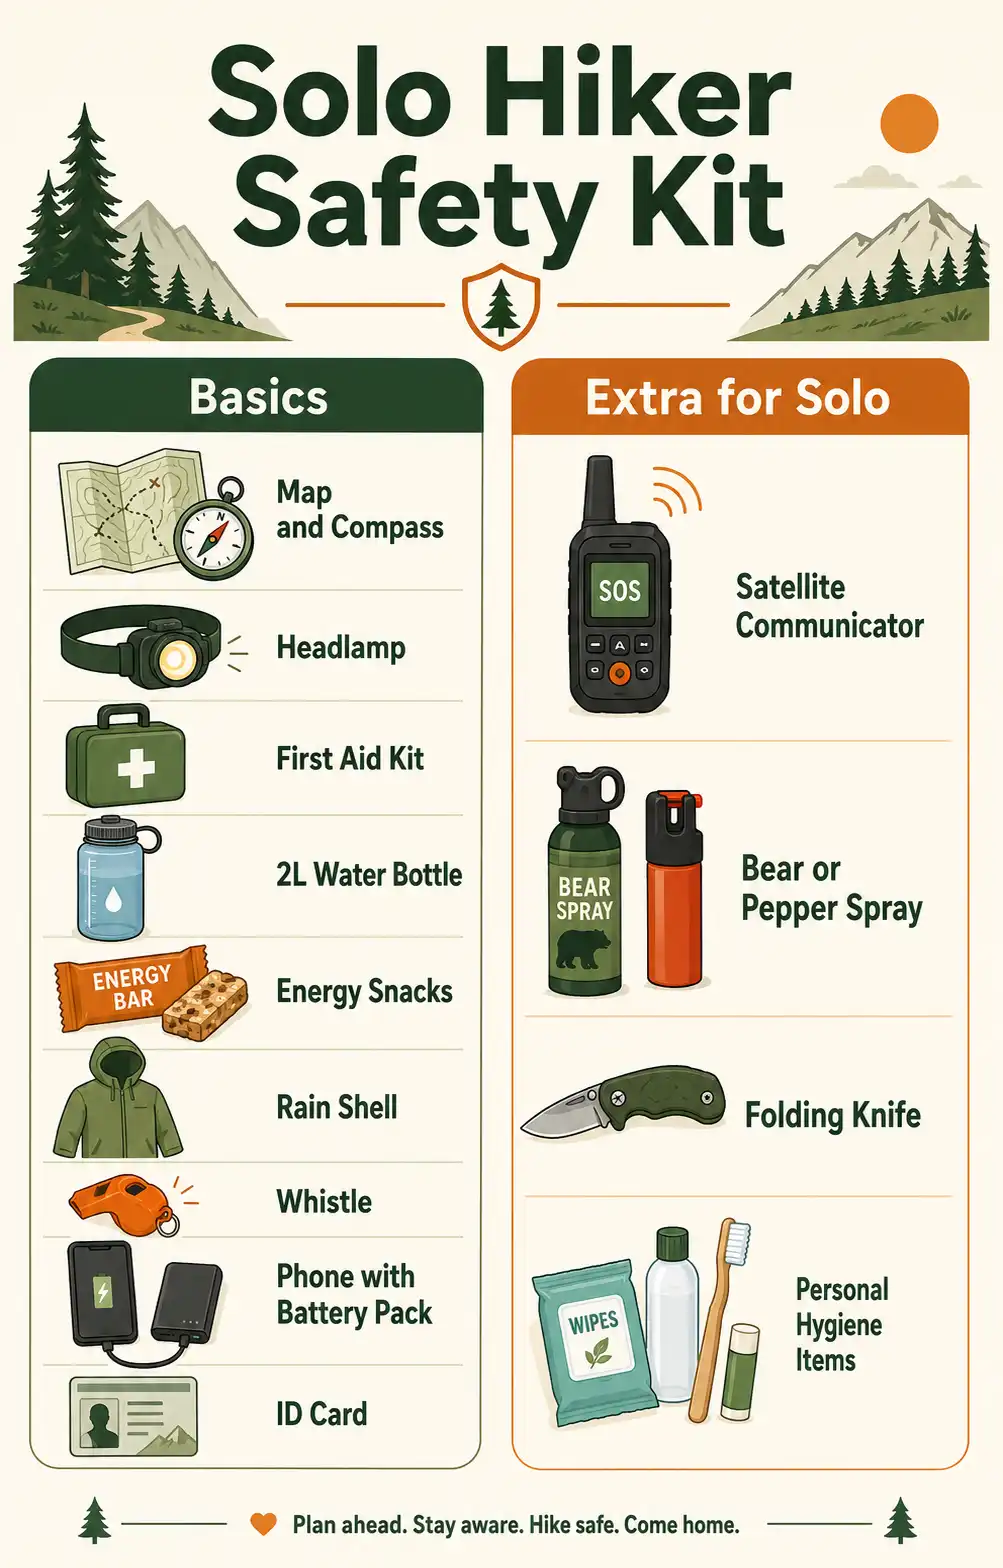
What should you pack for a solo day hike?
Pack the standard ten essentials plus a few items that matter more when you’re alone. Your gear becomes your only safety net once the trailhead is behind you.
The basics every solo hiker needs:
- Map, compass, and offline GPS app downloaded for the area
- Headlamp with fresh batteries
- First aid kit with blister care
- At least 2 liters of water for a half-day route
- Quick-energy snacks and one full meal
- Rain shell and one warm layer beyond what you’re wearing
- Whistle on your sternum strap, not buried in the pack
- Phone with a charged battery bank
- Personal ID and an emergency contact card
Additional items I’d add for solo hikers:
- A satellite communicator like a Garmin inReach Mini or Zoleo
- Bear spray or pepper spray where legal
- A small folding knife
- Tampons or pads, which also work as wound packing in a pinch
The satellite communicator is the single most useful piece of gear for solo trips. It works where phones don’t, and the SOS button connects you to global rescue services around the clock. Furthermore, the tracking link lets a trusted person watch your dot move in real time.
For weight distribution, my guide on packing a hiking pack so it sits right on your shoulders covers the small adjustments that make a long solo day far easier on your body.
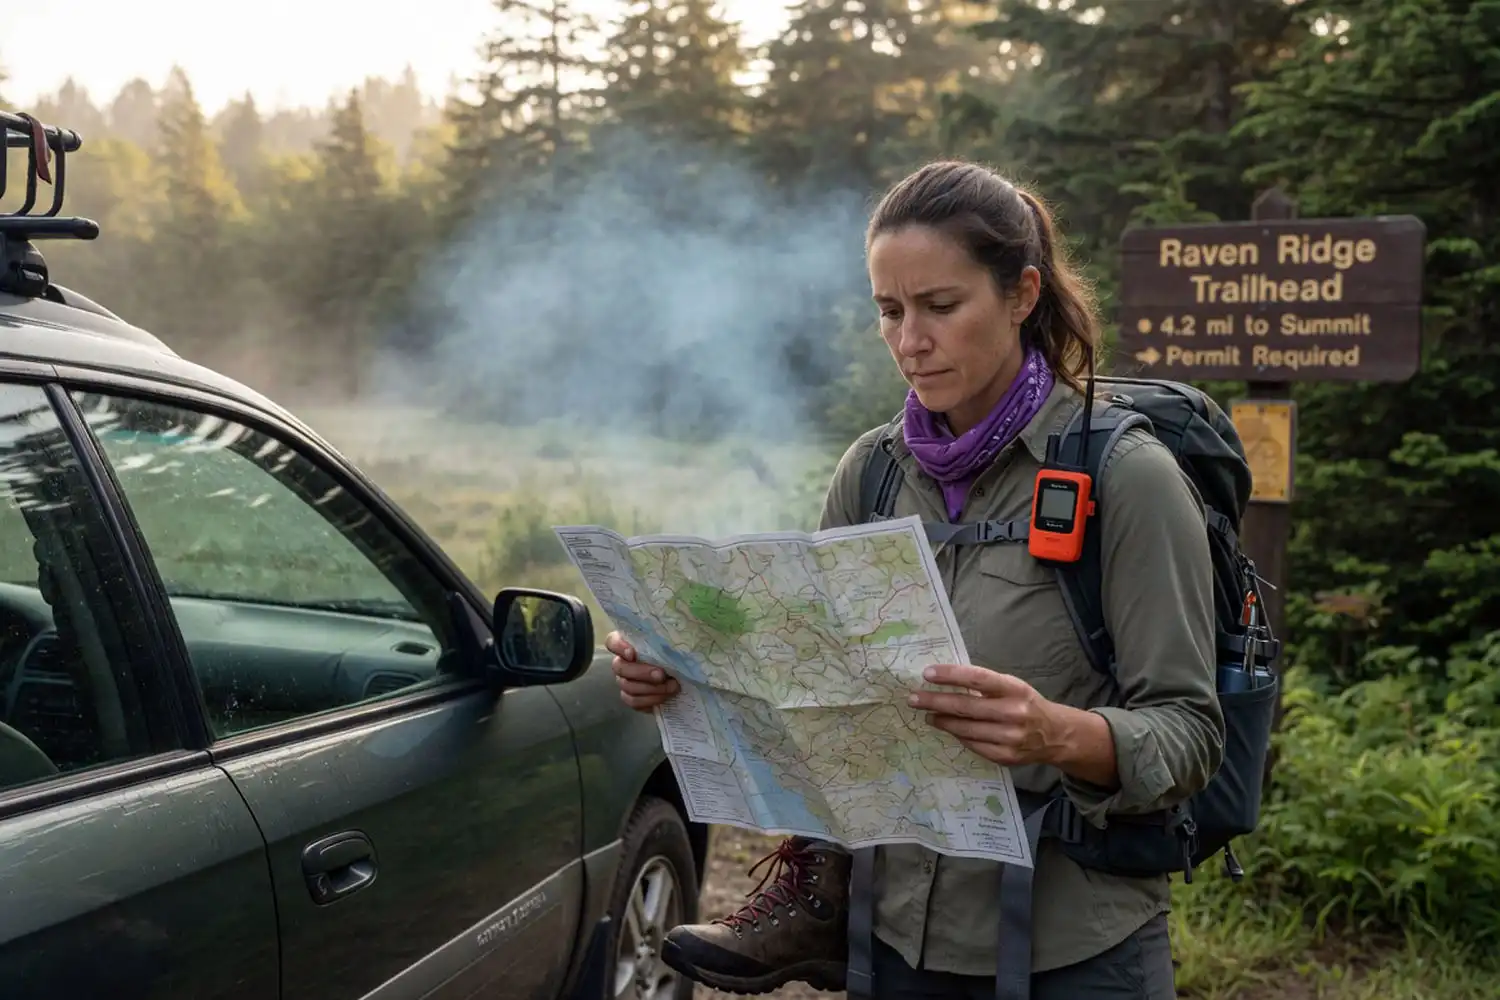
How to share your hiking plan before you leave
Tell one reliable person exactly where you’re parking, where you’re going, when you’ll start, and when they should call for help if they haven’t heard from you. Be specific. “Hiking near Asheville” is useless. “Parking at Craven Gap trailhead at 8 AM, hiking Rich Knob loop, expected back to the car by 2 PM, please call park dispatch at the number below if I’m not home by 5 PM” gives rescuers everything they need.
Also send a photo of the trailhead map and your parking spot. If you carry a satellite communicator, share your live tracking link. Then stick to the plan, or message your contact the moment you change it.
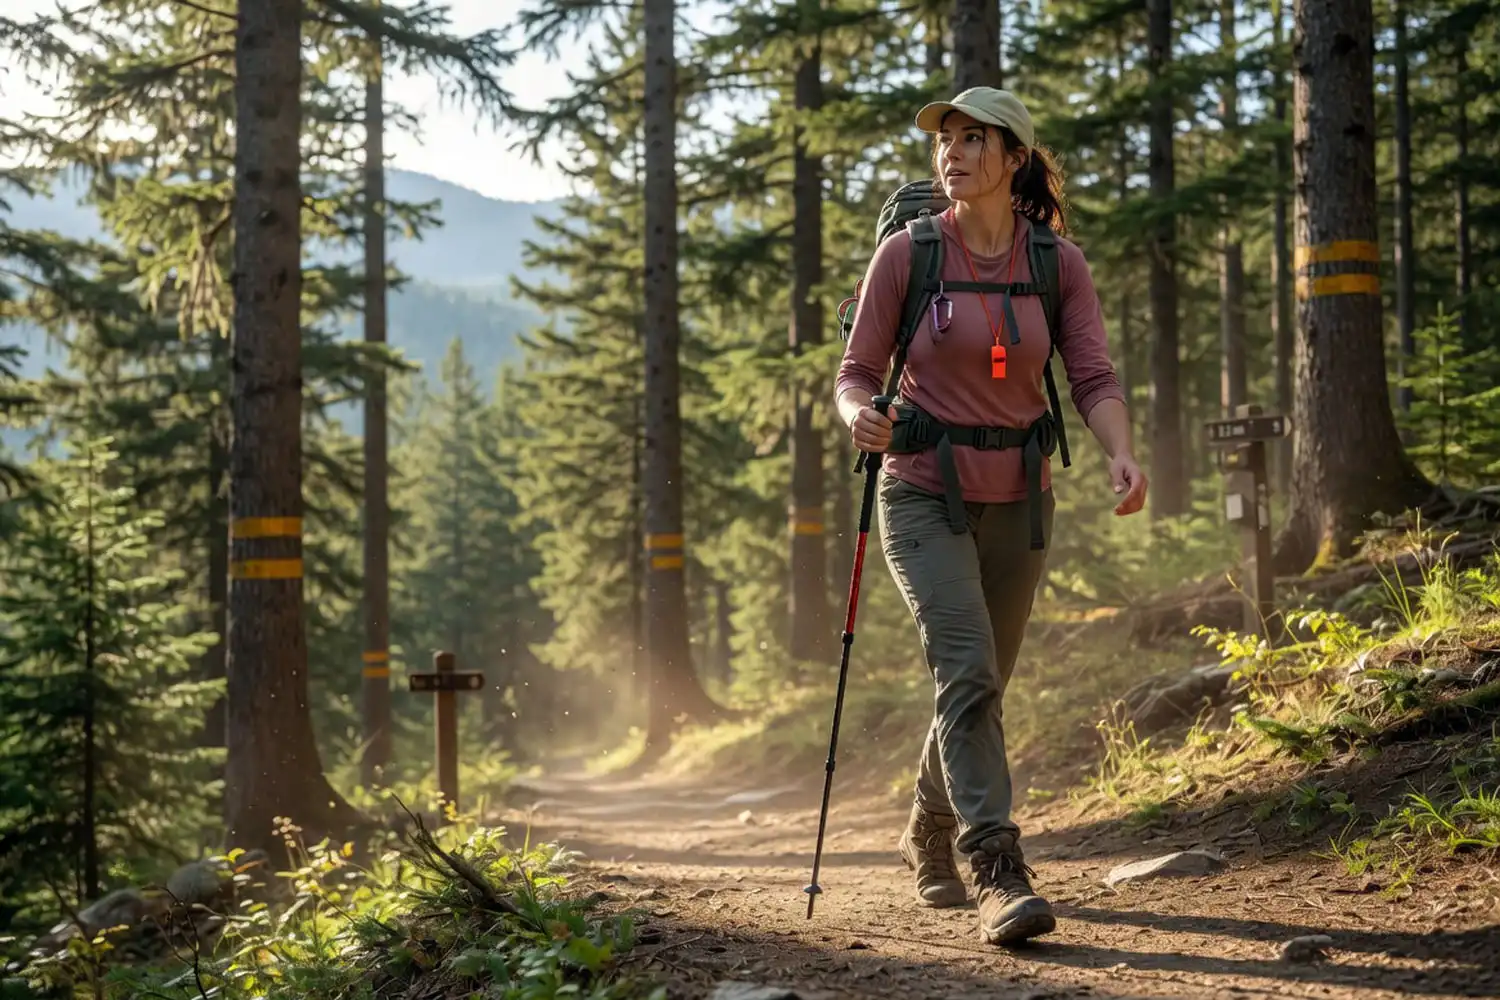
Personal safety habits on the trail
Read the parking lot before you step out of the car. If something feels off about the people there, drive away and pick another trail. Trust that instinct, because it has saved more hikers than any gadget on the market.
Build these habits into every solo hike:
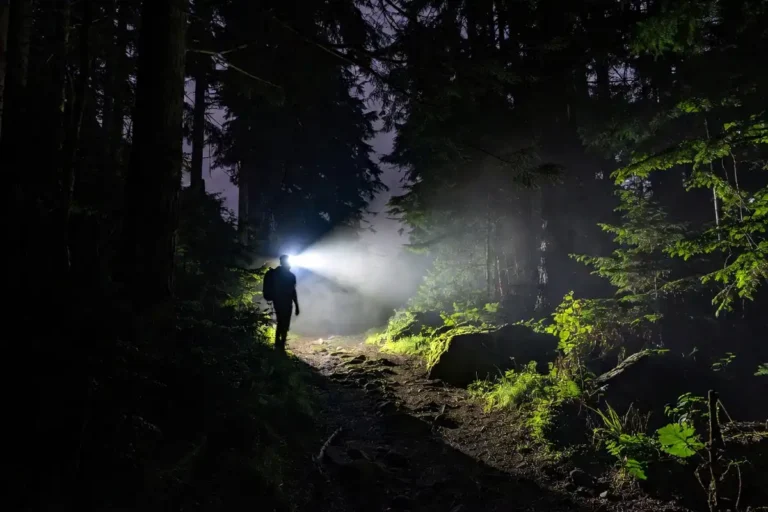
- Hike during daylight, especially on your first solo trips
- Skip earbuds, or use one ear so you can hear approaching footsteps and wildlife
- Move with confidence in your posture, even when you don’t feel it
- Note landmarks every 10 to 15 minutes for backtracking
- Eat and drink on a schedule, not when you feel hungry or thirsty
In addition, vary your photo stops. Standing in the same spot for a long time makes you predictable on a popular trail. Quick stops keep you moving forward.
What if a stranger makes you uncomfortable?
Trust your gut and disengage right away. Never share that you’re hiking alone, your full route, or where you parked. Instead, mention meeting friends ahead, pretend to take a phone call, or simply turn back. A casual “I need to head back, my partner is waiting at the trailhead” works in most cases without escalating the interaction.
If someone follows you, change pace and direction. Then move toward other hikers or back to the trailhead. Most uncomfortable encounters end the moment you stop being an easy target.
Building solo hiking confidence over time
Start small and add difficulty step by step. Skipping levels burns confidence faster than any bad weather day.
My suggested progression looks like this:
- Familiar local trail, 2 to 3 miles, busy weekend morning
- Same trail on a quieter weekday
- New trail, 4 to 6 miles, still well-trafficked
- Longer day hike with real elevation gain
- First solo overnight at an established campground
- Backcountry overnight after you’ve nailed steps one through five
Each step compounds skills. After step three, you’ll know how your body handles fuel, water, and pacing. After step five, you’ll trust your camp setup at night. Therefore, by the time you reach backcountry overnights, the only new variable is remoteness, not skill.
Learning what to do after a wrong turn on a hike removes one of the biggest fears solo hikers report. Likewise, knowing how to signal for rescue in remote areas closes the loop on the worst-case scenarios. Both skills give you something concrete to do instead of panic.
What if something goes wrong on the trail?
Stop moving the moment you realize there’s a problem. Whether it’s an injury, a wrong turn, or fading daylight, decisions made in a rush burn energy and worsen the situation. Sit down, drink water, eat a snack, and think clearly. Then work through STOP:
- Stop moving
- Think about your situation
- Observe resources and surroundings
- Plan your next action
If you’re lost, stay put. Rescuers find stationary hikers far faster than moving ones. Activate your satellite communicator’s SOS or blow your whistle in groups of three sharp blasts. Three of anything is the international distress signal.
For broader prep, my piece on planning a day hike that stays on track covers route mapping that prevents most lost-hiker situations in the first place. Pair that with solid solo camping safety habits if your day hike includes an overnight.
A note on confidence and intimidation
The female hikers I’ve talked to often say the hardest part wasn’t the trail. It was the first 20 minutes after pulling into a quiet parking lot. After that, the woods became the woods. The intimidation usually fades once boots hit dirt and the body settles into a rhythm.
Final thoughts
Solo hiking as a woman calls for more prep, not more fear. Pick trails wisely, share your plan in detail, pack the right gear, and trust your instincts on the way in and out. The mountains don’t care about gender. Your preparation does. Start short, build slowly, and let each trip earn the next one. Done right, solo trail days become some of the most rewarding hours you’ll spend outdoors.