How to Cook While Camping: A Practical Beginner’s Guide

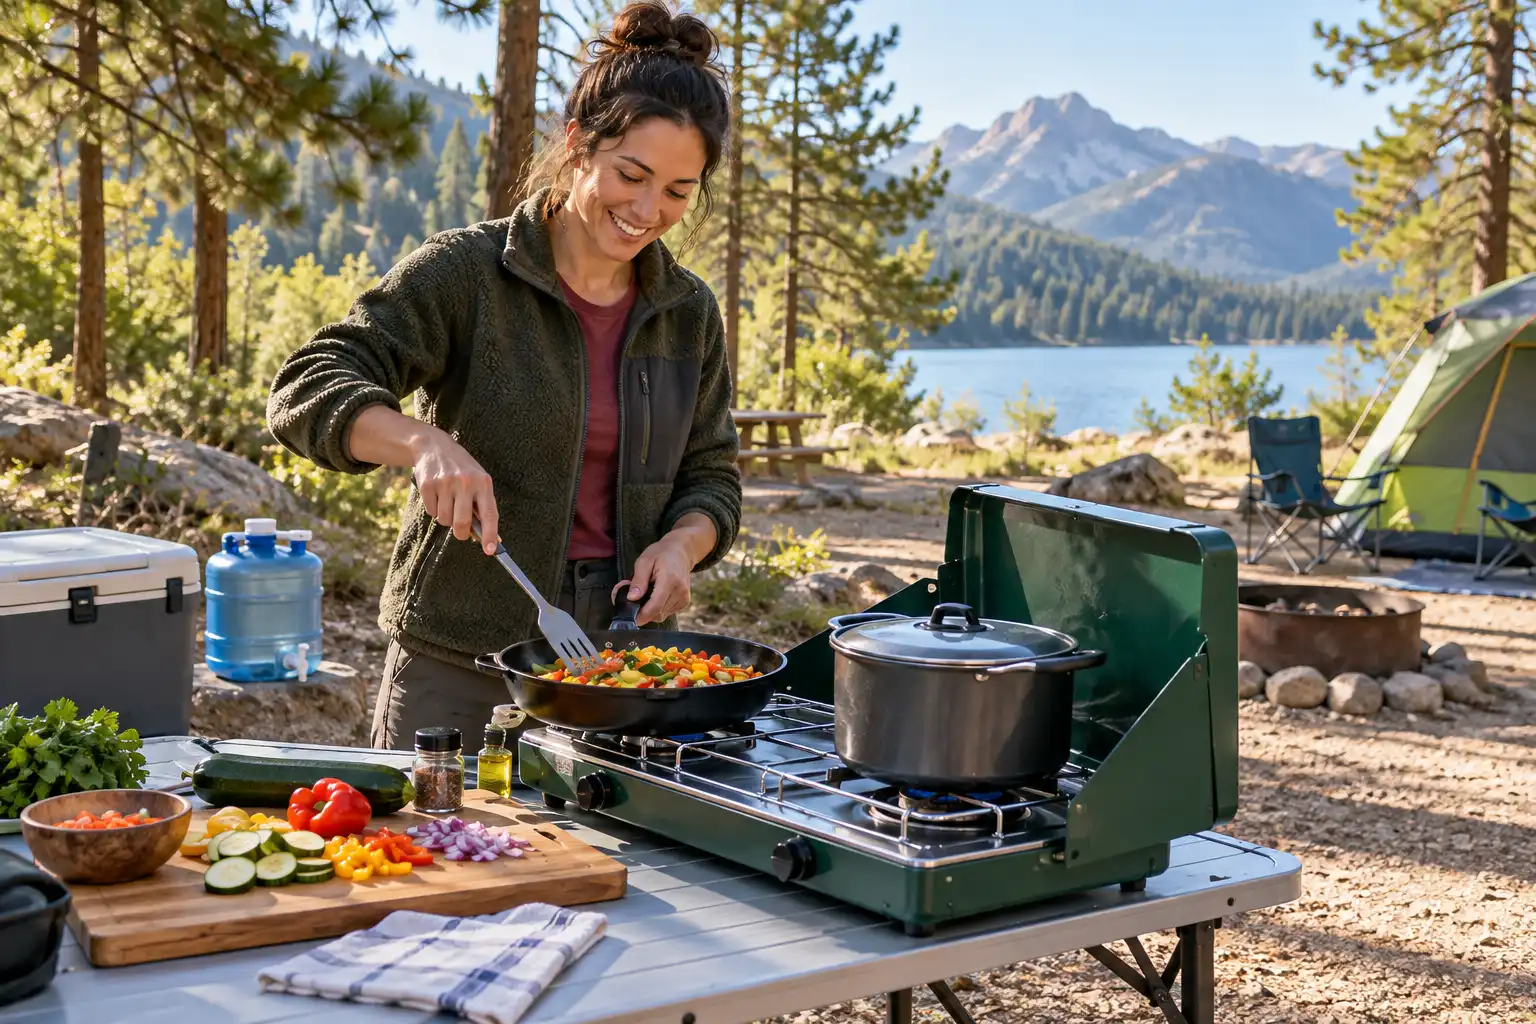
To cook while camping, choose simple meals, pack a safe stove and compatible fuel, set up a flat outdoor cooking area, and heat food in a pot or skillet while keeping perishables cold. You don’t need a full kitchen. I’ll show you how to manage heat, water, food safety, and cleanup.
Prep and portion ingredients at home, cook outside on a gas stove or a permitted fire, and choose dishes that need just one pan. Bring safe water, a food thermometer for meat, and a shelf-stable backup meal for bad weather. Never cook inside a tent.
Plan Simple Meals Before Packing
I start with the menu because it tells me which stove, pan, fuel, and storage containers I need. For a first trip, choose food you already know how to cook. Save complicated recipes for a kitchen with running water.
The best food for camping depends on whether you can keep it cold:
- Without a cooler: Oats, rice, pasta, tortillas, peanut butter, whole fruit, nuts, unopened shelf-stable beans, and sealed tuna pouches work well. Check each package for storage instructions.
- With a cooler: Eggs, meat, cheese, washed produce, and prepared ingredients expand your choices. Add ice or frozen packs, and keep the food at 40°F (4°C) or below.
For a simple car-camping day, I would plan oatmeal and fruit for breakfast, bean wraps for lunch, and a vegetable-and-pasta skillet for dinner. If you’re feeding a group, a one-pot dinner for four reduces dishes. For kids, choose from family-friendly camping meals that share ingredients, rather than packing a separate menu for everyone.
Choose the Right Camping Cooking Method
A portable stove is my first choice for beginners because you can adjust its heat without managing firewood. However, a grill or campfire can work well where rules and conditions allow it.
| Method | Best use | Main trade-off |
|---|---|---|
| Gas camping stove | Boiling water, eggs, pasta, one-pan meals | Needs compatible fuel and a stable outdoor spot |
| Campground grill | Toast, grilled vegetables, heating a sturdy pot | Heat can be uneven; a grill may be unavailable |
| Campfire with a cooking grate | Foil packets, sturdy pots, grilling | Takes longer to build steady cooking heat |
Before starting a wood or charcoal fire, check current campground restrictions. A permitted fire ring does not override a temporary ban, and restrictions may also affect gas stoves. Also, use glowing coals rather than tall flames when possible. I find it easier to control cooking heat over a campfire by moving coals or adjusting the grate, instead of constantly moving the pot.
Set Up a Safe Outdoor Cooking Station
At camp, I keep one place for heat, one clean place for ingredients, and one spot for dirty dishes. This arrangement prevents me from hunting for utensils while food burns.
Pack a compact campfire-ready cooking kit with these basics:
- A stable stove with the correct fuel, or equipment suitable for a permitted fire
- One lidded pot, one skillet if needed, and a heat-safe spoon or spatula
- A lighter or stove igniter, pot grips, a knife, and a small cutting board
- Drinking-quality water, soap, a clean towel, trash bags, and sealed food containers
- A cooler thermometer and food thermometer if you’re carrying perishables or raw meat
Set the stove on firm, level, heat-resistant ground or a manufacturer-approved surface. Keep it away from tents, dry grass, hanging fabric, and busy walking paths. Never cook with a fuel-burning stove or grill inside a tent, vehicle, or enclosed shelter. Carbon monoxide can build up even when you cannot smell it. The U.S. Consumer Product Safety Commission’s camping safety guidance explains this hazard. Finally, have a way to extinguish a fire and keep children clear of hot equipment.
Attach a Propane Tank to a Camping Stove
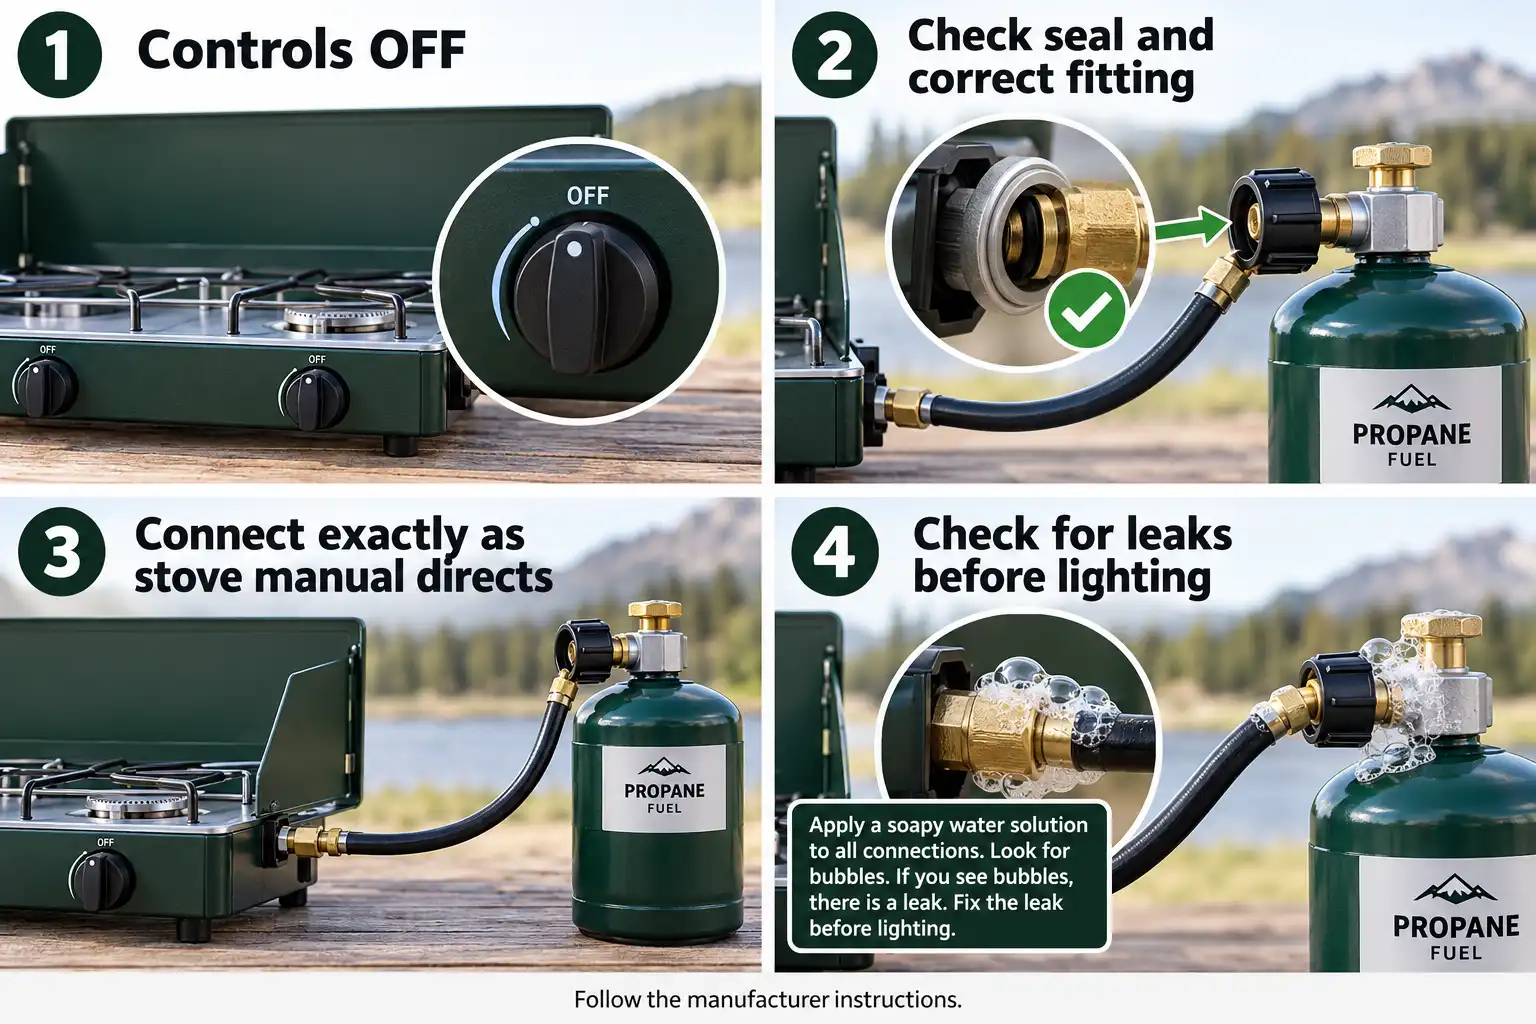
Propane stoves use different cylinder sizes, regulators, and connectors. Therefore, use the fuel and attachment procedure specified in your stove’s manual. Never assume two fittings are compatible just because they seem to fit.
- Turn everything off. Place the cool stove outdoors, check that burner knobs are off, and close the cylinder valve if it has one.
- Inspect the parts. Look for damaged threads, cracked hoses, and worn or missing seals. Do not use faulty parts.
- Connect as directed. Align the correct cylinder, hose, and regulator without forcing the threads. Tighten only as the manufacturer instructs; some connections need a tool, while others do not.
- Check for leaks. Follow the manual’s leak-test procedure. For connections that permit a soap-and-water test, apply solution to the joint and look for growing bubbles after opening the gas supply. Never test with a flame.
- Light only if leak-free. If you notice bubbles, hissing, or a gas smell, shut the supply off and do not use the stove until you correct the problem. Otherwise, ignite it according to the manual and turn everything off after cooking.
Cook Your First One-Pan Camping Meal
You don’t need a complicated recipe to learn basic heat control. A bean-and-vegetable skillet works on most ordinary camp stoves, uses a single pan, and avoids handling raw meat.
For two servings, bring: One can of cooked beans (drained), one bell pepper, half an onion, two teaspoons of cooking oil, salt or a favorite spice blend, and four small tortillas. Chop the vegetables at home and chill them if you prepare them ahead.
- Warm the tortillas one at a time in the dry skillet over low heat. Wrap them in a clean towel and set them aside.
- Add oil and vegetables to the skillet. Cook for about 4 to 6 minutes, stirring until softened. Reduce the flame if the edges darken too quickly.
- Stir in beans and seasoning until the filling is hot throughout. Add a splash of safe water if the pan starts to dry out.
- Serve immediately by spooning the filling into the warm tortillas.
Keep a lid nearby to retain heat and reduce fuel use. Also, prep every ingredient before lighting the stove, since campsite cooking leaves less room to multitask.
Boil Water While Camping
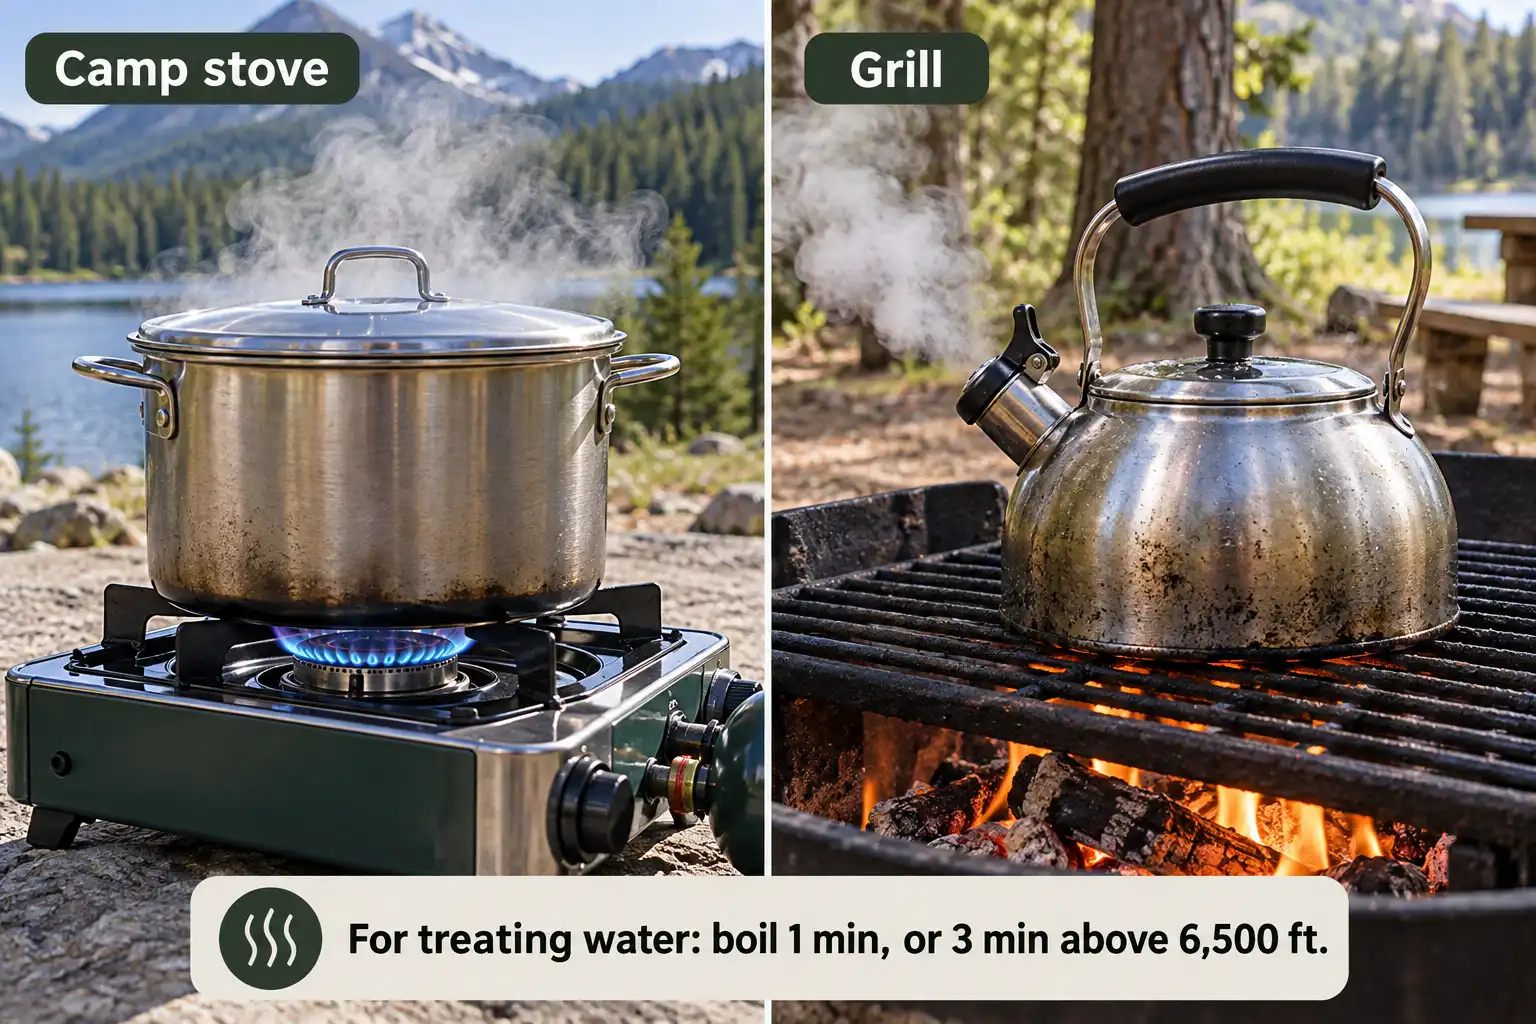
A camping stove is usually the simplest way to heat water for noodles, tea, or washing. Pour water into a stable metal pot, leave room for bubbling, place a lid on it, and heat it over the burner. Use pot grips when you remove it.
If you are treating uncertain water for drinking, the CDC recommends a rolling boil for 1 minute, or 3 minutes above 6,500 feet (about 2,000 meters). Let it cool in a clean, covered container. Cloudy water needs settling or filtering through a clean cloth before boiling. Boiling kills germs, but it does not remove fuel, pesticides, or other harmful chemicals. Choose another water source if chemical contamination is possible. For more on campsite sources and treatment, see my advice on making camp water safer.
Boil Water on a Grill
Use a sturdy, grill-safe metal pot or kettle with handles that can tolerate the heat. Place it on a stable grate over a controlled heat source, not directly on unstable logs. Cover the pot loosely enough to vent steam, monitor it closely, and use heat-resistant gloves to lift it. If the water needs disinfection, start timing only after a full rolling boil begins, following the same 1- or 3-minute rule. Avoid glass vessels and plastic-handled cookware unless the manufacturer specifically rates them for that grill.
Make Coffee While Camping Without a Fire
You can make coffee without lighting a stove or campfire. I see three practical options, depending on how long you will be away from home.
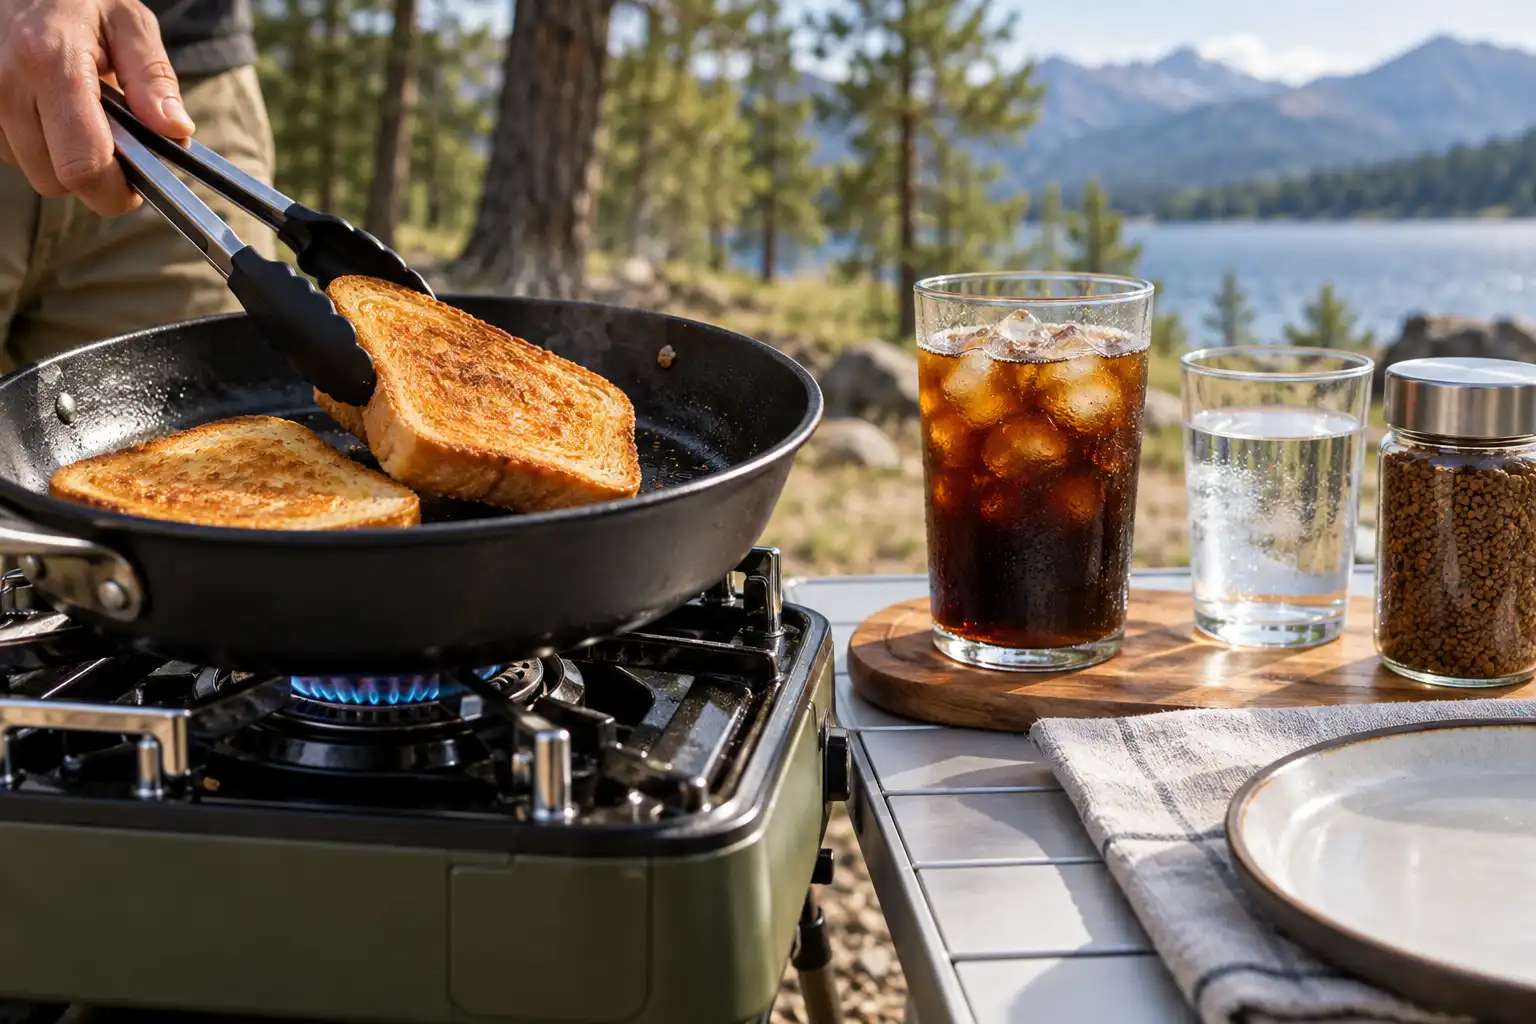
- Instant iced coffee: Stir instant coffee into safe, cool drinking water, add sugar if you like, and pour it over ice made with drinking-quality water. Check the package for the amount of coffee per cup.
- Cold brew: Steep ground coffee in water in your refrigerator before leaving, then strain and pack the drink chilled. Keep it in the cooler and follow safe storage practices.
- Hot coffee from home: Fill an insulated thermos before departure. At a powered campsite, you can also use an electric kettle if the hookup and campground rules permit it.
If you add milk or cream, keep it cold rather than leaving it on the picnic table.
Make Toast While Camping
A dry skillet makes toast without a toaster. Warm the pan over low to medium-low heat, lay the bread flat, and check the underside after about a minute. Flip it when golden and toast the other side, adjusting the time to your burner and bread thickness. Add butter afterward, or lightly butter the bread before toasting if you want a richer crust.
You can also set bread on a clean grill grate over gentle heat and turn it often with tongs. However, don’t put slices directly into tall flames. They can char before the center warms. For breakfast, I would pair toast with eggs, peanut butter, or fruit instead of packing a separate appliance just for bread.
Keep Food Cold and Cook Meat to Safe Temperatures
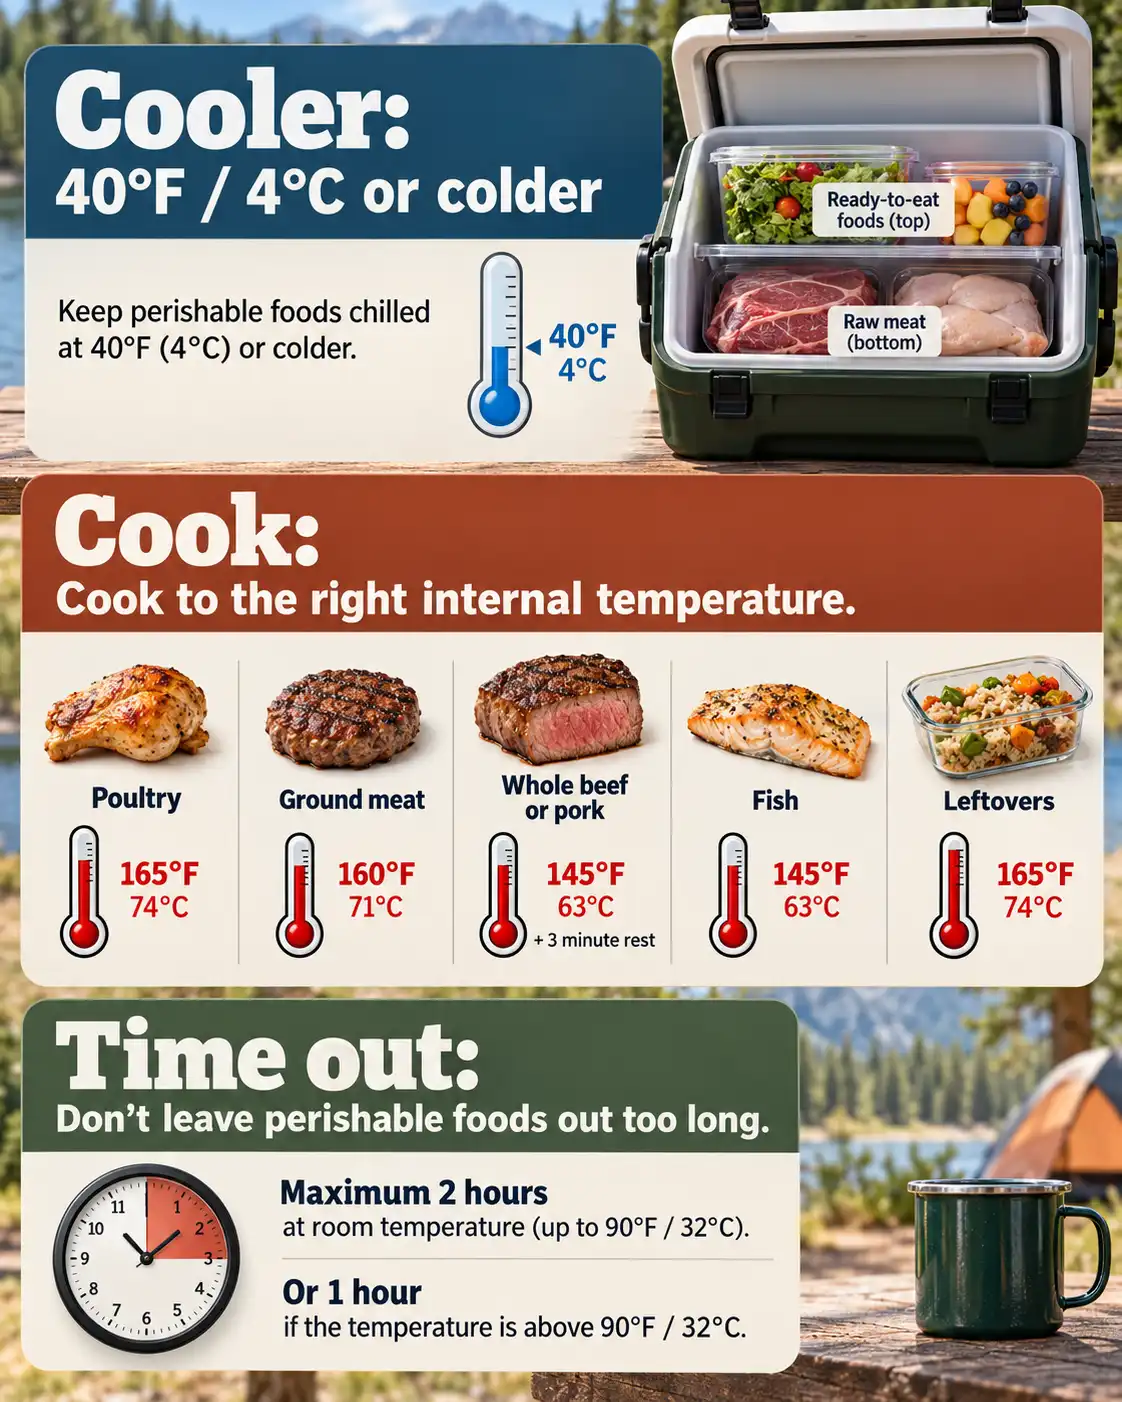
Warm weather changes my packing priorities. Around Kaptai, where I come from, heat and humidity make cold storage worth planning carefully. Put a thermometer inside the cooler and maintain 40°F (4°C) or colder. Keep raw meat sealed at the bottom, away from ready-to-eat food, and open the lid as little as possible.
Perishable food should not sit out for more than 2 hours, or 1 hour when the air temperature exceeds 90°F (32°C). I follow the USDA’s safe cooking temperature chart rather than judging meat by color:
| Food | Minimum internal temperature |
|---|---|
| Chicken and other poultry | 165°F (74°C) |
| Ground beef or pork | 160°F (71°C) |
| Whole cuts of beef or pork | 145°F (63°C), then rest for 3 minutes |
| Fish | 145°F (63°C) |
| Reheated leftovers | 165°F (74°C) |
Check the thickest part with a food thermometer. Also, wash hands after touching raw meat and keep its cutting board separate. If your cooler cannot hold a safe temperature, choose shelf-stable meals instead. These habits help prevent food poisoning at camp.
Wash Up and Store Food Properly
Cleanup starts before I light the stove. I keep a bag for packaging, a sealed container for scraps, and enough safe water for washing. That way, leftovers and dirty utensils do not sit out all evening.
Scrape food into a trash bag, wash cookware with clean water and a small amount of soap, then rinse and air-dry it. Use a campground’s designated dishwashing or gray-water station if one exists. In a dispersed campsite, follow local rules; where allowed, strain dishwater and scatter it at least 200 feet (about 60 meters) from lakes and streams. Pack out the strained food bits. Even biodegradable soap does not belong directly in natural water.
Finally, secure all food, scented supplies, and trash as the campground requires. In wildlife areas, that may mean a locker or an approved bear-resistant container. Never leave food in the tent or overnight on the table.
Keep a Backup Meal for Bad Weather
Wind, heavy rain, empty fuel, or a fire ban can change dinner plans. Therefore, I carry at least one meal that needs no heat: tortillas with peanut butter, shelf-stable beans with crackers, or a sealed ready-to-eat meal. Check the labels, especially after opening packages.
If strong wind or rain makes stove placement unsafe, don’t move the burner into your tent or under its vestibule. Eat the backup meal and cook later when you have a suitable outdoor spot.
Final Thoughts
Learning how to cook while camping gets easier when you keep the first menu small. Choose a heat source your campsite allows, practice using your stove at home, and pack ingredients in the order you’ll need them. Then focus on steady heat, clean water, safe food temperatures, and a quick cleanup routine. Once those basics feel comfortable, you can try more involved campfire recipes. For now, a good hot meal and a tidy campsite are more than enough.