How to Lace Hiking Boots to Stop Blisters and Sore Toes
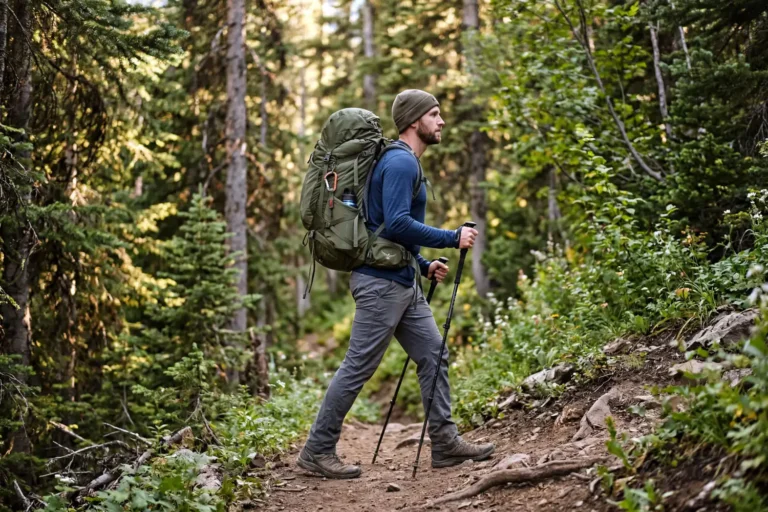
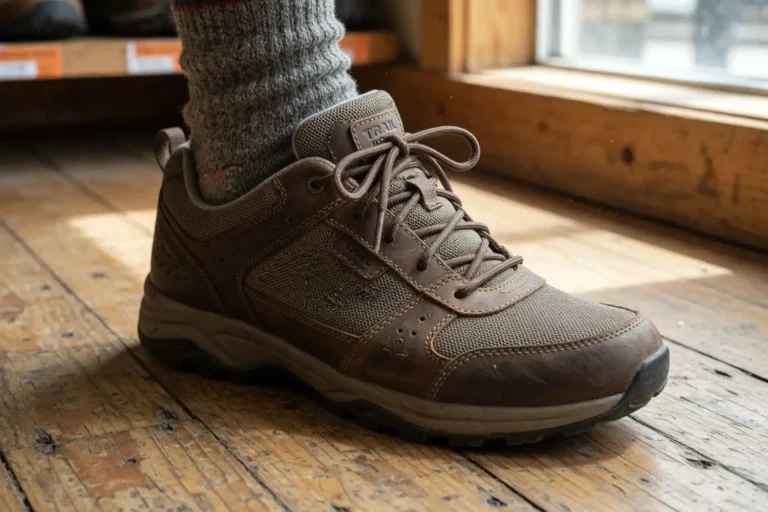
Properly laced hiking boots can mean the difference between a comfortable trail day and a painful one. After years of trekking in the Bandarban hills and around Kaptai, I’ve learned that most boot problems start at the laces, not the boots themselves. Hot spots, heel slippage, sore toes on long descents… all of these trace back to how you tie them. This guide walks through every lacing technique you need, from the basic crisscross pattern to the heel lock trick that saved my feet on the way to Keokradong.
How should hiking boots be laced?
Lace your boots snug across the foot, with extra tension at the ankle to hold the heel in place, and slightly looser at the toe box so toes can spread. Adjust tension in zones instead of treating the lace as one long string. This approach protects against blisters, black toenails, and pressure points on long hikes.
Learn more: Hiking Shoes Be Tight or Loose
What to check before you lace up
First, inspect your laces. They should be the right length, undamaged, and clean. Frayed laces snap at the worst times, usually halfway up a steep climb.
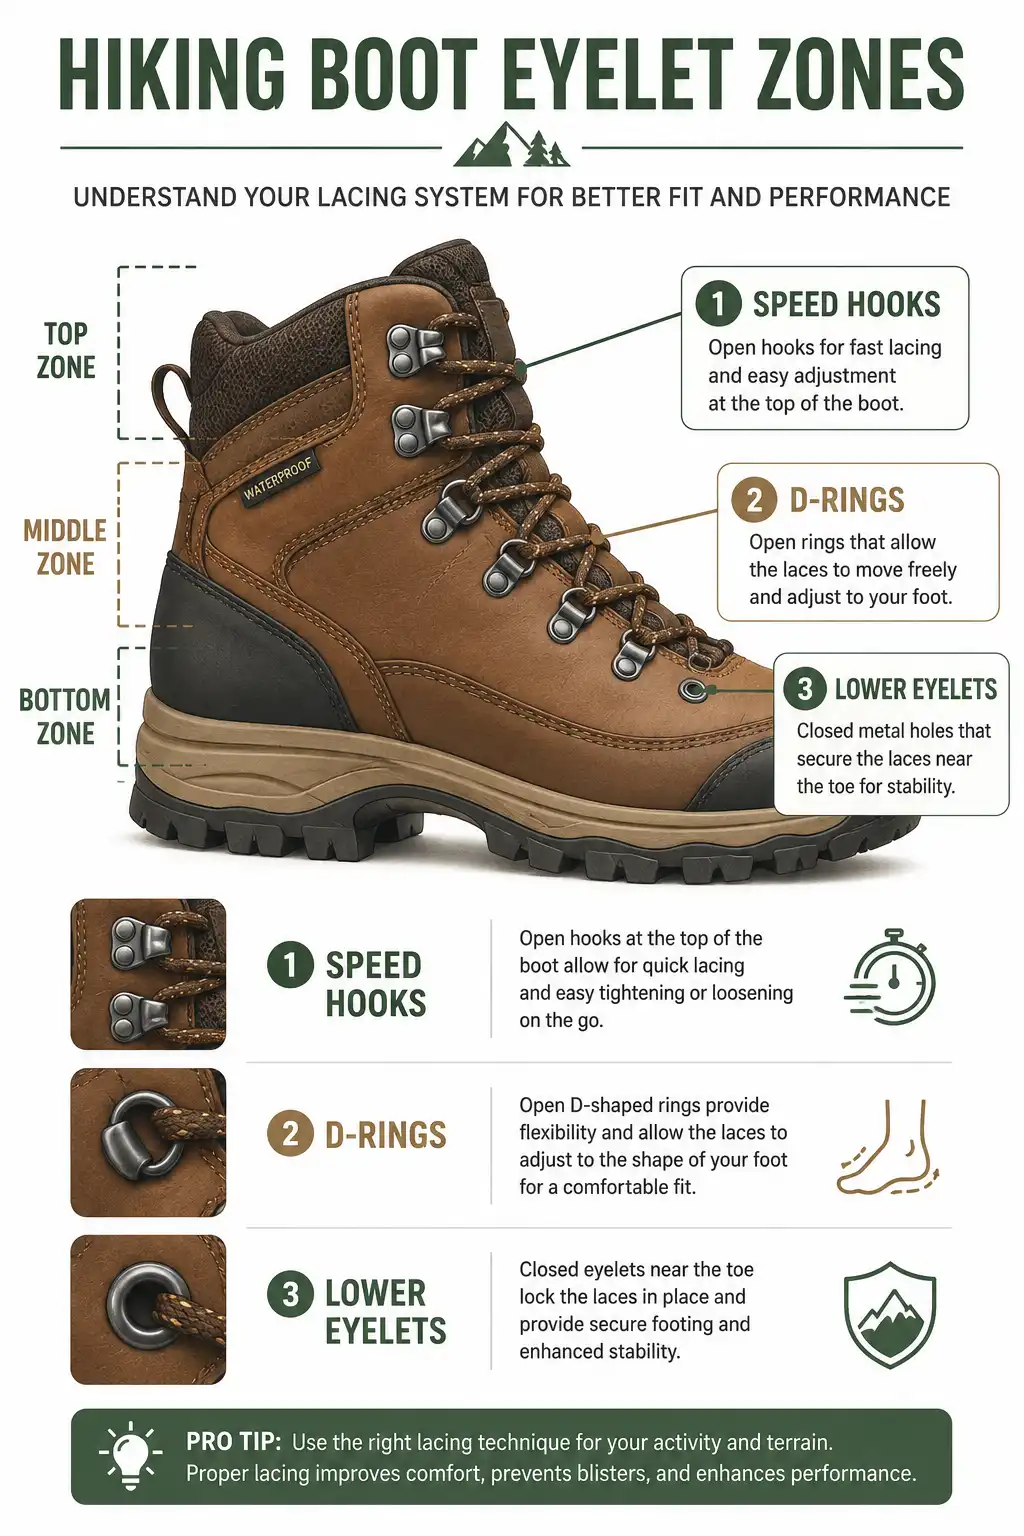
Next, look at your boot’s eyelet system. Most hiking boots mix three types:
- Lower eyelets: closed holes near the toe that grip the lace.
- D-rings: open metal rings around the midfoot.
- Speed hooks: open hooks at the top that let laces slide.
Each behaves differently. Hooks let laces shift, so you need a knot or lock to hold tension between zones. Closed eyelets, however, grip the lace and hold tension naturally on their own.
Know more: Hiking Vs Walking
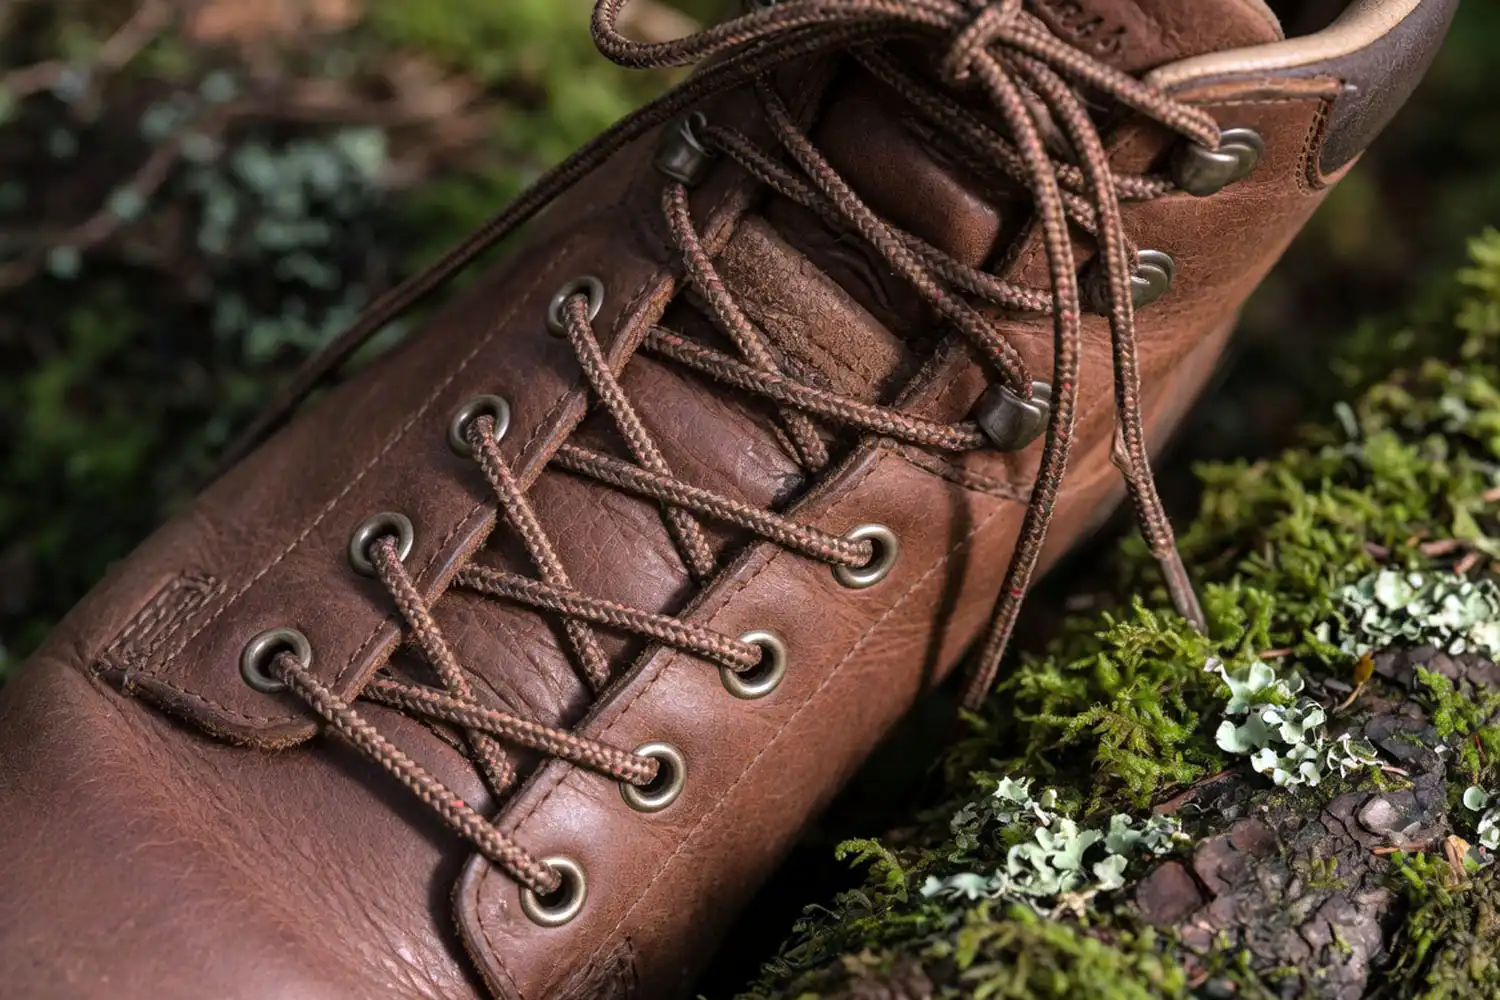
The standard crisscross pattern
Start at the bottom eyelets nearest the toe. Thread one end of the lace through each eyelet from the outside in, so both ends come up through the holes. Even out the lace ends so they match in length.
Then cross the right lace over the left and feed it down through the next eyelet up on the opposite side. Do the same with the left lace. Continue this crisscross up the boot until you reach the top.
For most flat trails, this is all you need. However, on uneven terrain or steep grades, switch to zone-based lacing instead.
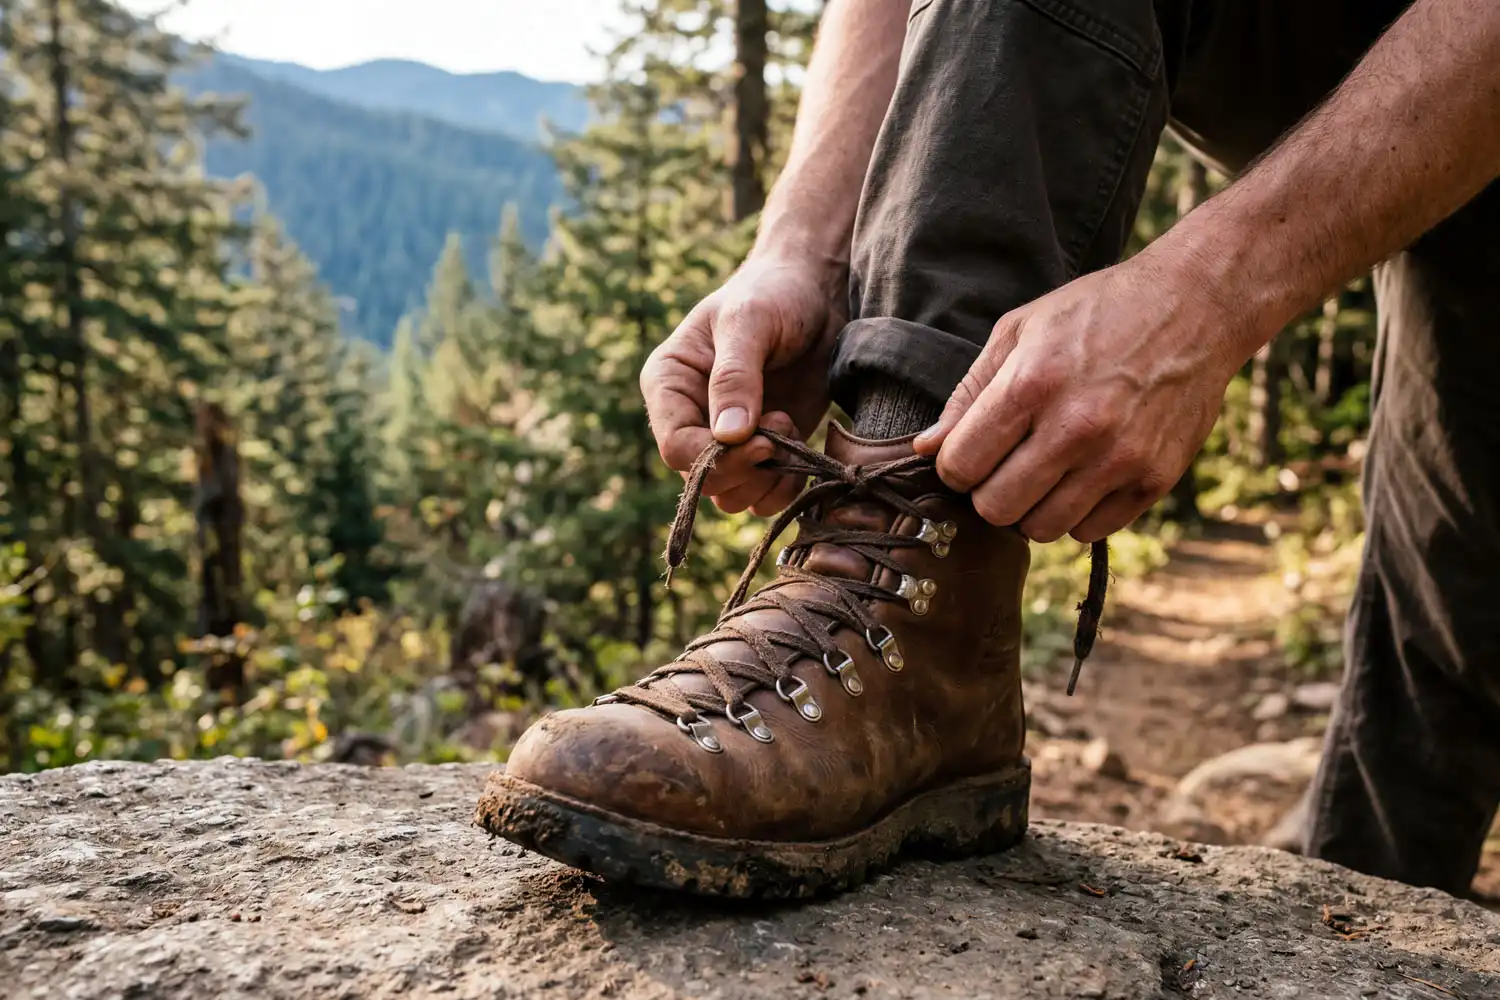
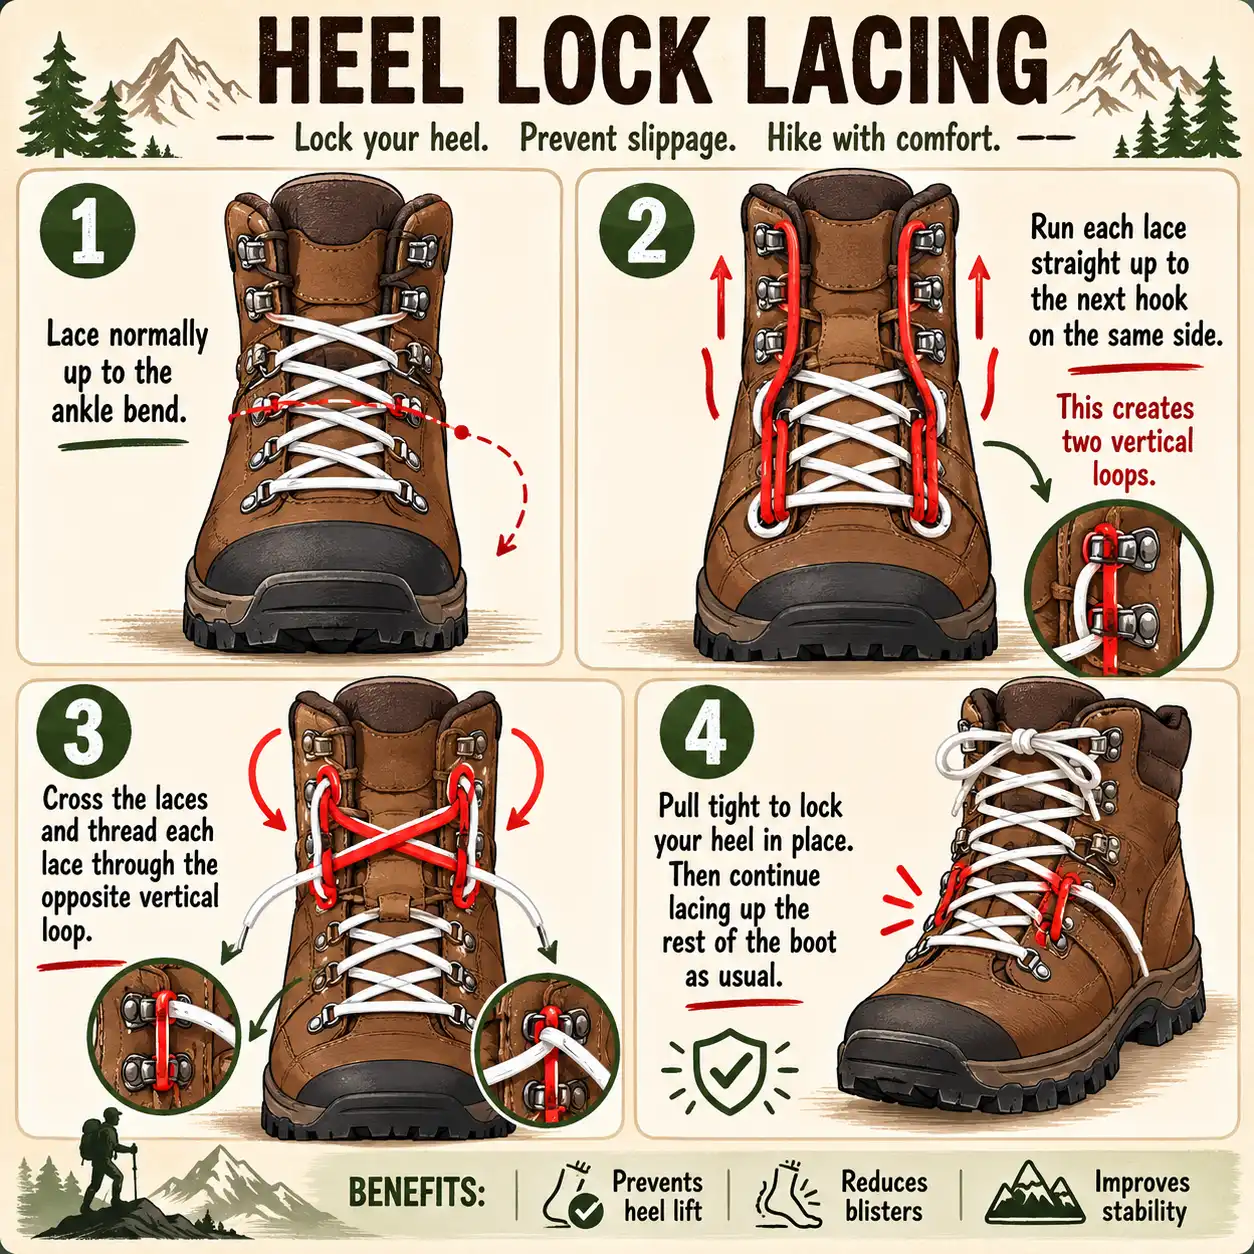
Heel lock lacing (the surgeon’s knot)
This is the single most useful lacing trick I know. Heel lock lacing stops your foot from sliding forward inside the boot, which prevents blisters on descents and bruised toenails.
Here’s how it works. Lace the boot normally up to the point where the foot bends, usually where the speed hooks begin. Instead of crossing the laces there, run each lace straight up through the next hook on the same side. This creates two vertical loops on the outside of the boot.
Now cross the laces. As you cross, slide each lace through the opposite vertical loop. Pull both ends tight. This locks tension below the knot so your heel stays seated.
Finish the rest of the boot with normal crisscross lacing. I use this trick every time I hike with a loaded pack, and it’s also why I have less trouble with knee pain on downhill stretches.
Window lacing for pressure points
Window lacing relieves pressure on the top of your foot. If you feel a hot spot or numbness across the instep, this is the fix.
Lace up to the eyelet just below the sore spot. Instead of crossing, run each lace straight up to the next eyelet on the same side. Then cross above the pressure zone as normal. This creates an open “window” with no lace pressing down on that part of the foot.
I had to use this on a long day hike to Nafakhum when my left foot started cramping near the third hour. After ten minutes of relacing, the pain faded, and I finished the rest of the hike comfortably.
Toe relief lacing
If your toes hit the front of the boot on long descents, your boot isn’t necessarily too small. Often, the lacing is just too tight near the toes.
To fix this, skip the bottom one or two eyelets entirely. Start your lacing higher up the boot. The toe box gets more room, and your foot can spread naturally as it swells during long miles. Pair this with good socks that prevent blisters, and most downhill toe pain goes away.
Two-zone lacing for changing terrain
When trails shift between flat and steep, you want different tension in different zones. Two-zone lacing handles this without retying the entire boot.
Lace normally up to the ankle bend. Then tie a surgeon’s knot at that point: loop the laces around each other twice instead of once before pulling tight. This locks the lower zone. After that, lace the upper section with whatever tension fits the terrain. Tighten the top for descents, loosen it for flats, and the lower section stays put either way.
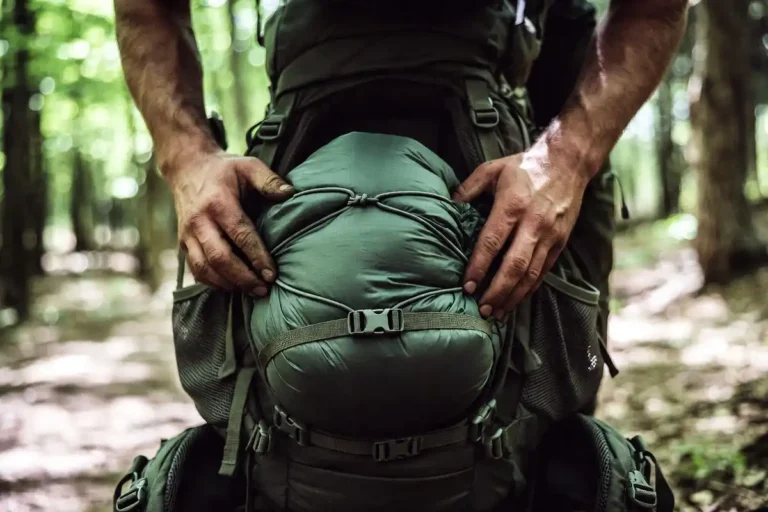
This trick really shines on multi-day trips. For broader trail comfort, also remember that how you pack a hiking backpack affects how your feet take impact, so adjust both together.
Loose-top lacing for flexibility
Some hikers prefer extra ankle movement, especially on flat or gently rolling trails. To get it, lace tight through the foot zone, then leave the top two hooks loose or skip them entirely.
This isn’t ideal for rocky or steep terrain where ankle support matters. Still, on easy trails with a light load, looser ankles feel less restrictive and reduce fatigue over the day.
How to tie off so the knot stays tied
A standard bow loosens on long hikes because of constant flex in the foot. Instead, use a double bow or a surgeon’s bow.
For a double bow, tie a normal bow first. Then take the two loops and tie them together once more as if they were lace ends. The knot sits flat and stays put for the entire day.
Tuck the loose ends under the top crossover or into the cuff of the boot. Dangling laces catch on roots and brush, and untied laces become a tripping hazard on any descent.
Common lacing mistakes
A few mistakes show up over and over with beginners. Watch for these:
- Tying too tight all the way up. This restricts blood flow and causes numbness. Tension should ease near the top.
- Tying too loose at the ankle. This causes heel slippage and blisters fast.
- Ignoring sock thickness. Thicker socks need slightly looser lacing.
- Skipping the break-in period. Even perfect lacing feels bad if you haven’t worn the boots in beforehand.
- Reusing damaged laces. Replace frayed laces before they snap mid-hike.
If you’re new to trail footwear, also consider whether boots are even the right choice. The choice between boots and hiking shoes affects how you lace and how much support your foot gets.
FAQs on Lace Hiking Boots
How tight should hiking boots be laced?
Why do my toes hurt on downhill hikes?
Should I retie my boots during a hike?
Can lacing prevent blisters?
Final thoughts
Good lacing is free, and it changes how every pair of boots feels. Try a few of these techniques on your next short hike before committing to a long trail. Once heel lock lacing clicks for you, descents stop being painful. Once window lacing solves a pressure point, you stop dreading hour three. Take five minutes at the trailhead to lace properly, and your feet will thank you ten miles later.