How to Pack a Day Pack for Hiking: My Full Packing Method
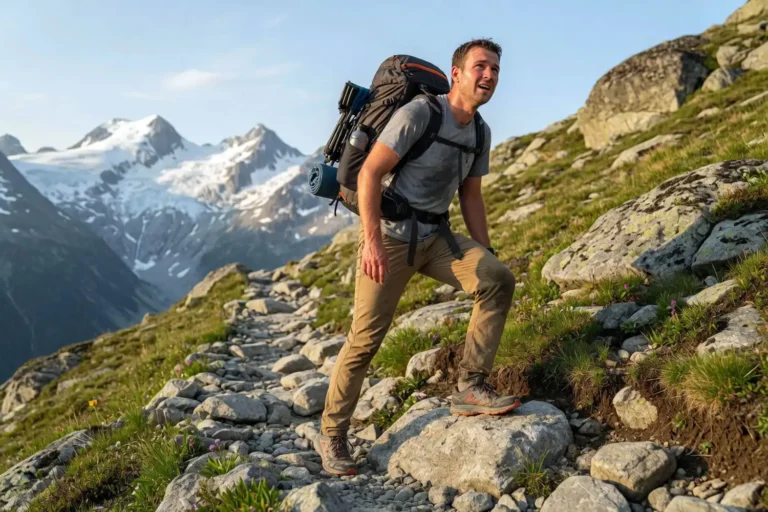
Packing a day pack sounds simple until you hit the trail and realize you forgot water, or your shoulders ache by mile two. I’ve made both mistakes in the Bandarban hills, and a few more besides. So here’s how I pack mine now: a clear method, the right gear order, and the small habits that keep my back happy and my hike on schedule. This guide covers pack size, the core essentials, how to layer everything inside, and how to balance the load so it carries well from the first step to the last.
What goes in a day pack for hiking?
A day pack for hiking holds water, food, navigation tools, a first aid kit, sun protection, a rain shell, an insulating layer, a headlamp, a small repair kit, and emergency items like a whistle and fire starter. Everything should stay under about 15 to 20 percent of your body weight for a comfortable carry on most trails.
Read more: What Muscles Does Hiking Work? A Full Body Breakdown
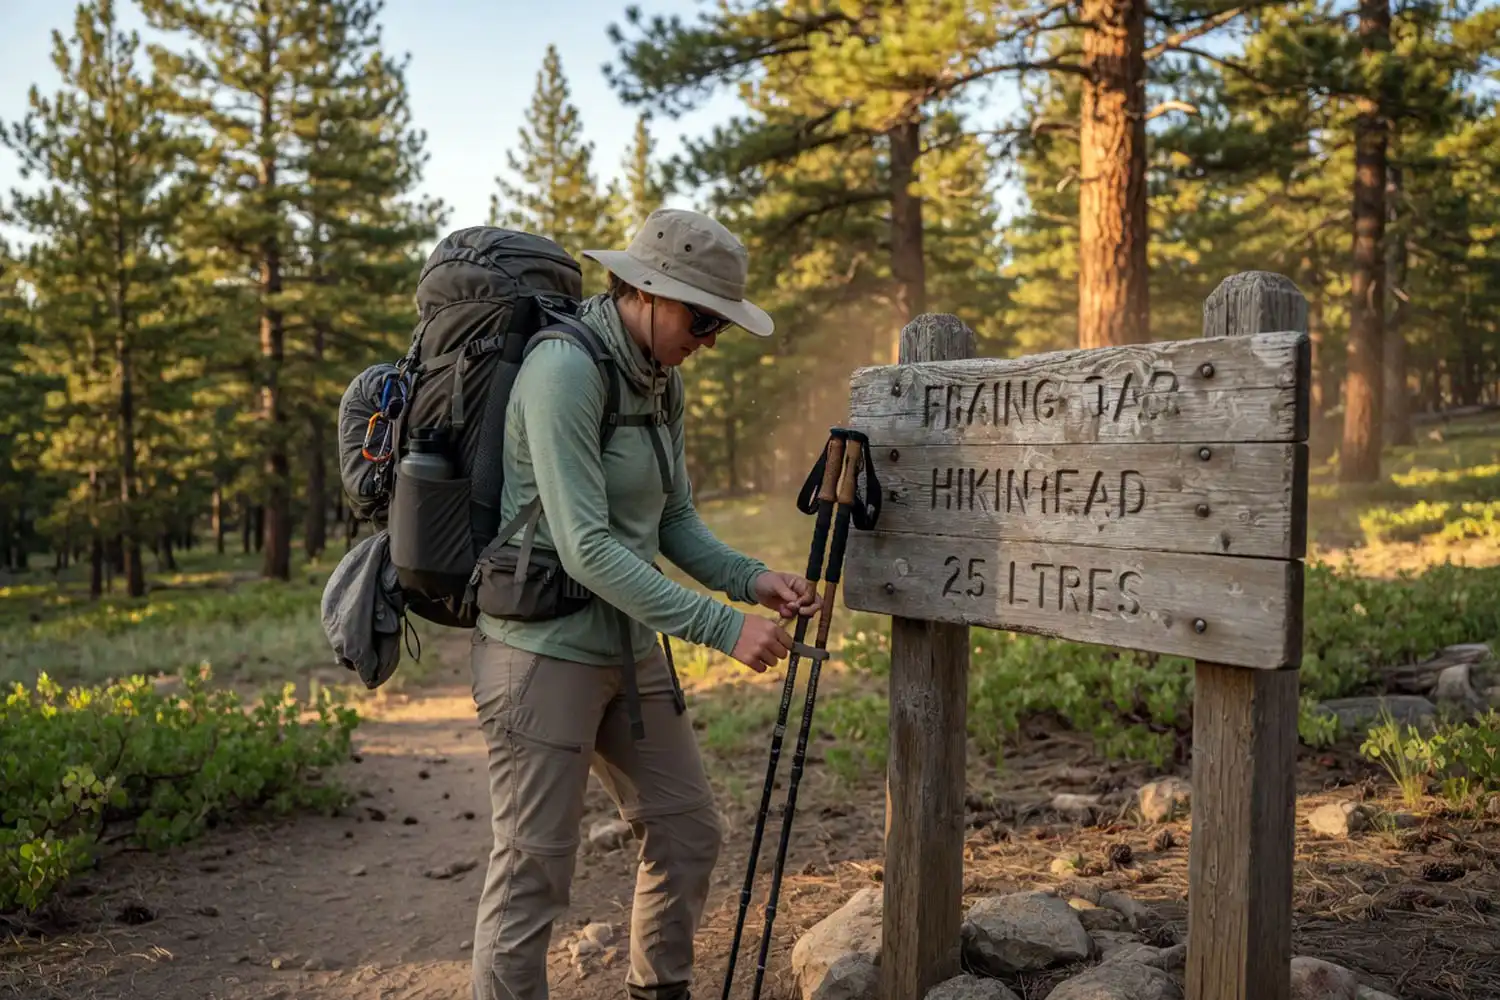
What size day pack do you need?
For a single-day hike, an 18 to 28 liter pack works for most people. Shorter trails of 3 to 5 hours fit fine in an 18 to 22 liter bag. Longer or colder days, when you carry extra layers and more water, call for a 25 to 30 liter pack instead.
Look for a pack with:
- A padded hip belt, not just a thin strap
- A sternum strap
- An external bottle pocket or a hydration sleeve
- A few internal pockets so small items don’t float around
If your pack only has shoulder straps and no hip belt, the weight rides on your shoulders all day. That’s how necks get sore and shoulders cramp. A good hip belt shifts most of the load to your hips, where your skeleton handles it better. So spend a little more for a pack that fits properly. It pays off on every hike after.
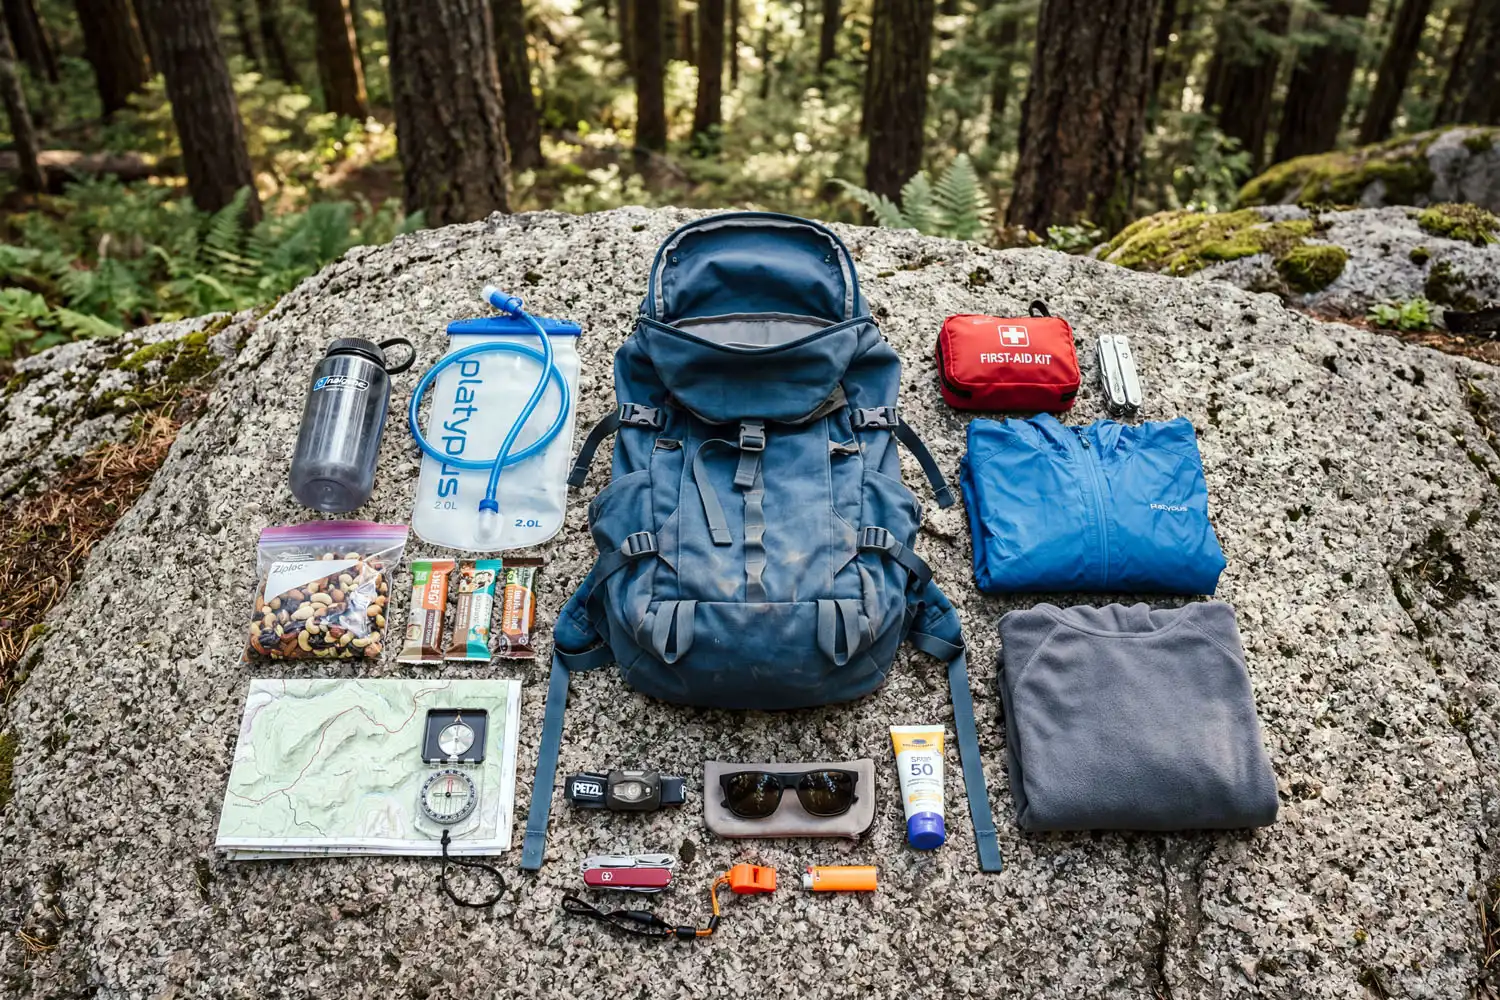
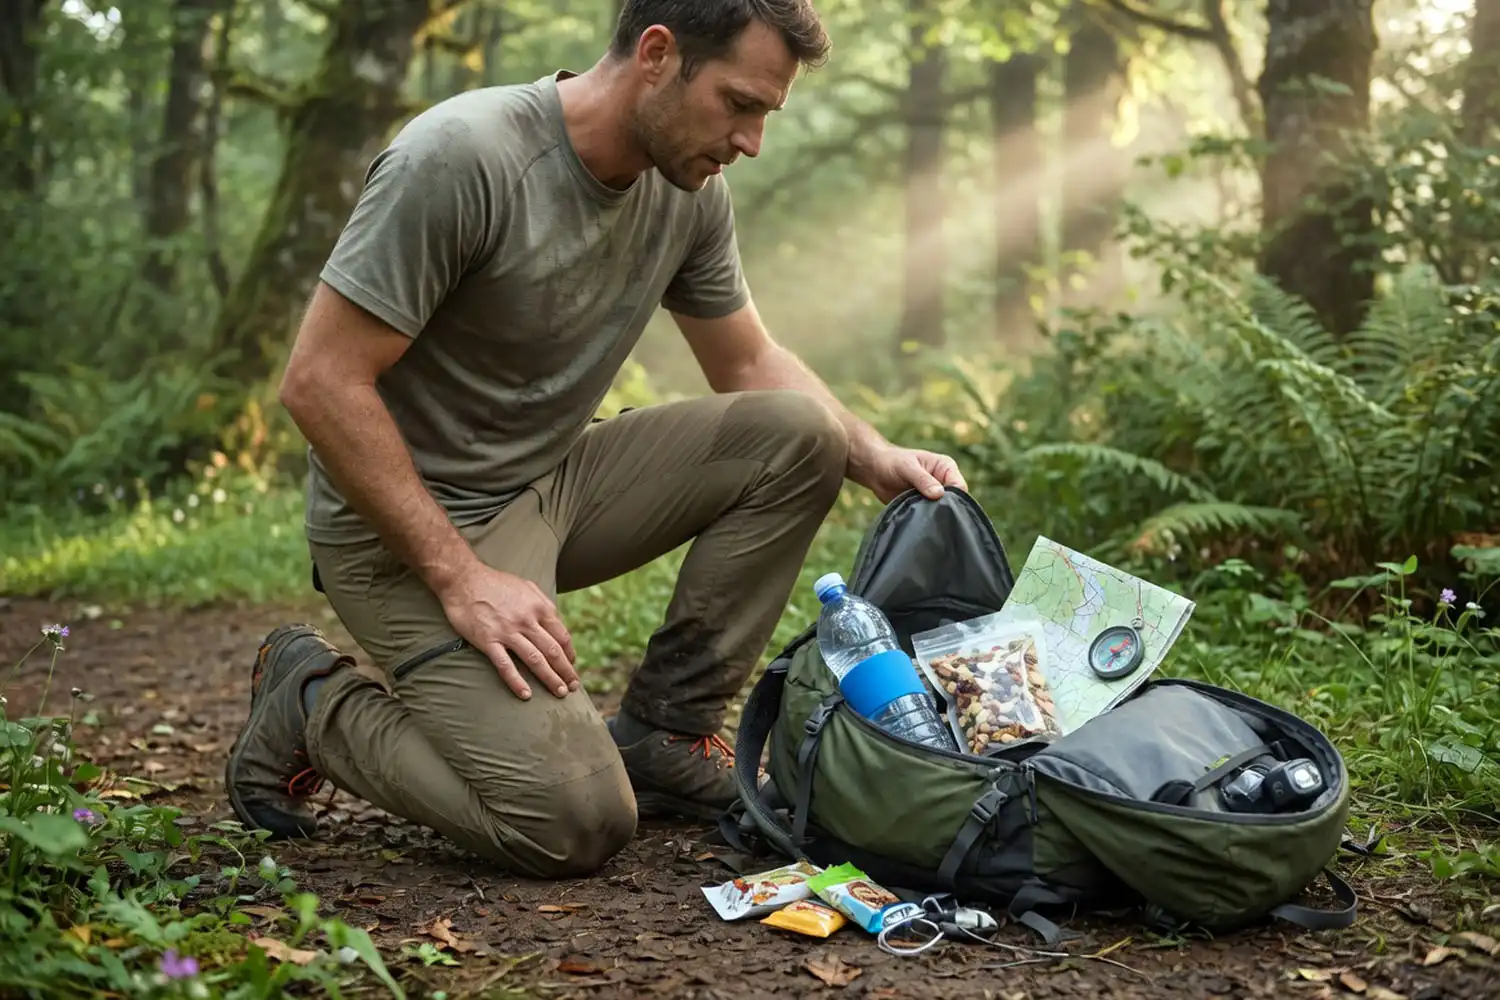
The core items every day hiker should pack
Most experienced hikers follow some version of the Ten Essentials, a checklist popularized by The Mountaineers. I treat it as the baseline, then adjust for the trail and the weather.
Water and hydration
Carry about half a liter of water per hour of hiking, more in heat. For a 6-hour day, that means 2 to 3 liters. A 2L bladder plus a backup bottle works well. On longer routes I bring a small filter so I can refill from streams.
Food and snacks
Pack quick-energy snacks you’ll actually eat. Trail mix, jerky, energy bars, a sandwich, and some dried fruit cover most needs. I lean toward calorie-dense items, because light snacks that fit in a hiking pack save space and weight without leaving you hungry. Aim for roughly 200 to 300 calories per hour on the move.
Navigation
Bring a paper map and compass first, then a GPS app on your phone as a backup. Phones die. Maps don’t. Also download offline maps before you leave the trailhead, since cell service vanishes fast in the hills.
First aid kit
A small kit covers blisters, cuts, scrapes, splinters, and headaches. I include moleskin, athletic tape, gauze, antiseptic wipes, tweezers, ibuprofen, and a few bandages. Knowing how to handle blisters on the trail matters as much as having the supplies, so practice at home if you’re new to taping feet.
Insulating layer
Even on warm days, weather flips. So I always pack a light fleece or thin puffy plus a wind shell, especially above 2,000 feet.
Rain protection
A packable rain jacket and a pack cover stop a sudden shower from soaking you and your gear. In humid forests like the ones I grew up around, surprise rain is the norm, not the exception.
Headlamp
Bring one even on day hikes. Trails take longer than expected, and dusk arrives fast under tree cover. The right brightness for a headlamp depends on your terrain, but 200 to 300 lumens covers most night-walking needs.
Sun protection
Sunglasses, sunscreen, lip balm with SPF, and a brimmed hat. Reapply sunscreen every two hours. Skin burns faster at altitude than you’d think.
Knife or multitool
A small folding knife or multitool handles cord cutting, food prep, and quick gear repairs.
Fire starter and whistle
A mini lighter, waterproof matches, and a loud plastic whistle weigh almost nothing and matter a lot if you get stuck overnight or need to signal for help.
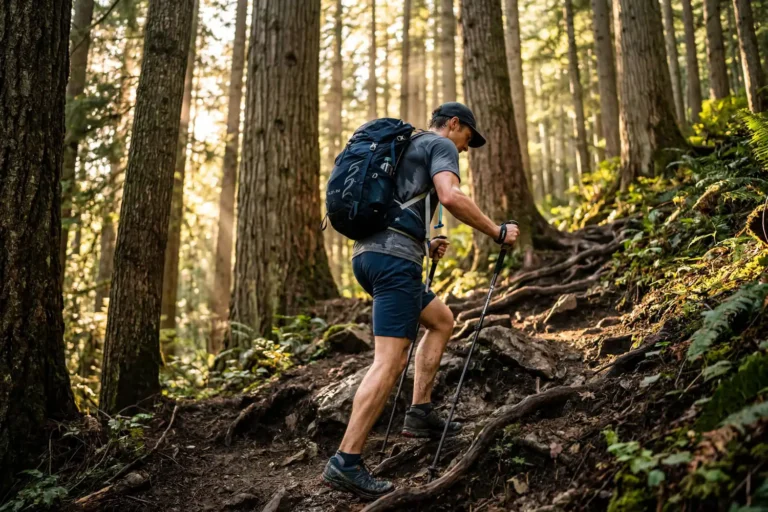
How to layer your day pack: bottom, middle, top
The order you pack items in changes how the bag carries. Get this wrong and the pack feels heavier than it actually is.
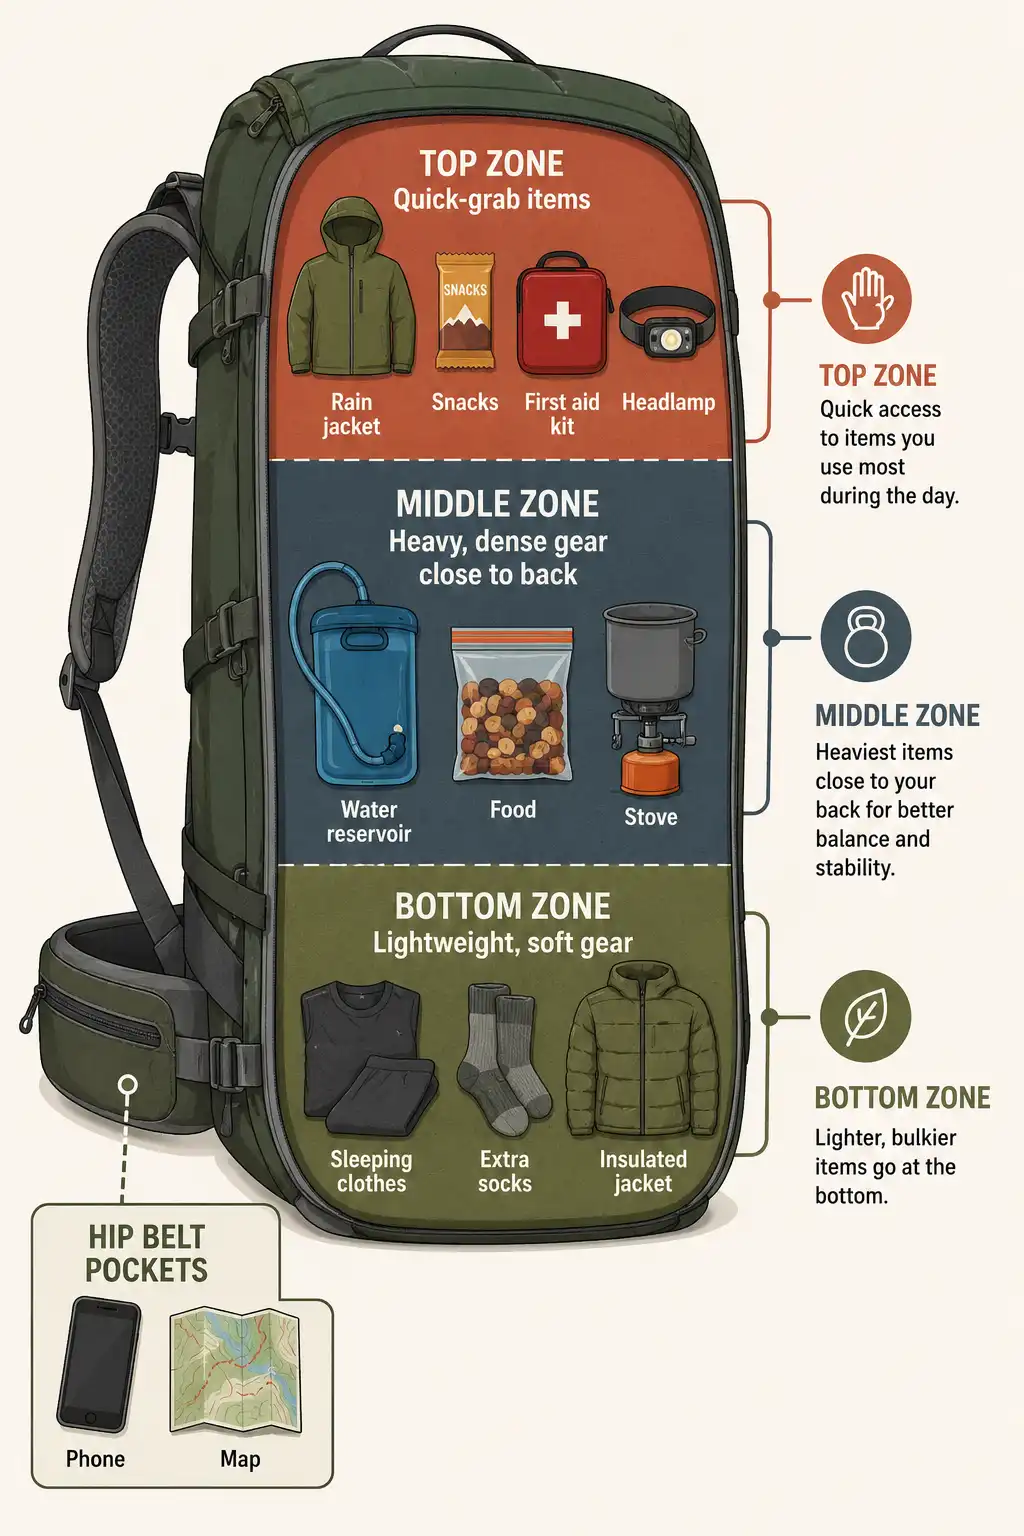
Bottom of the pack
Soft, lightweight gear you won’t need until you stop moving. For example: insulated layer, extra socks, and the lunch you’ll eat later. These items act as a cushion against your lower back.
Middle of the pack, against your back
Heavy, dense items belong here. Water reservoir, food bag, and tightly packed gear. Keeping weight close to your spine and centered between your shoulder blades stops the pack from pulling backward. Smart weight distribution inside a backpack saves your shoulders on long climbs.
Top of the pack
Items you’ll grab often. Rain jacket, snacks for the next break, gloves, hat, and your first aid kit. After the first hour on trail, you’ll thank yourself for putting these on top.
Hip belt and lid pockets
Phone, lip balm, sunscreen, pocket snacks, and your map go here. Anything you want to reach without stopping belongs in these small pockets.
External attachments
Trekking poles, a wet rain shell after a downpour, or a damp towel. However, avoid hanging too many items outside, because they snag on branches and throw off your balance.
How to balance the load left to right
Side-to-side balance matters as much as top-to-bottom. If your water sits in one side pocket and nothing balances it on the other side, you’ll lean and your hips will ache. So pair heavy items left and right: water bottle on one side, food pouch on the other. After packing, lift the bag by the haul loop. It should hang straight, not tip to one side.
Quick organization tips that save time
Use small stuff sacks or zip-top bags to group similar items: one for food, one for first aid, one for electronics. Color-code them if you can. Then you’re not digging through the whole pack to find a single bandage.
Also keep a separate bag for wet or dirty gear like muddy gloves and used wrappers. Trash goes home with you. Always.
When you put the loaded pack on, adjust your hip belt first, then the sternum strap, then your shoulder straps. Most new hikers do it in reverse and wonder why their shoulders burn after an hour.
Common day pack mistakes I see often
- Overpacking. Bring what you need, not what you might want. Extra weight slows you down and tires your legs faster, which is why thoughtful pacing on a long hike starts with a lighter load.
- Water in the wrong spot. A full bladder near the top of the pack makes the bag top-heavy and unstable on uneven trail.
- No quick-access pocket for the map. If your map lives buried in the main compartment, you’ll stop checking it.
- Skipping the rain layer on a sunny day. Mountain weather changes fast. So does forest weather.
- Cotton clothes. Cotton holds sweat and chills you. Instead, stick to synthetic or wool.
Final pack check before you leave the trailhead
Run this quick check at the trailhead, not at home:
- Pack weight feels balanced when lifted by the haul loop
- Water and snacks reachable without removing the pack
- First aid kit and headlamp easy to grab
- Rain jacket near the top
- Hip belt tight, sternum strap clipped
- Map or GPS open and ready
This takes 30 seconds. Therefore, it’s the cheapest insurance you’ll ever buy on the trail.
Conclusion
A well-packed day pack carries quietly and disappears behind a good hike. Start with the right size bag, follow the 10 essentials as a baseline, layer heavy items close to your back, and balance the load left to right. Then run a 30-second check before you step on the trail. Do this every time, and you’ll stop forgetting things, your shoulders will thank you, and you’ll be ready for whatever the day throws at you.