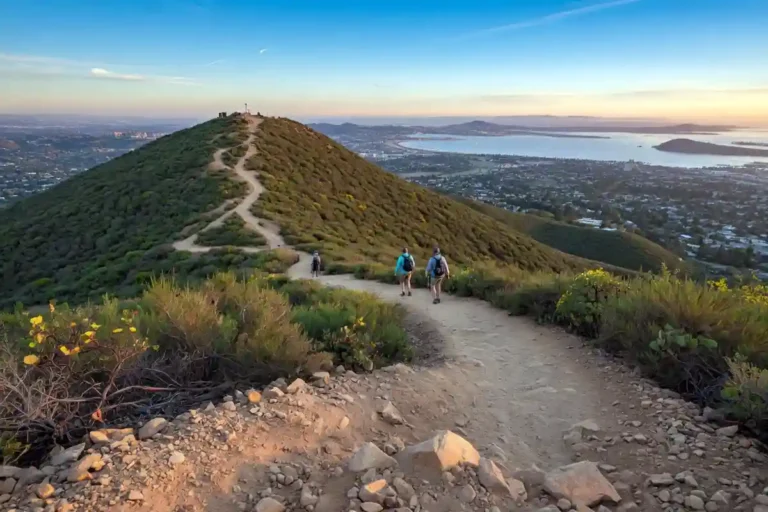
How to Use Hiking Poles to Save Your Knees and Hike Longer
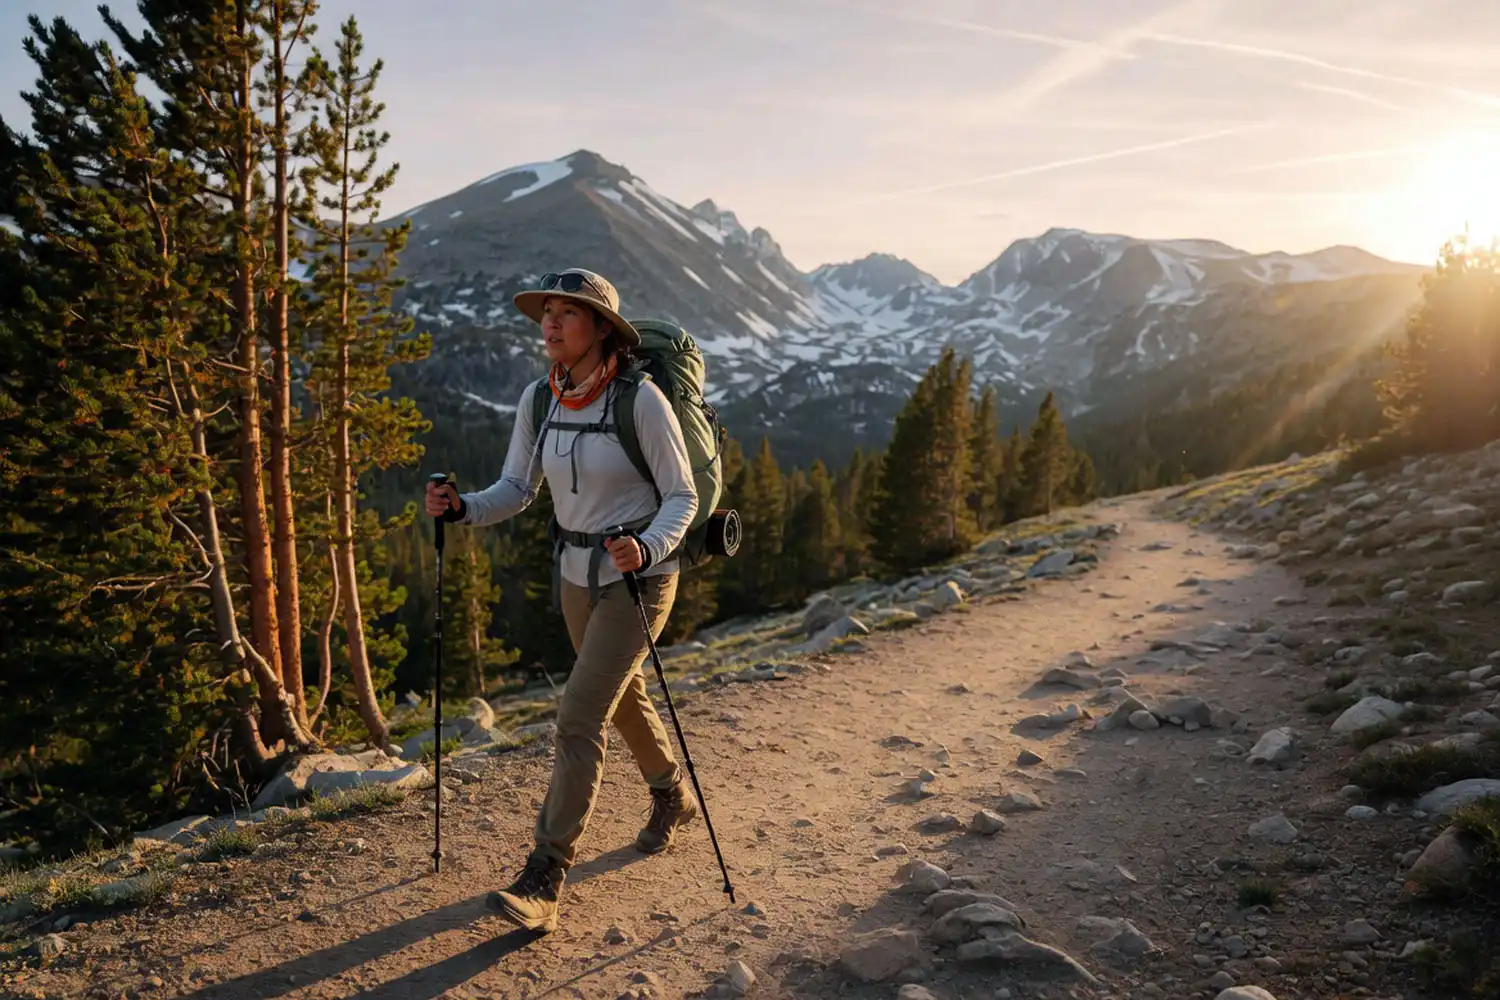
Hiking poles changed how I move through long days on the trail. They take pressure off the knees, steady you on loose ground, and let your arms share the work your legs are doing. But most folks use them wrong. They grip too tight, skip the strap, or plant them in the wrong spot. In this guide, I’ll walk you through how to use hiking poles correctly, from setting the height to handling steep climbs and slippery descents.
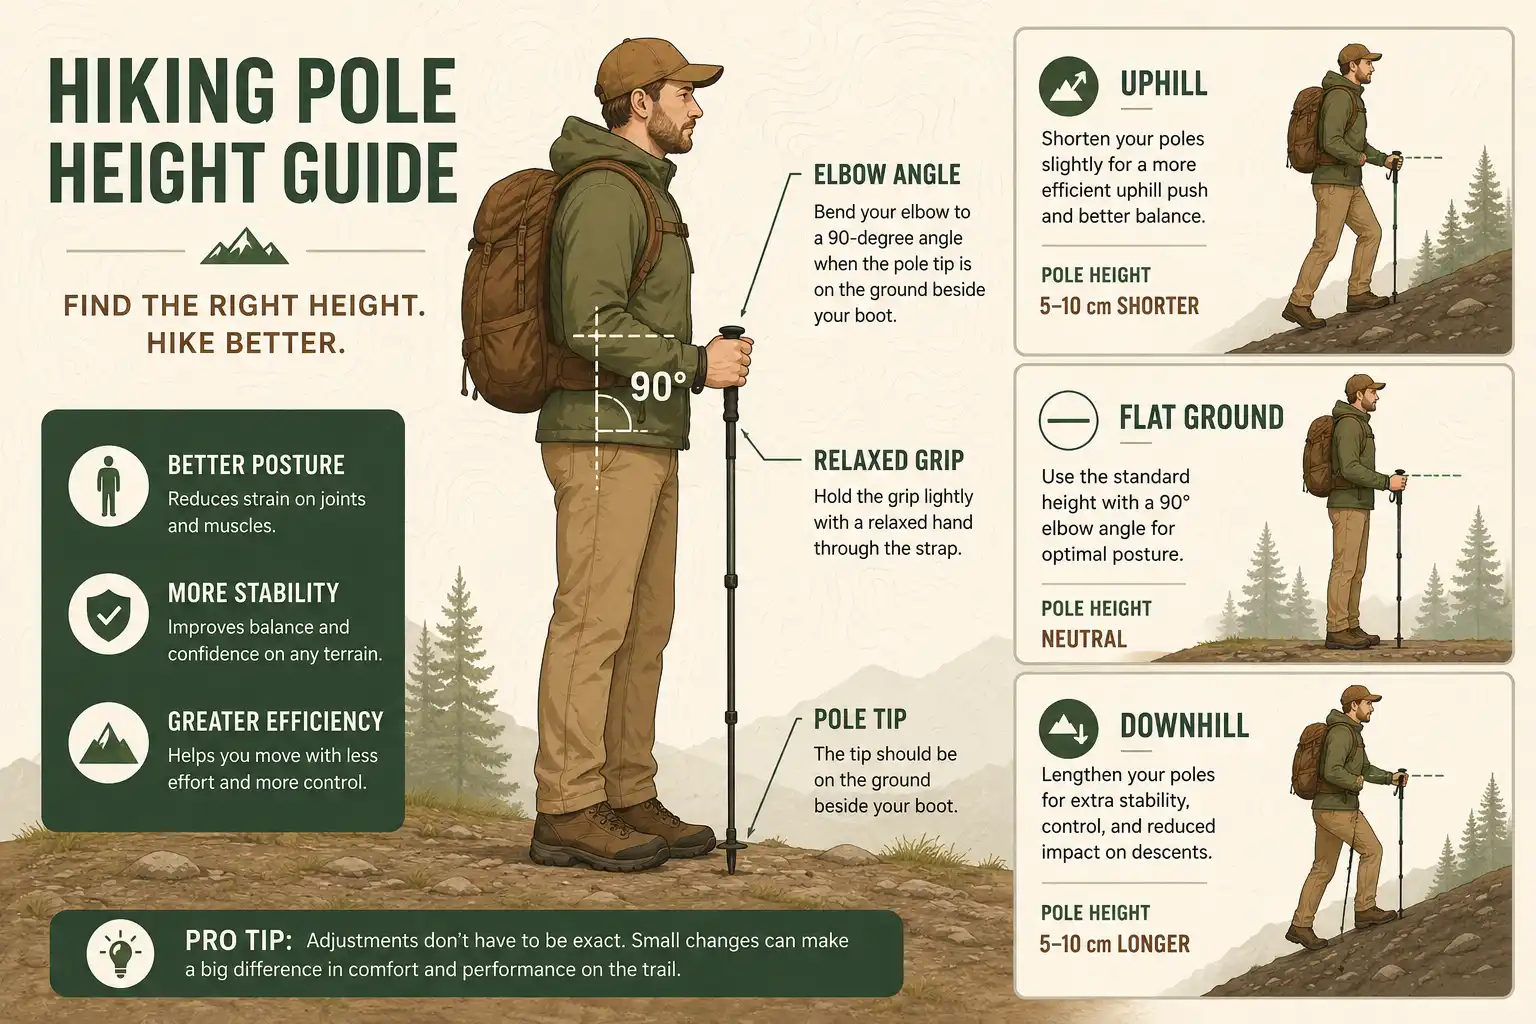
Set your poles so your elbow makes a 90-degree angle when the tip touches the ground beside your boot. Slip your hand up through the strap from below, then close your grip lightly around the handle. Plant the pole opposite your forward foot, push down and slightly back, and let the strap absorb the weight. Shorten the poles for uphill, lengthen them for downhill.
How do you adjust hiking poles to the right height?
Adjust the pole height so your forearm stays parallel to the ground when the tip rests next to your boot. That gives a roughly 90-degree bend at the elbow, which is the sweet spot for power and comfort on flat terrain. Most adults land between 110 cm and 125 cm.
If your poles have two sections, set the lower section first and use the upper one for fine adjustments. For three-section poles, set the top section to about two-thirds of your final length, then dial in the rest with the lower locks. Flick-lock systems hold tighter than twist locks, especially in cold or wet weather, so I always tighten them before stepping off the trailhead.
Recheck the height after the first ten minutes. The locks can settle slightly under load.
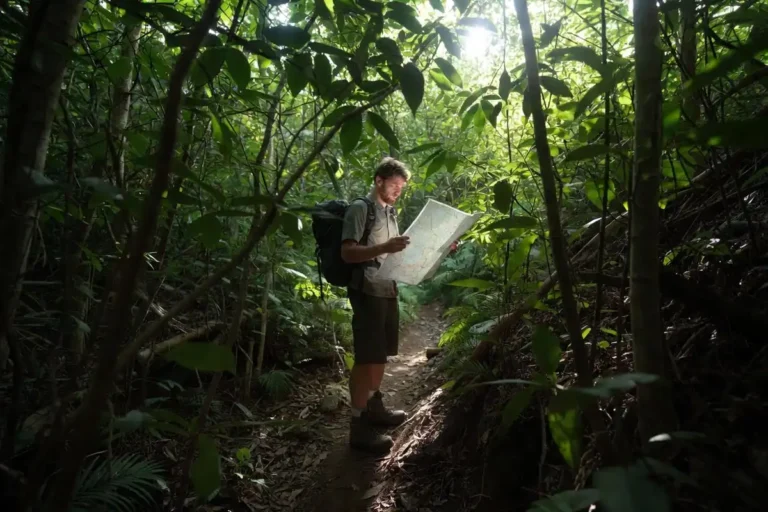
Learn more: How to Hike Alone as a Woman With Confidence
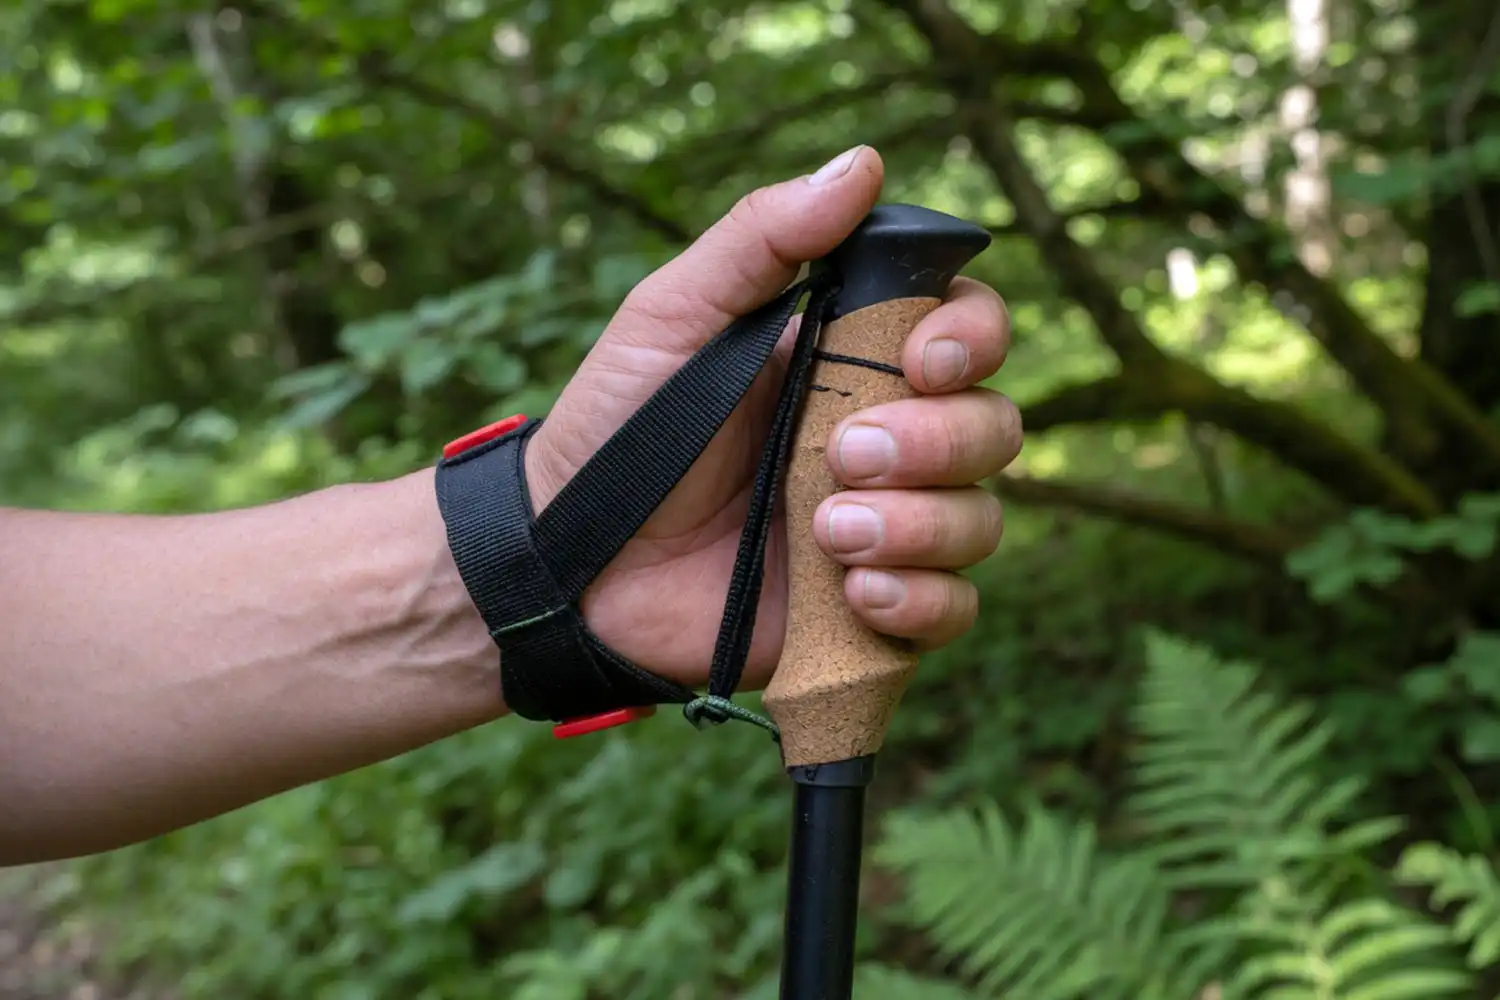
How to hold the pole and use the wrist strap
Slip your hand up through the strap from underneath, then bring your palm down on top of the strap before closing it around the grip. This single move is what most beginners miss. When you load the pole, the strap, not your fingers, takes the force. Your hand stays relaxed, your forearm stays loose, and your shoulders don’t burn out by lunch.
If you grip the handle like a hammer and skip the strap, you’ll squeeze too hard for hours. Your hands will swell, your wrists will ache, and the poles won’t actually save you any energy.
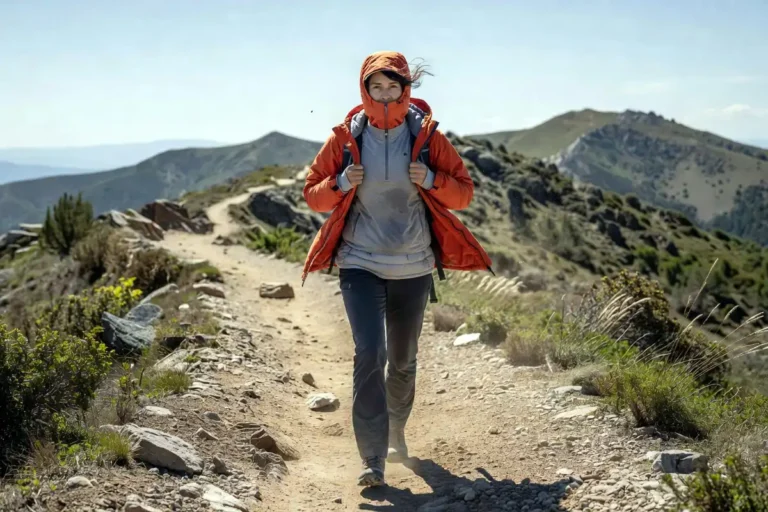
Pole technique on flat ground
On flat trail, swing the poles in opposition to your legs, the same rhythm you use when walking without them. As your right foot moves forward, your left pole plants, and the other way around. Place the tip near your forward foot, not way out ahead.
Then push down and slightly behind you as you stride past. That backward push is where the propulsion comes from. Many hikers plant the pole far in front and pull themselves toward it, which is slower and harder on the shoulders.
Keep the rhythm light. You’re tapping, not stabbing.
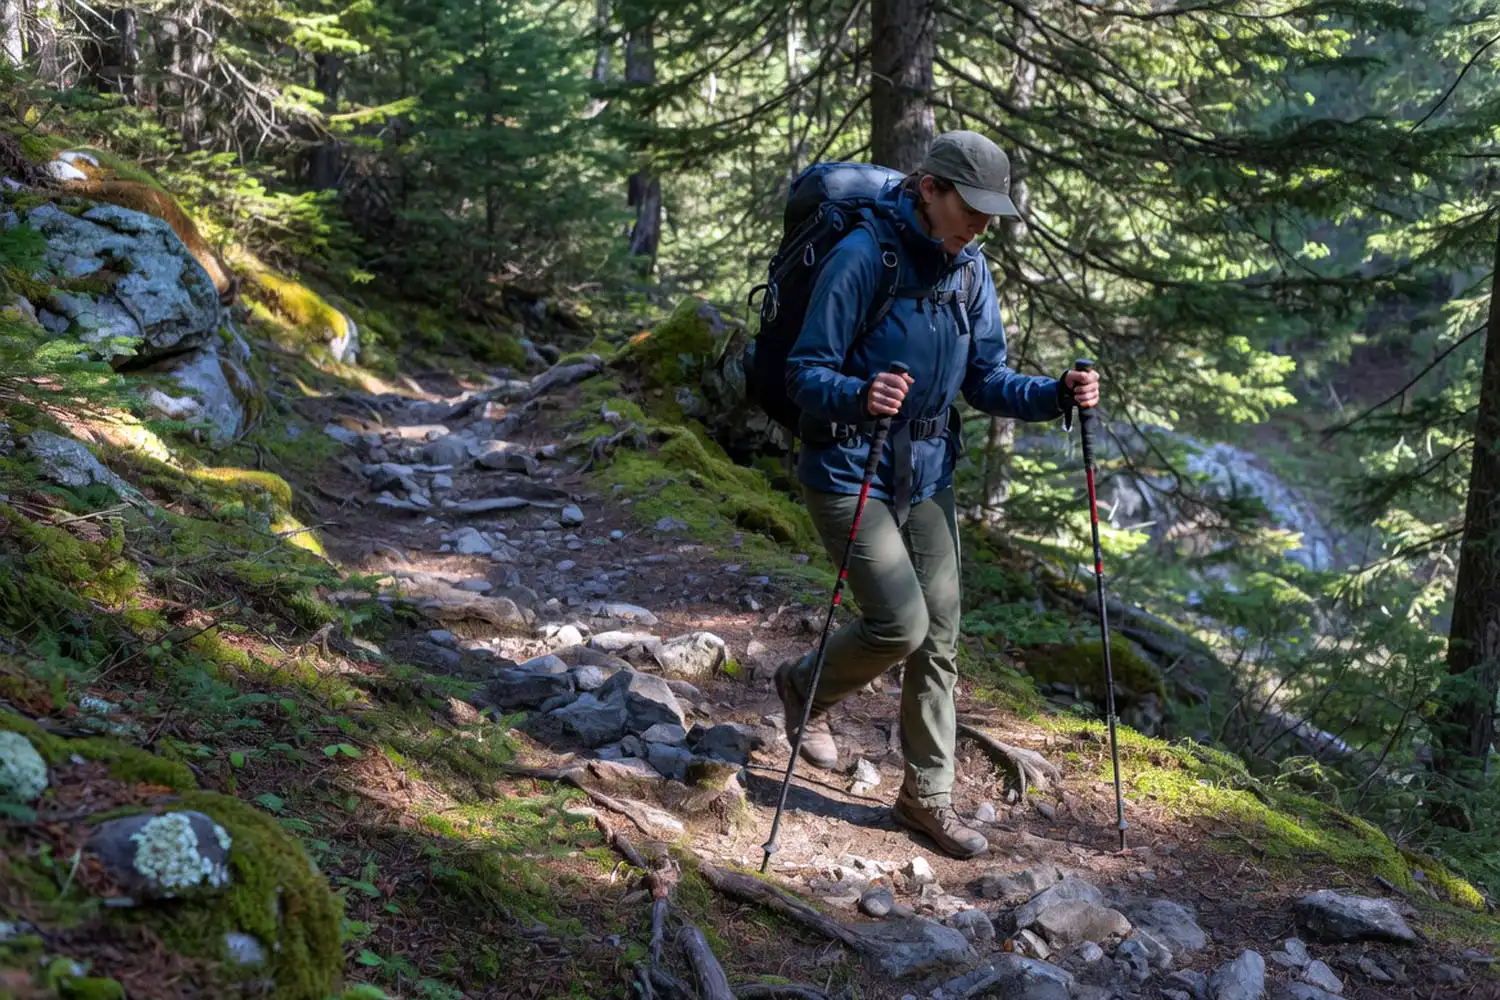
How to use hiking poles uphill
Shorten your poles by about 5 to 10 cm before a climb, then plant them just slightly ahead of your boots and push down to lift yourself up the slope. Shorter poles keep your wrists below your elbows on steep ground, which gives you more leverage and a stronger push.
For long ascents, keep the planting close. A wide reach forward wastes energy because you end up pulling instead of pushing. Pair this technique with a slow, steady breathing pace and you can hike for hours without burning out. If you struggle with pacing on climbs, my notes on keeping a sustainable uphill rhythm cover the breathing and stride side of it in more detail.
On switchbacks, plant the uphill pole near the inside of the turn and let the downhill pole catch your balance.
How to use hiking poles downhill
Lengthen your poles by 5 to 10 cm before a descent so you can plant them lower without leaning forward. Longer poles take weight off your knees on every step, which matters most on long, steep drops where the impact adds up fast.
Plant both tips before your boots reach them, then ease your weight onto the poles as you step down. This double-pole plant on tricky sections gives you four points of contact instead of two. Over a multi-hour descent, that small change saves a lot of joint stress, and it’s the single biggest reason I tell new hikers to learn this technique. If knee pain is already a problem on your trips, my guide on managing knee pain on descents pairs well with this section.
Don’t lean back. Stay tall, knees soft, eyes on the trail two or three steps ahead.
Pole technique on tricky terrain
On creek crossings, widen your stance, plant the upstream pole first, then move one foot at a time while the second pole acts as a brace. The current pushes against the upstream pole and keeps your line steady.
For mud, snow, or soft ground, snap on the wide baskets that come with most poles. Without baskets, the tips sink and you lose the support. On scree or loose rock, plant deliberately and test the grip before you load weight, because a slipping pole on a slope is worse than no pole at all.
For short scrambles where you need both hands on rock, stow the poles. Collapse them, clip them to your pack, and free up your hands. Trying to climb with poles dangling from your wrists is how people fall.
Common mistakes with hiking poles
The mistakes I see most often: gripping too tight, ignoring the strap, planting the tip too far forward, forgetting to adjust for terrain, and leaving the locks loose. Each one wastes energy or risks a slip. Fixing them is mostly about awareness on the first kilometer of every hike. A quick check of strap, grip, length, and lock saves trouble later, and it pairs well with my rundown of mistakes new hikers tend to make on a broader scale.
Another one worth flagging: using poles on terrain where they don’t belong. Tight brush, exposed scrambling, and ladder sections all call for hands free.
How to choose the right hiking poles
Pick poles that match your weight, your trail style, and your pack. Aluminum poles are tough and cheap. Carbon poles are lighter but snap on hard impact. For most weekend hikers, a mid-priced aluminum pair with flick locks does everything you need.
If you’re moving faster on rougher ground, the same logic that goes into choosing reliable poles for trail running applies, just scaled up for heavier loads.
Can hiking poles double as tarp or shelter supports?
Yes, hiking poles work well as ridge supports for a tarp or emergency shelter, which is why ultralight backpackers carry them year-round. The grip end sits inside the tarp peak, and the tip plants in the dirt. If you ever get caught in a sudden downpour without a tent, my walkthrough on setting up a quick rain shelter shows how to use poles as the frame.
When you shouldn’t use hiking poles
Skip the poles on flat, easy paths if you’re trying to build leg strength, on scrambling routes where you need both hands, and on crowded urban trails where the tips can catch other hikers. Carry them collapsed and pull them out when the ground gets steep, rocky, or slippery.
Conclusion
Hiking poles are not complicated, but they do reward small details. Set the height right, use the strap correctly, plant near your foot, and adjust for the slope. Once those four habits feel automatic, the poles disappear into your stride and your legs notice the difference on every climb and every descent. Start practicing on a familiar trail before your next big trip, and you’ll feel the payoff within the first hour.