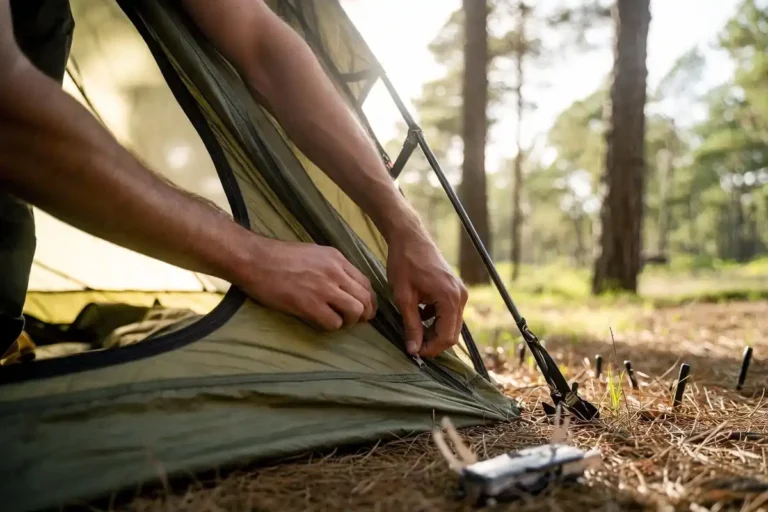
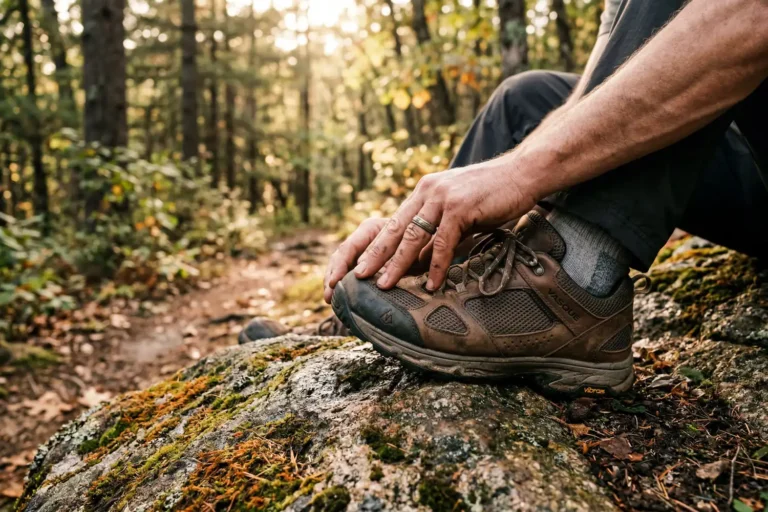
How to Waterproof Hiking Boots Without Ruining the Leather
Wet feet on a long trail can wreck a trip faster than almost anything else. After years of hiking through the rain-soaked hills of Bandarban and crossing slick rocks on the Nafakhum trail, I’ve learned that waterproofing hiking boots is not a one-and-done job. It takes the right product, the right technique, and a regular schedule. Here is exactly how I waterproof my boots, what works for each material, and the mistakes I see new hikers make over and over.
How long does waterproofing on hiking boots last?
Most factory waterproofing lasts six to twelve months of regular use, and a fresh treatment you apply at home usually holds for two to three months of heavy hiking. After that, water stops beading and starts soaking in. So if you hike often in wet conditions, plan to reproof every season, or before any multi-day trip in the rain.
Learn more: How to Tie Hiking Boots for Long Trails
What you need before you start
Gather your supplies first, because stopping mid-job leaves streaks. You will need a soft brush or old toothbrush for dirt, a clean cloth or two, lukewarm water, and a waterproofing product matched to your boot material (more on that below). Also keep newspaper or a boot tree handy to hold the shape while drying, and pick a well-ventilated spot, ideally indoors but away from heaters.
Step by step: how to waterproof hiking boots
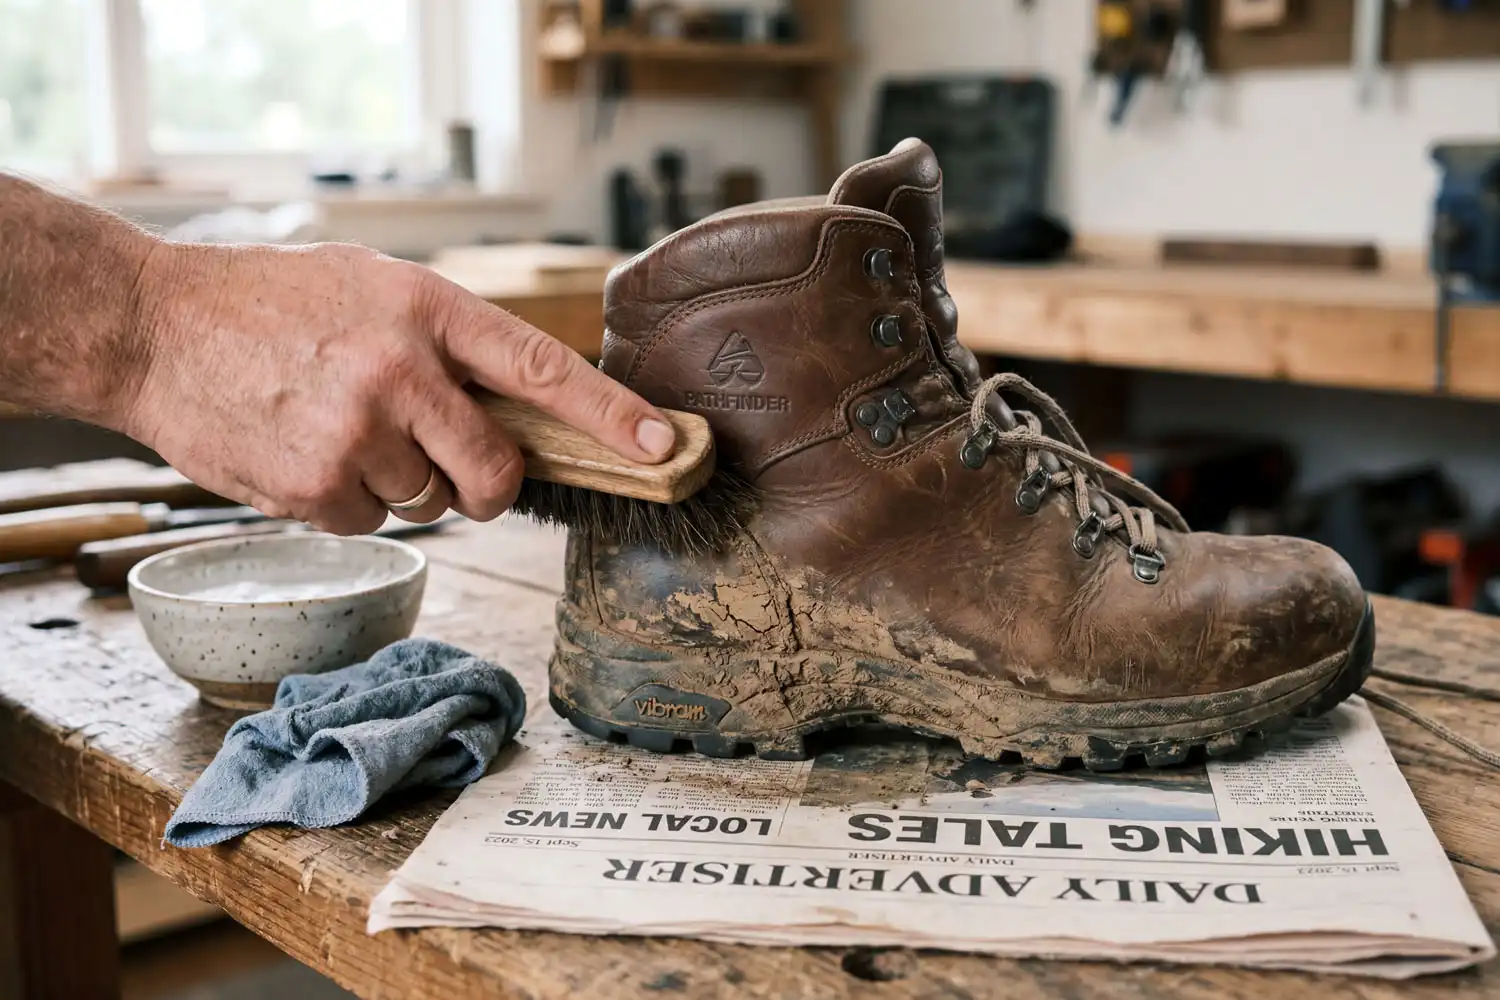
Step 1: Clean the boots thoroughly
Dirt and dust block waterproofing from bonding. So start by knocking off loose mud, then scrub the uppers with a soft brush and lukewarm water. For stubborn grime, use a mild boot cleaner or a drop of unscented soap. After that, rinse with a damp cloth and wipe down the seams, eyelets, and tongue. Never use detergent or harsh soap because they strip the leather’s natural oils.
Step 2: Dampen the leather (leather and suede only)
Leather absorbs treatment best when it is slightly damp. After cleaning, leave the boots wet to the touch but not dripping. For synthetic boots and Gore-Tex models, skip this step and apply the product on a dry surface instead.
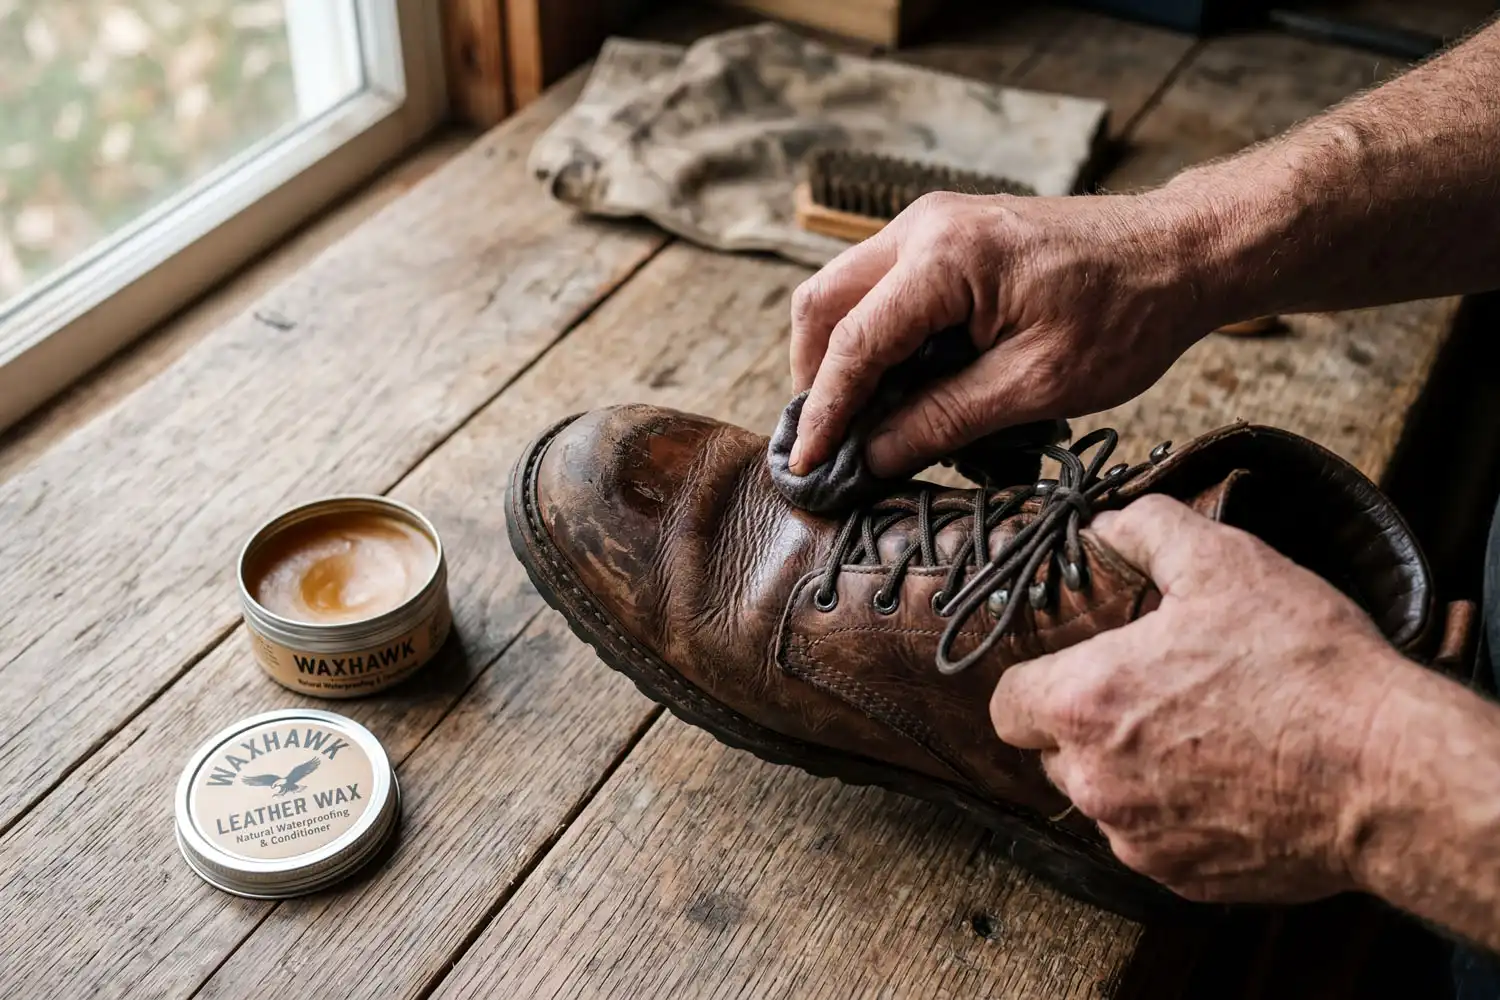
Step 3: Apply the waterproof treatment
Squeeze a small amount of product onto a clean cloth, or directly onto the boot, depending on what the label says. Then work it in with smooth, even strokes. Pay close attention to seams, the toe box, and where the upper meets the sole, because those areas leak first.
For wax-based products, warm the wax slightly with your hands or a hair dryer on low to help it spread. With sprays, hold the can about six inches from the boot and apply two light coats instead of one heavy coat.


Step 4: Work it in and let it absorb
After application, gently massage the product into the leather with your fingers. This pushes it into the pores. Then leave the boots for ten to fifteen minutes so the treatment soaks in properly.
Step 5: Wipe off any excess
Buff the boots with a clean dry cloth to remove anything that did not absorb. Excess product attracts dust and can clog the breathability of waterproof membranes. So do not skip this step, especially on Gore-Tex boots.
Step 6: Let them dry slowly
Stuff the boots loosely with newspaper to keep their shape and absorb moisture inside. Then place them in a cool, ventilated spot for at least twelve hours. Never use a heater, fire, or hair dryer, because high heat dries leather out, cracks the surface, and ruins the bond of the waterproofing.
If your boots got soaked on a trip and you need them dry by morning at camp, the same rules apply to getting wet gear back to usable fast: gentle airflow, never direct heat.
Choosing the right waterproofing product for your boots
The wrong product can stain your boots, block breathability, or simply not stick. So match the treatment to the material.
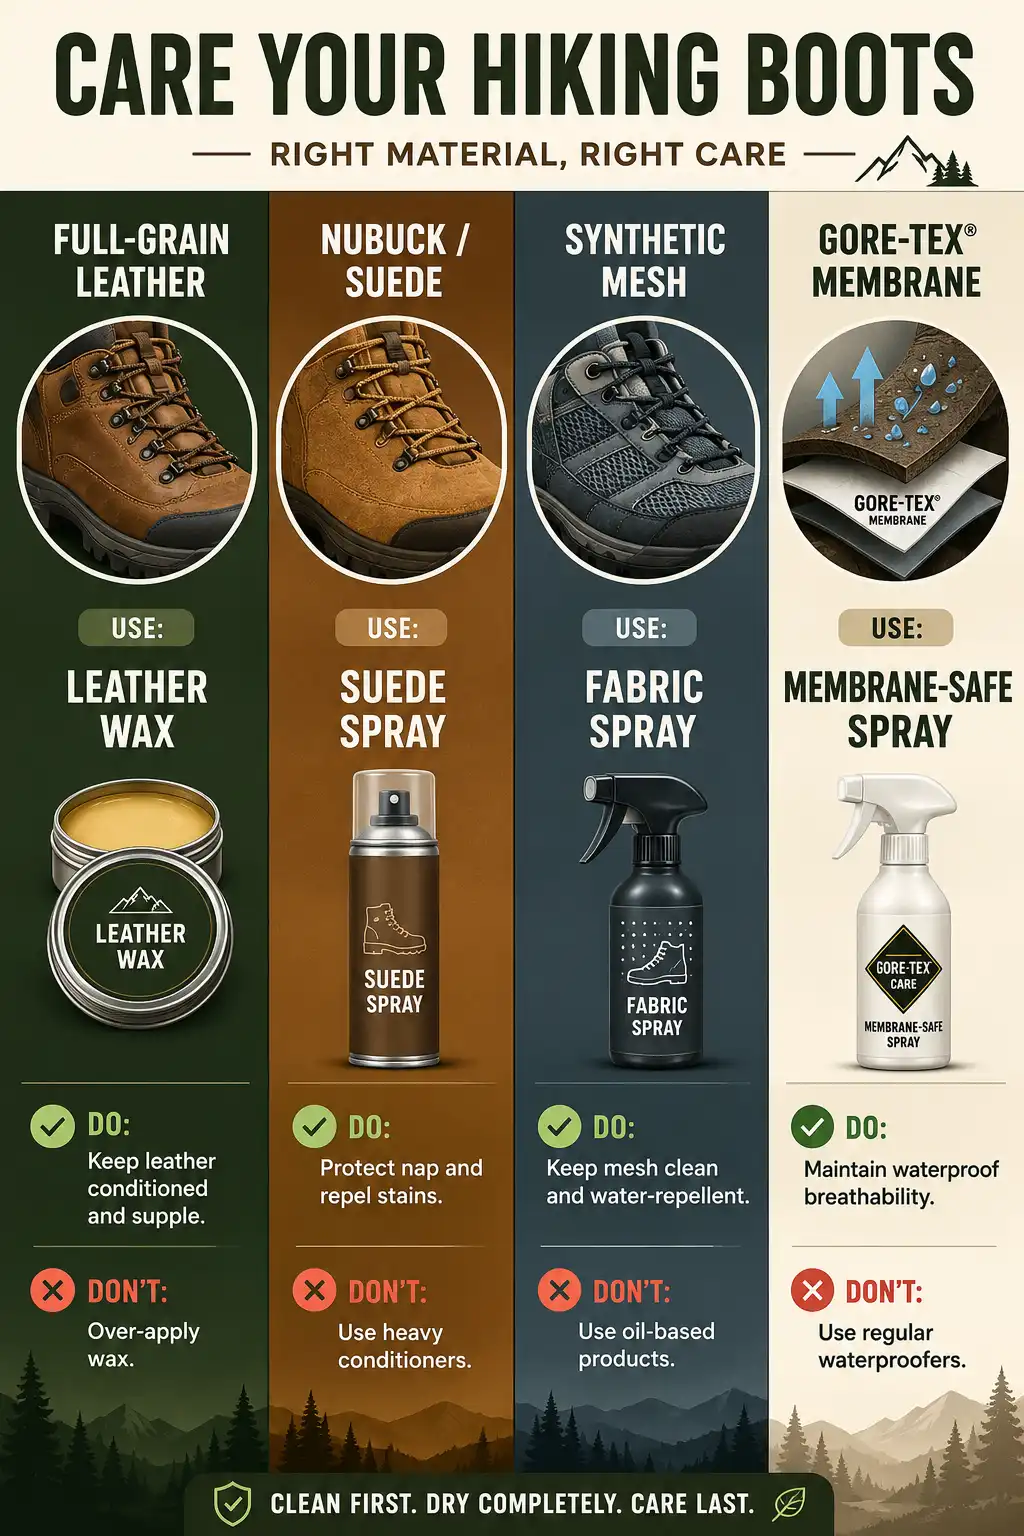
Full-grain leather boots
Use a wax-based waterproofing like Sno-Seal or Nikwax Waterproofing Wax. These soften the leather slightly and form a strong water barrier. After application, leather often darkens a shade, which is normal.
Nubuck and suede boots
Use a spray-on treatment designed for nubuck and suede, such as Nikwax Nubuck & Suede Proof. Wax-based products will flatten the texture and leave dark spots. So stick to sprays for these materials.
Synthetic and fabric boots
Use a spray-on waterproofer made for synthetics. Nikwax Fabric & Leather Proof and Grangers Performance Repel both work well. They coat the fibers without clogging breathability.
Gore-Tex and other membrane-lined boots
Use a spray product compatible with waterproof membranes. Wax sealants are a poor fit here because they trap moisture inside and weaken the membrane over time. Remember, the membrane already handles waterproofing from the inside, so the outer treatment just helps the upper shed water and dry faster.
Common mistakes that ruin waterproofing
A few small errors cancel out hours of work. Watch for these.
- Using heat to dry boots. Heaters, campfires, and hair dryers crack leather and warp glue joints. Always air dry instead.
- Applying too much product. More is not better. Heavy layers sit on the surface, attract dirt, and never absorb. So two light coats beat one thick coat every time.
- Skipping the cleaning step. Treatment will not bond to dirt. Therefore, clean first, always.
- Using the wrong product type. Wax on suede ruins the nap. Likewise, spray-only products on full-grain leather do not penetrate deeply enough. Read the label and match it to your boot.
- Treating new boots before breaking them in. Most modern boots come pre-treated from the factory. So apply your own waterproofing only after that wears off, usually after a few months of use. If you are prepping a new pair for a long trip, focus first on getting new boots ready for the trail before you add treatment.
How often should you reapply waterproofing?
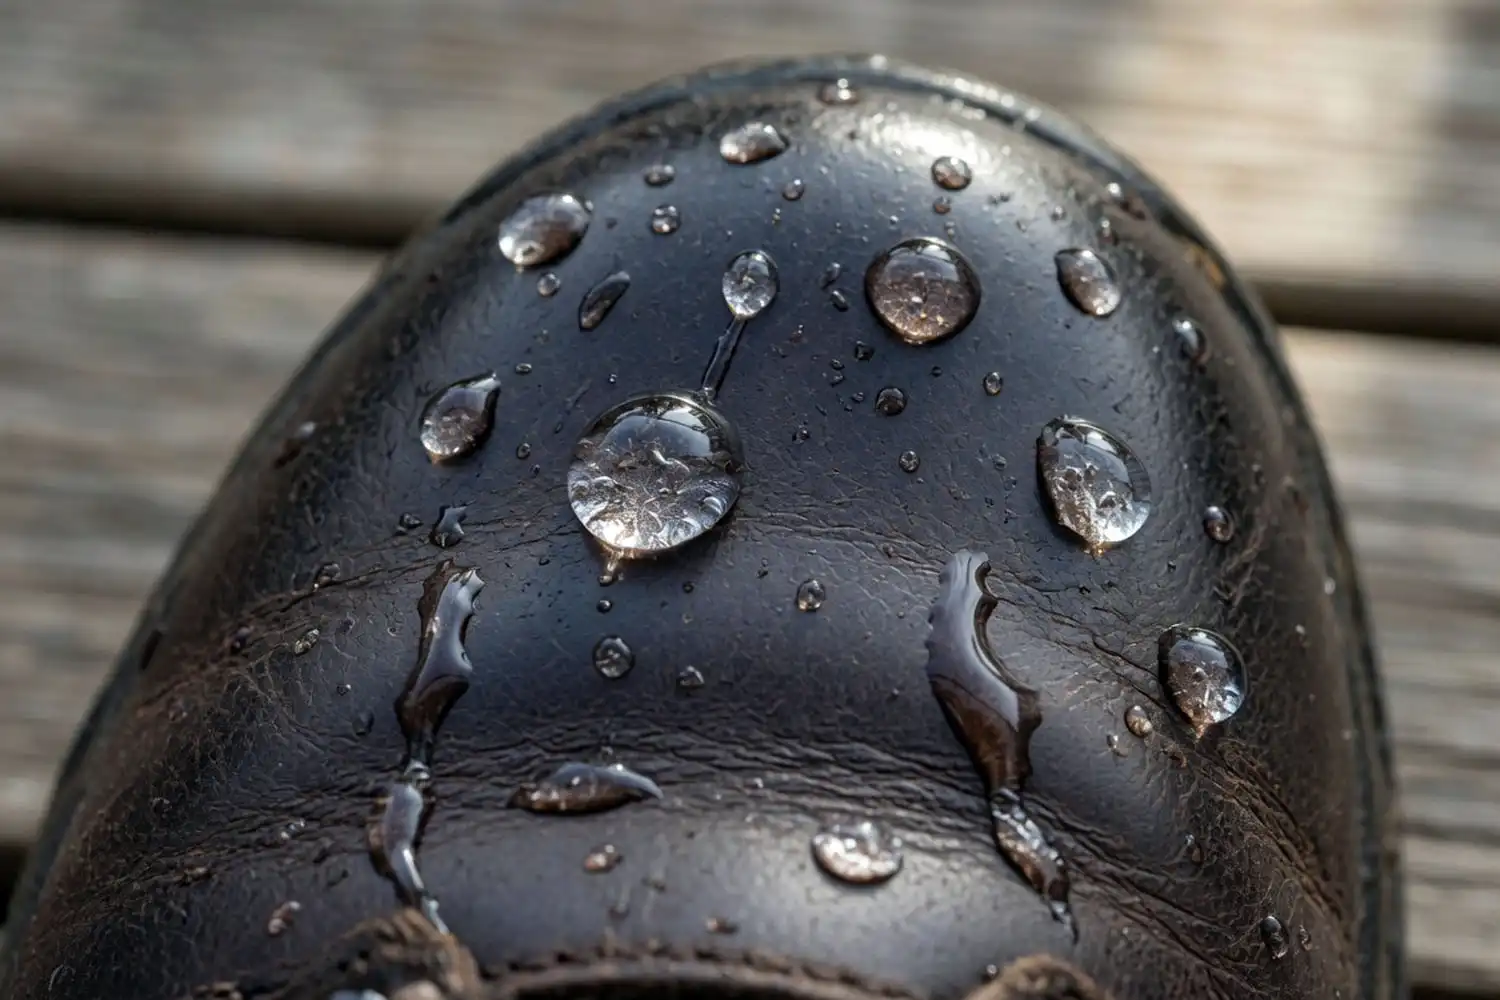
Reapply every two to three months if you hike regularly, or whenever water stops beading on the surface. The easiest test is a quick water sprinkle on the toe box. If droplets form and roll off, you are good. However, if the leather darkens immediately, it is time to reproof.
Also retreat after any deep cleaning, after long stretches in muddy terrain, and before any planned multi-day rainy trip.
Field tips from my own treks
On a four-day Nafakhum trip last monsoon, I forgot to reproof my boots before leaving Rangamati. By day two, my socks were soaked from morning till camp. So now I always reapply waterproofing the week before any wet-season trek, and carry a small spray bottle for touch-ups at camp. I also pair my boots with moisture-wicking socks built to prevent hot spots, because even the best waterproofing fails if your feet sweat into wet socks all day.
For rainy trails, dry boots alone will not keep you comfortable. Layer the rest of your kit right and learn to stay comfortable when the trail turns wet, because trapped sweat inside a waterproof boot is just as wet as rain from outside.

One more thing: rotate your boots if you can. Letting them dry fully between trips extends the life of both the leather and the waterproof treatment.
Final thoughts
Waterproofing hiking boots is simple once you have the routine. Clean, treat, dry slowly, and repeat every couple of months. Match the product to the material, skip the heat shortcuts, and do not overdo the application. Done right, a good pair of leather boots can stay reliably waterproof for years. And for any trail, dry feet mean fewer blisters, warmer toes, and a better day on the trail.