How to Camp Without a Sleeping Bag: A Practical Survival Guide
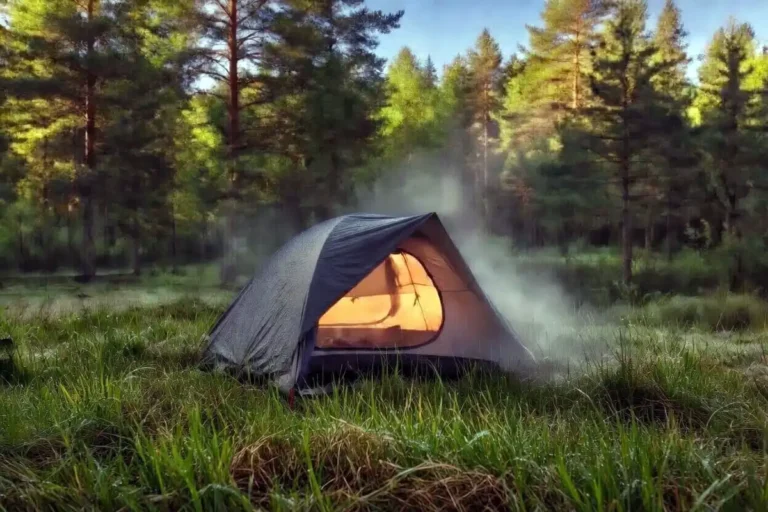
Sometimes you end up at camp without a sleeping bag. Maybe yours got soaked, maybe it never made it into the car, or maybe you are testing ultralight setups for warm-weather trips. I have slept through nights in the Bandarban hills with nothing but a poncho liner and a wool blanket, and I have helped friends improvise after gear mistakes. This guide walks you through how to stay warm and rest well using what you already carry, so you can still enjoy the night safely.
Can you really camp without a sleeping bag?
Yes, you can camp without a sleeping bag if temperatures stay mild and you build a solid layered system on the ground and over your body. The trick is replacing the bag’s two jobs: trapping warm air around you, and lifting you off the cold ground. Get both right and you will sleep fine.
Check the forecast before you skip the bag
Always check the overnight low first, because that single number decides whether this plan works. In dry conditions above roughly 60°F (15°C), most healthy adults can sleep comfortably with smart layering. Between 45°F and 60°F, you need serious effort and good gear substitutes. Below 45°F, the risk climbs fast. For a deeper breakdown, see my guide on the lowest safe sleeping temperature inside a tent before you commit.
Also factor wind, humidity, and elevation. A 55°F night on a ridge with wind feels far colder than 55°F in a sheltered valley.
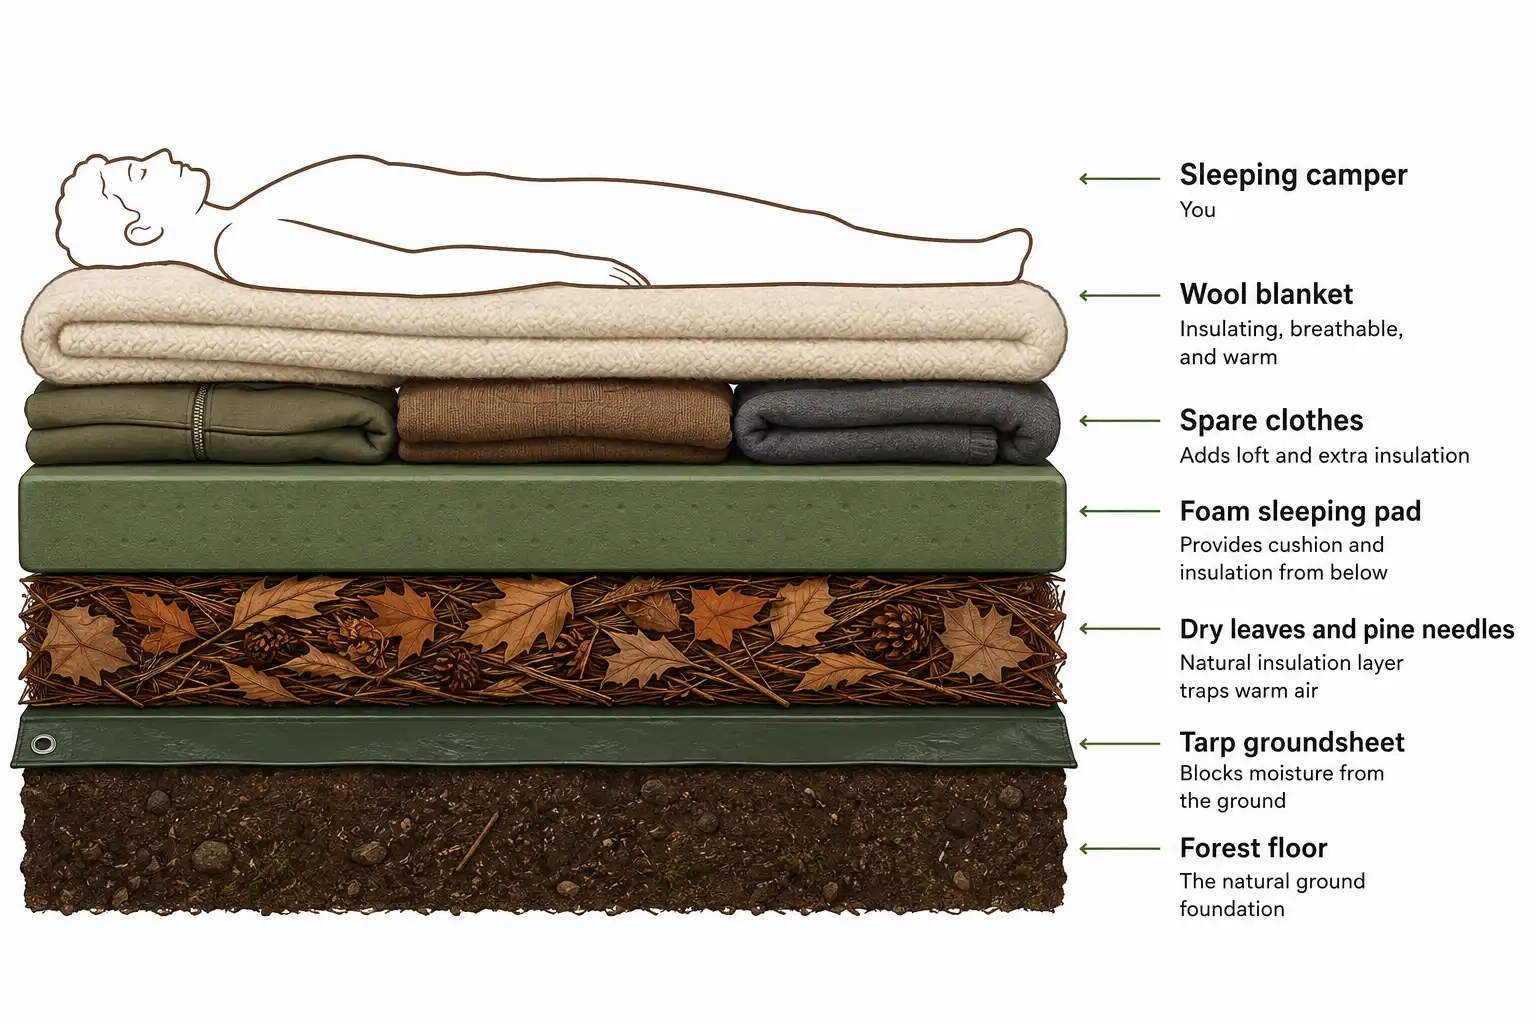
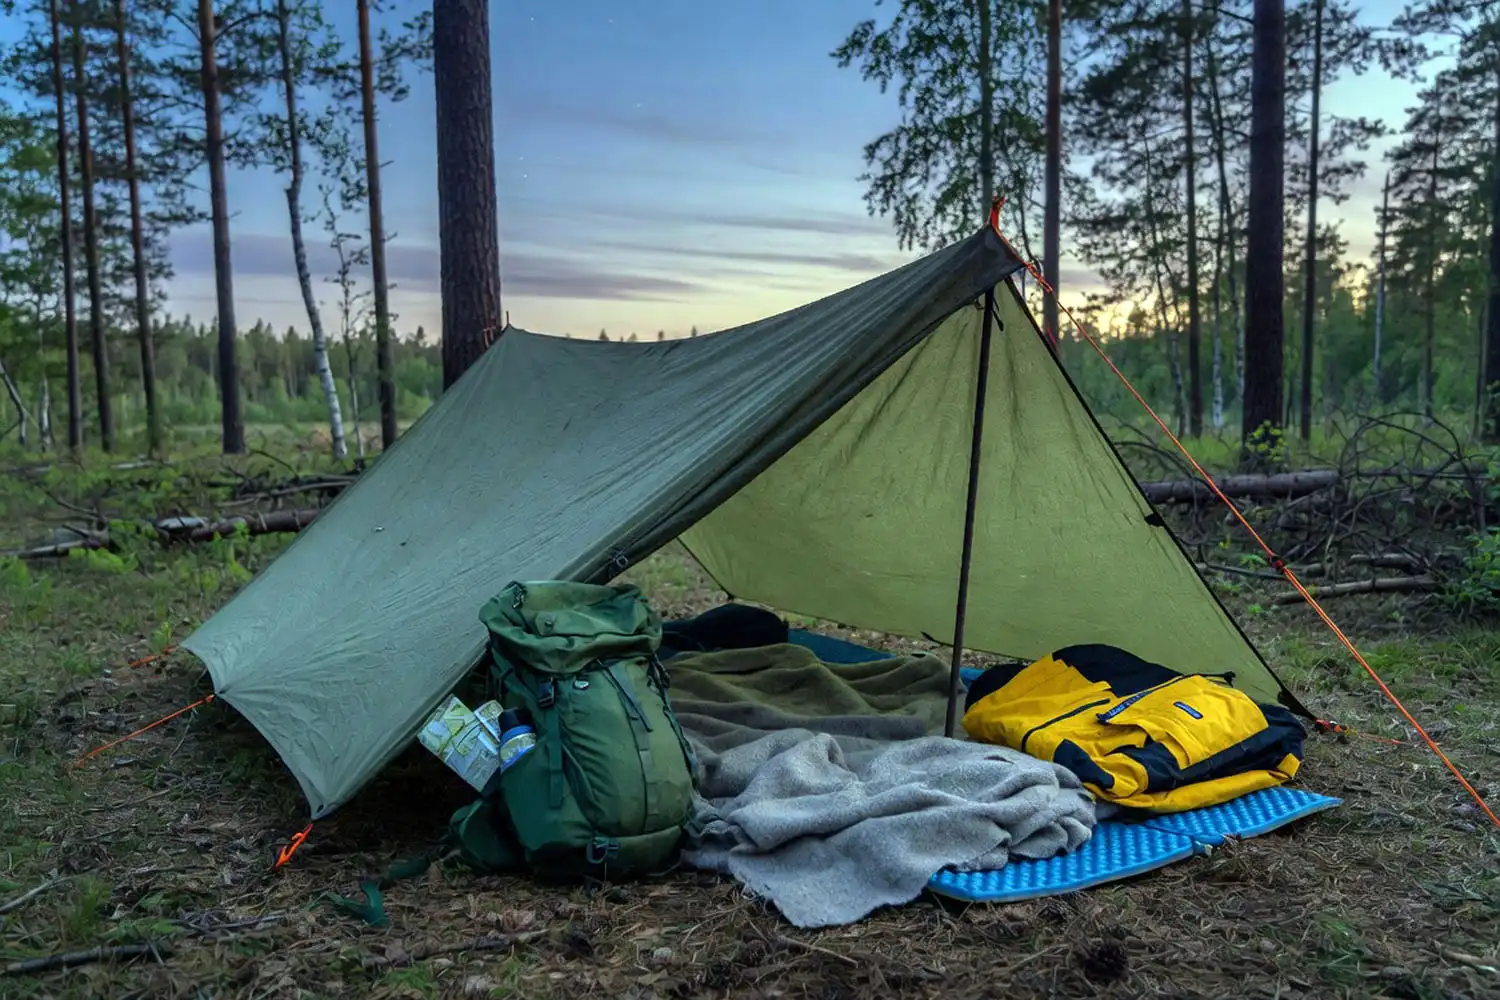
Step 1: Insulate the ground first
Ground insulation matters more than what covers you. The earth pulls heat from your body all night through conduction, and no number of blankets on top will fix a cold floor. Start with a sleeping pad if you have one. A foam pad, an inflatable pad, or even a yoga mat all help. If you want to understand why a pad matters so much, my piece on self-inflating pads and how they trap heat explains the science.
No pad? Stack what you have:
- A folded tarp or groundsheet as your base
- A layer of dry leaves, pine needles, or grass under the tarp (3 to 4 inches thick)
- Spare clothes, your pack, or a jacket spread across the sleeping area
- A wool blanket or fleece blanket on top of all that
The goal is at least an inch of compressed insulation between you and the dirt.
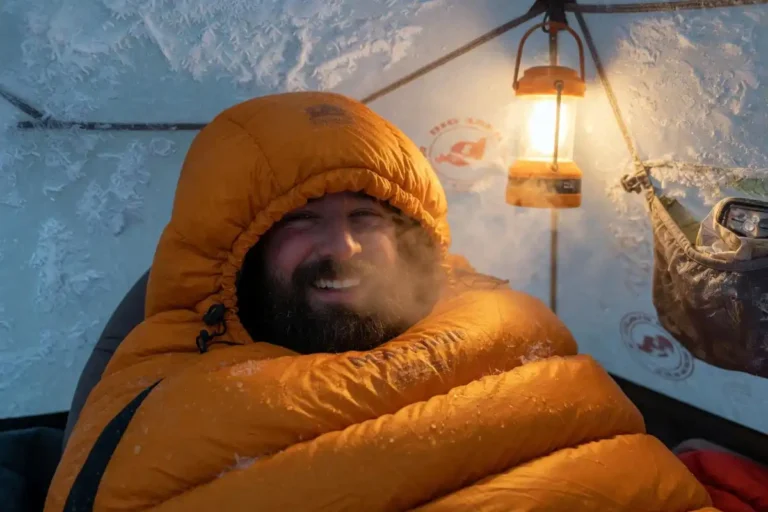
Step 2: Build a clothing system that works as your bag
Your clothes become the inner shell of your sleep system. Layer the same way you would for a cold hike, then add a little more. I use a three-layer setup most nights:
- Base layer: dry merino wool or synthetic long underwear
- Middle layer: fleece pullover or light puffy jacket
- Outer layer: rain jacket or wind shell to trap dead air
Cover your head with a beanie. Heat loss from the head and neck is real, and a hat is the cheapest insulation you will ever pack. Pull dry socks over your feet, then slide your feet into your empty backpack for extra coverage. For a fuller breakdown of layering logic, my article on dressing for cold wind on the trail covers materials and order.
Never sleep in damp clothes. Sweat or rain on fabric will pull heat from your body all night.
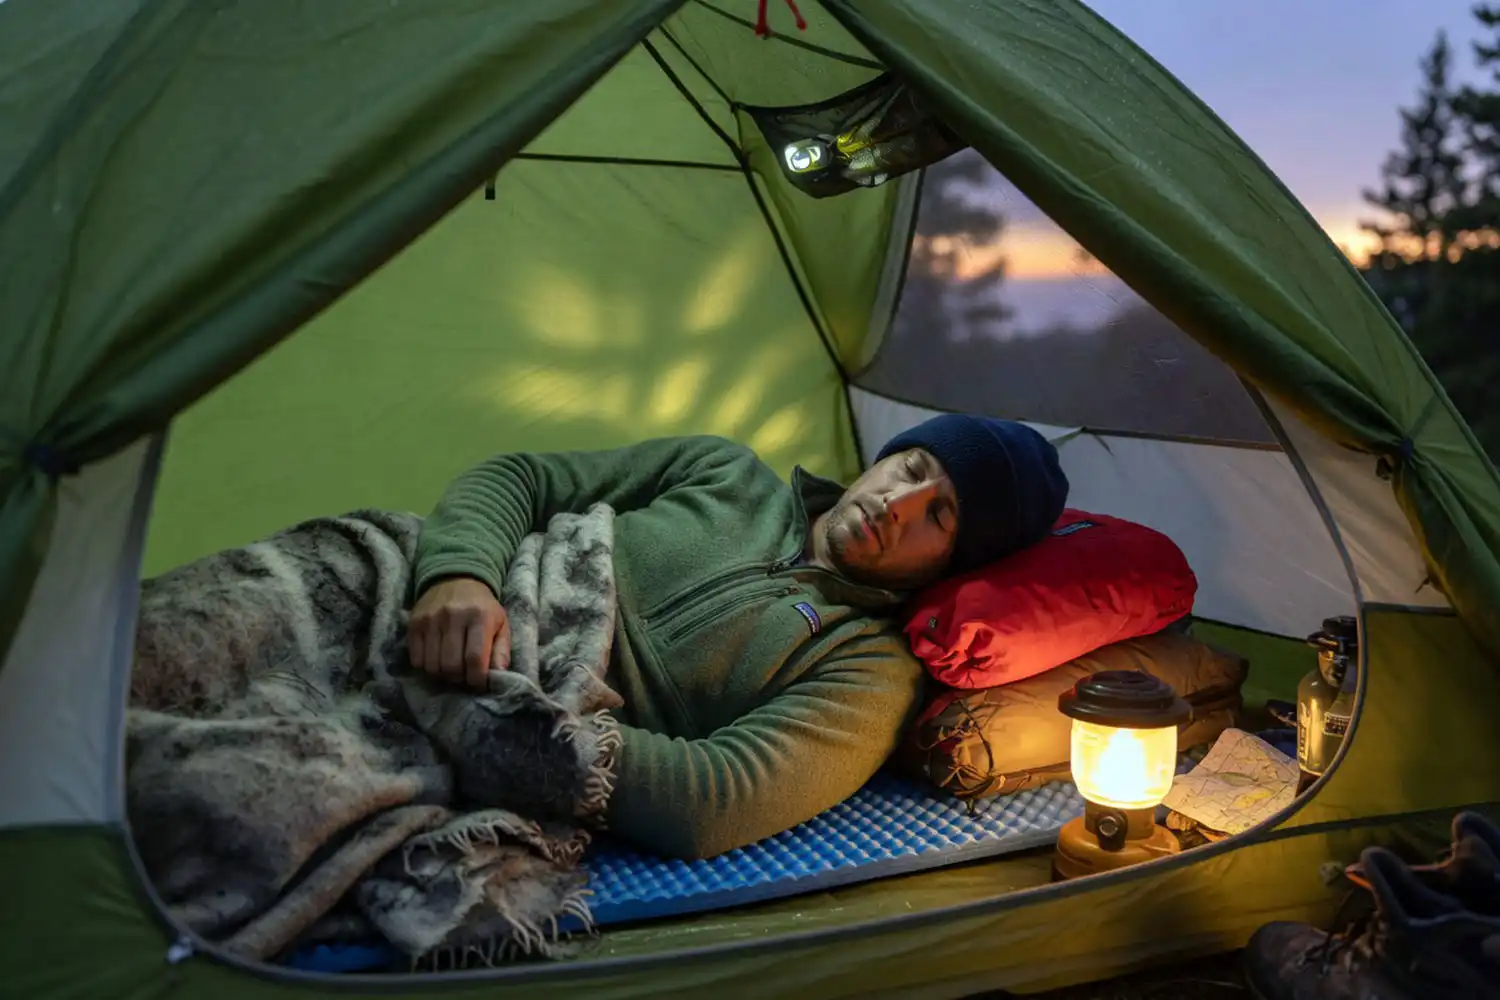
Step 3: Use blankets, liners, or a poncho creatively
Anything that traps air around your body replaces part of a sleeping bag’s job. Wool blankets work best because they insulate even when slightly damp. Fleece blankets are lighter but lose warmth fast if they get wet. A military poncho liner (a “woobie”) is my favorite backup, since it weighs almost nothing and folds small.
Wrap yourself like a burrito instead of just draping. Tuck the blanket under your body so cold air cannot slip in along your sides. If you have two blankets, put one on top and fold the other under as added ground insulation.
A space blanket inside your shelter reflects body heat back at you, but it can trap moisture, so vent your tent a little.
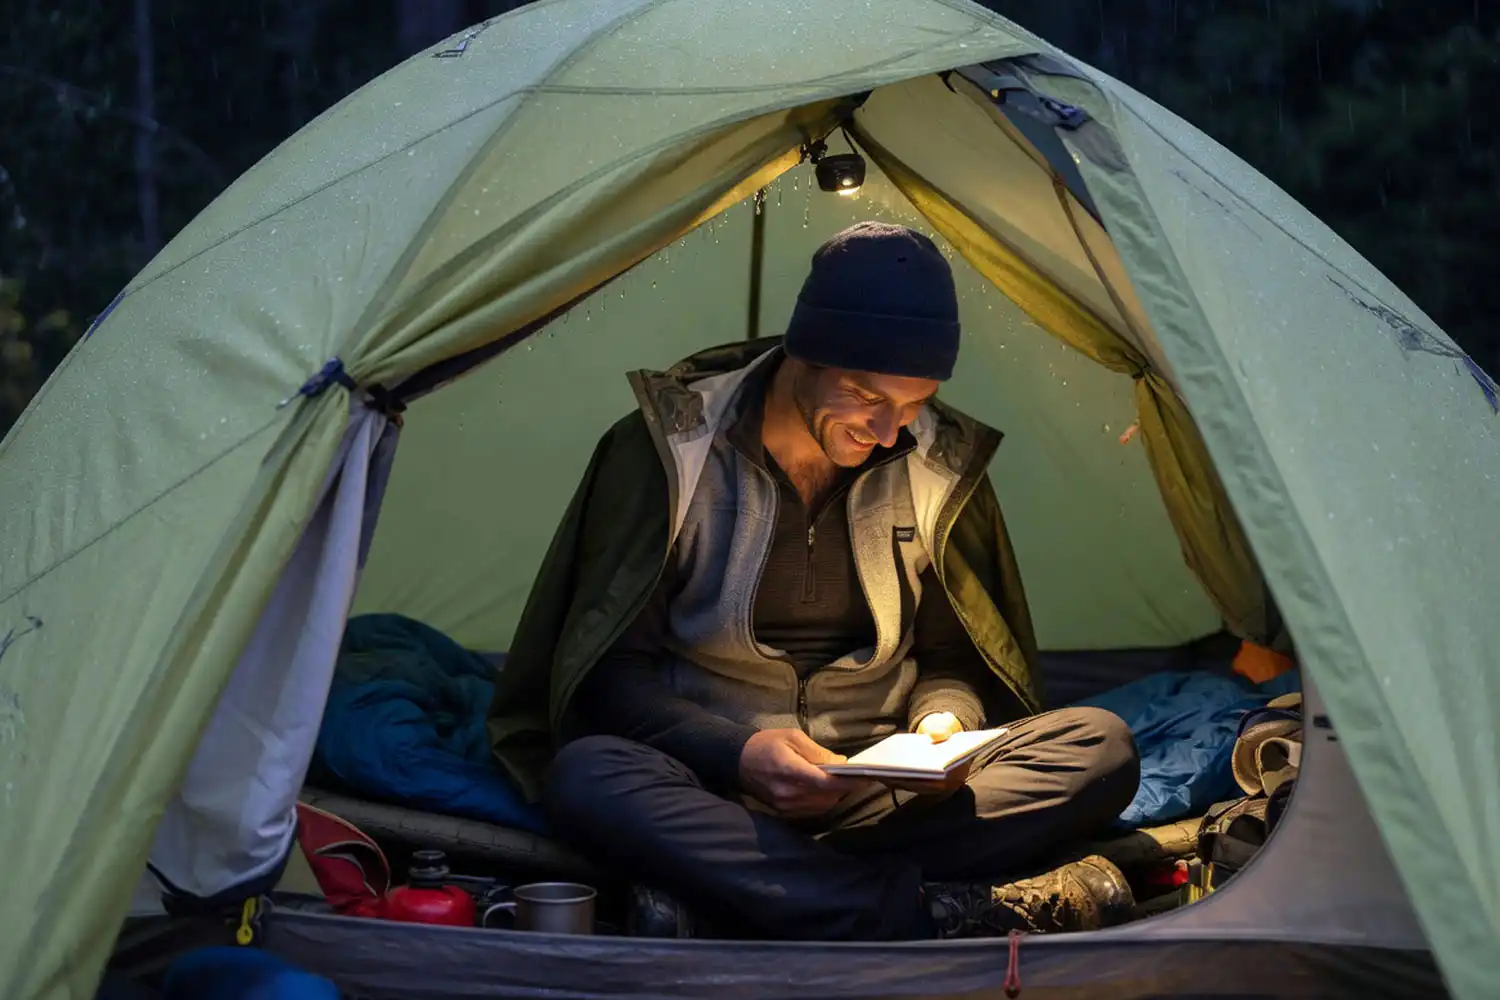
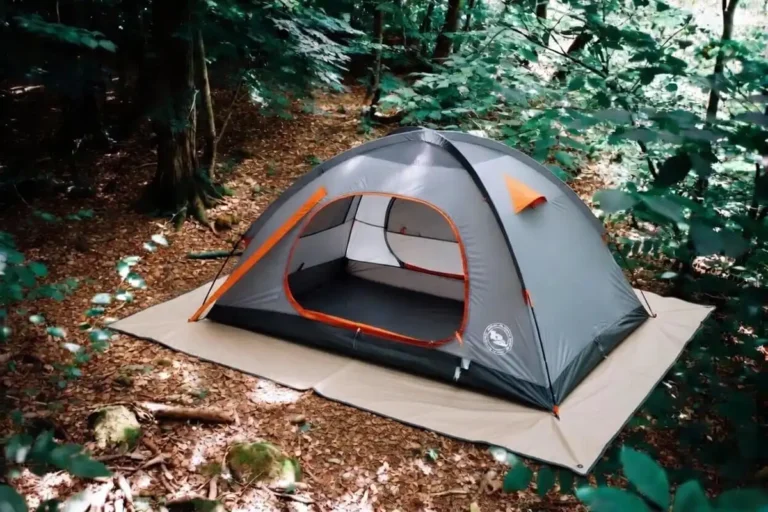
Step 4: Choose the right shelter setup
A small enclosed shelter holds your body heat much better than a large one. If you have a tent, pick the smallest size that fits you. Close the vestibule but keep one vent cracked so condensation can escape. To go deeper on this, my guide on keeping a tent warm after the sun goes down walks through site choice and setup details.
No tent? A tarp pitched low and angled into the wind blocks drafts. Add a wall of brush or your backpack on the windward side. Avoid open fields and the bottoms of valleys where cold air collects at night.
Step 5: Warm up before you lie down
A cold body will not heat up inside a blanket. It just sits there cold. Do 20 to 30 jumping jacks, squats, or a brisk walk around camp before getting in. Eat a snack with fat and protein, since digestion generates heat for hours. Drink something warm if you can boil water.
A hot water bottle trick works well. Fill a sturdy bottle with hot (not boiling) water, seal it tight, and place it at your feet or against your chest. It will radiate warmth for two to three hours, long enough to fall asleep.
When you should not try this
Skip this plan in three situations. First, when overnight temperatures drop below 40°F and you do not have heavy wool blankets or down clothing. Second, when rain or snow is likely and your insulation will get wet. Third, when you are already tired, hungry, or cold on arrival, because your body cannot rewarm itself well in those states.
For winter trips or alpine camping, a proper bag is not optional. The risk of hypothermia outweighs any weight savings. The CDC offers a clear overview of hypothermia symptoms and prevention worth reading before any cold trip.
Final words
Camping without a sleeping bag works in the right conditions, but only when you treat your pad, clothes, and shelter as one connected system. Insulate the ground first, layer your body second, trap warm air with a blanket or liner, and pitch a tight shelter to hold the heat. Eat well, warm up before bed, and bail out to a vehicle or hut if the night turns colder than expected. Comfort outdoors comes from small smart choices stacked together.