Can I Wear Normal Shoes for Hiking? What to Know First

Most people start hiking in whatever shoes already sit by the door. I did exactly that on my first trails around Kaptai. So this guide covers when normal shoes handle a trail safely, when they put you at risk, and how to get the most out of the pair you already own.
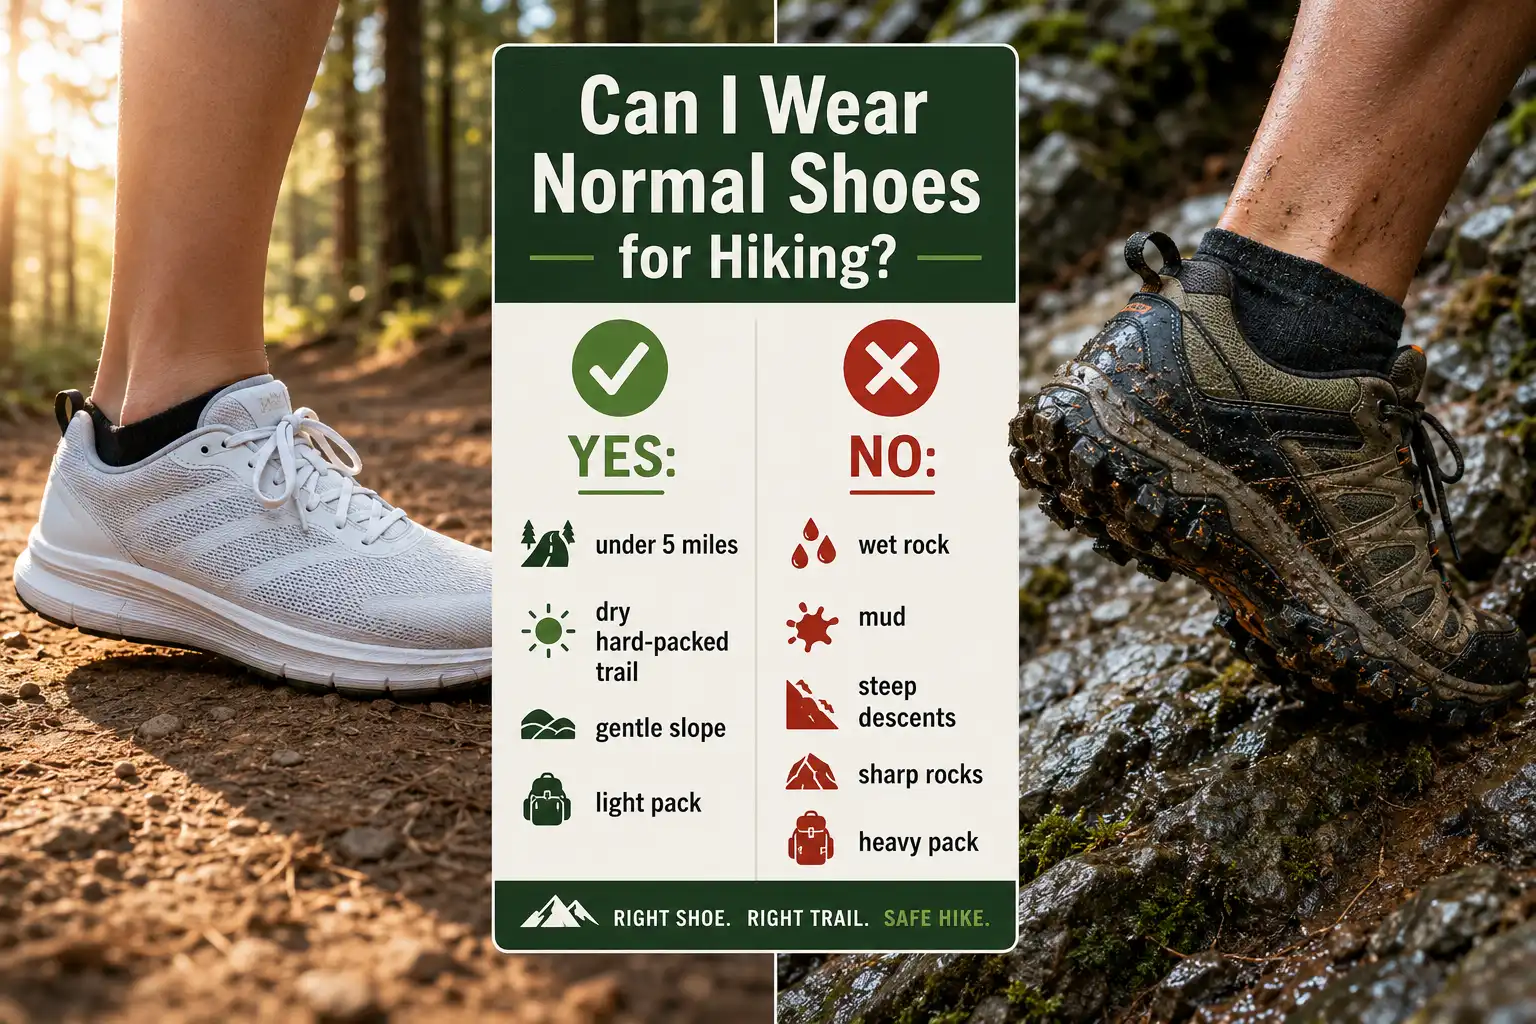
Yes, you can hike in normal shoes on short, dry, well-maintained trails with gentle grades. However, everyday shoes lose grip fast on wet rock, mud, loose gravel, and steep descents. Therefore the safe answer depends on the trail and the weather, not on the shoe alone.
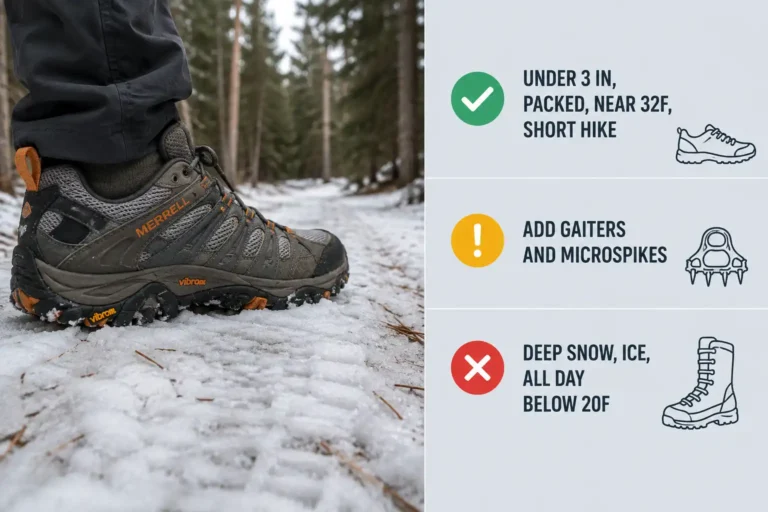
California State Parks puts it plainly on their trail pages: sturdy walking or athletic shoes work fine on beginner and moderate trails, while rocky, uneven, challenging trails call for thicker soles and more support. That matches what I have seen in the hills around Rangamati. A dry forest path in February forgives almost any footwear. The same path in July, after rain, punishes it.
What counts as a “normal shoe” here?
Normal shoes means anything built for streets, offices, or gyms rather than trails. Most people asking this question own one of these:
- Road running shoes
- Canvas sneakers like Converse or Vans
- Gym or cross-training shoes
- Casual leather or suede shoes
- Slip-on sneakers and skate shoes
- Sandals, flip flops, and Crocs
These pairs differ a lot from each other. A cross-trainer with a firm sole and real tread handles a dirt path reasonably well. Meanwhile a flat canvas sneaker on wet clay behaves like a bar of soap. So treat “normal shoes” as a range, not one category.

Also know: Combat Boots for Hiking
When are normal shoes fine for hiking?
Normal shoes work fine when four things line up: short distance, dry ground, gentle slope, and a light pack. Miss any one of them and the risk climbs.
Here is the checklist I use before telling a friend to just wear their sneakers:
Distance under 5 miles. Under that, foot fatigue rarely becomes serious. Beyond it, thin midsoles start to hurt.
Dry, hard-packed surface. Gravel roads, groomed park paths, packed dirt, and boardwalks all sit well within sneaker territory.
Elevation gain under about 800 feet. Gentle climbs need less braking. Steep descents, on the other hand, are where flat soles slide.
Daypack under 10 pounds. Extra weight pushes your foot harder into the sole and multiplies every hot spot.
No stream crossings or scrambles. Wet feet in mesh sneakers turn miserable quickly, and smooth soles fail on rock slabs.
Tourist trails in national parks usually pass this test. Many of the short walks near Nilachal and Chimbuk pass it too, at least in dry season. Still, always check recent trail reports first, because conditions change faster than most people expect.
When do normal shoes become dangerous?
Normal shoes become dangerous the moment the surface turns slick, loose, or sharp. Four situations stand out.
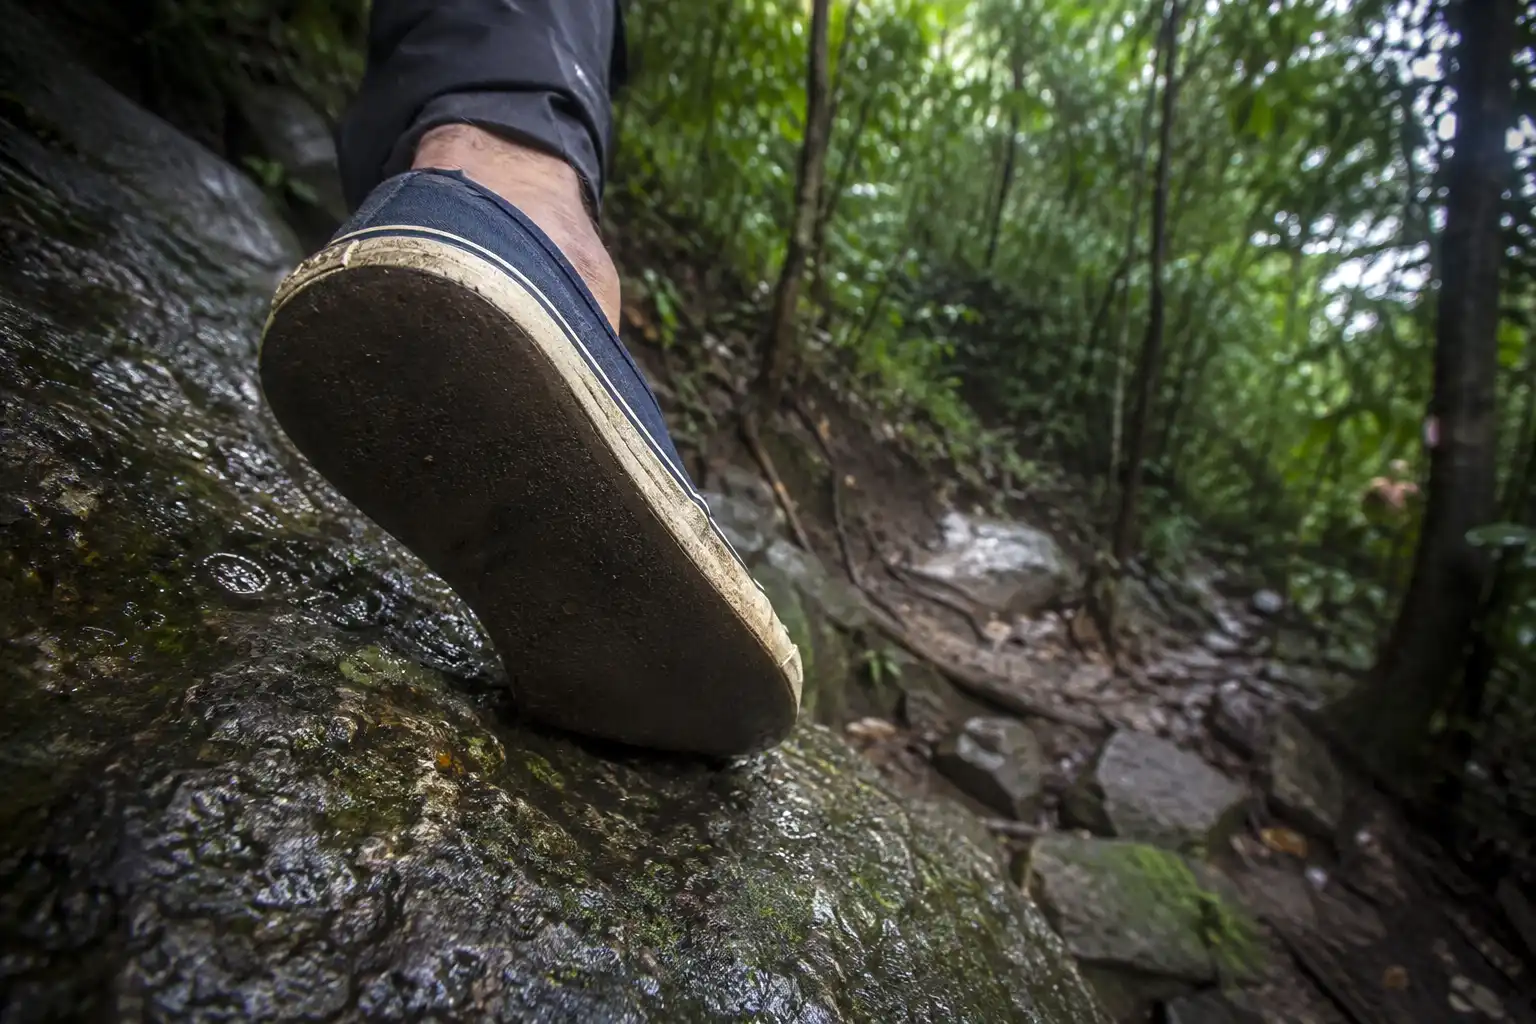
Wet rock and mud. Street rubber grips through friction on flat pavement. Trail rubber grips by biting into soft ground with lugs. So on mud, a flat sole simply skates. Wet, mossy rock is worse.
Steep downhills. Many modern sneakers use a rocker shape that rolls you forward on purpose. Physical therapist Dr. Milica McDowell has pointed out that this same rocker can push you downhill faster than you intended, which sets up a slip or a fall. In addition, soft heel foam collapses sideways when you brake on a slope.
Sharp rock and roots. Soft road midsoles transmit every stone straight into the ball of your foot. Mesh uppers also tear on roots and offer no protection when you kick a rock at speed.
Long descents with a pack. Your toes slam into the front of the shoe repeatedly. Because road shoes fit with less heel lock, that sliding gets worse as the miles add up.
I learned this on a Debotakhum trip in old running shoes. The climb went fine. The wet descent had me sitting down on three separate sections just to get down safely.
What do hiking shoes actually add?
Hiking shoes add five specific things, and each one solves a problem that street shoes ignore.
Deeper, stickier lugs. Trail outsoles carry lugs between 2mm and 4mm for hard-packed ground, and 5mm or more for mud and loose dirt. The rubber compound also stays softer, so it grabs wet rock instead of gliding over it.
A rock plate. Brands slip a thin, stiff layer of TPU or nylon between the midsole and outsole. That plate stops sharp stones from bruising the ball of your foot. Anyone with a history of metatarsal problems feels the difference immediately.
A firmer, twist-resistant midsole. Trail midsoles resist torsion, which spreads pressure across the whole foot instead of loading one joint. As a result your feet fatigue slower over uneven ground.
A reinforced toe cap and upper. Tougher mesh and rubber toe bumpers absorb root strikes and rock kicks. Road uppers prioritize airflow and simply tear.
Better heel lock. Trail shoes hold your heel tighter and give you extra lace eyelets. Consequently your foot slides less on descents, which cuts both blisters and bruised toenails.
None of this makes hiking boots mandatory. It just explains what you trade away when you skip them. Both boots and low-cut trail shoes carry these features, so picking between boots and low-cut hiking shoes comes down to terrain and pack weight.
Which normal shoes work best for hiking?
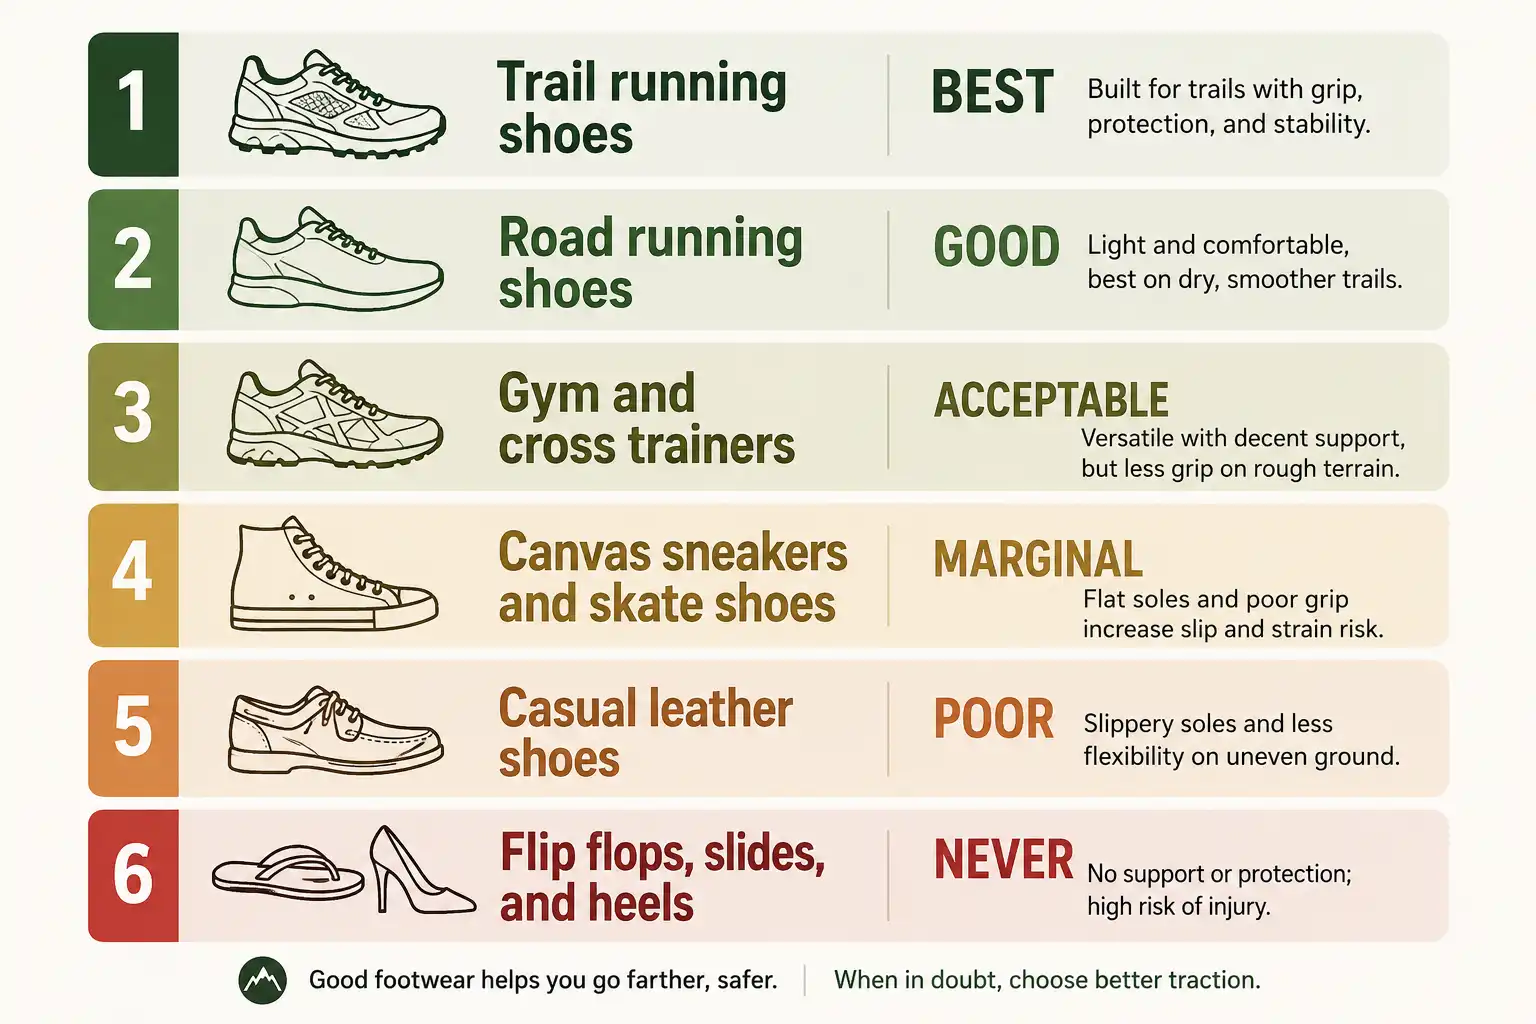
Trail running shoes work best, followed by road running shoes with intact tread. After that, quality drops off fast.
Best: trail runners. Technically these count as normal shoes for most people, and thousands of thru-hikers use nothing else. Grab these first if you own a pair.
Good: road running shoes. Cushioning helps, tread usually holds on dry dirt, and the fit already suits your foot. Check the sole for wear before you go.
Acceptable: gym and cross-training shoes. Firm, flat, stable soles handle packed trails well. However, the tread is shallow, so avoid mud.
Marginal: canvas sneakers and skate shoes. Flat vulcanized rubber offers almost no bite. Use them only on paved or boardwalk routes.
Poor: casual leather shoes and loafers. Smooth soles slide, and stiff leather rubs raw spots quickly.
Never: flip flops, slides, Crocs, and heels. The National Park Service specifically lists heels, open-toed shoes, and flip flops as poor hiking choices. Rangers deal with the results every season.
Do you need ankle support to hike?
No, you do not need high-cut boots to hike safely, and the evidence here surprises most beginners. Reviews in sports medicine journals have not found clear proof that high-top footwear prevents ankle sprains compared with low-cut shoes.
That said, boots are not useless. A taller cuff limits how far the ankle rolls once a sprain starts, so it can reduce severity. Stiffer soles also give a steadier platform, which means fewer rolls happen in the first place.
Because of this, ankle height should not be your deciding factor. Traction and underfoot protection matter far more. If you have sprained an ankle before, then a supportive boot or a proper brace makes sense. Otherwise, focus on grip and fit.
Some hikers go the opposite direction entirely and drop cushioning altogether, because minimalist footwear on trails trades protection for ground feel and ankle strength.
How do you hike safely in normal shoes?
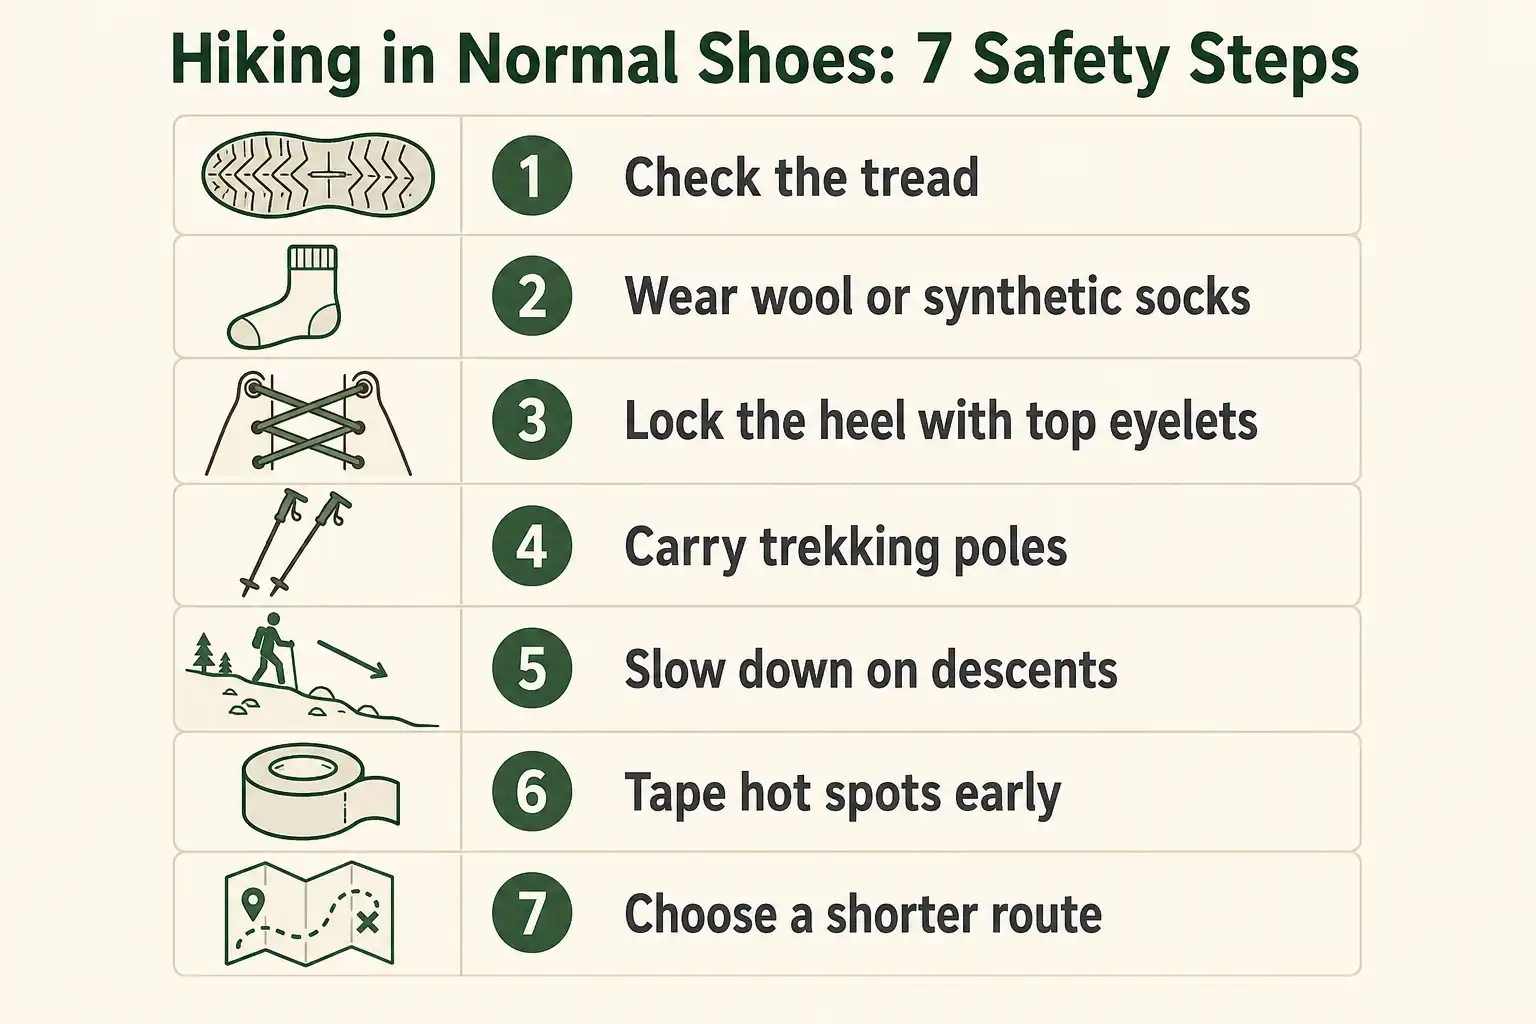
You hike safely in normal shoes by shrinking the risk instead of ignoring it. These seven adjustments make the biggest difference.
- Check the tread before you leave. Bald soles plus wet rock cause falls. If you can barely see a pattern, pick another pair.
- Wear proper socks. Cotton holds sweat and shreds skin. Wool or synthetic socks cut friction sharply, and the difference good hiking socks make is bigger than most beginners expect.
- Lace tight through the top eyelets. A locked heel prevents sliding, which protects your toenails on every descent.
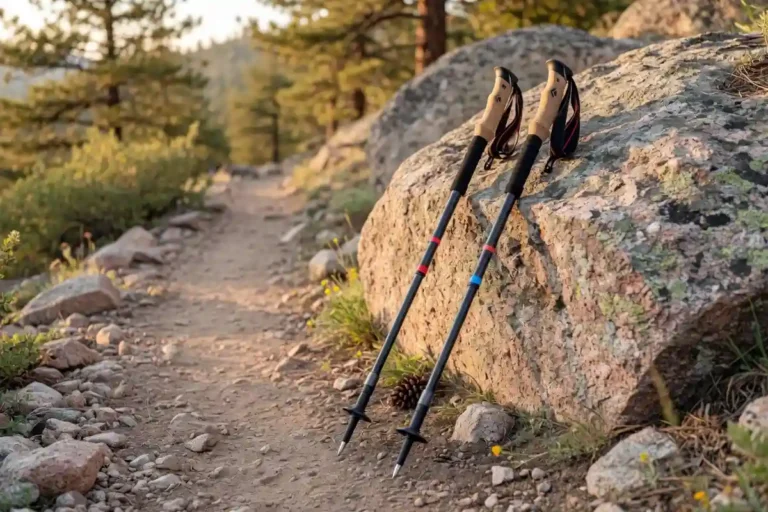
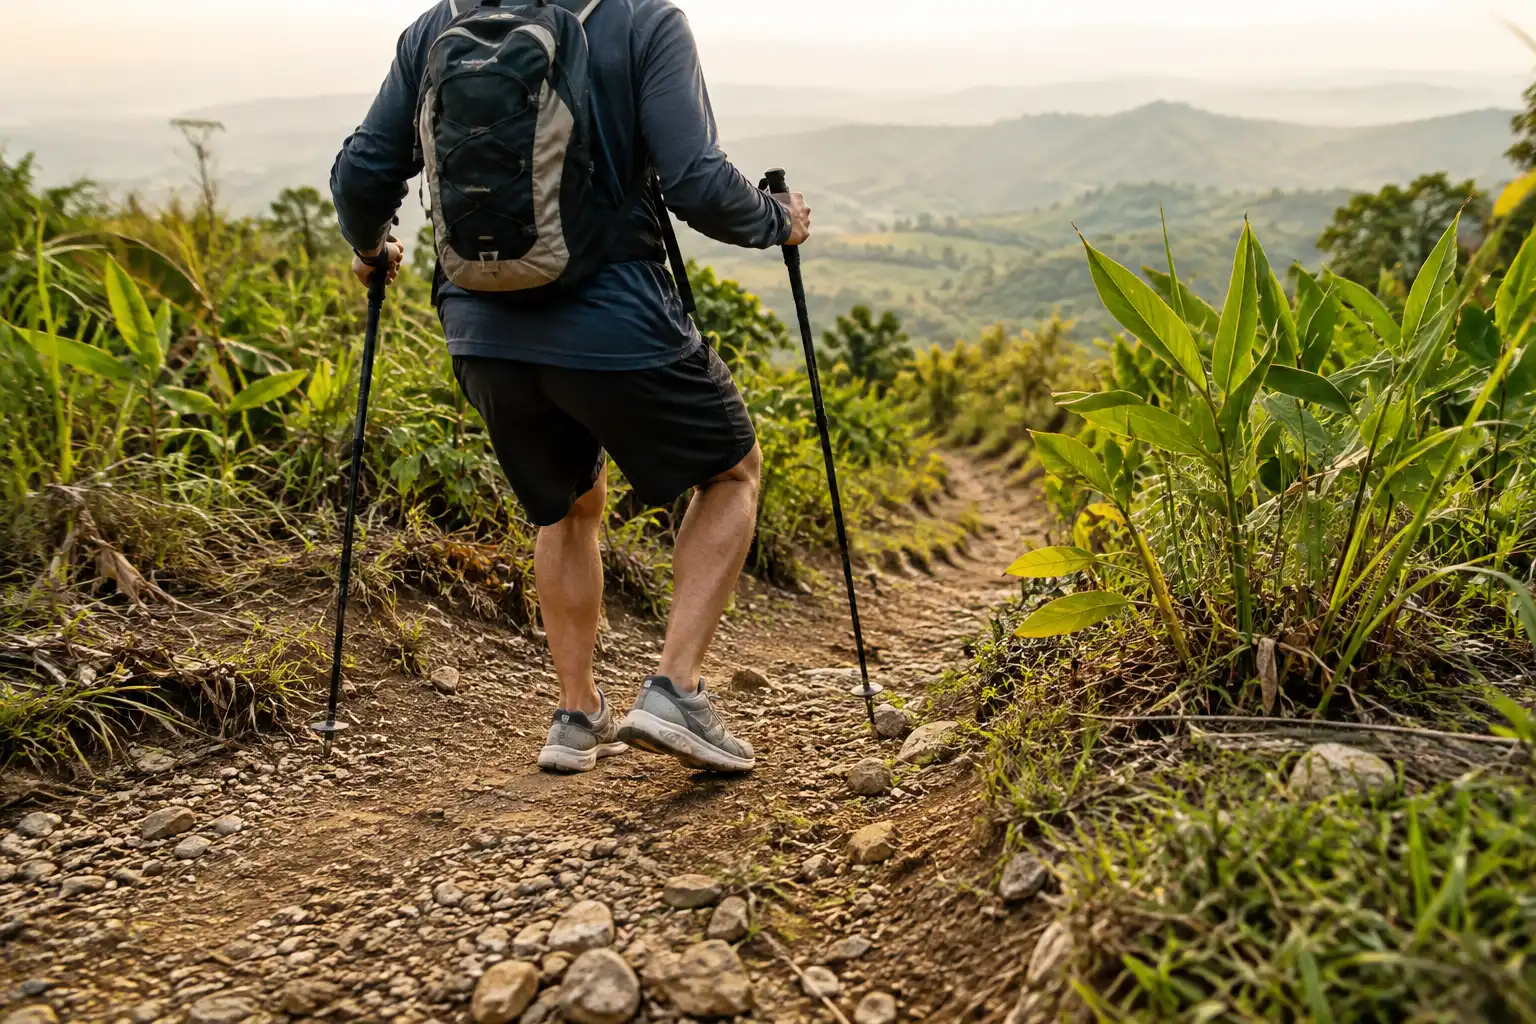
- Carry trekking poles. Poles restore the stability your soles lack. They also help enormously on slick ground, and poles take real load off your knees at the same time.
- Slow down on descents. Shorten your stride. Then plant your heel edge first on loose surfaces so the shoe cuts through debris.
- Tape hot spots early. Cover any spot that feels warm before it blisters, since stopping blisters before they form is far easier than treating them.
- Pick a shorter route. Cutting the distance in half solves more problems than any gear hack.
What happens to your feet on a long hike in normal shoes?
Four things usually go wrong once you push past a few miles in street shoes.
Blisters appear at the heel and toes. Loose heel lock plus damp cotton socks creates friction, and friction creates fluid-filled blisters.
Toenails bruise and darken. Repeated toe contact on descents damages the nail bed. The nail may turn black weeks later and eventually fall off.
Foot arches ache. Soft, flexible road midsoles let your foot conform to every rock. Your arch muscles then work overtime to stabilize, so soreness builds through the day.
The ball of the foot bruises. Without a rock plate, sharp stones press directly into soft tissue. That deep ache can last for days afterward.
None of these end a hike immediately. Instead, they build slowly and turn a good day into a limping walk back. Watching for early signs matters more than the shoes themselves.
When should you buy real hiking shoes?
Buy real hiking shoes once you hike more than twice a month, or the moment you plan anything over 6 miles, steep, wet, or rocky. At that point the shoes stop being optional gear and start being safety gear.
Three signals tell you the time has come:
- You have already slipped or nearly fallen because of grip.
- Your feet hurt for a day or two after every hike.
- You now hike in shoulder season or wet weather.
Budget matters less than fit here. A well-fitted 60 dollar hiking shoe beats a poorly fitted 180 dollar one every time. Sizing rules differ from street shoes too, so learn what a proper trail shoe fit feels like before you hand over any money.
FAQs on Hiking in Normal Shoes

Can I hike in Converse or Vans?
Are running shoes okay for hiking?
Can I hike in work boots?
Do I need waterproof shoes for hiking?
Will hiking in normal shoes damage my feet permanently?
The practical takeaway
Normal shoes and hiking are not incompatible. They simply have limits, and those limits arrive faster than most beginners assume. Short, dry, gentle trails suit almost any closed-toe shoe with decent tread. Wet rock, steep descents, loose gravel, and long miles need real trail rubber underneath you. So match the shoe to the trail rather than the other way around. Start with easy routes in what you own, then upgrade once the trails you want outgrow your current pair.